How to make a DIY pom pom paper lantern
Today begins the official start of a beautiful summer. I love having outings to the beach, pool days, a little camping here and there, cook outs and bonfires, time spent at the lake and my all time favorite; sharing our backyard with friends and family. OK let’s be honest, there will be a lot of I’m bored, I’m hungry, there is nothing to do that I know I will hear everyday mixed in with all the fun.
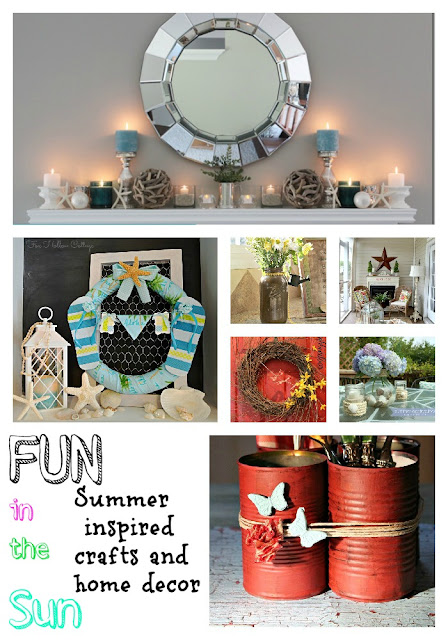
For the next two weeks an amazing group of bloggers will be sharing some fabulous summer crafts, recipes, decorating ideas and so much more.
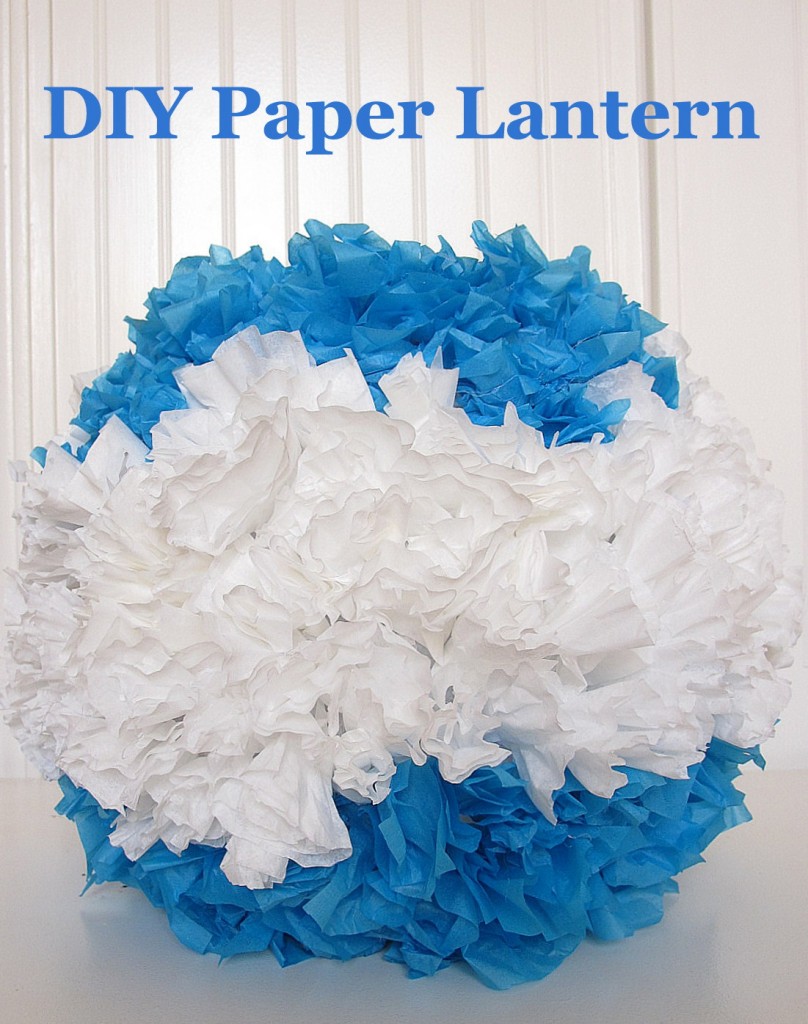
I decided to liven up our backyard space by hanging pom-pom lanterns and making one large pom-pom made from tissue paper and coffee filters.
- Paper lantern (I purchased mine at Cost Plus for $4.00)
- Lots of tissue paper and coffee filters
- Glue gun
- Patience
- Cord kit or some sort of LED light or string of Christmas lights
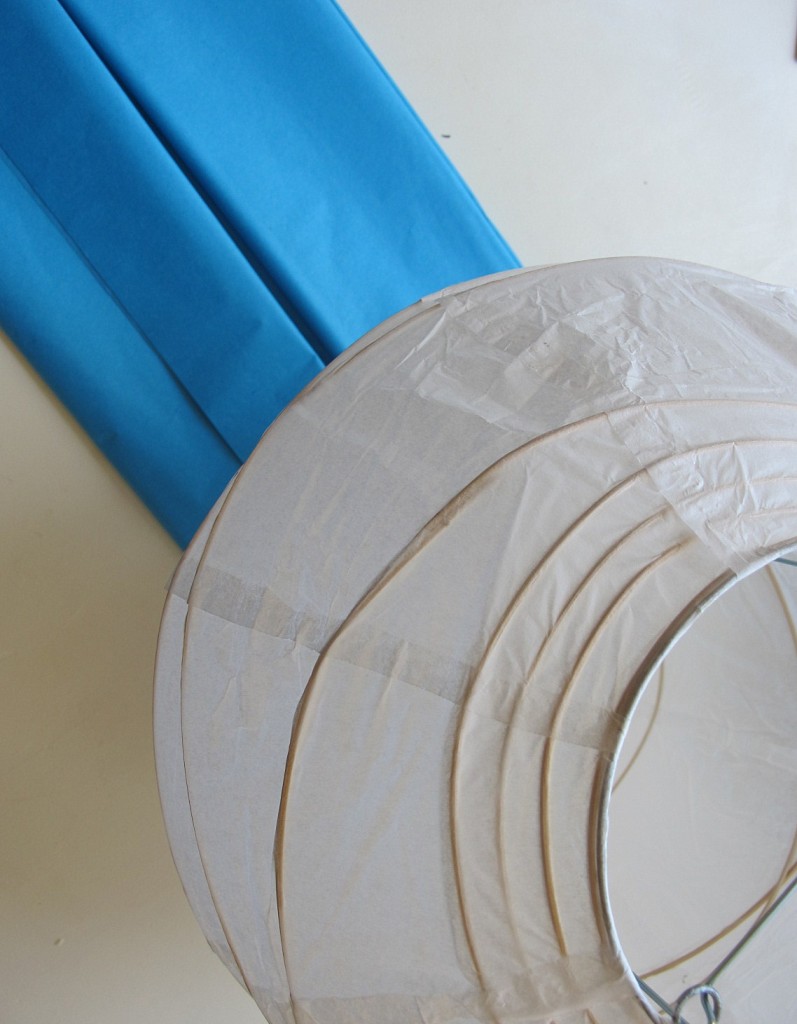
Cut squares out of the tissue paper
Scrunch the bottom part of the tissue paper
Put a dab of glue at the bottom of the tissue and attach to your lantern.

Continue this for a really loooong time until your paper lantern is covered. It was about the second layer down I said oh my gosh Kristin what were you thinking. It’s not like this was my first time working with coffee filters, funny how your mind forgets things.
You can alternate between the coffee filters and the tissue paper to create your own design.
Once finished I decided to add a LED light from a broken candle and attatched it to some cardboard instead of running out and purchasing a cord kit.
I hung up all the lanterns I purchased at Cost Plus (4 for $12 with my coupon) and added my home made pom pom lantern I love how everything illuminates our patio and gives off a romantic vibe.
During the day it looks just as beautiful.
The beautiful towel is from the amazing Jen Rizzo.
Check out all the other fabulous stops for our fun Summer party!
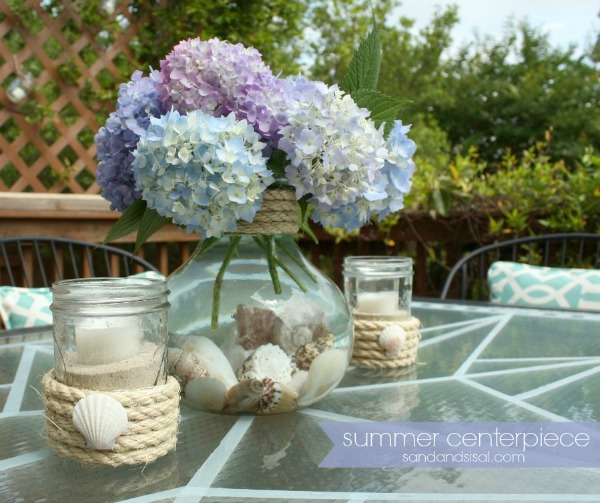
Make sure to stop by the ever so talented and sweet Kim from Sand and Sisal to see her simple summer centerpiece on Tuesday.

Sand and Sisal’s Summer table, it is just gorgeous with it’s combination of shells, jute, votive’s and flowers.


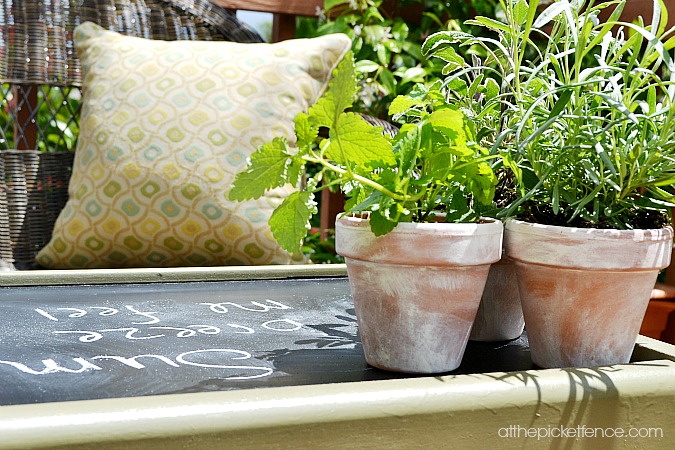
At the Picket Fence made the cutest DIY outdoor coffee table.
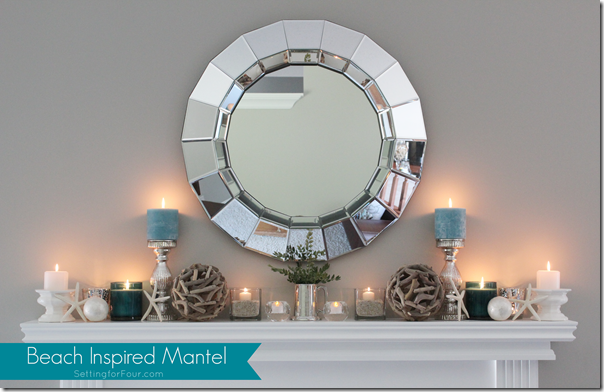
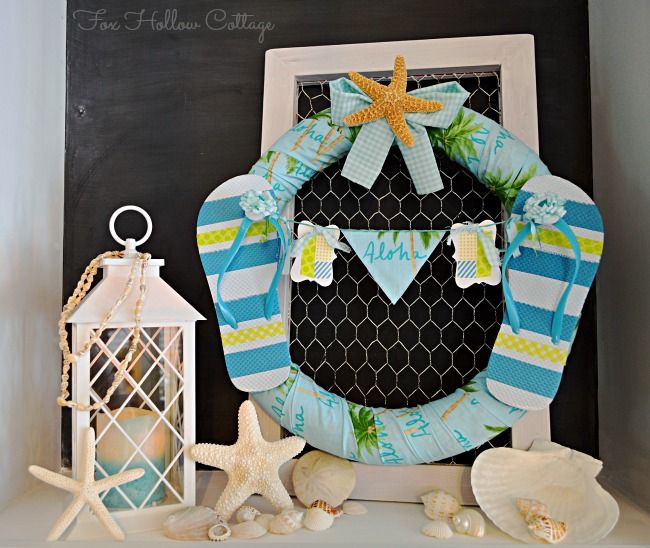
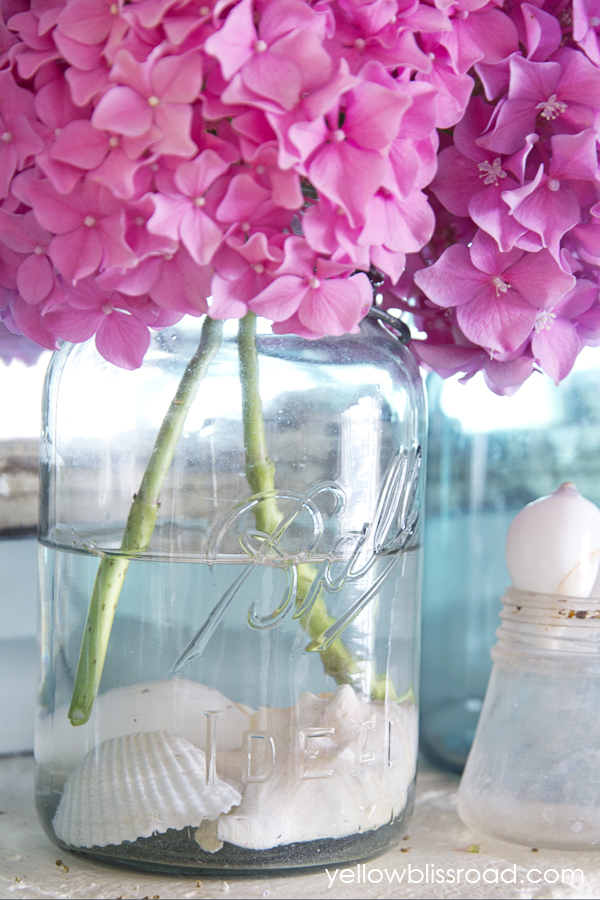
Yellow Bliss Road has the most beautiful sweet & simple summer mantel.
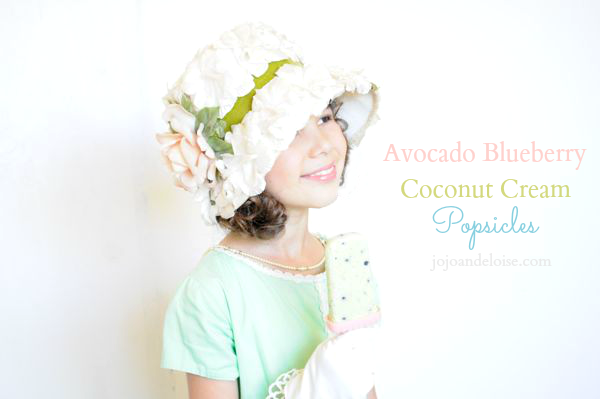
JoJo and Eloise shares her yummy avocado, blueberry & coconut cream popsicles.
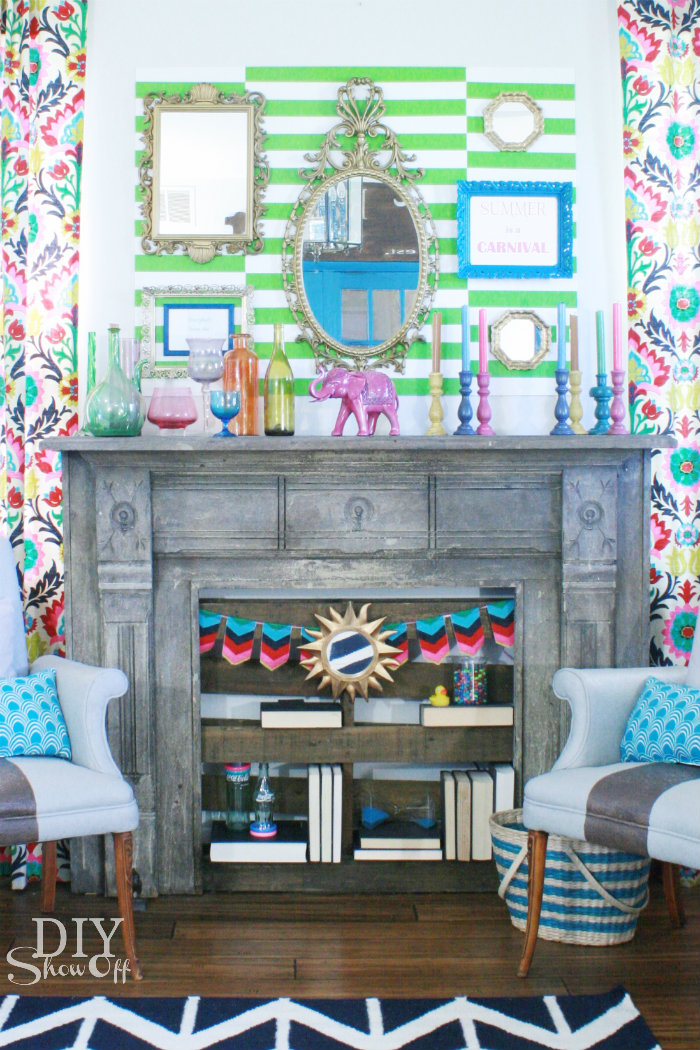
DIY Showoff has the funnest Carnival mantel!
On Thursday June 27th we are wrapping up with a huge link party and giveaway, I can’t wait!






Ok that is so seriously adorable!! The possibilities are endless and it just makes me smile seeing it in that picture at night all lit up. Super clever my friend! 🙂
Vanessa
What a FUN Summertime project. Bet it is so extra cute in person all lite up at night. Great makeover Kristin. It’s so fluffy and cute!!
This is beyond ADORABLE!!! I love how you added the lights to it. This would also be way CUTE in a little girls room. Thank you so much for sharing it and I am so EXCITED to be partying with you!
xoxo
Girl you are awesome..this is the cutest darn lantern ever!
Kristin, this is adorable! It looks great both day and night! Now, you’ve got my mind thinking…..LOL!!~~Angela
I love, LOVE this idea, Kristin! They look awesome all lit up and are such a fun addition to your gorgeous and colorful back patio! Your flowers are beautiful … I’m beyond envious! Thanks for sharing such a great tutorial and inspiration!
Oh your DIY lantern is soooo pretty and festive! Thanks for sharing such a fantastic tutorial – I’ll be making a few of these for our deck! You are so clever girl!! I’m so thrilled to be partying you for some “Fun in the Sun”!!!!!
Kristin, this is so pretty and romantic looking. Great idea!
Love it! Your patio looks so festive. I’ll come by for a glass of wine soon. 😉
You never cease to amaze and I am also going to use the prior post..strawberry lemonade! 🙂
This is seriously adorable, Kristin! I absolutely love how it brings a smile to the face.
What a pretty paper lantern! Your patio is so pretty, thank you for sharing with us 🙂
xo, Tanya
Thanks so much for stopping by 🙂
What a cute and fun addition to your patio!
You are so nice, thank you! XO
That is too cute!
Thank you Pamela 🙂 XO
Ohhhh!! I need to make some of these, Kristin!!! They would be perfect out on my patio with my tiki wine bottles burning. You should come make them for me and I will give you wine 😉