
How To Get the Look of Amber Glass
How to Get the Look of Amber Glass
I love the look of Amber glass; it’s a timeless choice for home decor that has gained popularity in recent years. Whether you’re drawn to their rich, warm tones or their vintage appeal, it’s no wonder that amber glass bottles, jars, and decorative pieces are trending.
My Grandma had a beautiful collection, maybe that is why I am so drawn to it! Some pieces can be pricier, so I decided to figure out how to achieve that amber glow without breaking the bank using simple, affordable materials.

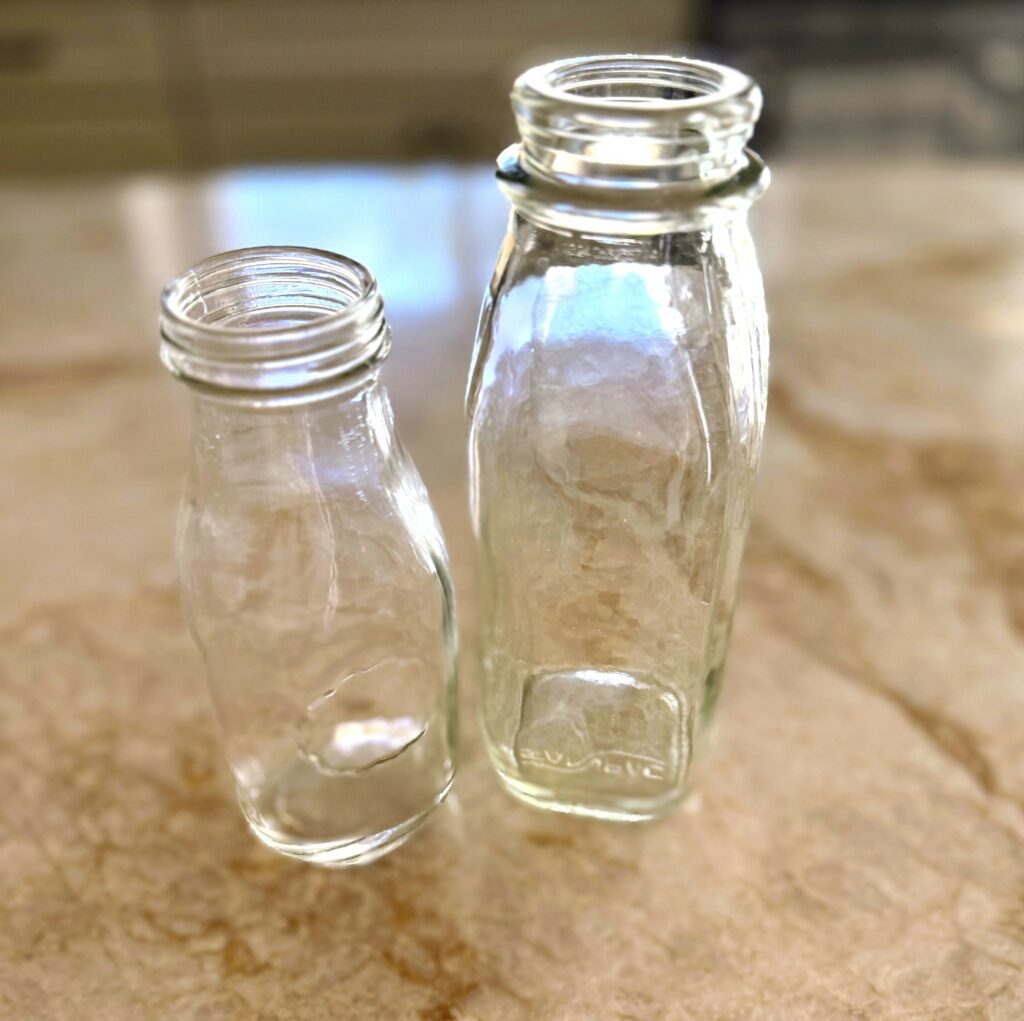
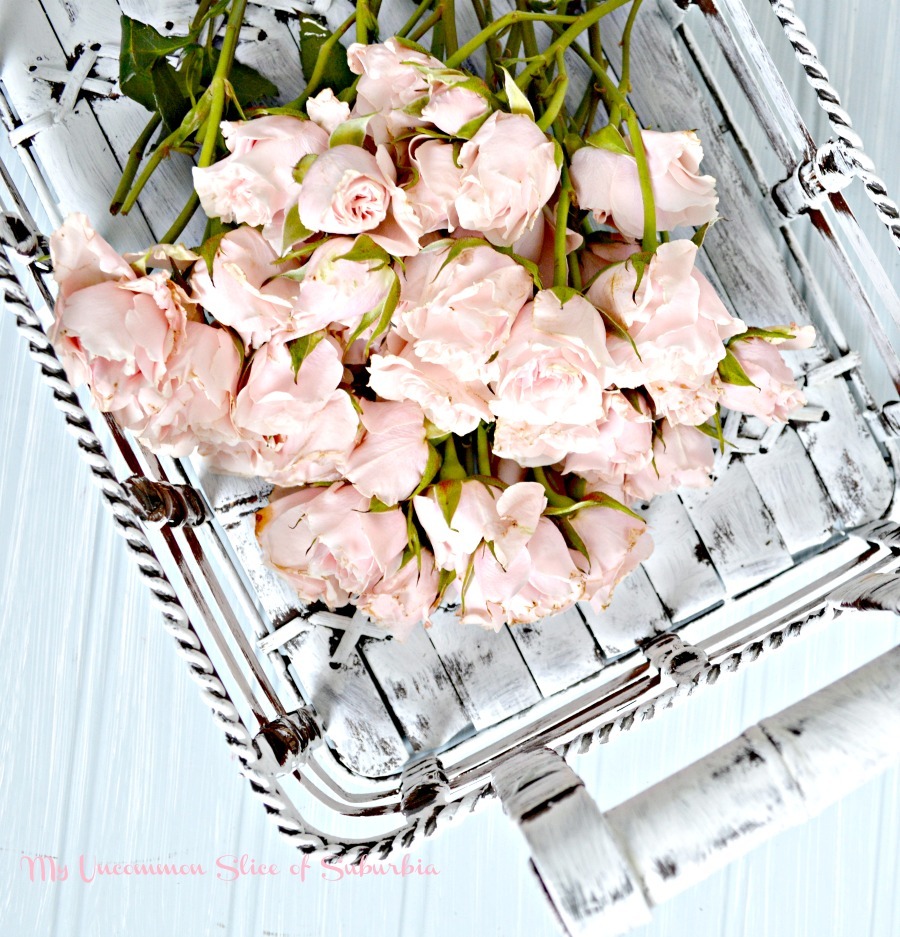
These are the before. I always collect unique-looking glass jars at the thrift store for less than $1.
Why Amber Glass?
Amber glass boasts a distinctive appearance with its deep, honey-like hue, often evoking vintage aesthetics and rustic vibes. It’s commonly used for bottles, jars, and other home decor pieces. Whether it’s for creating unique fall decor or giving old bottles a new lease on life, it gives a homey feeling. Amber bottles are often used in kitchen storage and in the beauty industry for their light-blocking properties, which help preserve food and beauty supplies.
affiliate links are listed below

Materials
You probably have most of these items already around the house:
- Clear glass jars or old bottles (check thrift stores for cheap finds!)
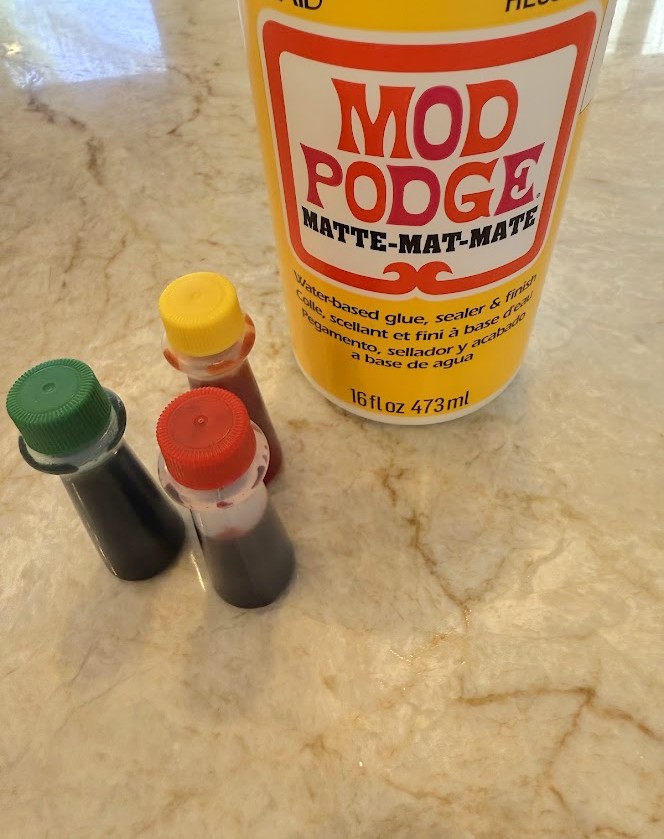
- Mod Podge (or another decoupage medium)
- Food colors in shades of yellow, red, and green
- Plastic cup and spoon
- Something to cover your workspace
- Oven
Mod Podge will give your glass a durable finish, and food coloring will mimic amber tones. I assume you could just buy brown food coloring; however, I have not tried it.
Prep Your Glass
Start by cleaning your clear glass bottles or jars thoroughly. If you’re using old bottles, make sure to remove any previous labels or residue. If you’re using thrift store finds, it’s a good idea to wash them with soap and water, and dry them completely before starting.
Create the Amber Color
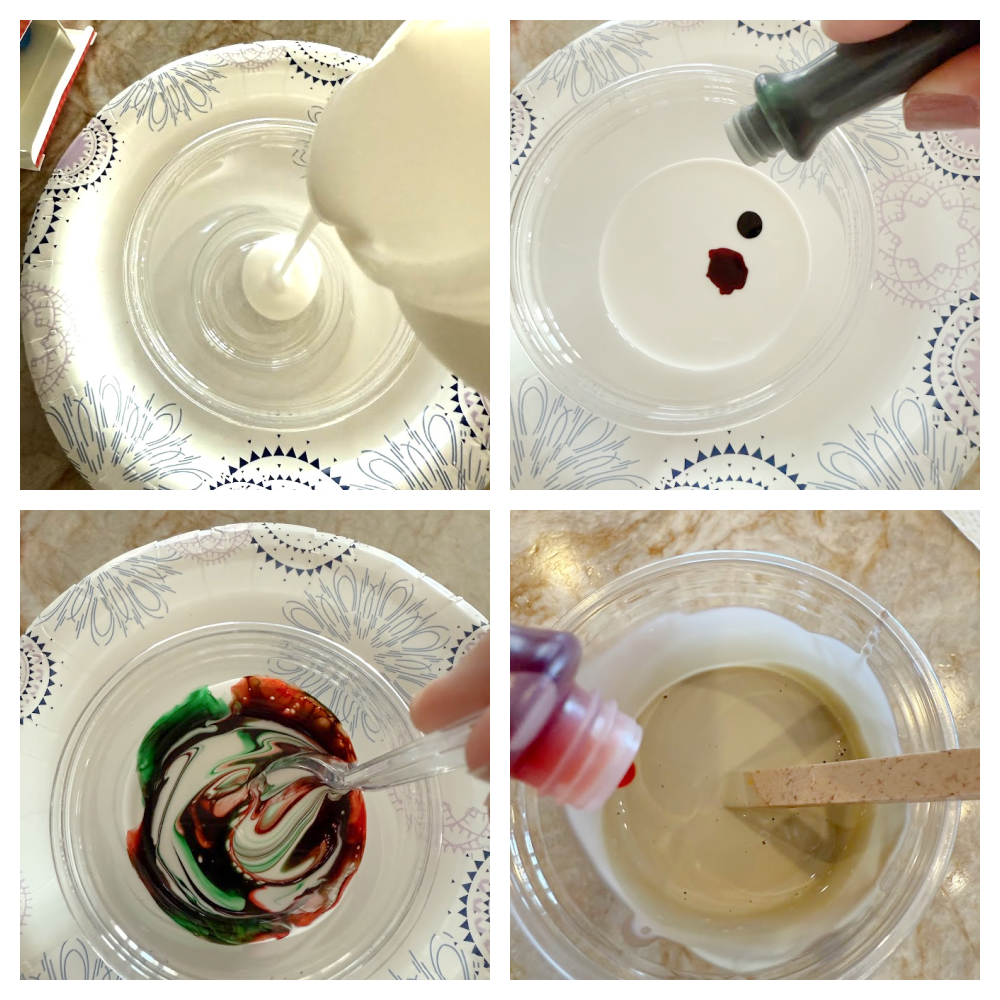
Amber glass gets its signature color from a blend of brown and yellow tones. To achieve this look, you’ll need to mix your food coloring.
For a total of 3 glass pieces, I used 1/2 a cup of Mod Podge and 4 drops of red and 4 drops of green food coloring. It is a 1:1 ratio. Stir the mixture until you achieve a color that looks tan or light brown. It will not be a full amber, dark brown color at this stage, which happens during the “cooking process.” For my last 2 pieces, I added 2 drops of yellow to the mix, and it gave them a darker color. You can simply play around with the colors until you come up with something you love.
Apply the Mix
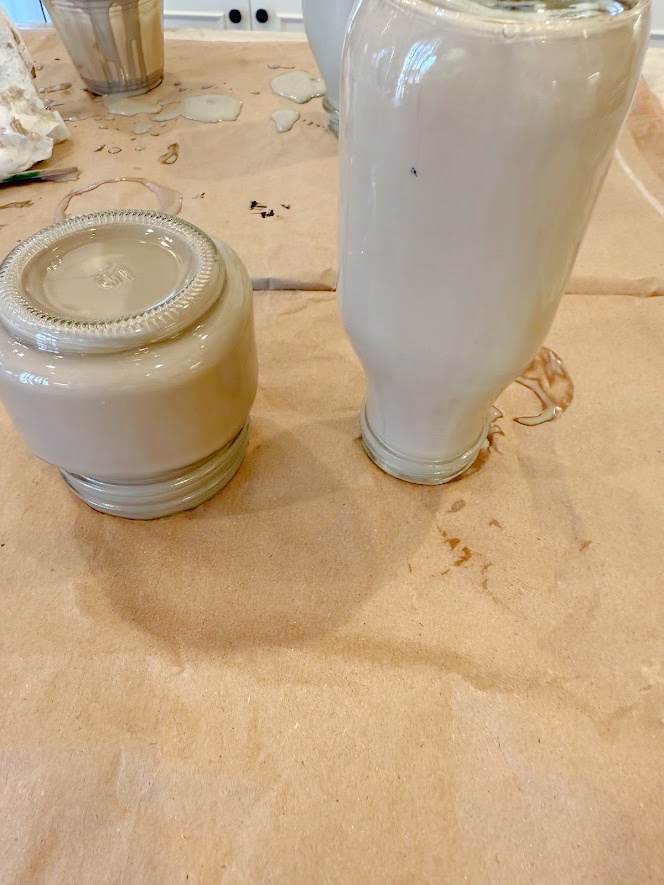
Next, apply the food coloring mixture to your glass jar. Pour your mix into the glass vessel, covering all sides, and swirl the mixture to coat the entire inside. It’s almost as if you’re adding “legs” to the sides of the glass. If you notice the mixture doesn’t reach certain areas, you can use a paintbrush to help cover the spot. (Sorry, my process picture was super blurry.)
Drain
Place your glass pieces upside down on your work surface. Allow to sit until all excess Mod Podge mix is fully drained. I let it sit for about 30 minutes.
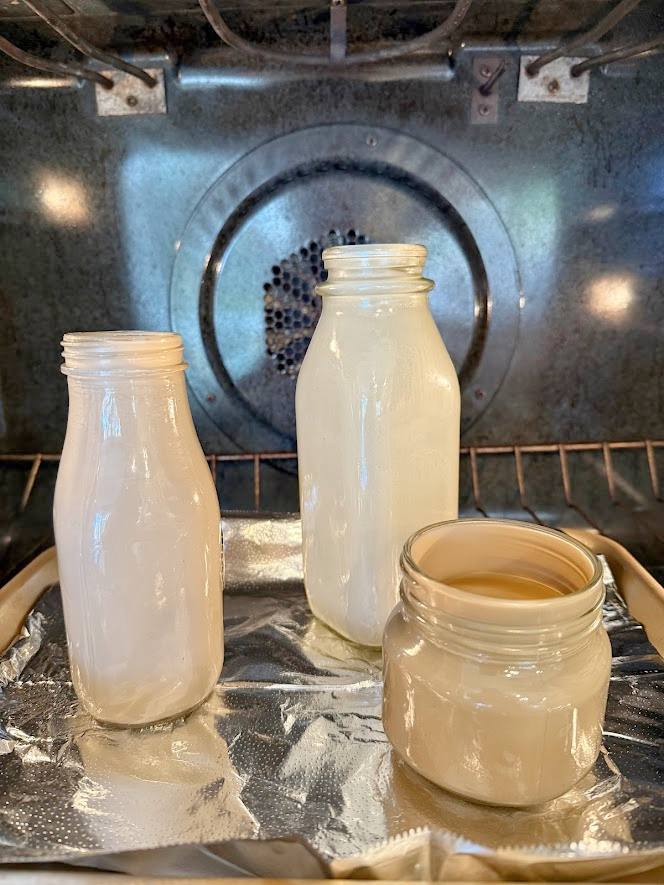
Place in Oven
Place your glass pieces upright on a cookie sheet. Place in a 200-degree oven and bake until dry; mine took about 45 minutes. (do not leave unattended). Take out of the oven and allow to cool.
Display Your Amber Glass Creations
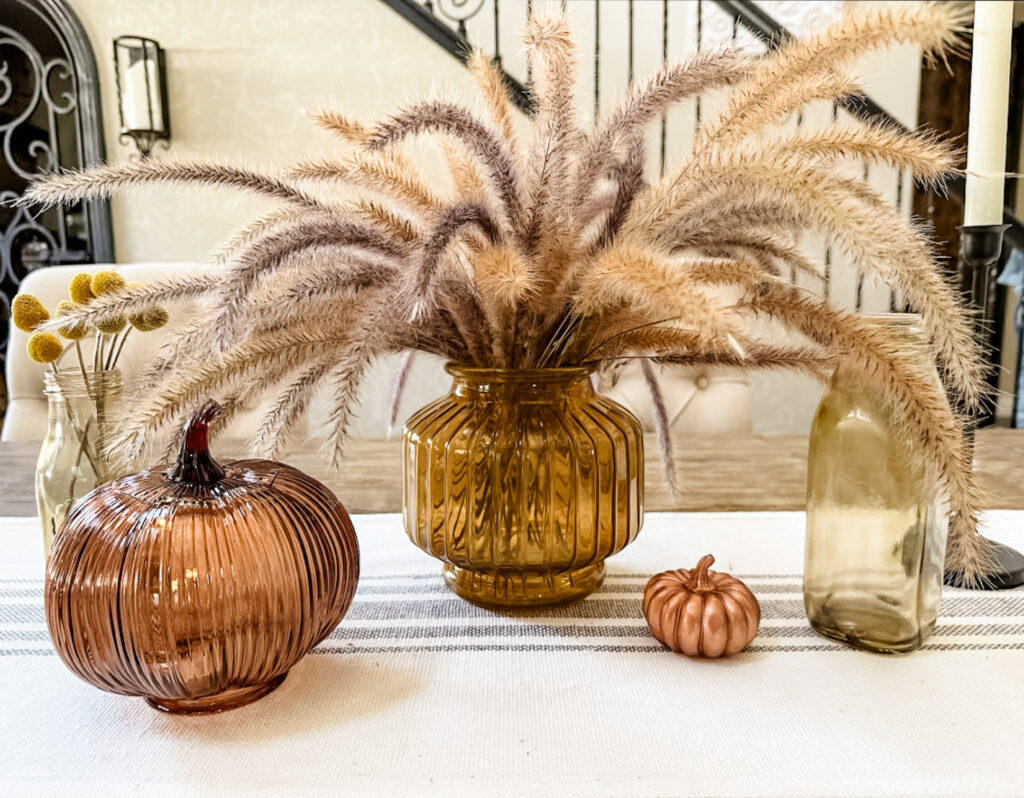
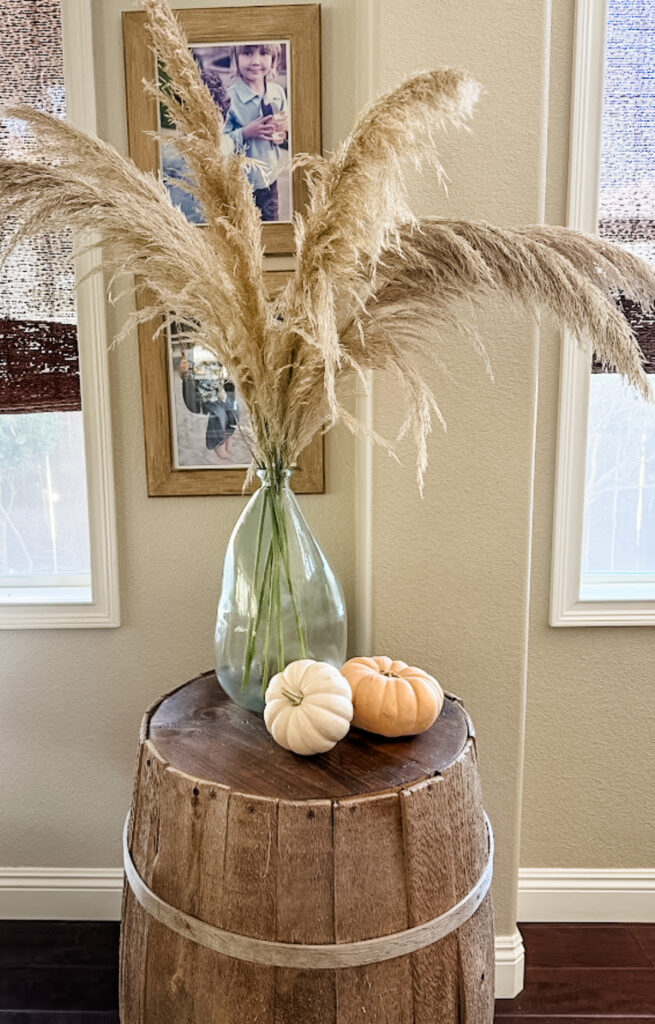
Now that your amber glass pieces are complete, it’s time to display them! They make beautiful additions to fall decor, as their warm hues complement the season’s color palette. You can use them as flower vases, candle holders, and so much more. I love them mixed with my existing amber fall pieces.

Mod Podge + Baking: Is It Waterproof?
Even after baking, Mod Podge may become more durable, but it’s still not fully water-resistant. Adding water to the jar could cause the Mod Podge to soften, cloud, become translucent, or peel over time. If I need water, I simply add a little cup inside the vase/jar and fill that with water.

Bonus Tips: Experiment with Different Colors
If you want to experiment with different colors and textures, consider adding a little extra paint to create a more personalized look. Using food coloring in varying shades will give each piece its own unique amber hue. You could also experiment with other colors to create a darker or lighter amber, depending on the look you’re going for. I think next time I am going to try just straight green.
Where to Find Materials
Finding the right materials for your amber glass projects is easy. Thrift stores are a great resource for old bottles and jars. You can also find affordable Mod Podge and food coloring at craft stores or online.
You can transform clear glass bottles and jars into beautiful amber glass decor that will complement any home decor! This DIY project is a great way to achieve the amber jars!
I’ve been having all sorts of fun decorating for free using pampas grass and Ornamental Grass.
So, next time you see clear glass at a thrift store, don’t pass it up!
It’s Thrift Store Decor Day, you know what that means! Go see what my friends made over this month!
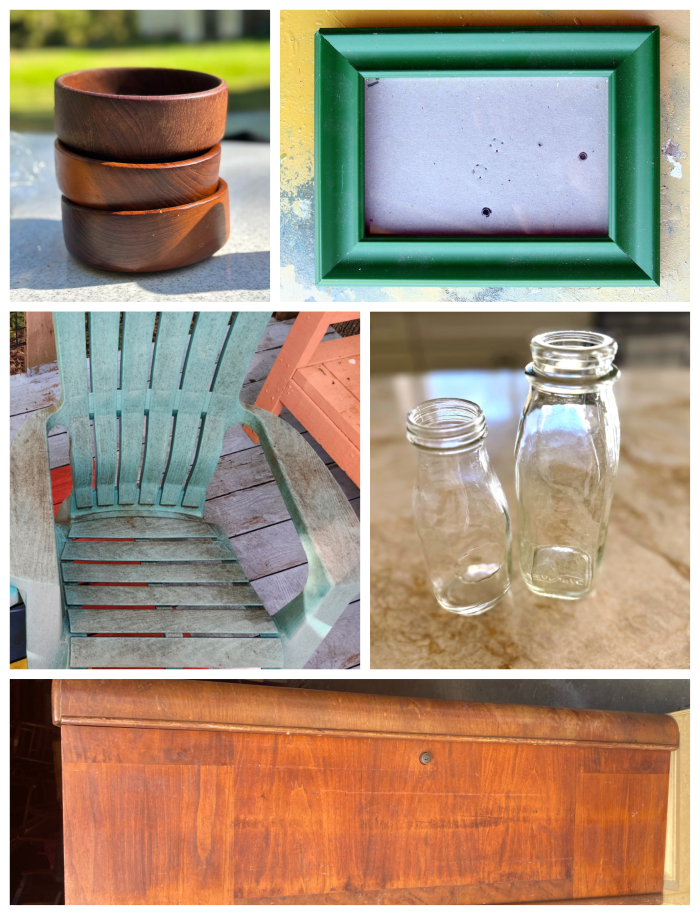
Our Crafty Mom Upcycled Wooden Bowls with Pressed Flowers
Petticoat Junktion DIY Mercury Glass
My Repurposed Life Refresh Plastic Chairs with Colorful Spray Paint
My Uncommon Slice of Suburbia How to get the look of amber glass
Shop At Blu Cedar Chest Hope Chest Upcycle
Thank you so much for taking the time to stop by today!
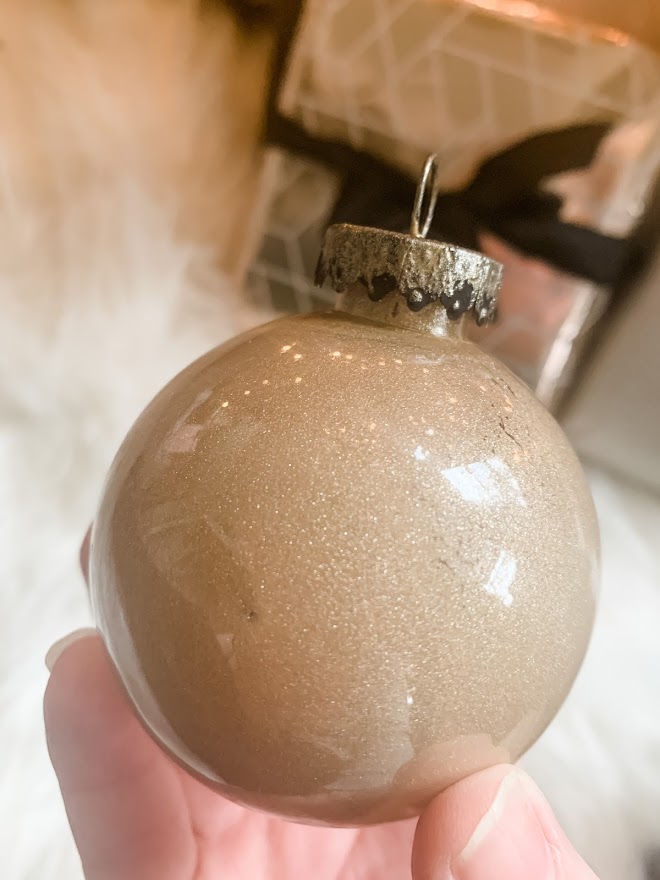
You can see how I painted the inside of glass ornaments here.

Kristen,
I love your amber glass jars! I collect random jars, I may experiment with some colors to see what I come up with. 🙂
Thanks for a great tutorial.
Pinned!
gail
Thank you so much Gail, have fun experimenting with this! 🙂
Kristin, another fabulous tutorial. I have so many jars and glasses that would benefit from this technique. Such an inexpensive way to decorate. And you could go crazy with custom colors! Pinned.
Thanks so much Sue, it was a fun little project!
Kristin, this tutorial couldn’t have come at a better time as I plan to make some ornaments using this DIY. Thank you for the inspiration. Pinned!
Thanks Michelle!!