
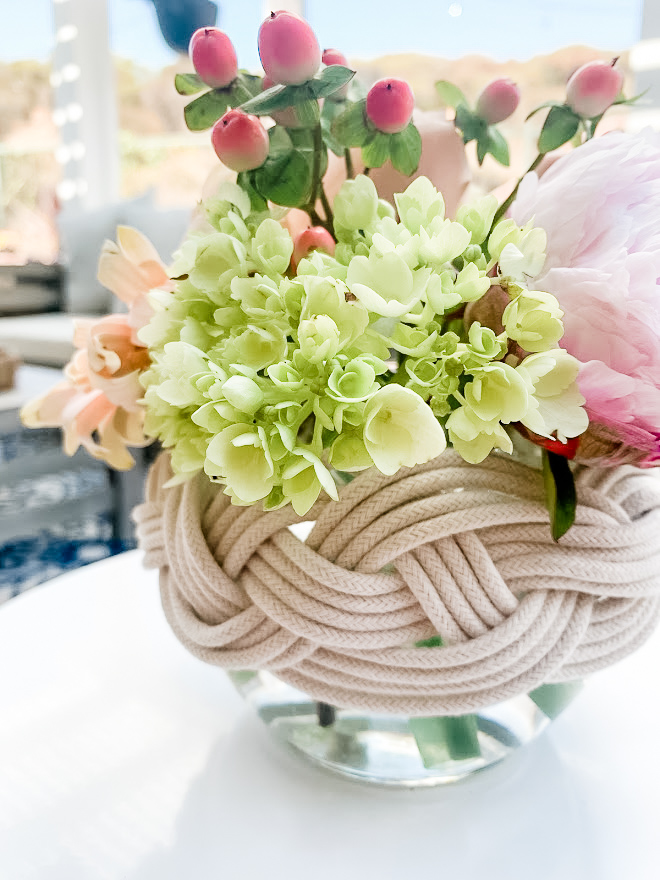
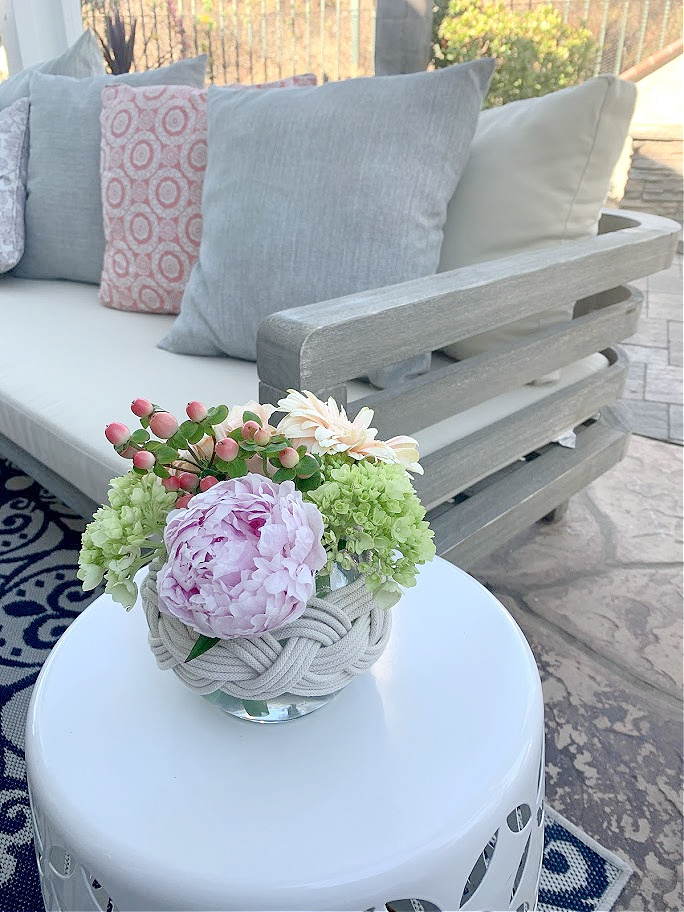
DIY Boho-chic Macramé Vase Cover
Macrame is making a big comeback these days as is boho chic decor so I thought I would try making a Macrame vase cover. I didn’t want to overwhelm myself so I started with one very simple knot, a flat knot! When we walk the local farmer’s markets I see all sorts of beautiful macrame pieces and have purchased a few. I realized for the price of one piece I could go purchase the cording and give it a shot myself.
It’s thrift store decor day so make sure to check out all of the beautiful makeovers at the end of the post.
Affiliate links listed below
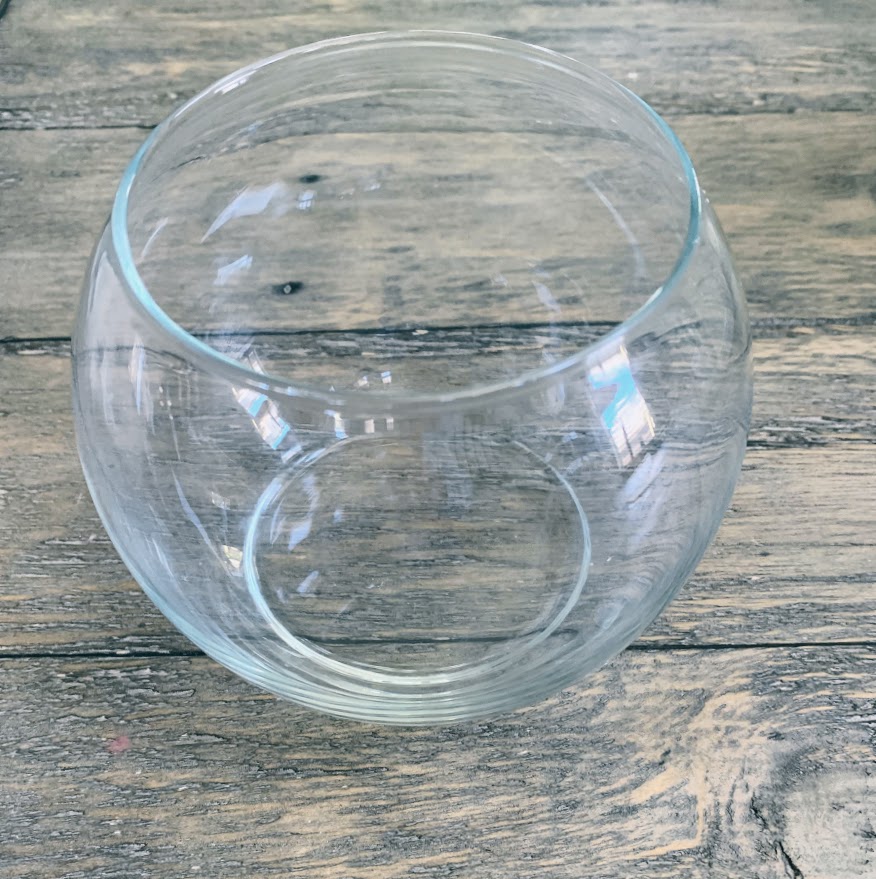
I’ve been hitting the thrift stores and purchasing a variety of different vases for my mom’s memorial next weekend and thought this one would be the perfect size to try out, not too big and not too small. For 50 cents I couldn’t pass it up!
You could also use a mason jar for this project.
Supplies
Vase (diameter of my vase is 6 inches)
Macrame Cord My Cord was .15 inches/4mm/32 ply
Scissors
Hot Glue Gun and Glue Gun
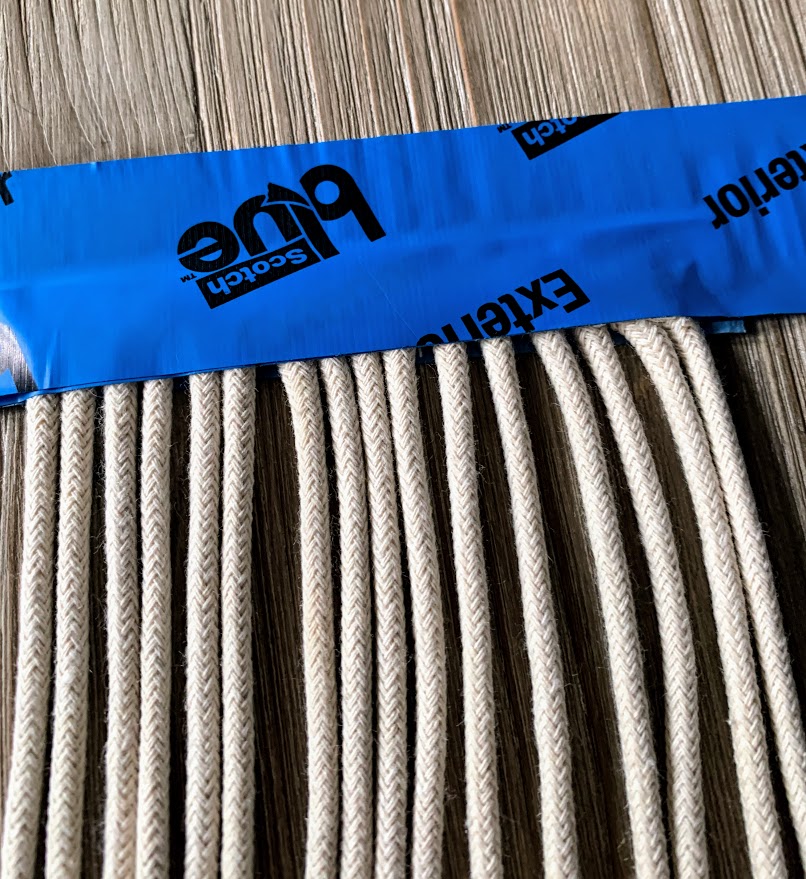
Heavy Duty Tape
A Few Notes
You could use MACRAME CORD or yarn for this project.
I chose the cord because I wanted a “chunkier” design. If you use yarn, it will result in more intricate knots that is much smaller.
The more cords you have the wider it will be. I chose to use 16 cords and figured this would cover about 3/4 of my vase.
I went back and forth between yarn and cord in my tutorial so you could see the differences in the knot, you can decide which route to go.
Directions
The measurements that I am giving are for the cord, not the yarn.
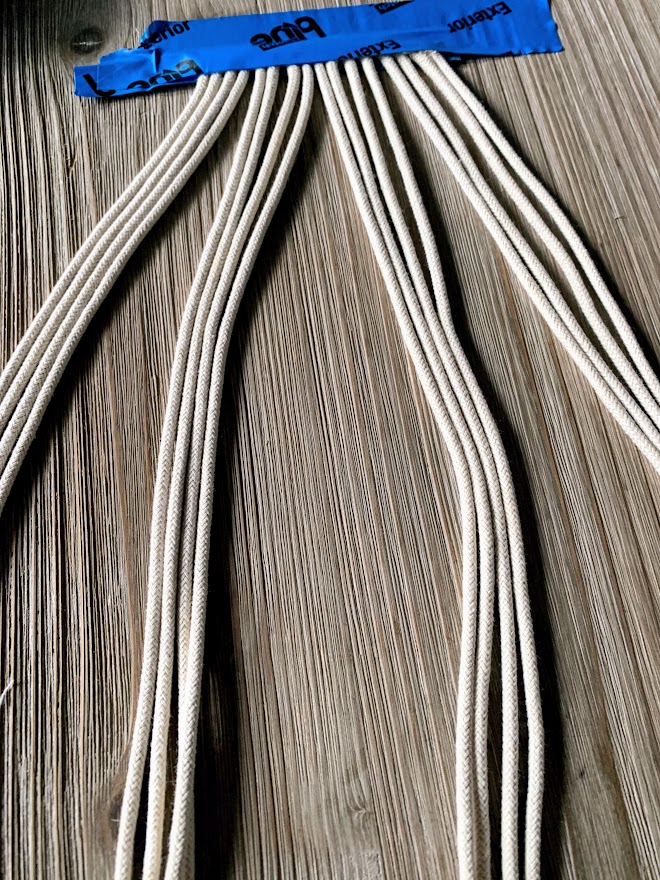
Cut the cords ( I cut them to be 22 inches long) and adhere them to a strong piece of tape. You could even hot glue the cords onto the tape them for a stronger hold.
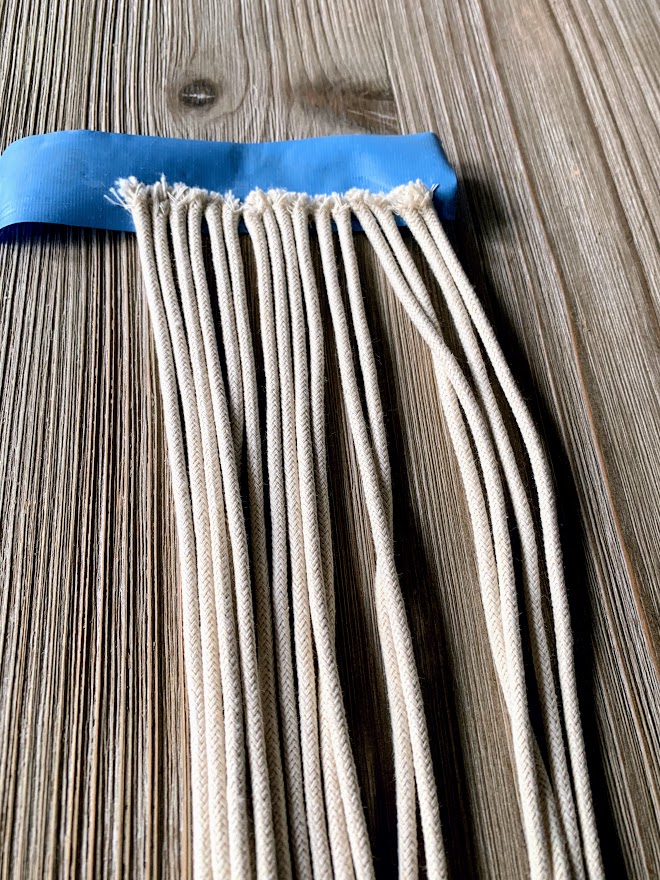
Place another piece of tape on top of the cords.
Divide the cords into 4 groups
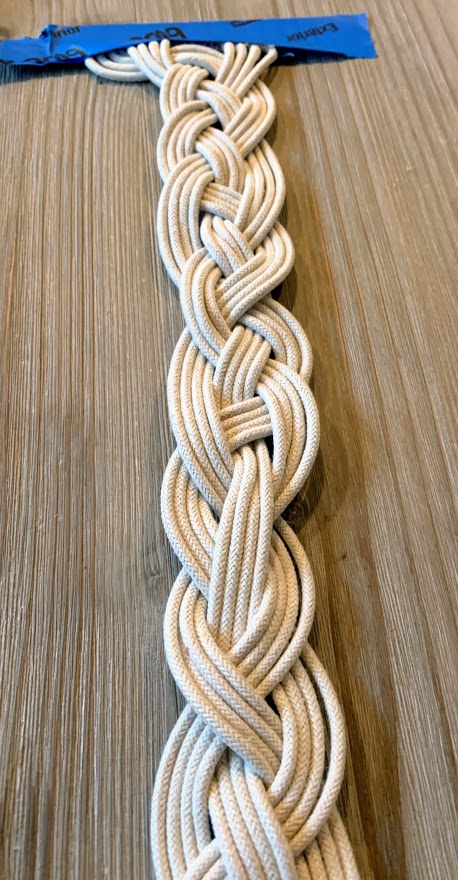
Take the outer left cord and cross it under the one next to it on the right, and then over the following cord, and then under the last cord.
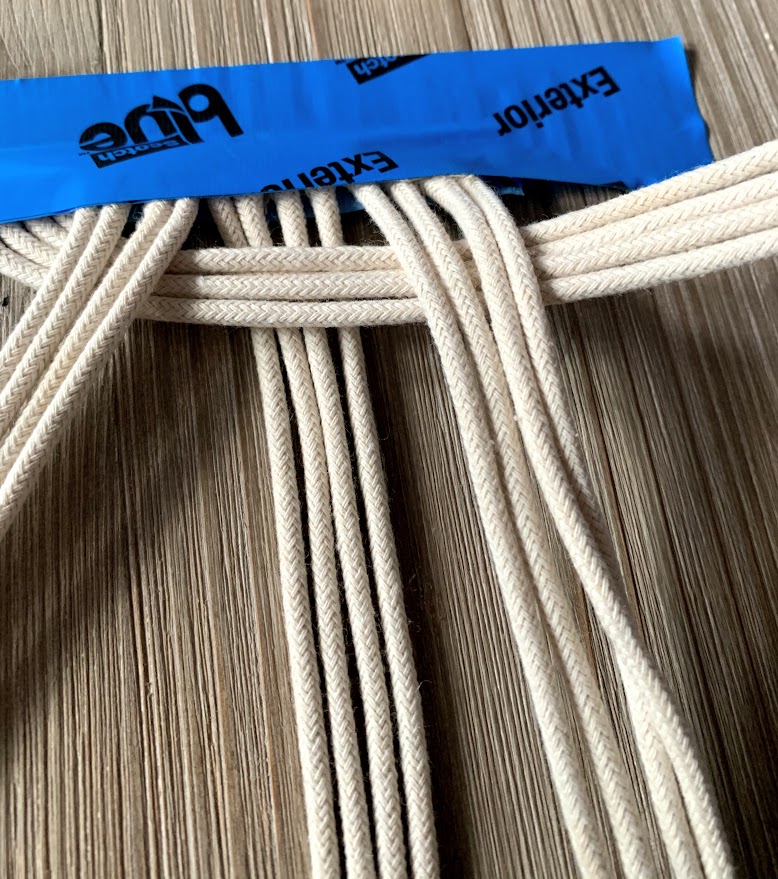
Take the second to last cord on the left, and place it on top of the last cord on the left
Take the second to last cord on the left and place it over the cord on the right then under the next cord on the right


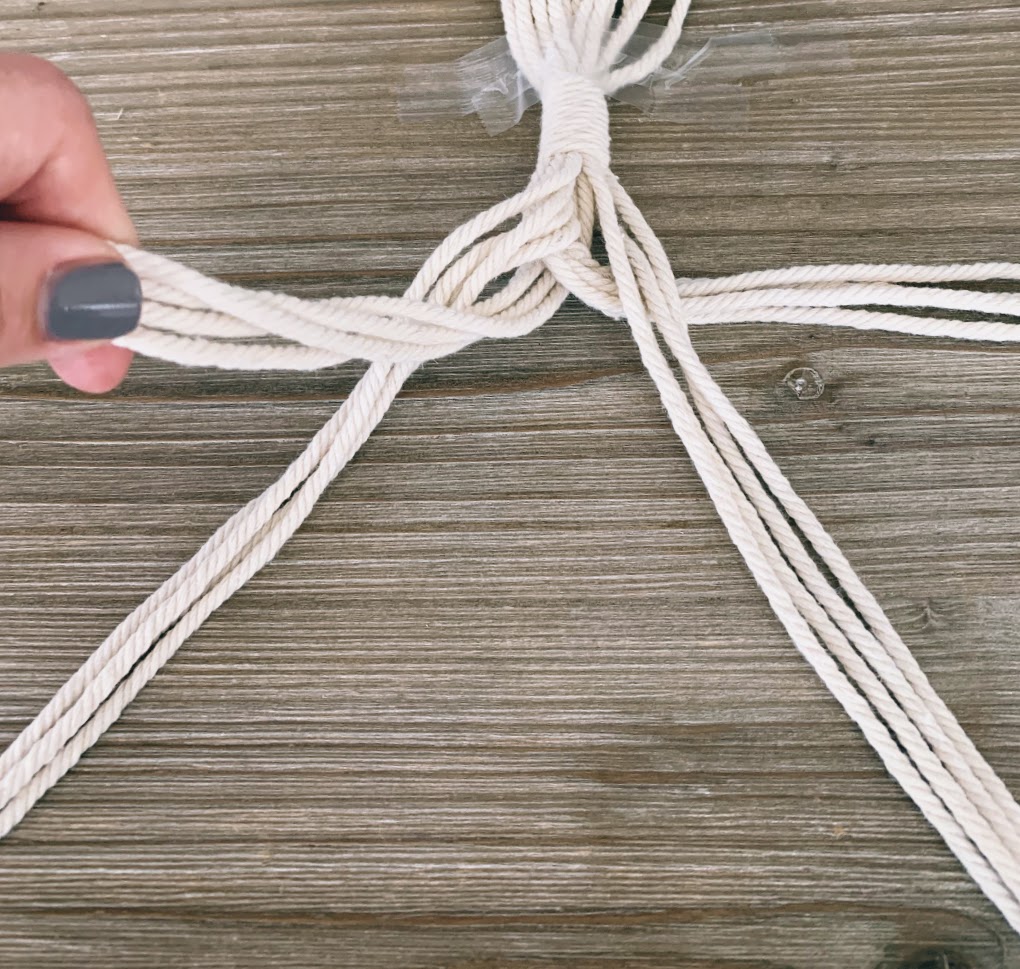
Repeat: second to last cord on left goes over last cord on left
Repeat: second to last cord on left goes over and under the cords on the right

Keep repeating and tightening as you go.
You can see the difference in the width between the two, I would say you would have to double the amount of yarn to get the same width as the cord.

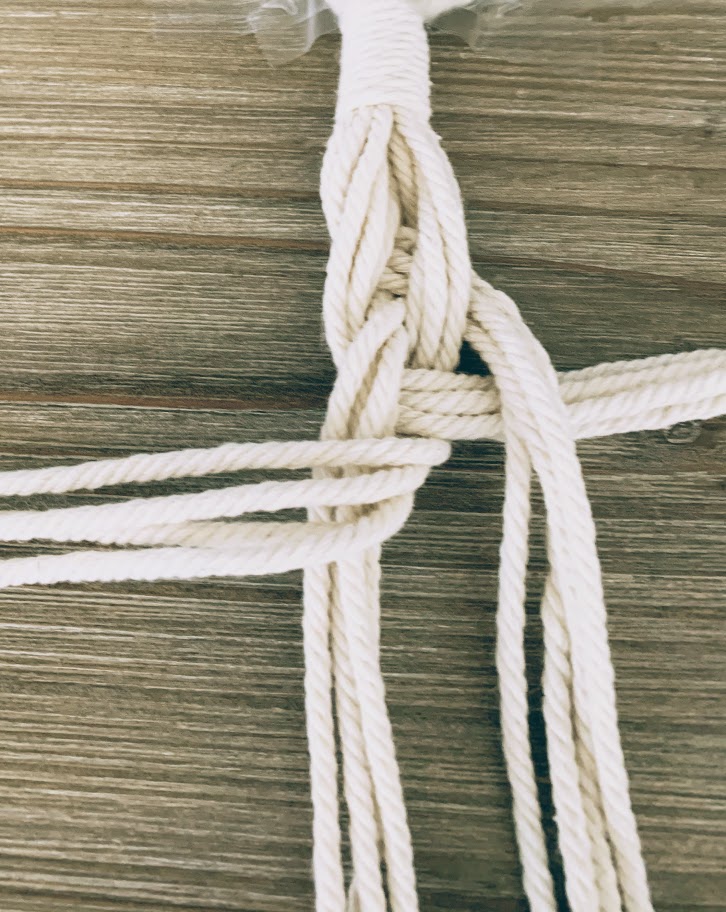
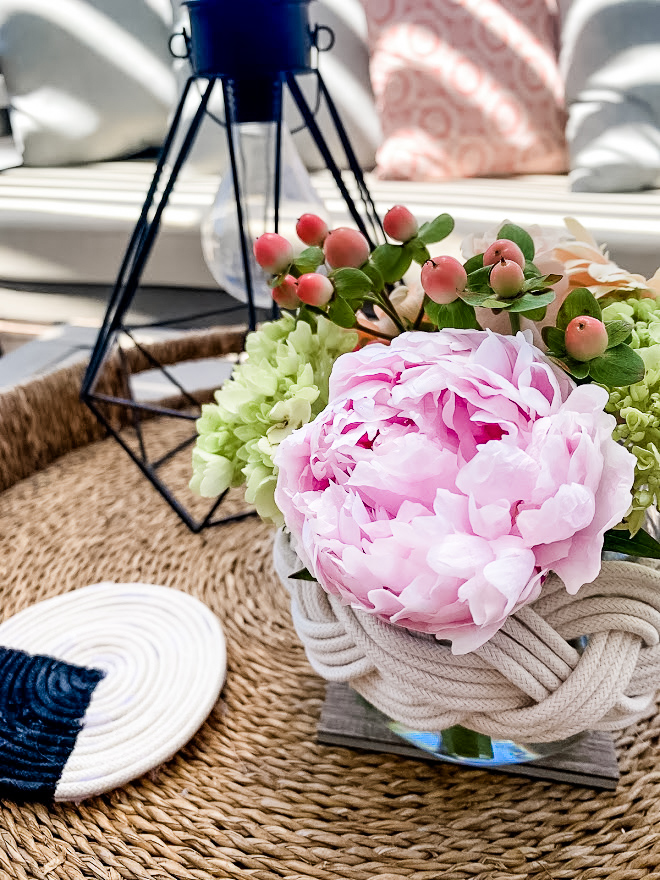
When you repeat this knot over and over again, you end up with a beautiful pattern.
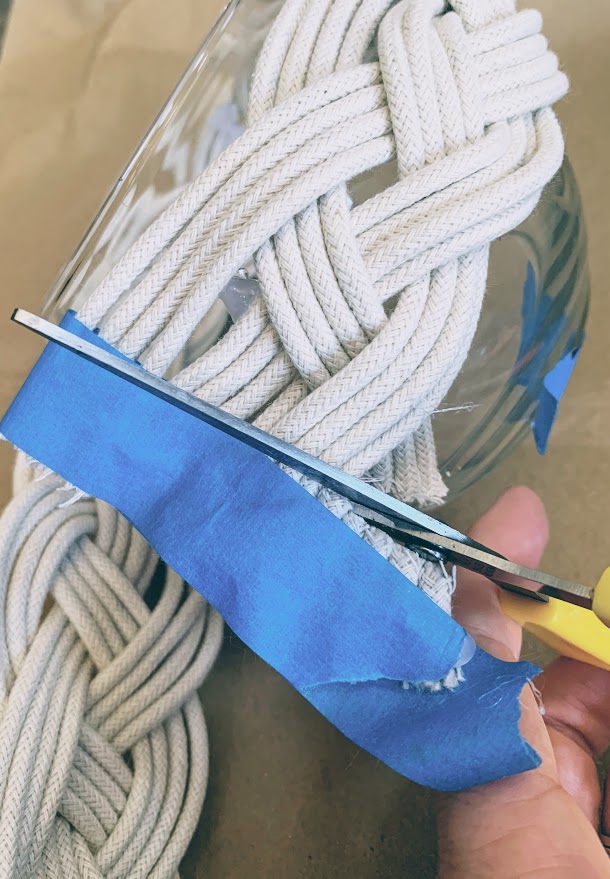
Now it’s time to attach it to your vase.
I placed hot glue to the backside of the knot and adhered it to the vase, repeat this every few inches.

Cut off the excess and try to attach the two ends of the knot as seamlessly as you can, it will not be perfect and that’s OK.
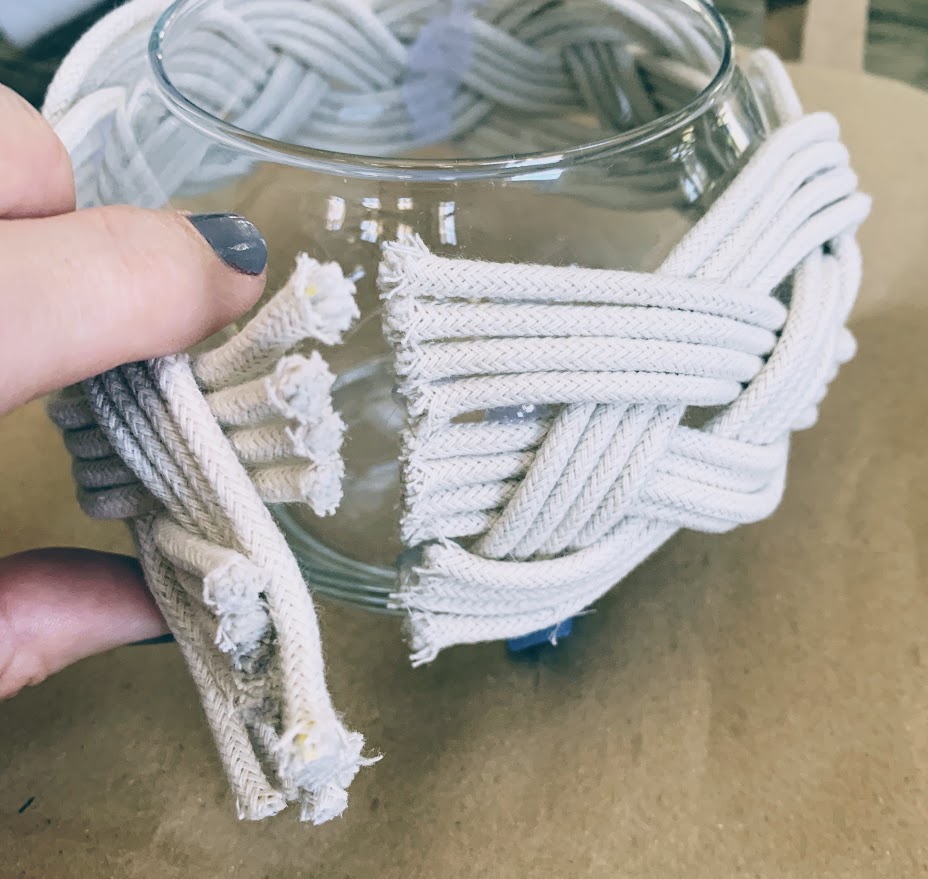
And that’s it!
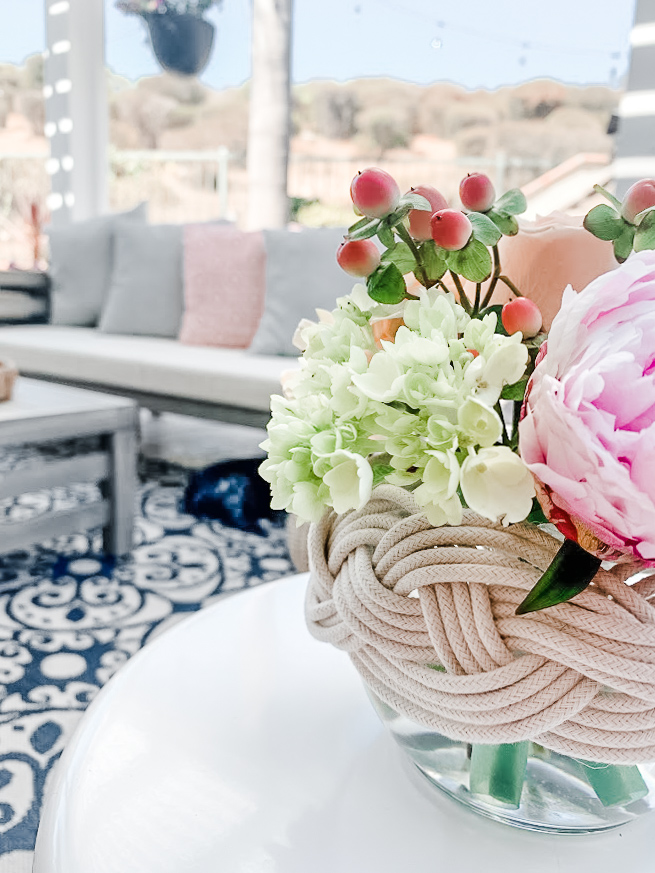
These macrame covers are such a unique and easy decoration idea, they would look just as beautiful with a floating candle. You could place the vases on top of wood slices for the perfect mix of boho and rustic! These would also make the perfect little handmade gift for any occasion.

I created a fun boho coaster using the same cording, you can find that tutorial here.

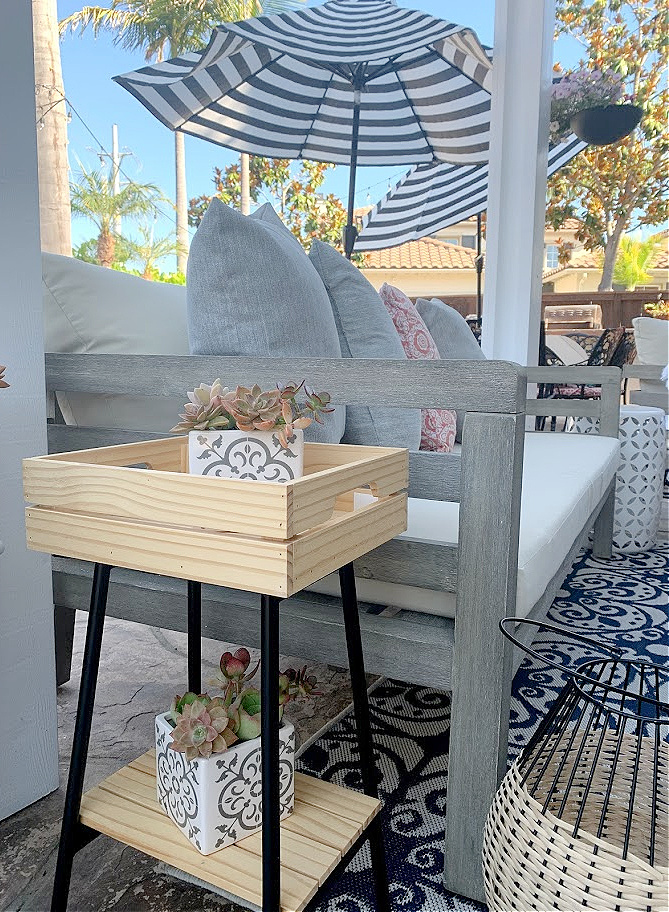
We have been busy working in the yard and adding a few new pieces of furniture, I’ve added the links below.


It’s time to see all the other beautiful thrift store Makeovers, just follow the links below!
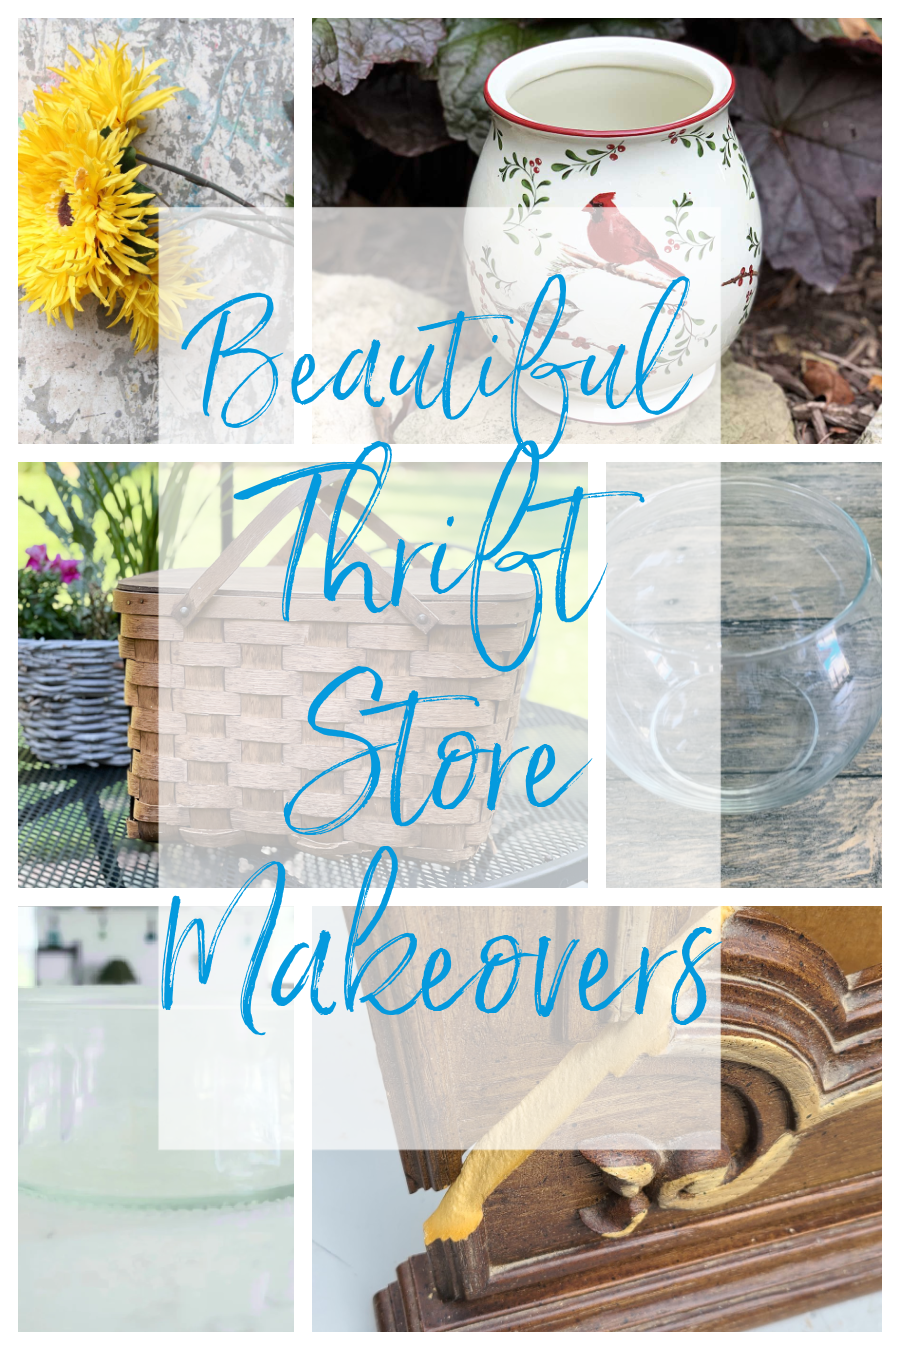
Rusty Trash Can Lid Sunflower Wreath
Repurposed Thrift Store Glassware
Picnic Basket Makeover
How to Make an Easy Macrame Vase Cover
Frosted Glass Tealights
Repair Fake Wood Dresser Mirror Frame
Thank you so much for stopping in today, I hope you have a wonderful rest of the week!

This looks amazing. You must have a lot of patience Kristin!!
Ha ha, thank you Kathy. I think once things calm down around here it might be something I would really enjoy, it was fun to make 🙂
That turned out gorgeous Kristin!!!
Thank you so much Maryann!
So elegant, Kristin!
I’d love for you to join us over at the Creative Crafts Linky Party every Wednesday through Sunday
https://creativelybeth.com/creative-crafts-linky-party-51/
Followed and Pinned! 🙂
Creatively, Beth
I’ve always loved this pattern but never thought to use it on a vase. Love how this turned out.