
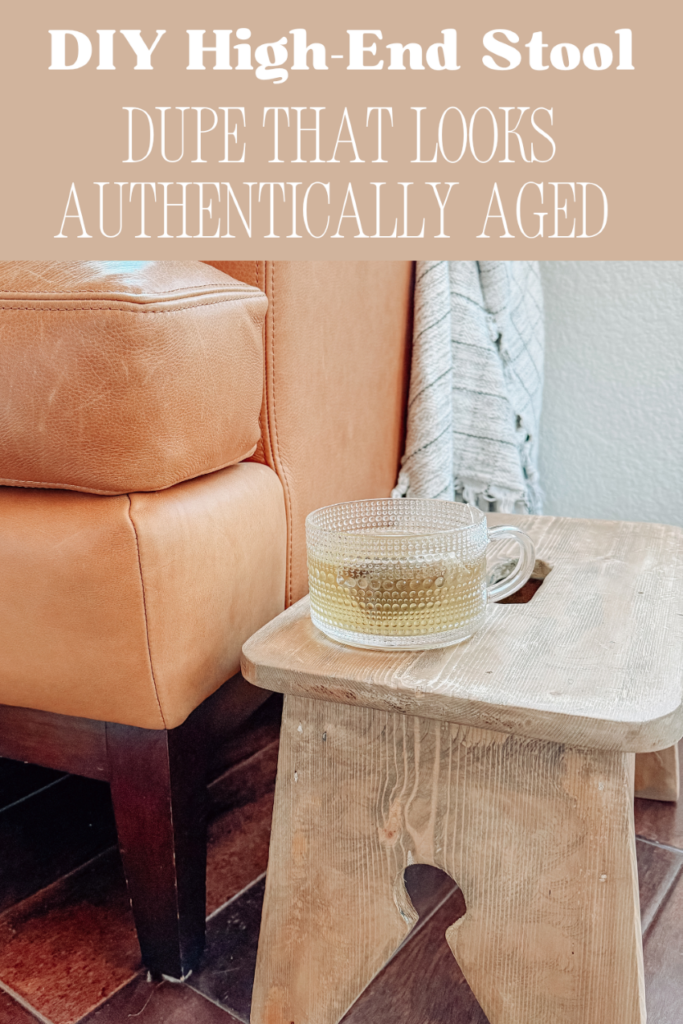
DIY High-End Stool Dupe that Looks Authentically Aged
Have you seen those perfectly weathered stools you see in extremely overpriced designer showrooms? Luckily, creating your own aged stools is surprisingly doable with a few materials and some patience. You can craft a piece that looks like it’s been passed down for generations. This stool was made by my grandfather, 24 years ago, when he was 92 years old. He lived to be 102, an amazing feat! I actually have 2 of these stools.
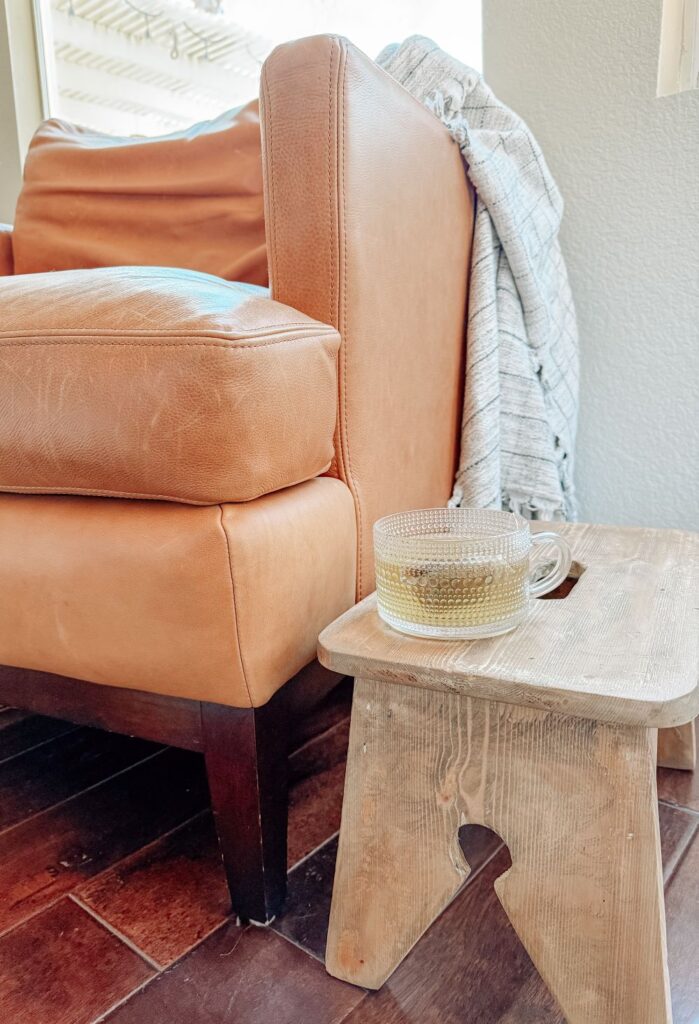
After
It’s thrift-store day, and you know what that means. Our talented team is sharing their beautiful makeovers, which you can explore at the end of this post. And even though this particular piece was gifted to me, local thrift stores are full of stools just waiting for a complete transformation!
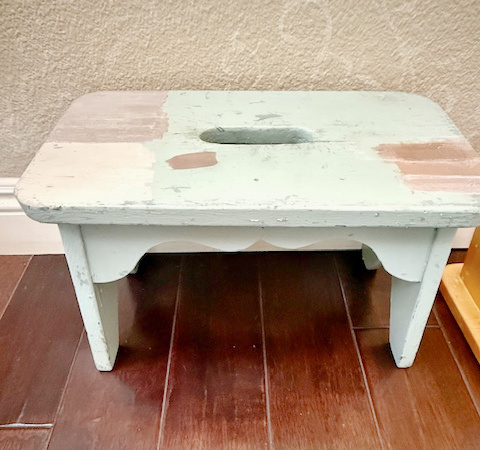
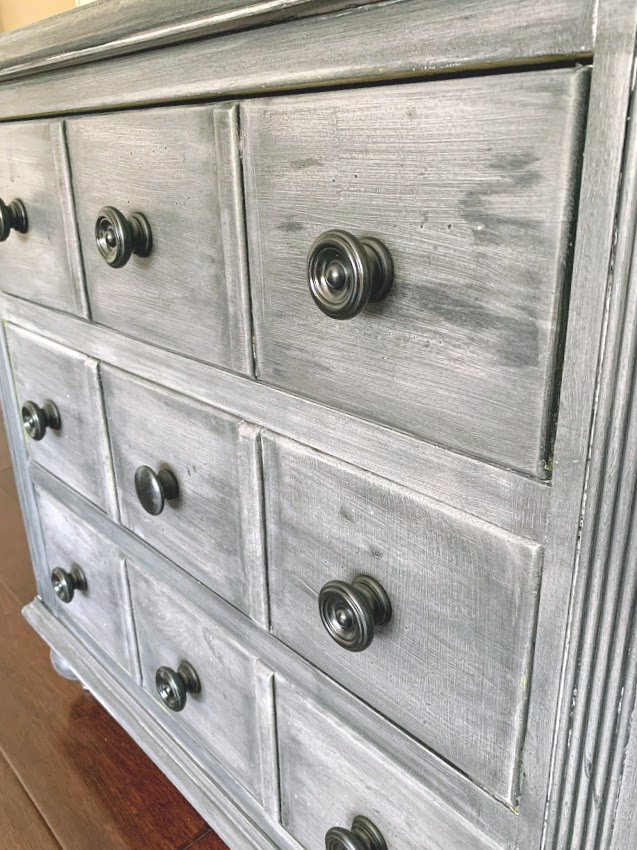
I gave this stool a makeover years ago using chalk paint, and as you can see, it’s been well‑loved and is definitely ready for a fresh update. The other stool, I’ve chosen to leave just as it is. I want to preserve it in honor of my grandfather and keep it exactly the way he had it.
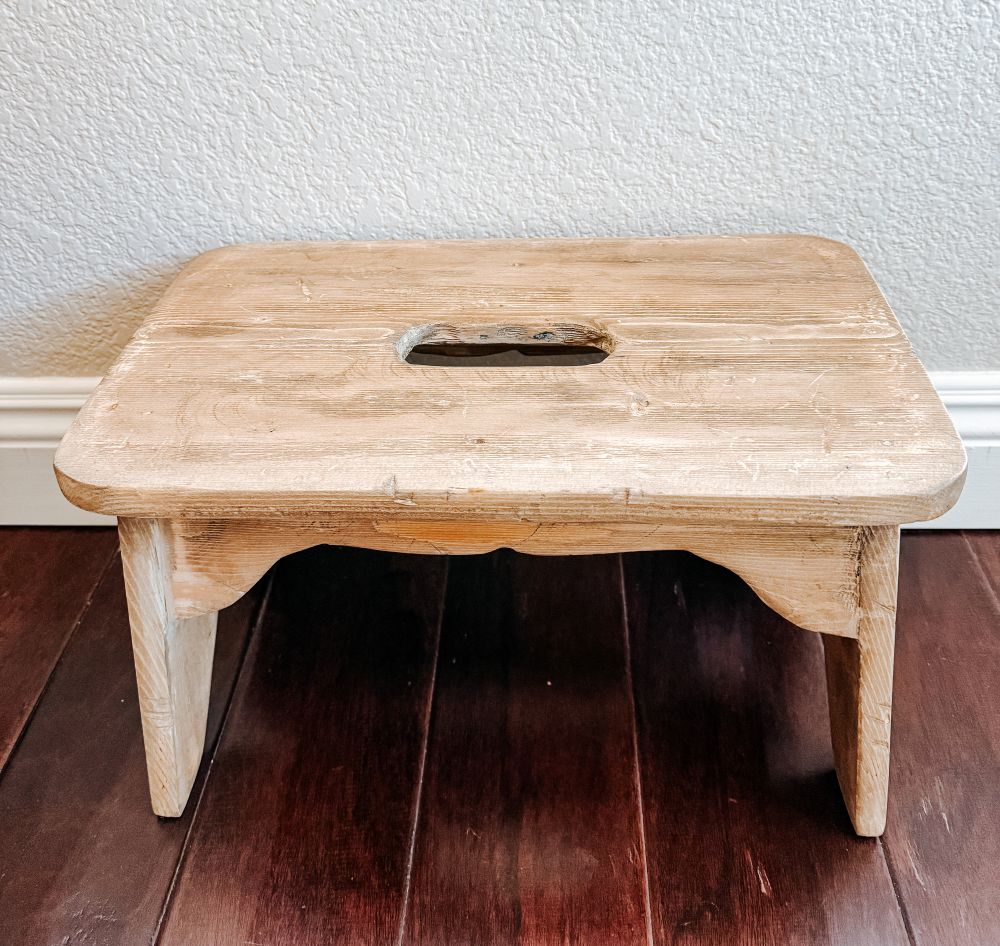
Here is the before (this picture was taken last week, still in perfect condition, this is the second stool I have from him)
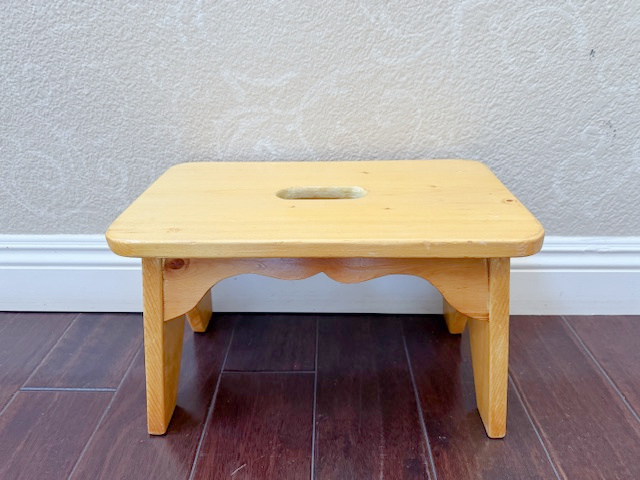
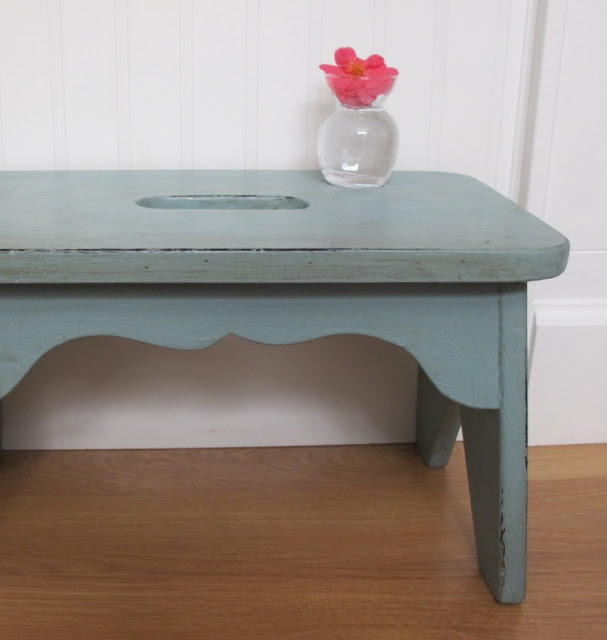
After (picture taken about 12 years ago, after the first makeover)

Here it was last week (don’t ask lol)
I love looking for unique furniture pieces hiding in thrift stores with great bones—solid structure, interesting shapes, and old finishes that just need a little love to shine again.
A lot of older stools are made from natural wood, which is a gift. Once you strip back the tired varnish or scuffed paint, you often uncover grain patterns that feel warmer and more character‑filled than anything mass‑produced today. Sometimes the charm is in keeping a bit of that aged finish, blending the old finishes with a fresh stain or a soft matte seal to create something that feels both vintage and modern.
There are various ways to age wood; this method has given me a great result in the past. However, the internet is loaded with tons of inspiration for you. This project is all about embracing texture, imperfection, and the charm of natural wear.
Affiliate links are listed below

Materials You’ll Need
- Orbital Sander
- Skill Sander with triangle attachment
- Planer or wood file
- Jigsaw
- Sanding block
- Drill with a wire brush attachment
- Wood stain I used the color Pecan
- Sealer
- Rags, gloves, and drop cloths
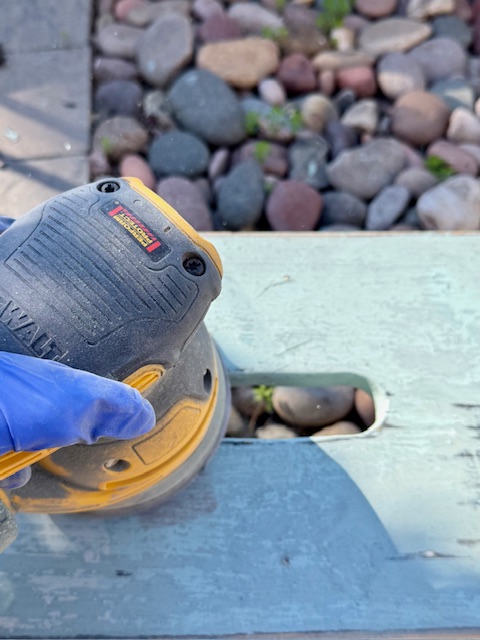
First step: Remove old finish
If your stool has a glossy or painted finish, it will need to be removed first. This can be done in a few ways, such as using a paint remover (stripper) or sanding the surface. I decided to sand. I used an orbital sander with 80-grit sandpaper. It took me almost 2 hours! I had no idea how difficult chalk paint is to remove. ( I assume spray paint might be just as difficult) I’ll definitely keep that in mind if I ever decide to makeover another piece finished with chalk paint. On the bright side, if you paint something with chalk paint, you can be sure it’s there to stay—no joke.
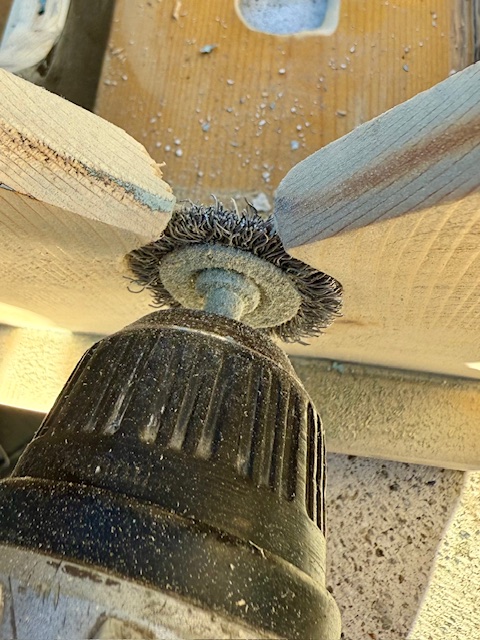
I then used a Drill with the wire brush attachment to get into the more difficult areas.
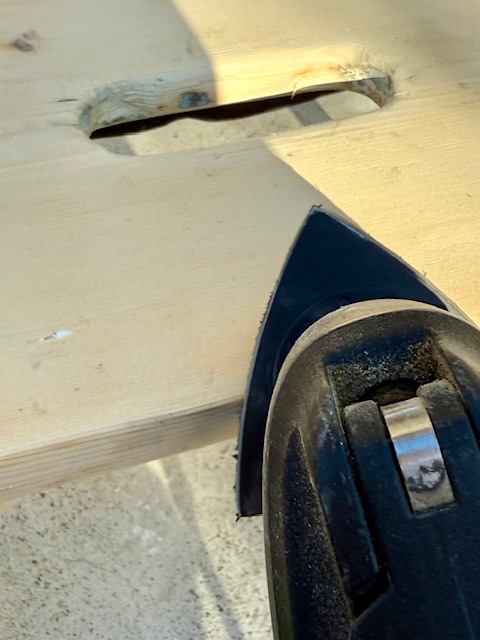
Another sander with a triangle attachment to get the sides and underneath corners.
Almost done!
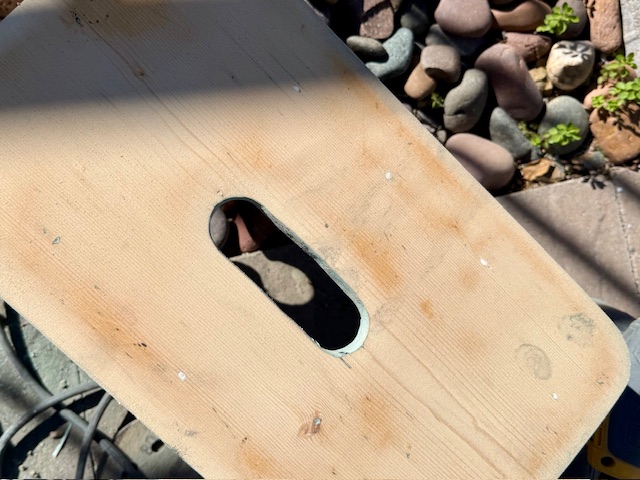
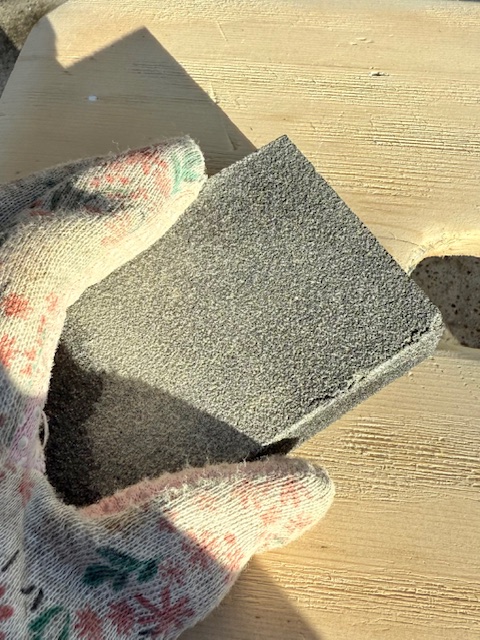
Using a sanding block, I smoothed the entire stool.
Add Authentic Texture
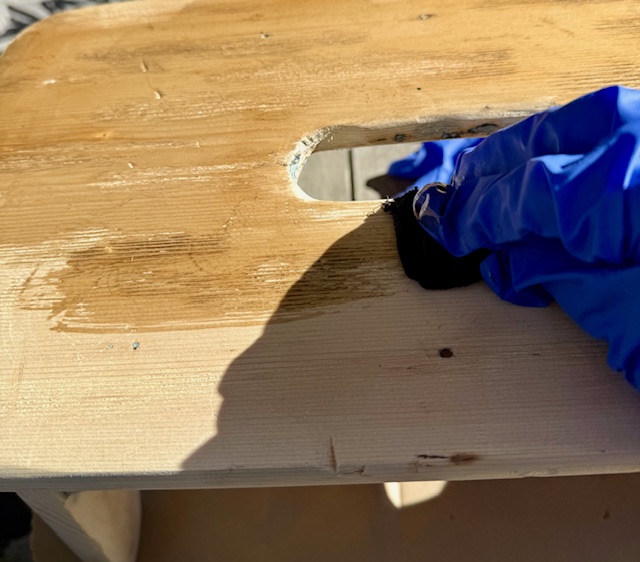
This is the fun part. Use your drill with a wire brush attachment to distress the surface. Move in sweeping motions to mimic natural wear patterns. Focus on edges, corners, and areas that would realistically see the most use. It really opens up the wood grain in areas to give it the scratched wood look. It is quite simple to do.

Use a planer or wood file to soften edges and create subtle dips or unevenness. This is where the aged look begins. Real vintage pieces rarely have perfect symmetry, so don’t be afraid to let the wood feel a little irregular. I was also able to sand the edges to create grooves. There is no wrong way to do this. You can start with a coarse grit to expose grain and create depth, then switch to a finer grit to smooth the surface without erasing the character you just added.
If you want deeper grooves or a more rustic finish, go back in with the planer or file. Layering different tools gives the stool a convincingly aged personality. I then used a sanding block to smooth everything out. You could also use your orbital sander. This step ensures that the grooves and distressed areas blend perfectly.
Create the Aged Finish
Once the texture feels right, it’s time to bring the stool to life with color.
Wood stain
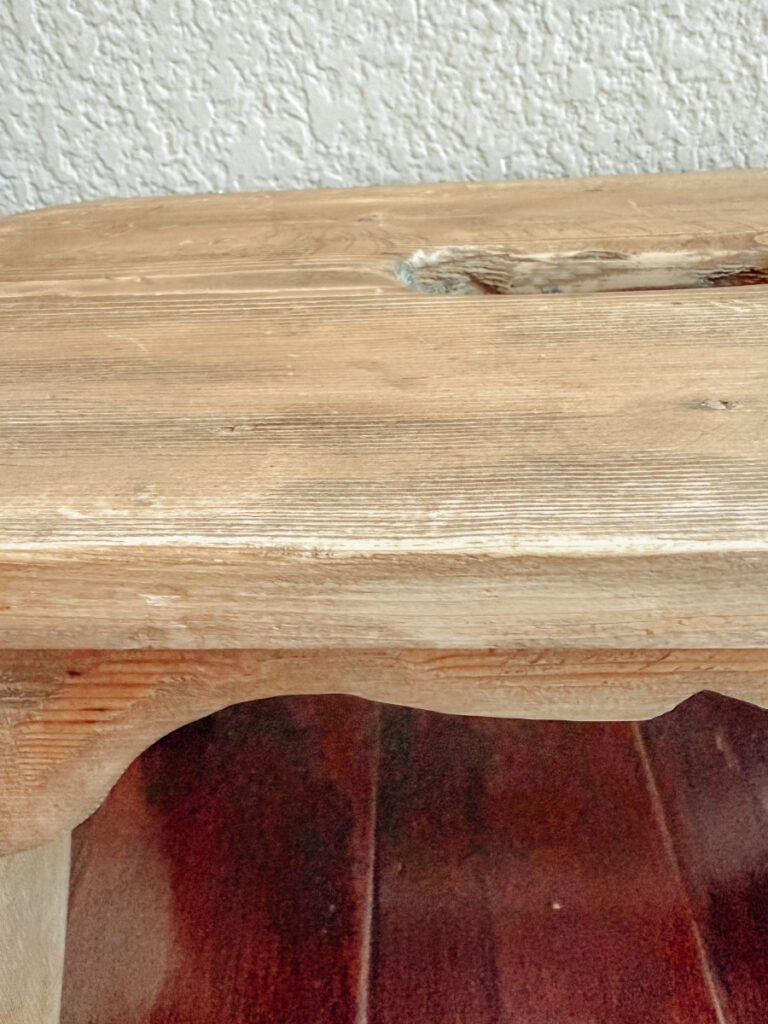
Choose a warm, natural tone that enhances the grain. Apply with a rag, wipe back, and repeat until you reach the richness you want. Let the stain settle into the grooves for a naturally weathered effect. I used pecan stain and only added 1 coat.
I loved the color, but it was a little too dark for my personal taste. I sanded very lightly with the sanding block.
Remember, use whatever stain that reflects your style.
Seal
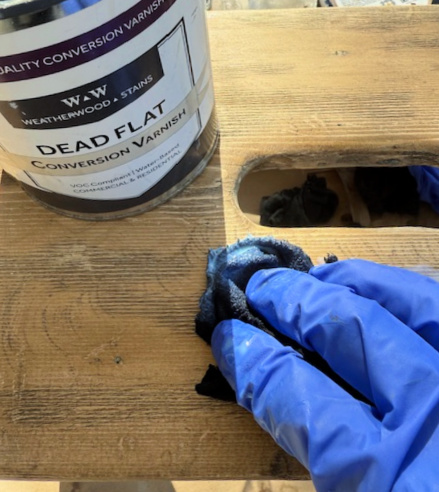
After the wood is completely dry, you may apply any stains, finishes, or sealers. I did not want to alter the look of the wood, so I used Dead Flat to seal the wood.
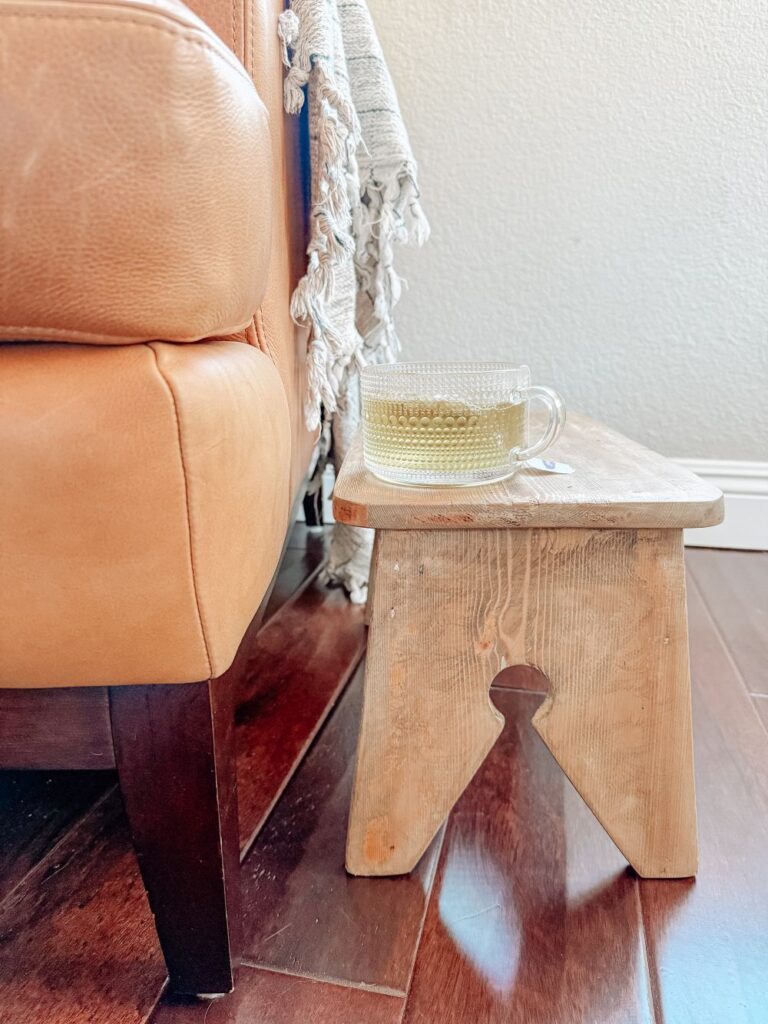
Style Your New Designer Dupe
Your finished stool can live almost anywhere. They are a great way to add instant character to home decor and living spaces. The taller stools can be used as:
- Instead of coffee tables, this could be used as A side table next to a sofa
- A sculptural accent in an entryway
- A pair under a console table
- A mini coffee table in a reading nook
The shorter stools can be used
- A pedestal for plants
- Stack some magazines on top
- Or simply just a footstool
- Below, beautiful wall decor
When you update a stool like this, you’re not just fixing it up—you’re giving it a second life. And because these unique pieces come from unexpected places, no two projects ever turn out the same.
I love to set my cup of tea on it while working during the day.
The beauty of working with thrifted furniture, and in this case, my grandfather’s, every piece has a story and can adapt to your personal style.

Time to check out all of the amazing makeovers for this month
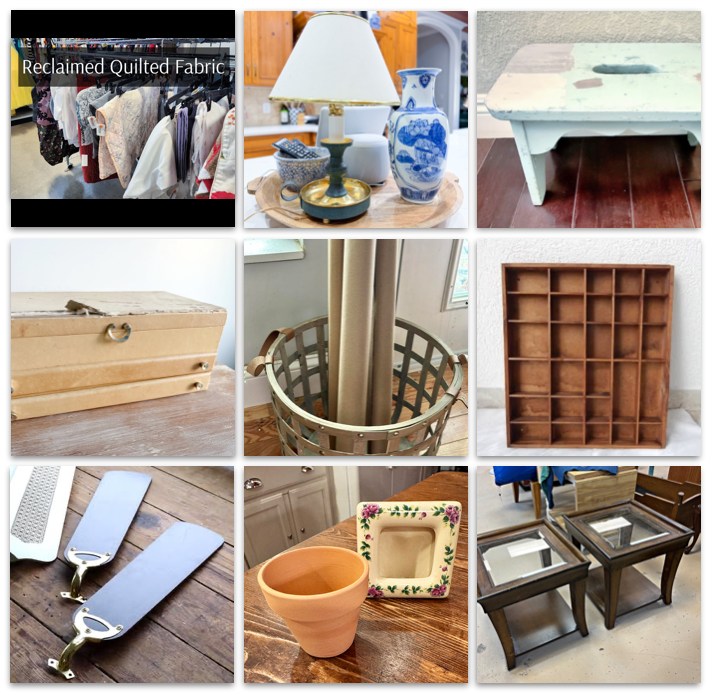
My Repurposed Life Quilted Casserole Carrier Ideas Using Salvaged Fabrics
Our Southern Home Thrift Store Lamp Refresh with DIY Pleated Shade
My Uncommon Slice of Suburbia Stool Dupe that Looks Authentically Aged
Shop At Blu Mom’s Vintage Jewelry Box Makeover
Our Crafty Mom Heart Shape Paper Craft From Wrapping Paper Roll
Songbird Rubber Stamp Storage Idea
Funky Junk Interiors Upcycled Ceiling Fan Blade Wall Mounted Coat Hooks
Exquisitely Unremarkable Adorable DIY Pin Cushions
Redhead Can Decorate My 91 Year Old Dad’s Thrift Store Living Room
A Little About My Grandparents
My grandfather never graduated from high school; in fact, he didn’t make it much past elementary school. Despite this, he achieved great success in life by learning a trade. He became a skilled builder—entirely self-taught—and built a successful career through hard work and determination.
He lived through the Great Depression, a time when my grandmother sewed to help support the family while he continued to build. There were no permits back then—you just needed a hammer, some nails, and the will to work. Life was simple; they had been married for 76 years!
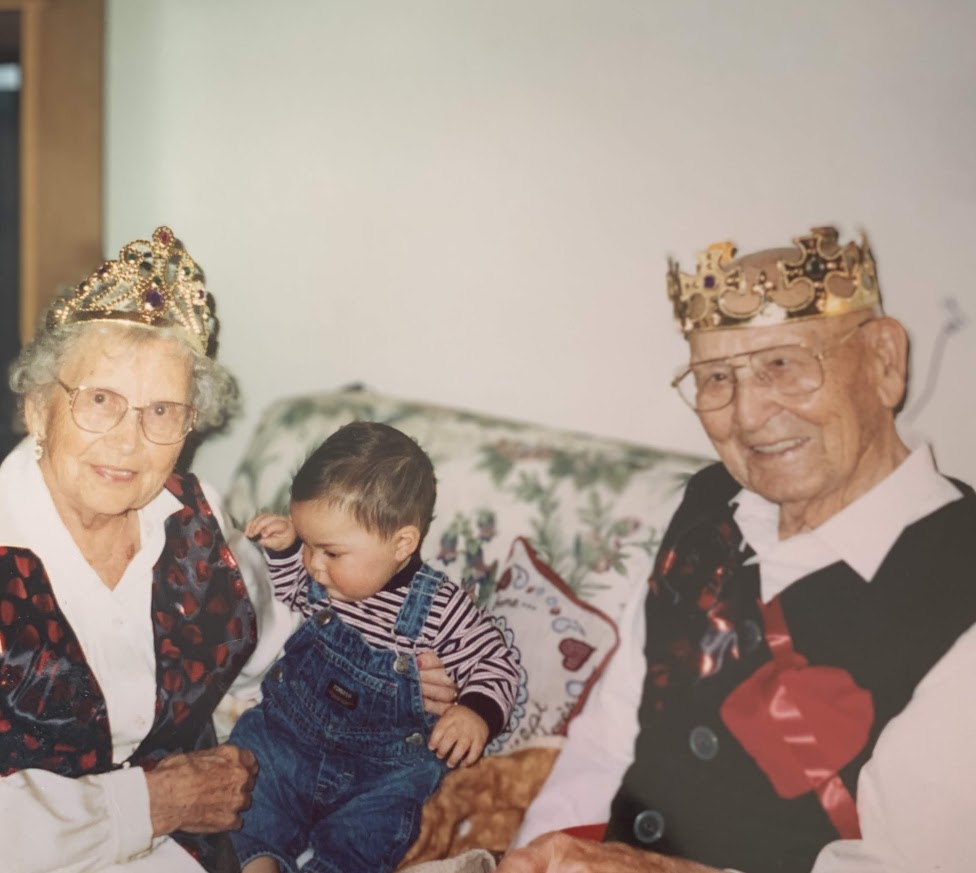
They were crowned king and queen where they lived in 2002, here they are with our oldest.
Growing up, my grandfather built nearly everything. From the first home he and my grandmother lived in as newlyweds, to my parents’ first house in Santa Ana, and even the small wooden stool he lovingly made for each of his grandchildren when he was 92 years old, his craftsmanship and legacy were always present. I am so fortunate to have him in my life all of these years, and for each of our kids to know and love their great-grandpa!

Here they are in 1972 with my older siblings—the day I was brought home from the hospital. My sister and brother were both upset that they couldn’t hold me, which explains the sad faces. Don’t worry, they each got their turn! Fun fact, my oldest brother and I are 16 years apart; I was a “surprise baby.”
I appreciate every one of you who stops by, it means the world to me!

How wonderful that you have such a perfect heirloom from your grandfather. You really did a great job at giving it a truly aged look. I am sure your grandfaterh would be proud.
Thank you so much Marianne, I appreciate that!
What a great story! I love a little history with my DIY, especially if it has a sentimental note. Your grandfather’s stool is obviously well loved. I laughed at your “don’t ask” comment. It’s clear that it’s a living piece in your house and I bet he’d love that. The latest makeover is lovely and one I may try myself, since I have one of those stools…my brother made it in woodshop years ago. It could use a little help!
Thank you so much Kim! It was definitely loved, how special to have your brothers stool from woodshop, can’t wait to see what you do with it.
I enjoyed reading every word of your post, Kristen! You all are so blessed to have had such awesome grandparents (great-grandparents).
I love your tips for making furniture look authentically aged!
Pinned!
gail
Thanks so much Gail, we were so blessed to have them in our lives for so long! It’s a strange thing to have your grandparents outlive your dad and your mom to pass the same time as her own mom. What amazing lives they all had!
Omg! Grandpa is so happy. You did a wonderful job on this, Kristin! Wow… 102, that is incredible. You have some great genes there. Love ya girl! Pinned!
Thank you so much Julie!!
Kristin, sounds like Grandpop may be the source of your incredible creativity! What fabulous heirlooms to have in your home. They are perfect. Pinned.
Your so sweet Sue, thank you!!!
Kristin,
You have given a wonderful look to this stool. The story about your grandparents is so touching. I am sure this look will give you the memories of him working with raw wood. The pecan stain is perfect for that unfinished look. I’ll have to use that!
Thank you so much Christy! XO