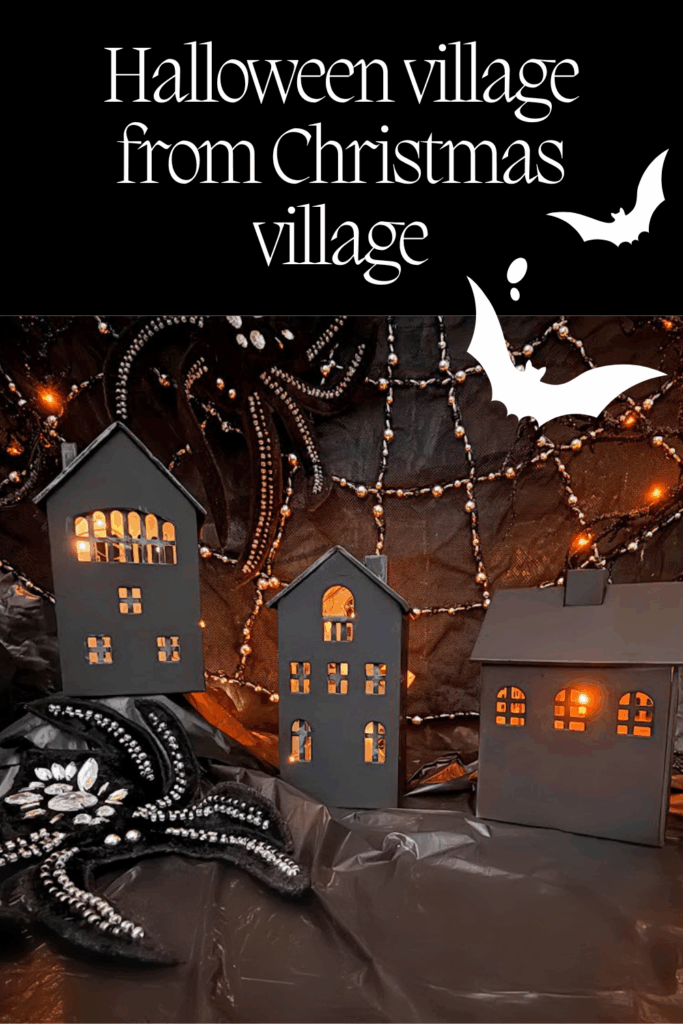
DIY Christmas Village into a Spooky Halloween Village
Turning a Christmas Village into a Spooky Halloween Village is a fun DIY project that’s easy to do, budget-friendly, and totally transforms your old decorations. With a few craft supplies, some paint, and a bit of creative thinking, you can give your festive houses a dark twist perfect for October. I figured I would sneak in one last Hallween Project for this year.
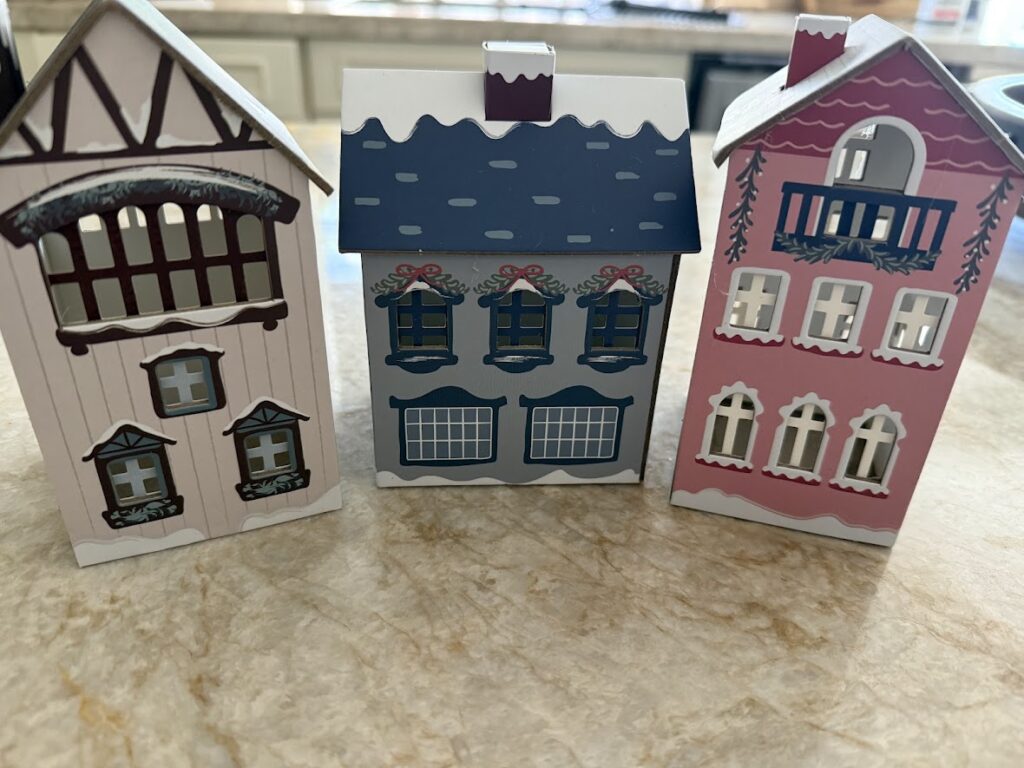
The first thing you’ll want to do is gather your materials and pull out the Christmas villages you used last year.
I found mine at the thrift store for $2, but I believe I saw these a few years back in Target $5 area.
Supplies
Paint: Black Chalk paint, acrylic paint, or spray paint will all work for this project
Metallic paint or glitter gloss enamels
(Optional) Halloween decorations, such as tiny pumpkins, tombstones, and eerie figurines. Most of these supplies can be found at Home Depot, Amazon, or the dollar store.
Small paintbrush or craft brush
Directions
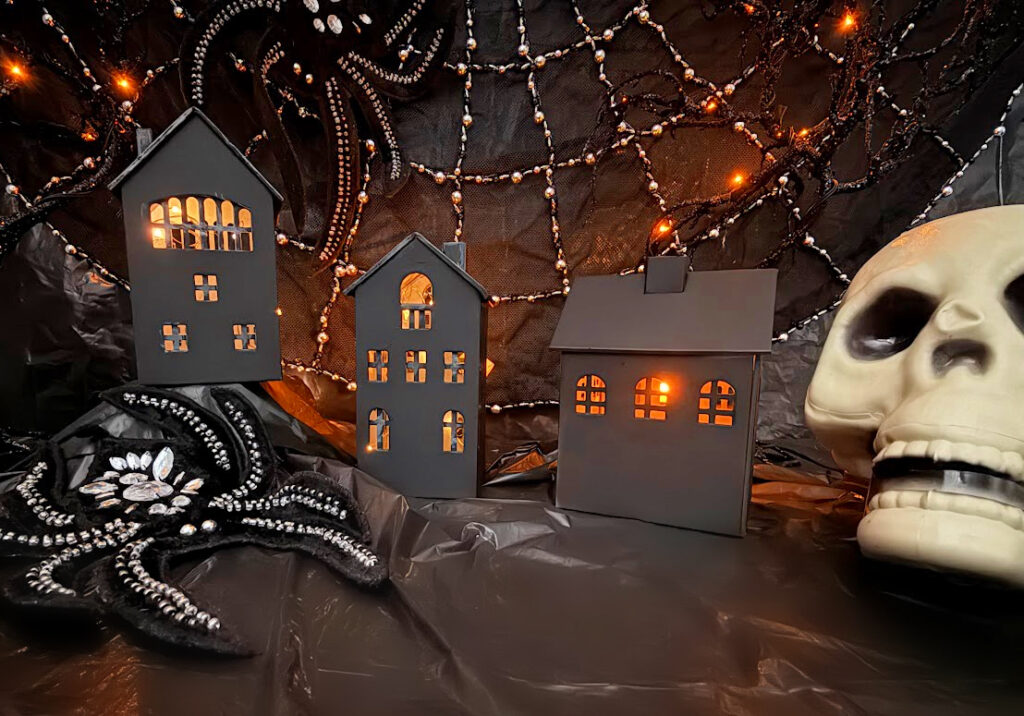
Start painting all of the houses black. I spray-painted my houses with one coat and let them dry. I gave it a second coat for the harder-to-reach places.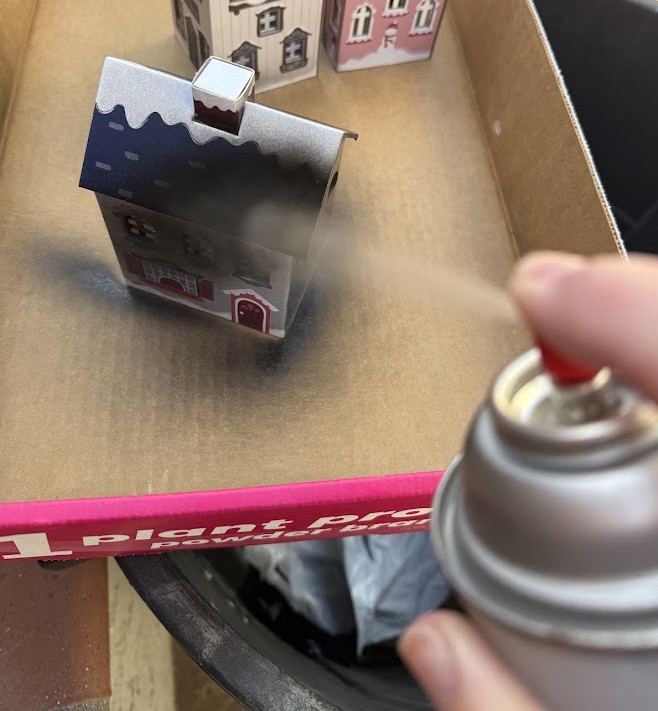
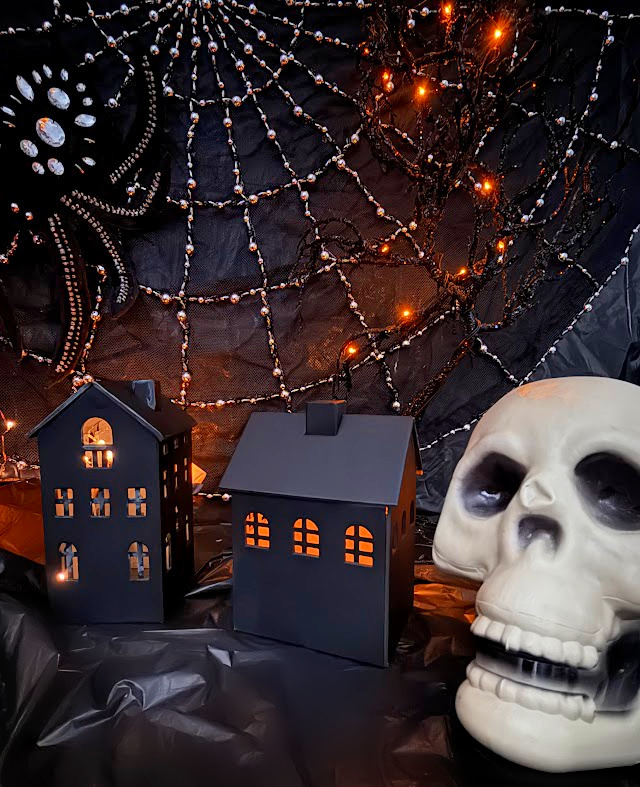
You could leave them as is or add a little detail by dry brushing another layer over the black paint. Using metallic paint or glitter will give the houses a little more dimension. Seriously, that’s it, this was the easiest craft I have done in a long time! 
Creating different levels (optional)
A great way to make your Halloween villages look realistic is by building different levels for your display. Pick up thick sheets of insulation board. You can cut and shape them using a hot wire tool to form hills, cliffs, or uneven terrain. Paint these with matte black or dark gray tones to create a moody backdrop for your ghostly graveyards or haunted parking lot scenes. I happened to have some older spooky backdrops that I was able to use.
Adding spooky details
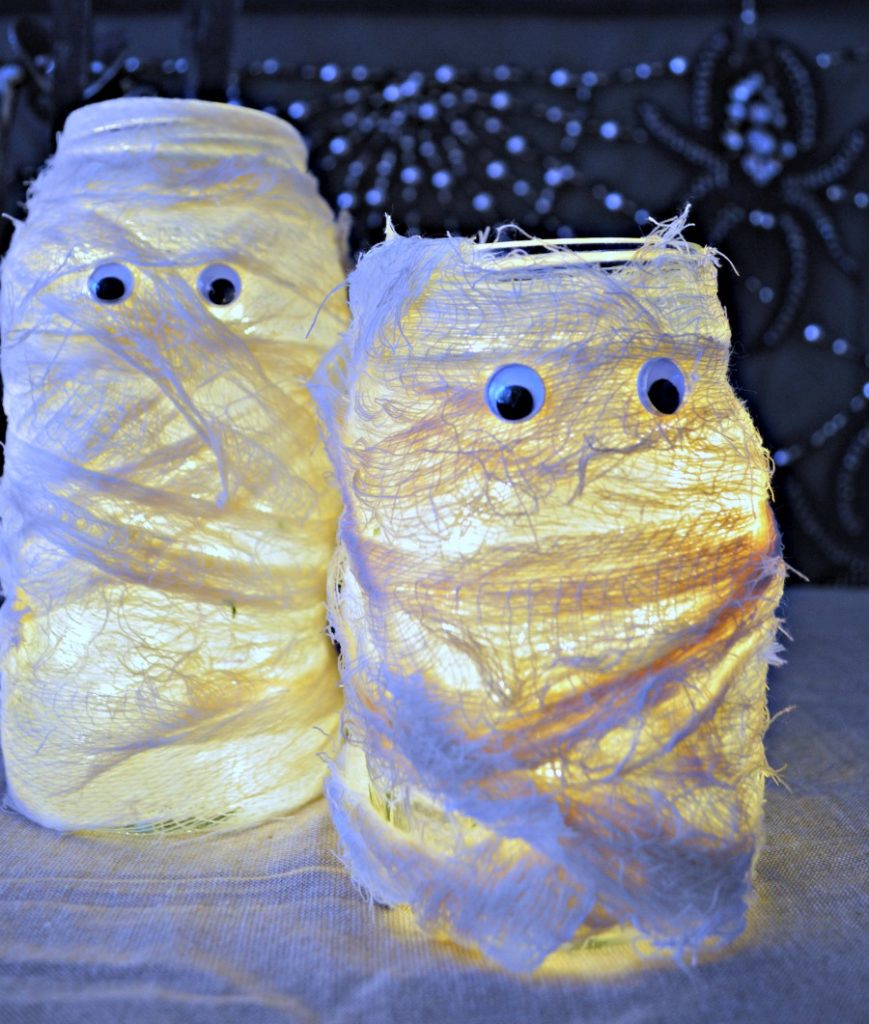
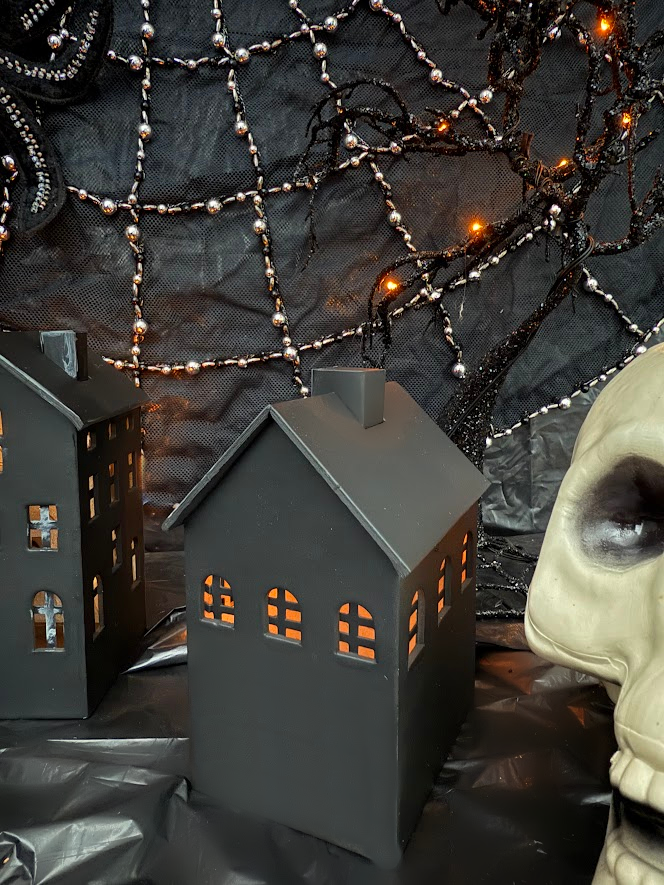
Replace the snow from your Christmas villages with moss, shredded cheesecloth, or black sand. Add eerie details like skeletons, bats, witches, or ghost figures. The little details make a huge difference—tiny jack-o’-lanterns on window sills, cobwebs on roofs, and flickering LED lights in the windows will bring your spooky scenes to life.

Display Ideas
Arrange your Halloween village pieces on a mantel, a tabletop, or even along your living room window sills. You can even tuck in some battery-operated candles or fog machines for that eerie glow.
Turning your holiday décor into Halloween villages is a fun and creative way to celebrate the season. With a few paints, some eerie details, and imagination, you will have a little haunted village in no time! Thank you so much for stopping in today!
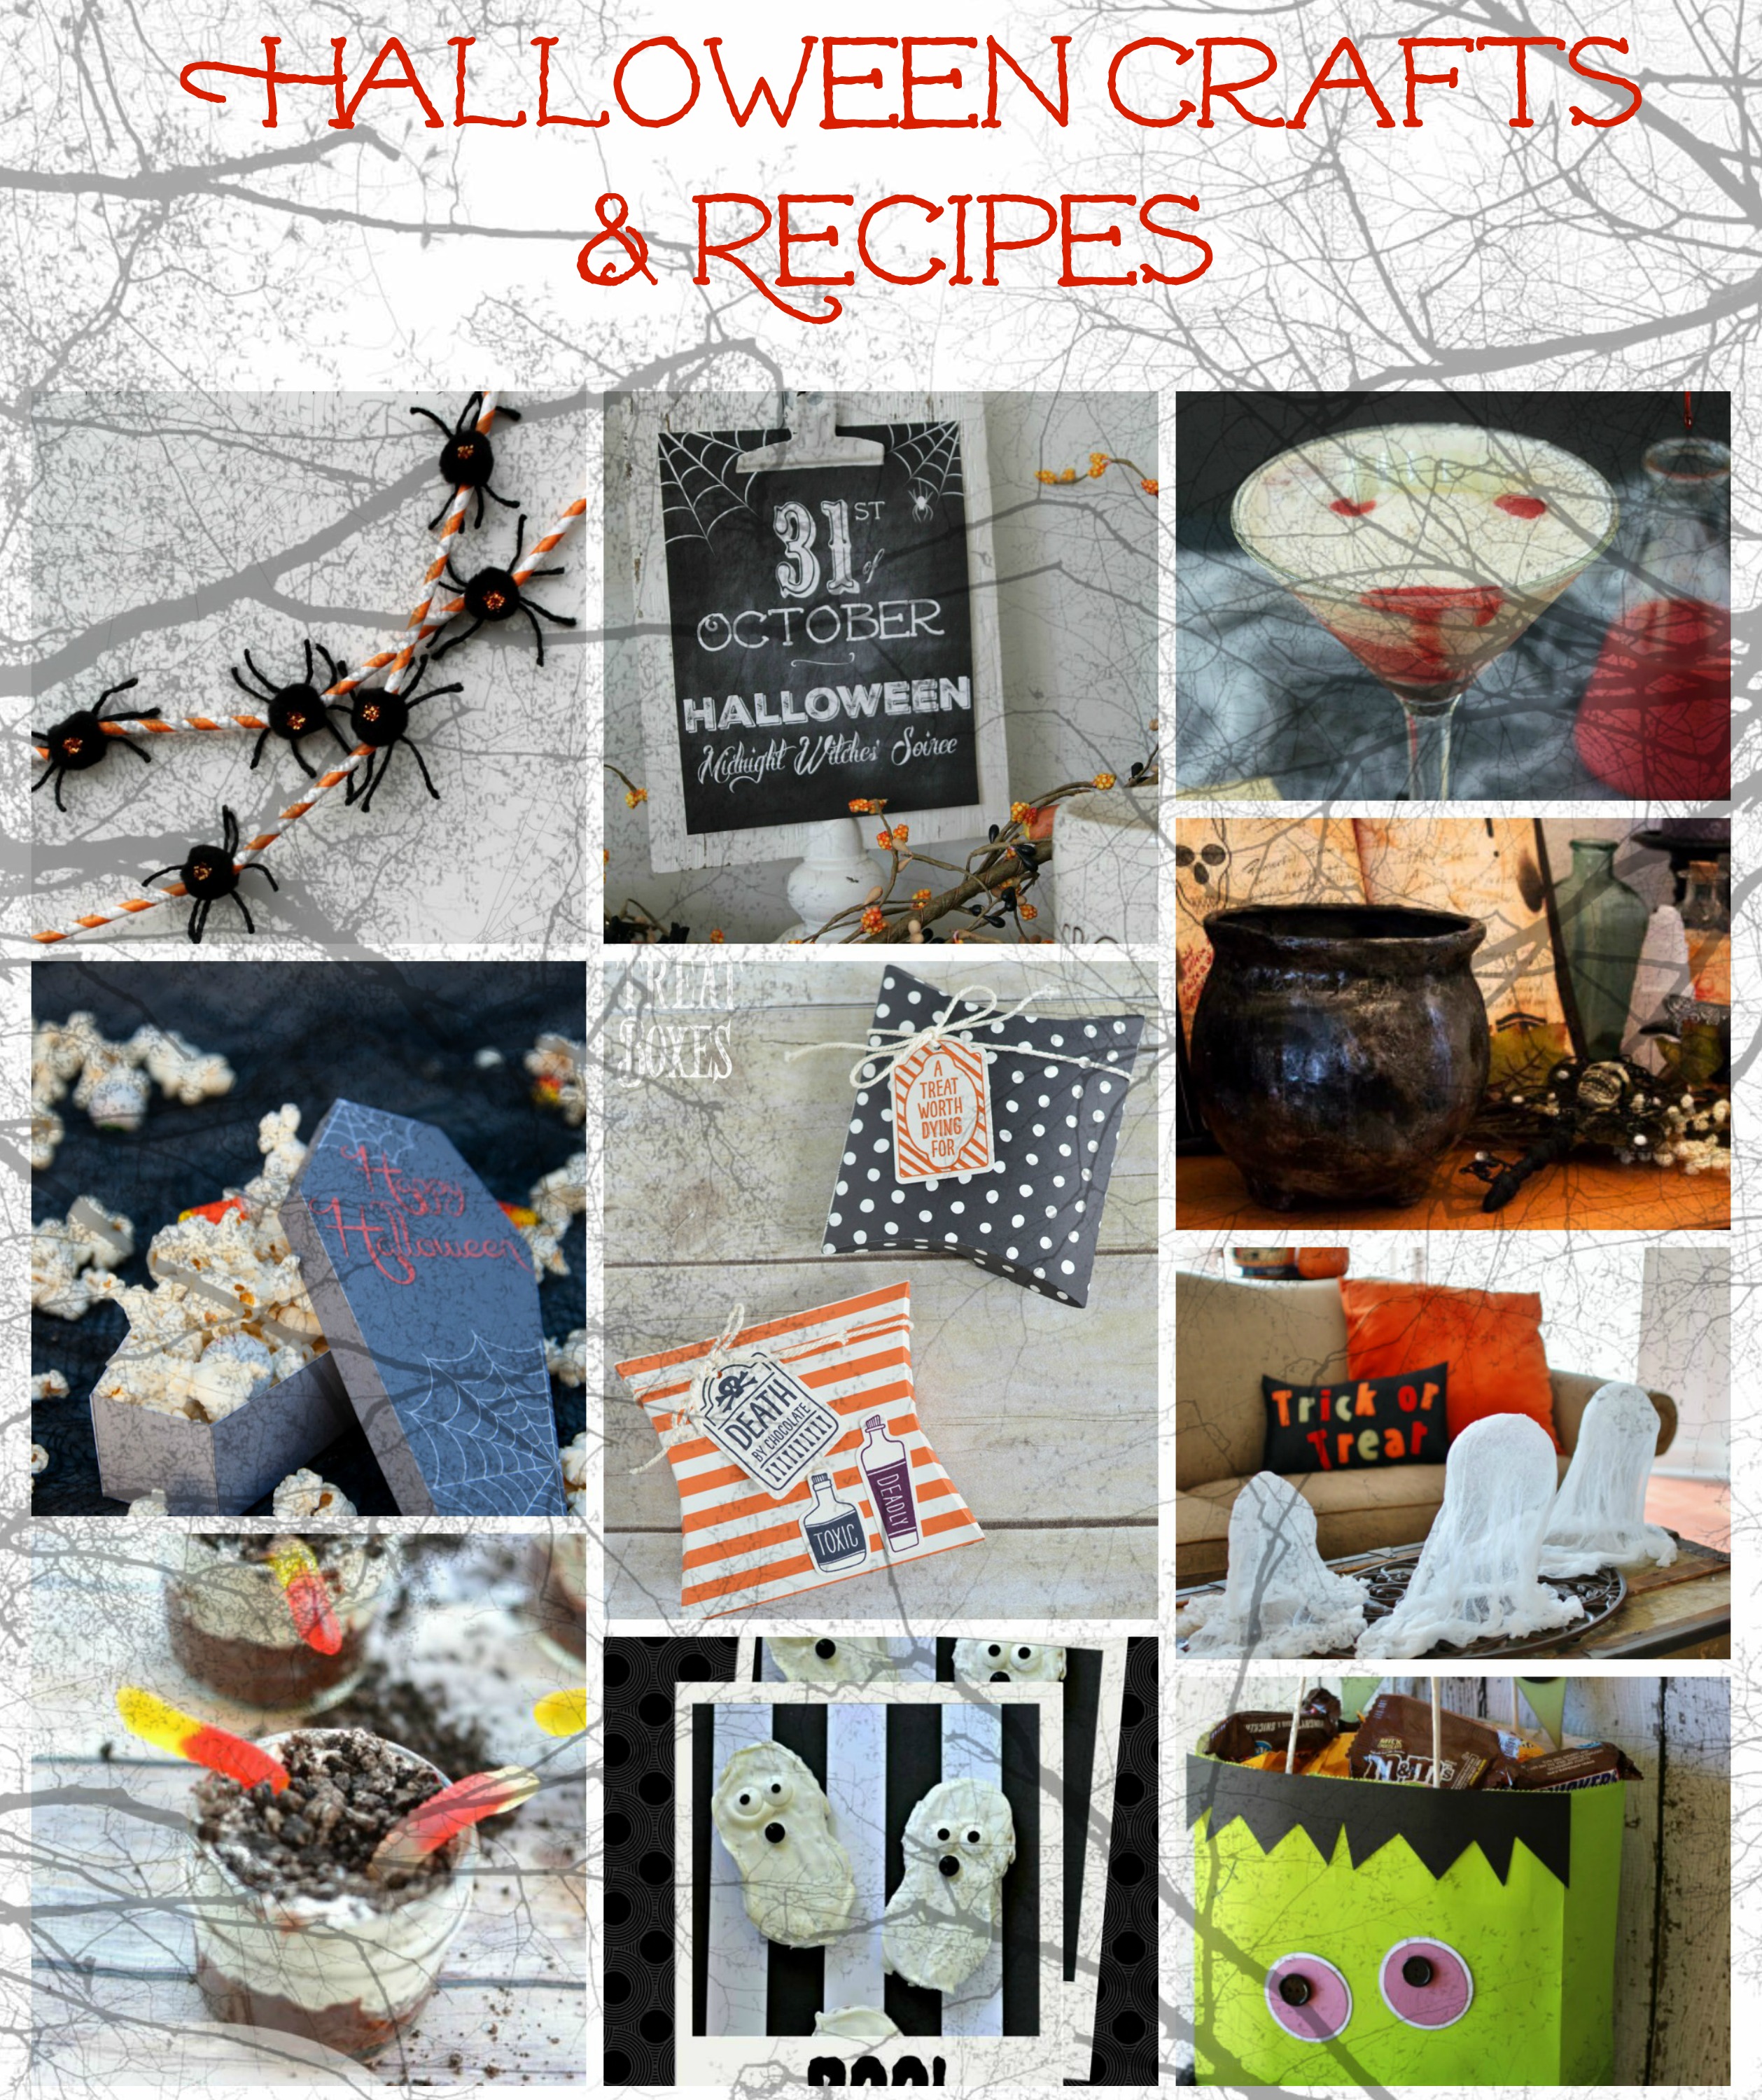
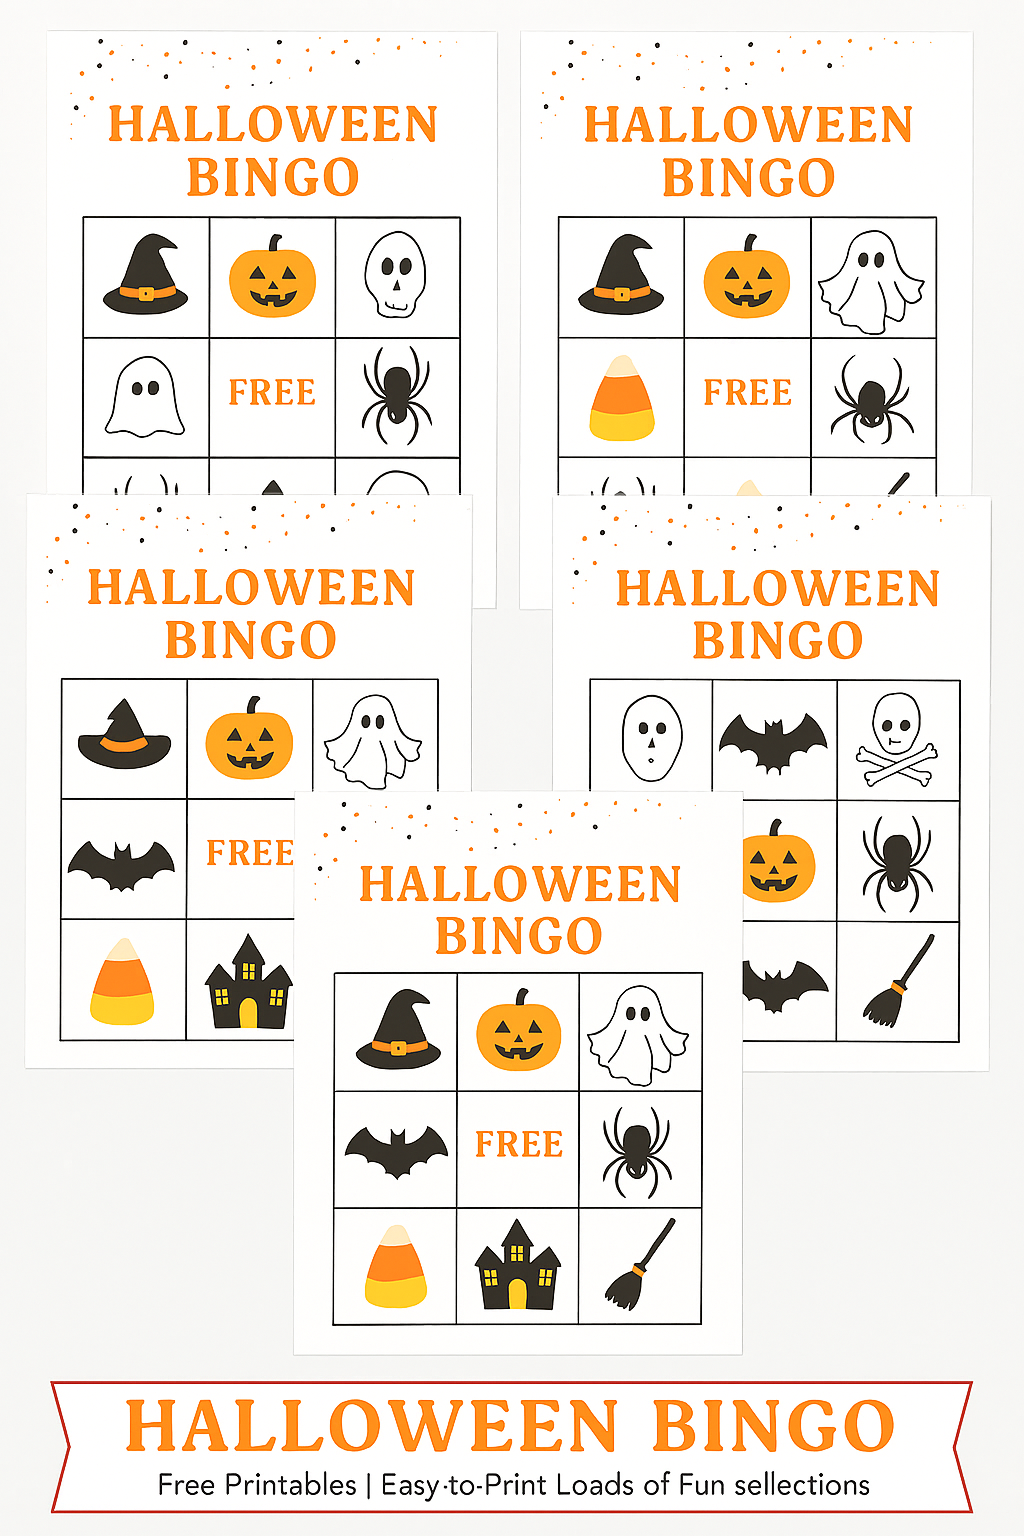
More Halloween Crafts