
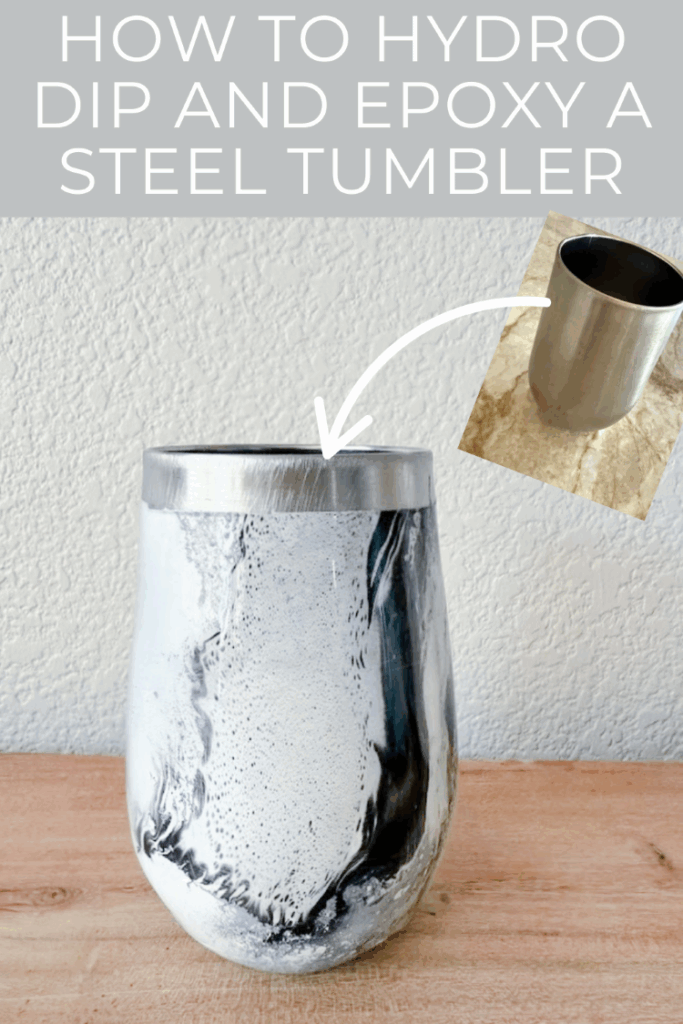
How To Make a Hydro Dipped Epoxy Tumbler
If you’ve ever wanted to create a one-of-a-kind painted tumbler that looks professionally crafted, this fun project is for you! Hydro dipping is one of my favorite techniques to achieve stunning results with minimal effort. Sealing the tumbler with epoxy elevated the entire project, adding a sleek, glass-like finish that truly brought it to life. Bonus: it is more durable!
Hydro Dipping is an easy way to turn a plain tumbler into a colorful, swirled, unique piece using spray paints and water.
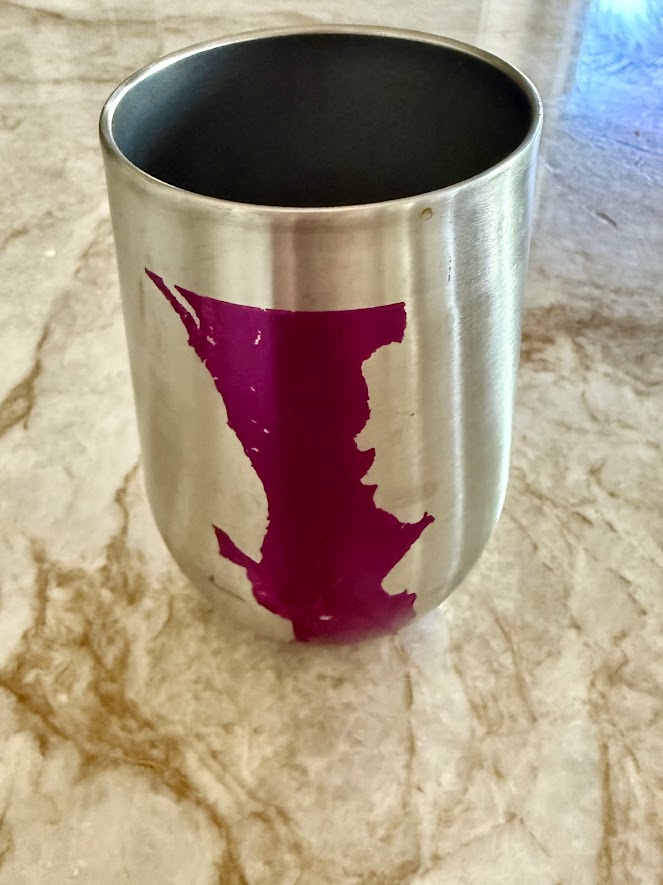
Costco used to sell these tumblers years ago. I think we purchased 2 packs of them. Eventually, the paint peels off, and they look just plain ugly. However, I gave them a fun little makeover and gave them a second round of life. I’ve seen these steel tumblers in thrift stores, and they also sell new ones online.
Affiliate links are listed below.
Supplies You’ll Need
-
- Stainless steel tumbler
- A bucket or container filled with room-temperature water
- Spray paint in your favorite colors
Flat White Spray Paint - Gloves and a mask for safety
- Stir stick or skewer

- Painter’s tape
For The Epoxy
Epoxy resin for sealing
(The Epoxy kit has the stir sticks, cups, and sticks)
Gloves
Mask
Stir Stick
Tumbler: Optional, but it is a huge time saver!
Heat Gun (Optional)
Step-by-Step Guide to Hydro Dipping
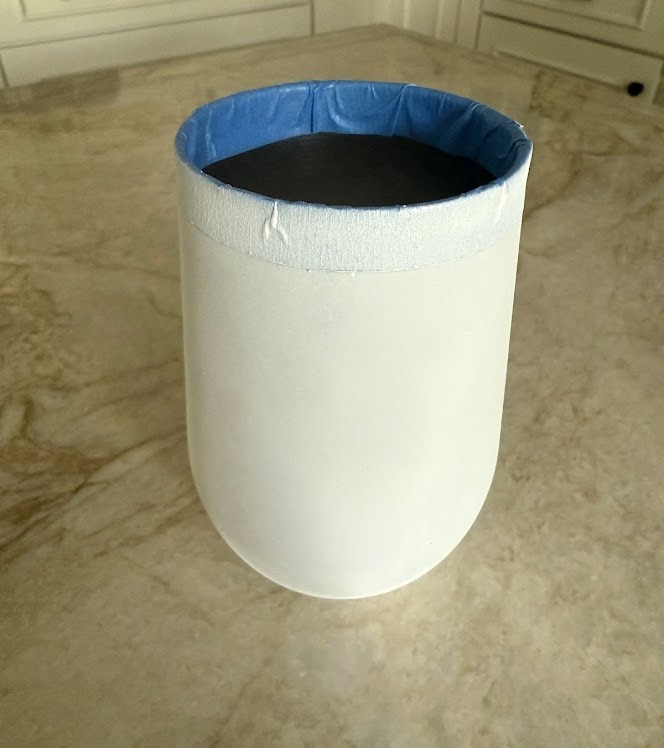
Prep your tumbler by sanding it lightly and wiping it clean. This helps the paint stick better. Before you hydro dip anything, you want it to be completely clean and dry. I used isopropyl alcohol as well.
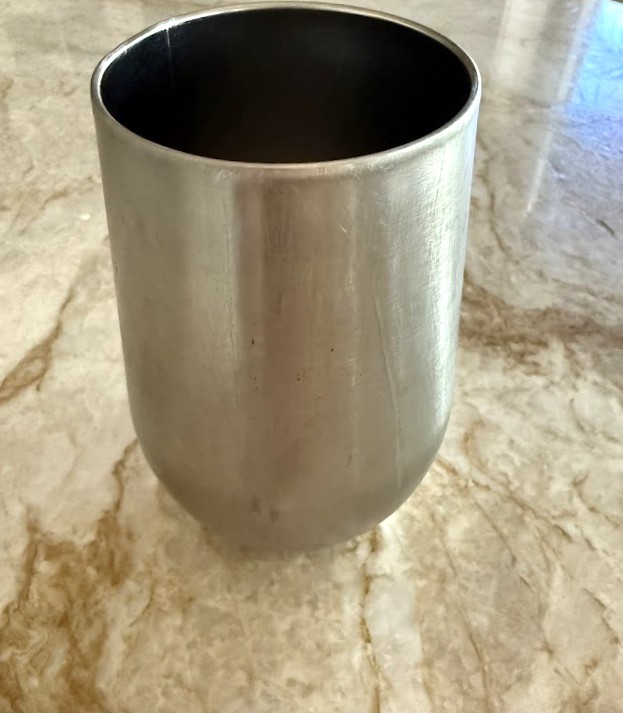
For the paint to stick, you need a base layer on the surface for the other paint to stick. Optional to tape off the top of the tumbler if you are not sure if your product is food safe. My epoxy is food safe, so make sure to double-check. Use blue painter’s tape to tape all around the top of the tumbler. Place the tumbler upside down in a well-ventilated area and give it 1 or 2 coats of white spray paint. Let it dry.
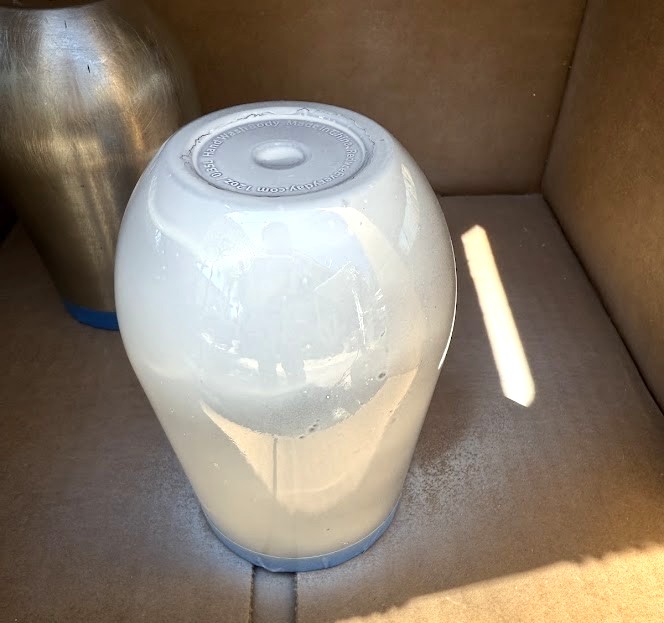
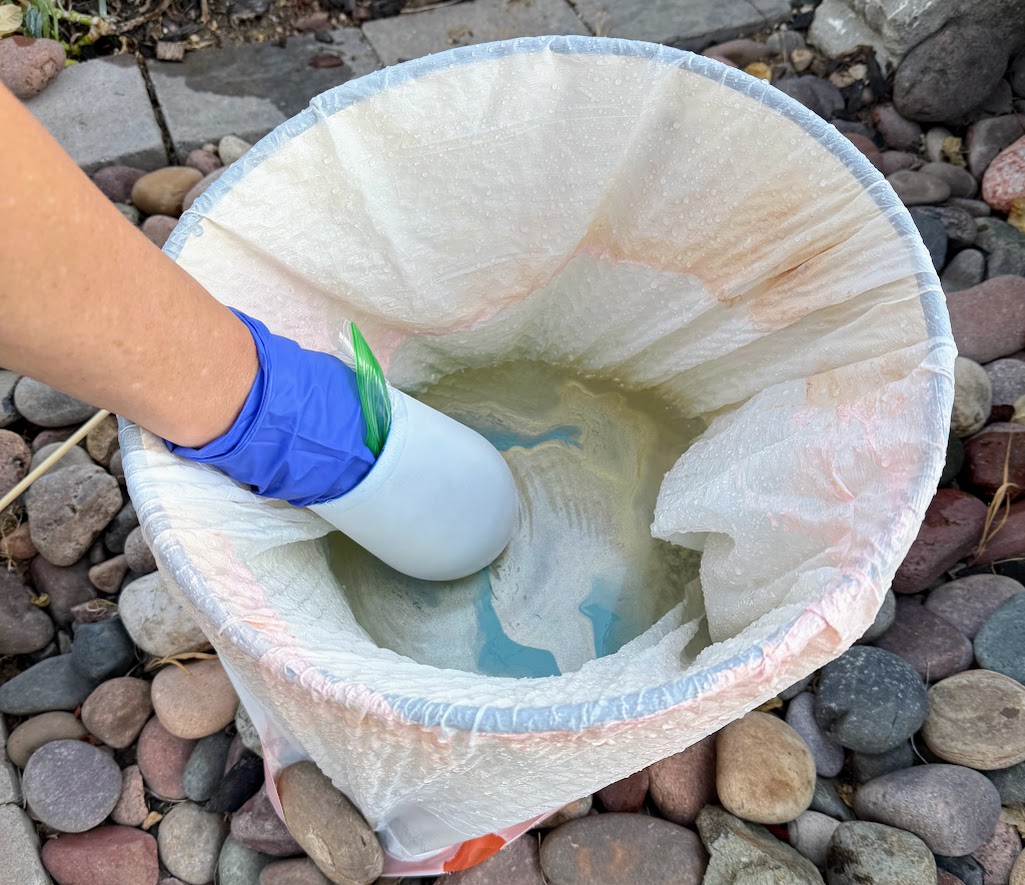
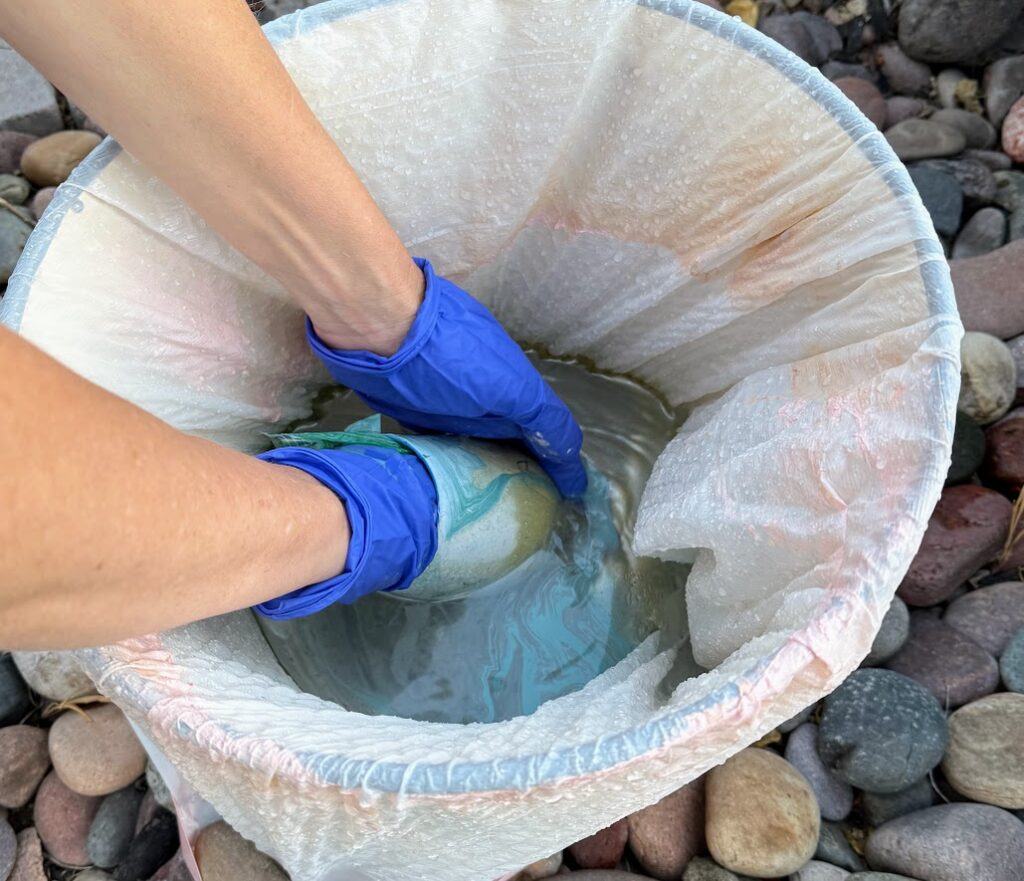
You need to protect the inside. I put my hand in a Ziploc and stuck it back in the tumbler. Since I was not dipping it all the way to the top, I did not need to worry about water getting in.
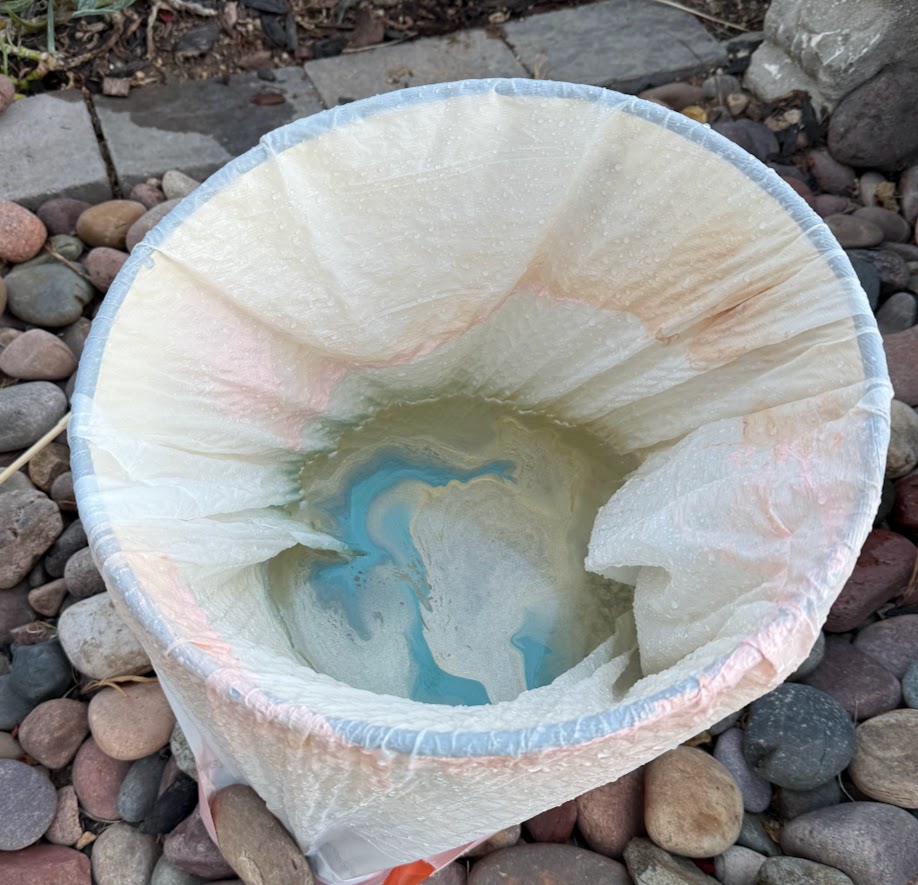
In a well-ventilated area, spray your chosen colors directly onto the surface of the water. The paint will float and spread out. Use a stick to swirl the colors into a marbled pattern.
Hold on to the tumbler from the wrapped lid. Wearing gloves, slowly dip the tumbler into the water at an angle. Rotate it slightly as you submerge to catch the paint evenly.
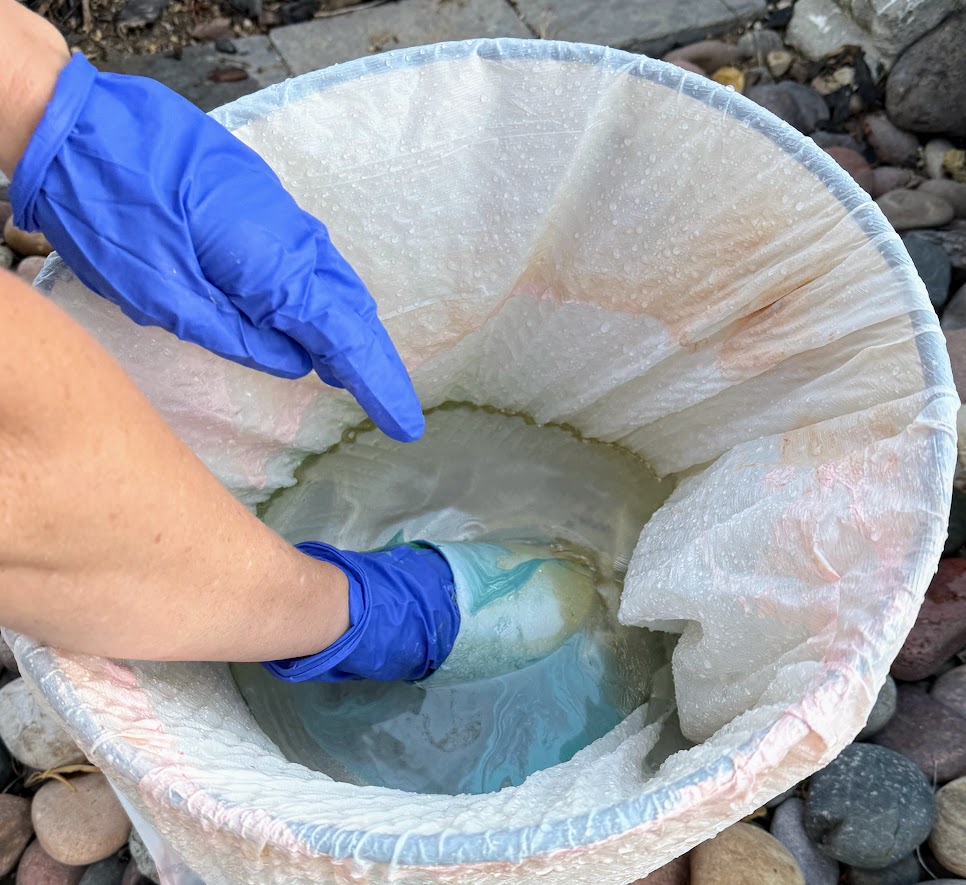
Before you remove your object, check to see if there is any remaining paint on the surface of the water. If so, be sure to use an object or your other hand to remove the paint from the water before you pull the design back up from the water.
Pull it out smoothly and set it aside on a paper towel to remove excess water. Let it dry completely.
Next, you can use a clear coat spray to protect your tumbler. If you use a high gloss, it will give it an extra shine. Or, you can really give your tumbler a WOW factor and apply a coat of epoxy. It will seal the design and give it a glossy finish. Follow the resin instructions based on the brand you use. Although it is not hard to work with, it takes a lot of time. I highly suggest buying the tumbler, or you will need to set aside a day where you will be home and can turn it every hour or so.
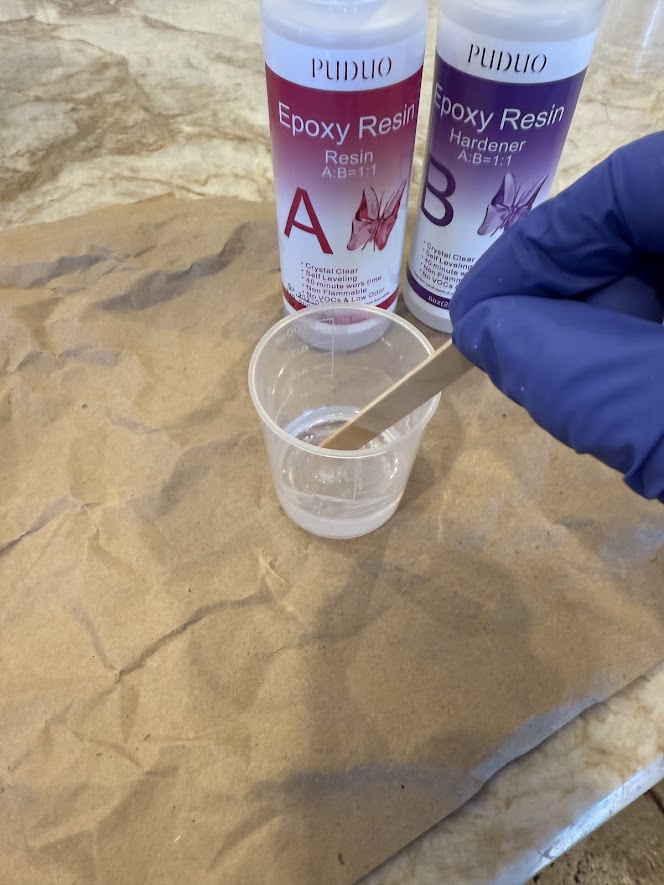
Mix the Epoxy resin and hardener together
You need a 1:1 ratio. My tumbler was 12 ounces, so I mixed 10ml of Part A and 10ml of Part B. Stir for three to five minutes, scraping the sides and bottom of the cup.
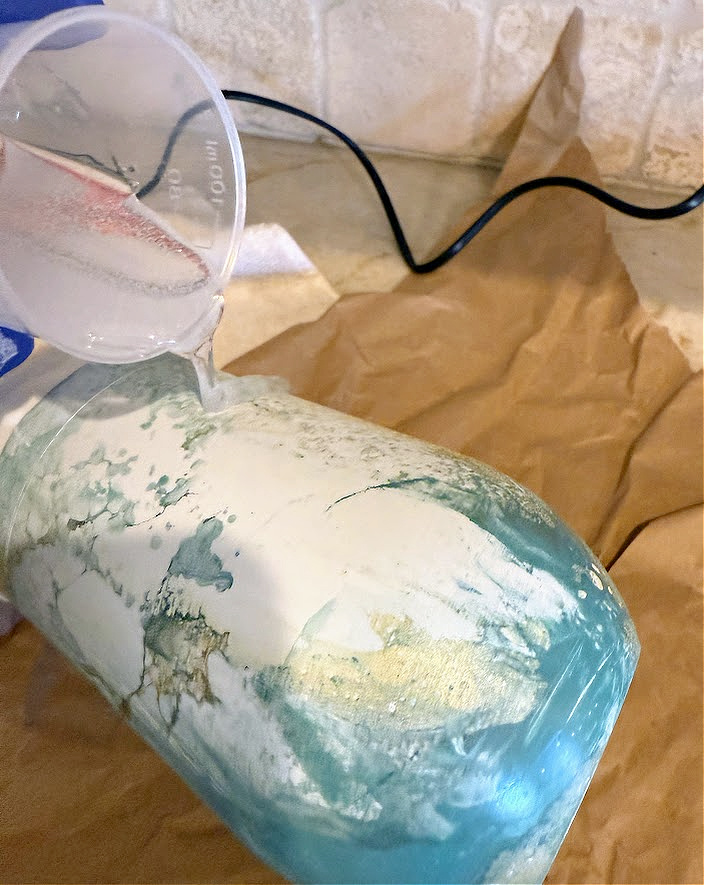
Drizzle/Pour your Resin
Place your steel cup onto your tumbler following the directions included.
Drizzle the resin onto your tumbler; it does not need to be perfect. Use your gloved hands or a silicone brush to spread evenly. I placed the cup of resin underneath the tumbler to catch any excess. I just kept adding until I felt it was completely covered.
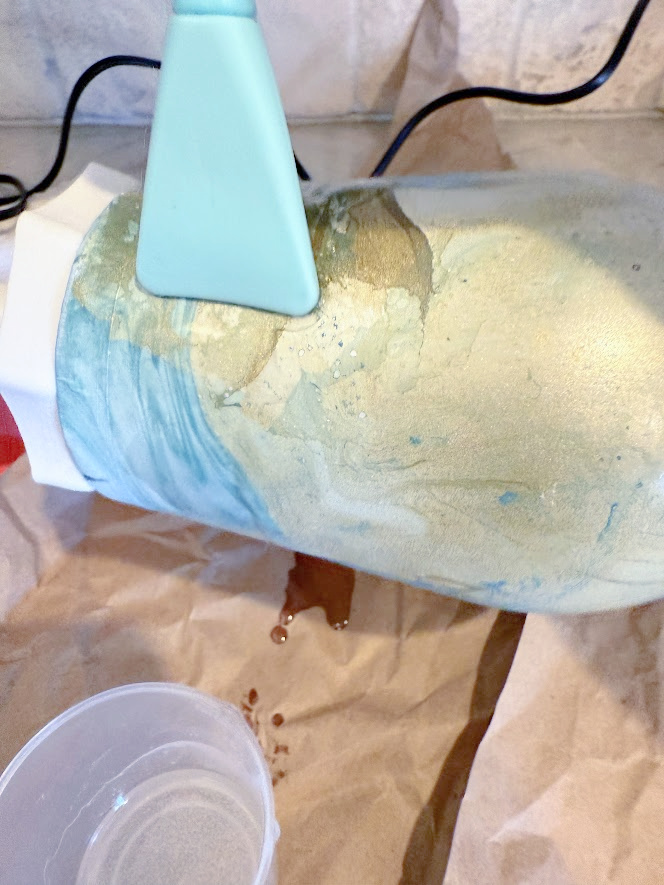
Use a heat gun to get rid of any bubbles.
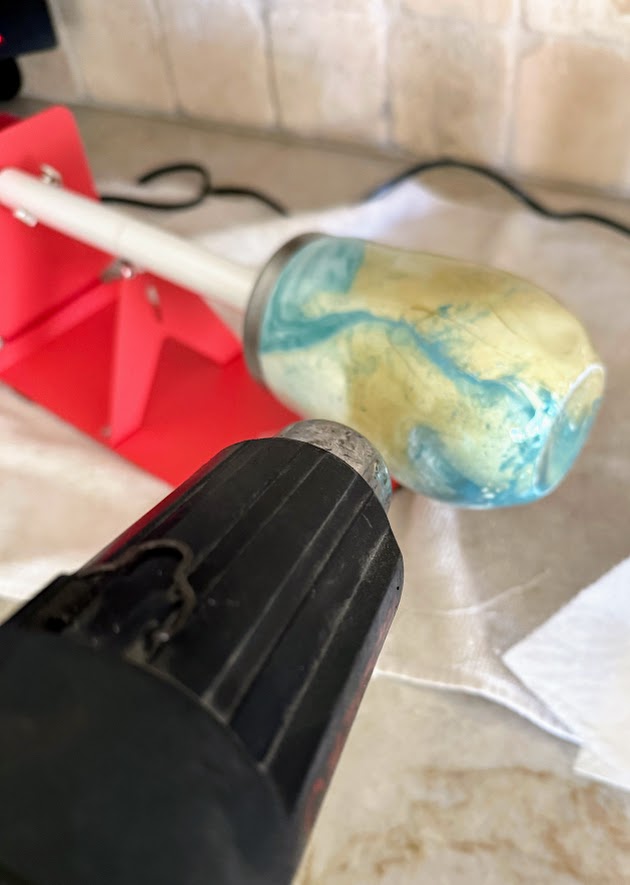
Use a heat gun to get rid of any bubbles with the heat between 200-250 °C. Hold the gun at a safe distance and move it around to distribute the heat evenly. Avoid prolonged exposure. This took about 30 seconds.
WAIT
Here comes the hard part, wait! Depending on the type of epoxy you’re using, you could be done after 12 hours or up to 24 hours. Mine seemed to be done in about 16 hours. It is up to you if you would like to add another coat. If so, you need to wait 24 hours. I added another coat to 2 of the 3 cups, where I had a few spots that seemed a little rough. You couldn’t see it, but I could feel it. If so, add another coat of resin and let it cure for 24 hours. You could also apply a second coat for added shine and durability.
Remove the Tape
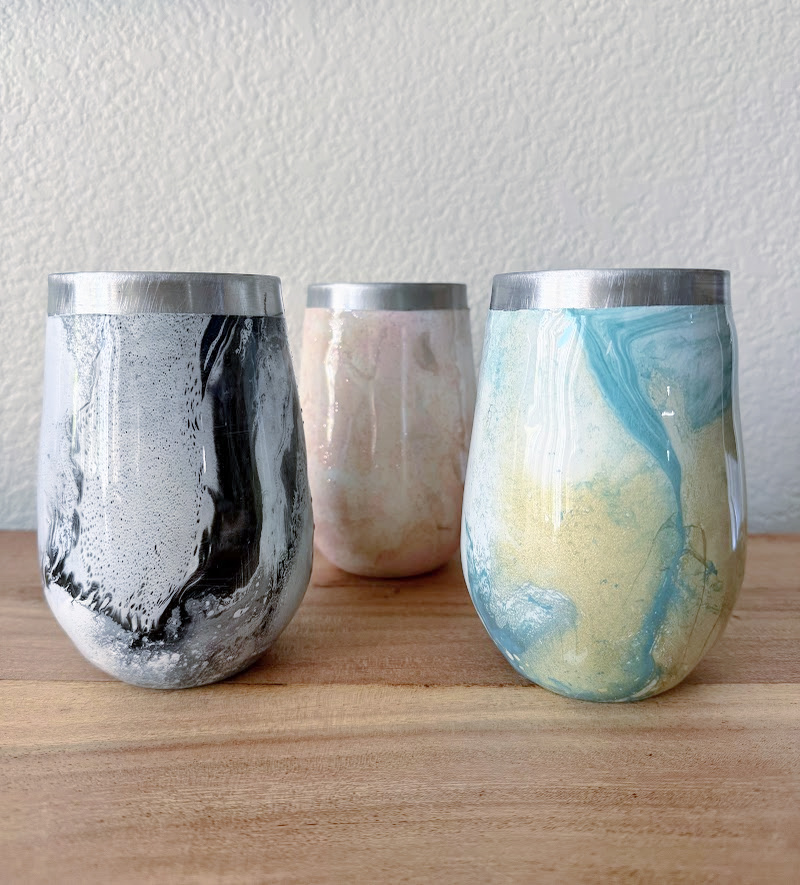
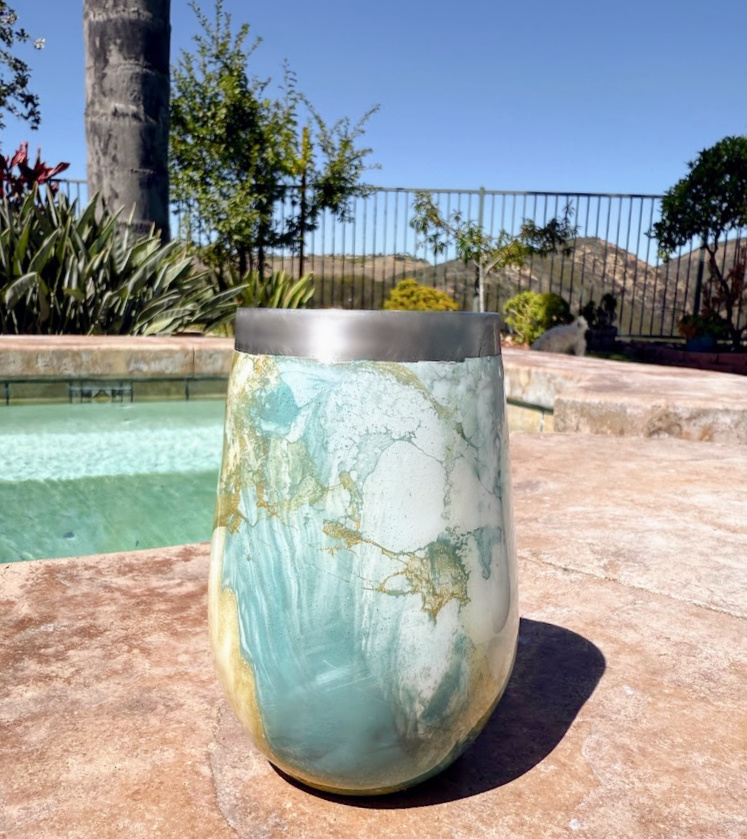
Voila, you’re done! This one I made for Ray, it happens to be my favorite. It’s also the last one I made. I think I got a little better with each cup.
Tips for Success
- Choose spray paints that complement each other for a more cohesive look
- Practice on a test cup before dipping your final tumbler
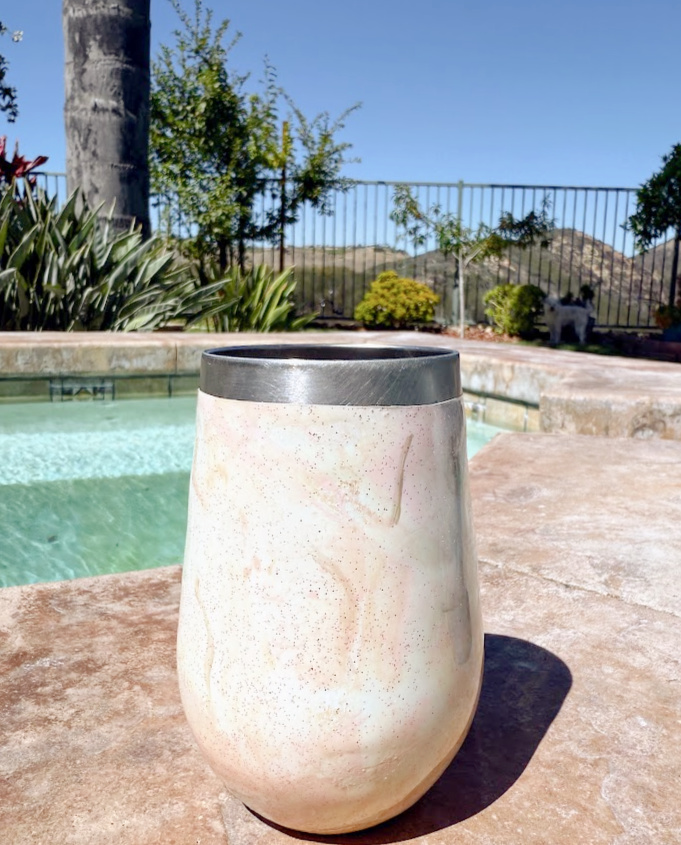
This one was my second cup, and you can see it’s not a perfect tape job on the top, but that’s ok.
Caring for your tumbler
Allow the epoxy resin to fully cure before use. Depending on how thickly the epoxy was applied, this can take anywhere from 24 hours up to 7 days. I waited the full week, all that work, I didn’t want to ruin anything.
Hand wash with mild soap and water. Do not use abrasive scrubbing pads or scouring powders as these may scratch off the epoxy coating.
I love the way the dipped tumbler turned out and that each is truly one-of-a-kind. With just a few materials and a little creativity, you can make kind, unique painted tumblers. These would make perfect handmade gifts for the holidays as well!
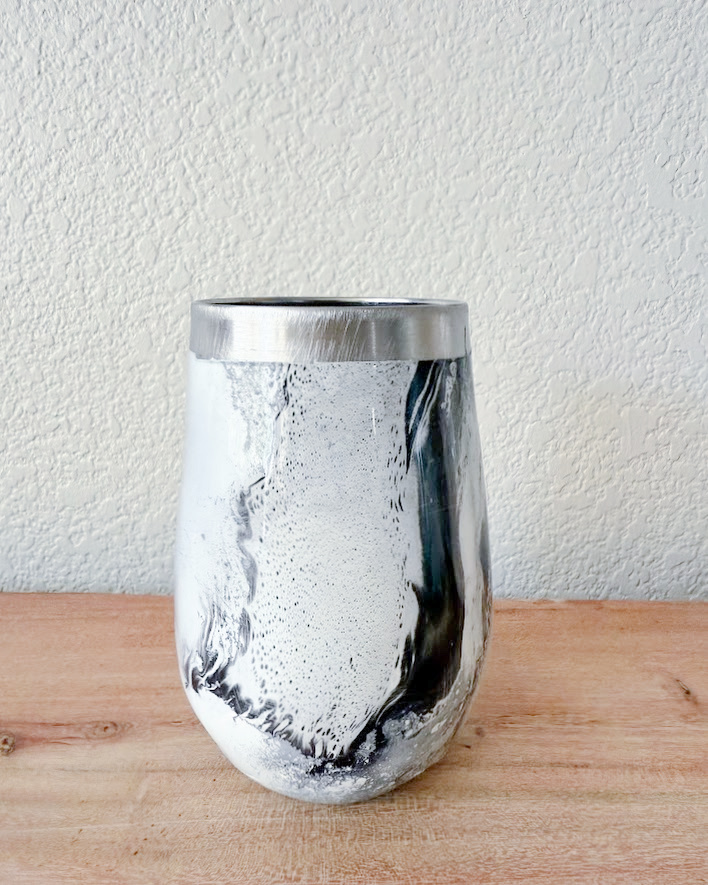
This was my first cup and my least favorite lol.
I’ll try and put a little video together for you soon!
Time to see what our team has made over this month! Simply click the links below to be brought to each of their projects!
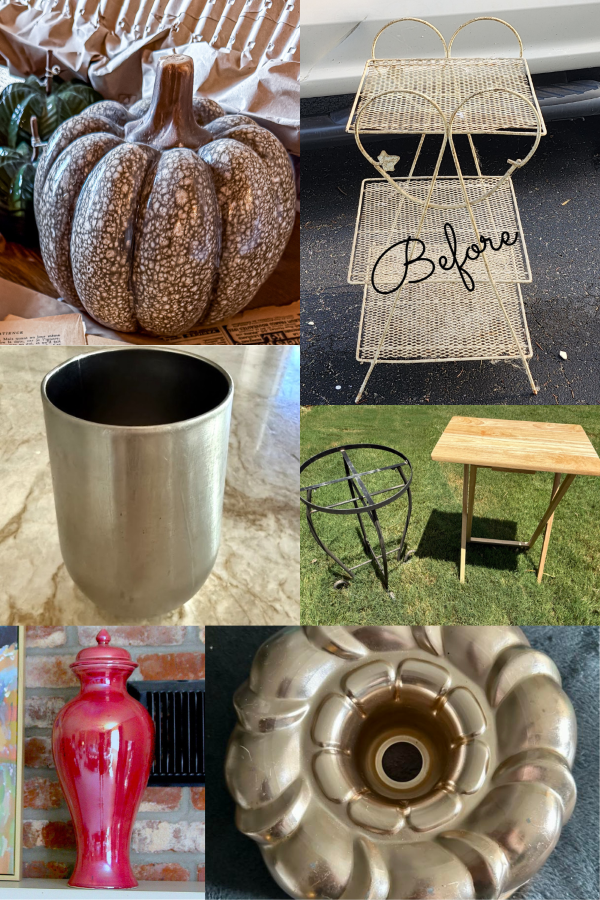
How to Make Paper Bag Pumpkins – Songbird
Paint a Plant Stand with Bold Colors – My Repurposed Life
How To Make a Hydro Dipped Epoxy Tumbler – My Uncommon Slice of Suburbia
Upcycle a Tray Table into a Repurposed Side Table – Shop At Blu
How to Paint a Ginger Jar – Petticoat Junktion
How to Make a Pumpkin Bundt Pan Craft – Our Crafty Mom
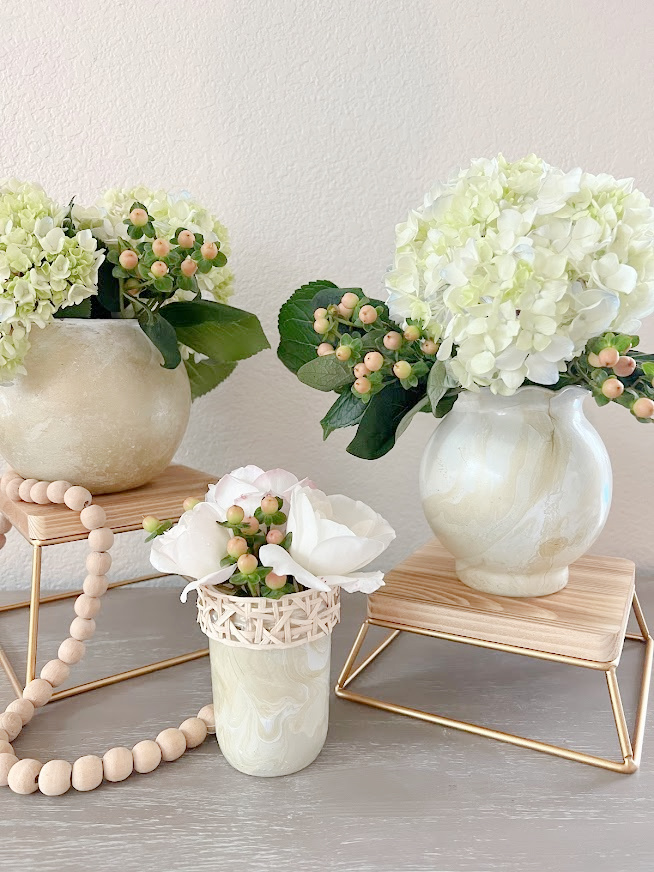
You can see how I hydro dipped my vases here.
Thank you so much for stopping in today. It means the world to me!


Beautiful job Kristen!
The epoxy seems like a lot of work, but it’s worth it. The extra shine really is pretty.
Pinned!
gail
THank you so much! It was a fun project 🙂