
How to make an easy easter bunny silhouette using beans
If you’re looking for a simple craft project for Easter, this bunny silhouette using beans is a great option! This craft is so much fun and a wonderful way to involve kids. The whole art project took me under 45 minutes, it was so easy, the perfect project for the upcoming easter season.
Affiliate links are listed below. You can read my full disclosure policy here
you can find most items at Hobby Lobby, Dollar Tree, Dollar Store, or Amazon.
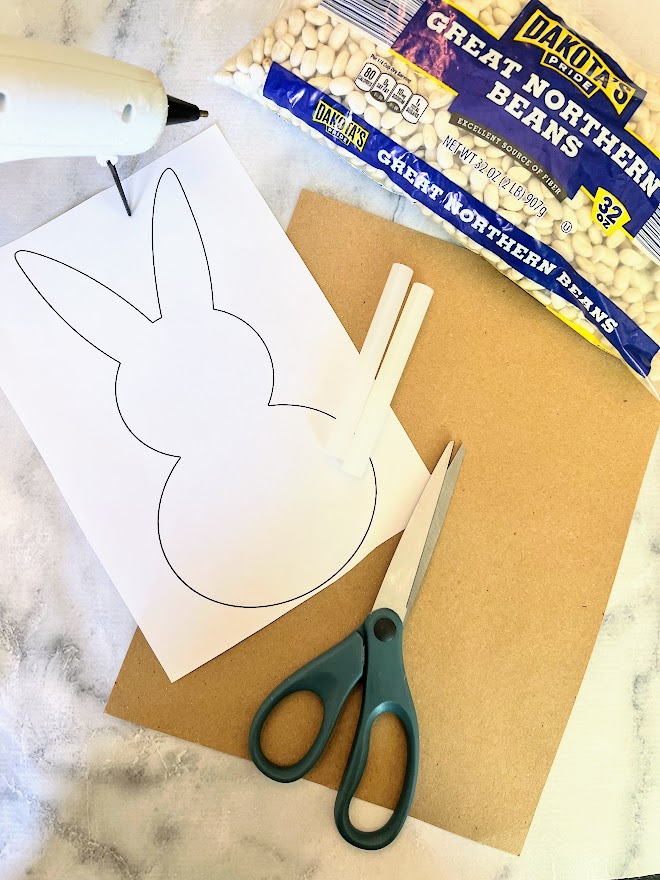
Materials You’ll Need:
-
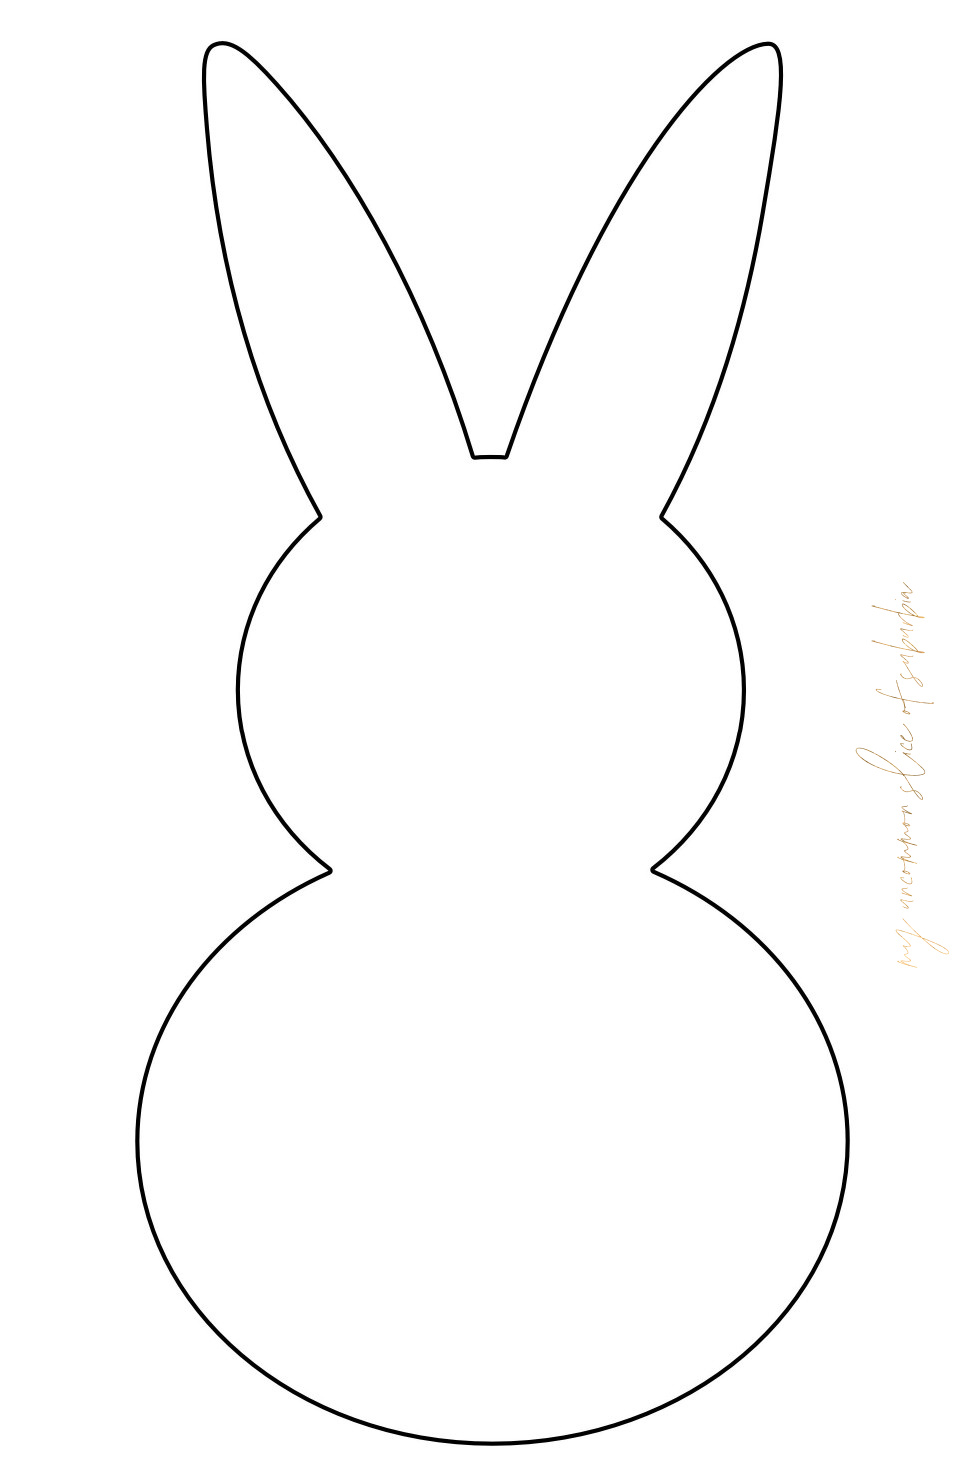
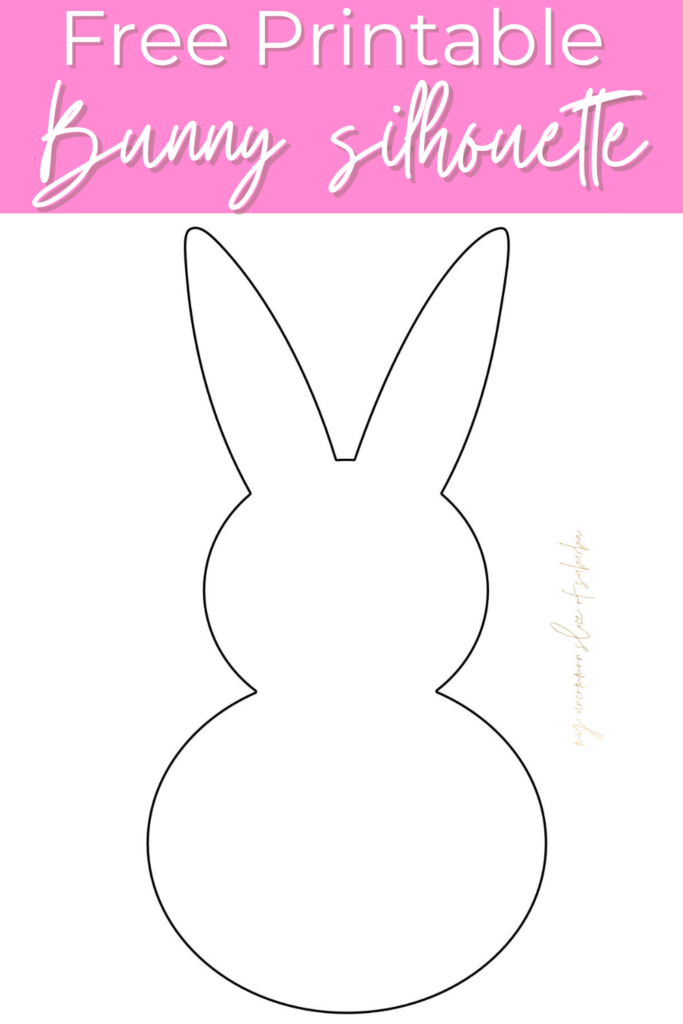
A printed bunny template download for free here
-
Cardboard or thick or Heavy Weight paper as a base
-
Various types of beans (white beans, black beans, lentils, kidney beans, etc.)
-
Pencil
-
Scissors
-
Glue (glue sticks or hot glue gun)
-
Paintbrush (optional for applying glue evenly)
Cotton Ball
Step-by-Step Instructions:
Choose Your Beans
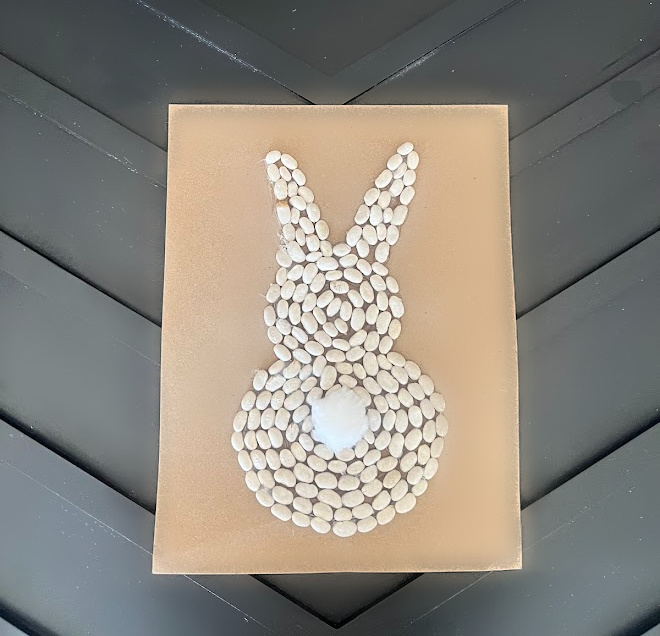
Decide on a color pattern for your bunny silhouette. You can use a single type of bean for a uniform look or mix different beans for a textured effect. I chose great northern white beans for a more simplistic look.
Prepare Your Bunny Silhouette
Start by selecting or drawing a bunny silhouette that you’d like to use. You can find my printable bunny templates here or sketch one yourself. Cut out the silhouette and place it on your cardboard or thick paper.
Trace and Outline
Using a pencil, trace the bunny silhouette onto your base material. This will serve as the guide for placing your beans.
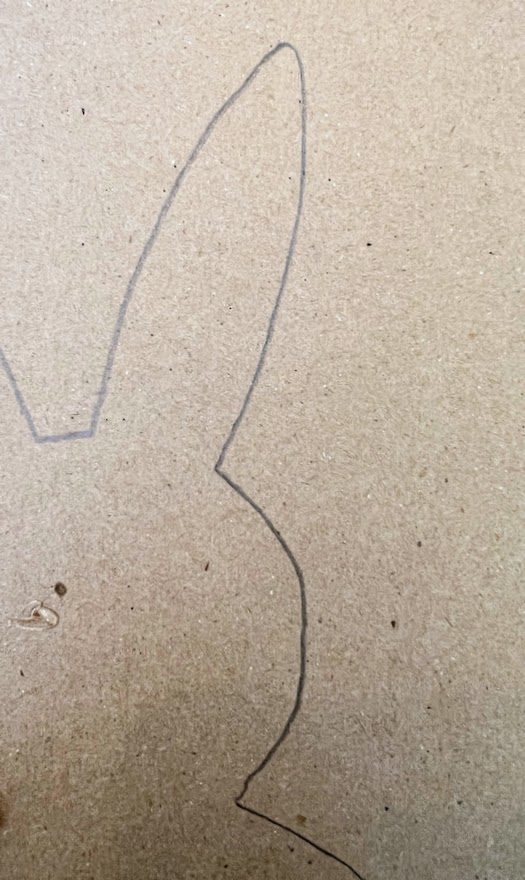
You could also cut the bunny out and place the beans inside of the cut-out. However, if you are using hot glue, be careful that the glue does not adhere to the cut-out, causing the paper to stick to the card stock. (I learned this pretty quickly)
Apply the Glue
Carefully apply glue to small sections of the silhouette. Using a paintbrush can help spread the glue evenly if you are using Elmers.
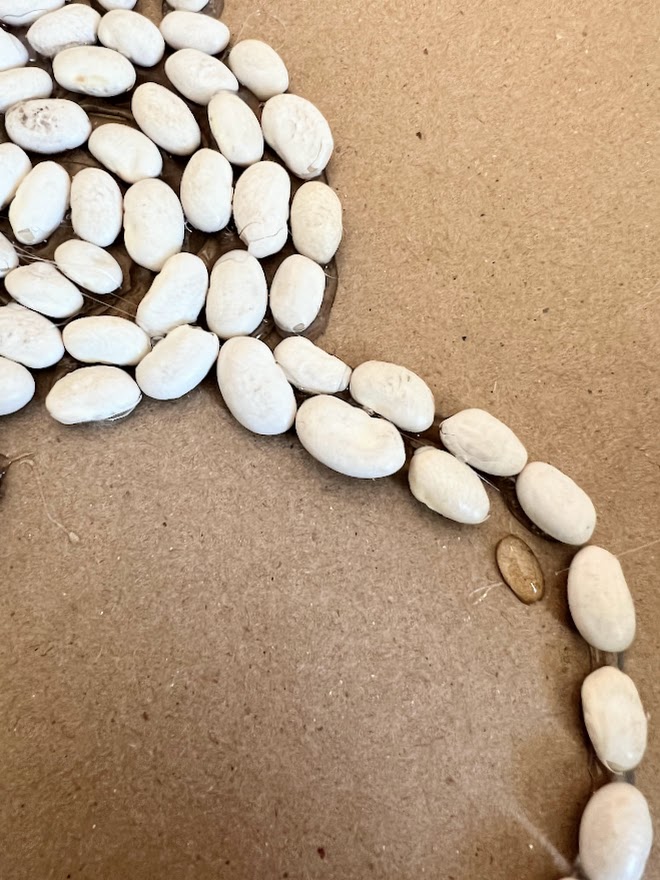
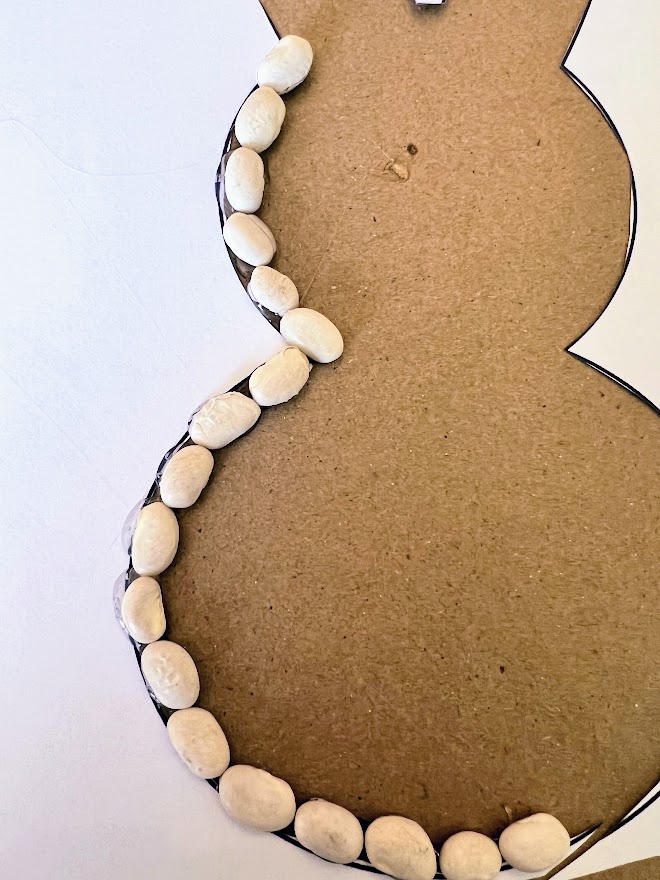
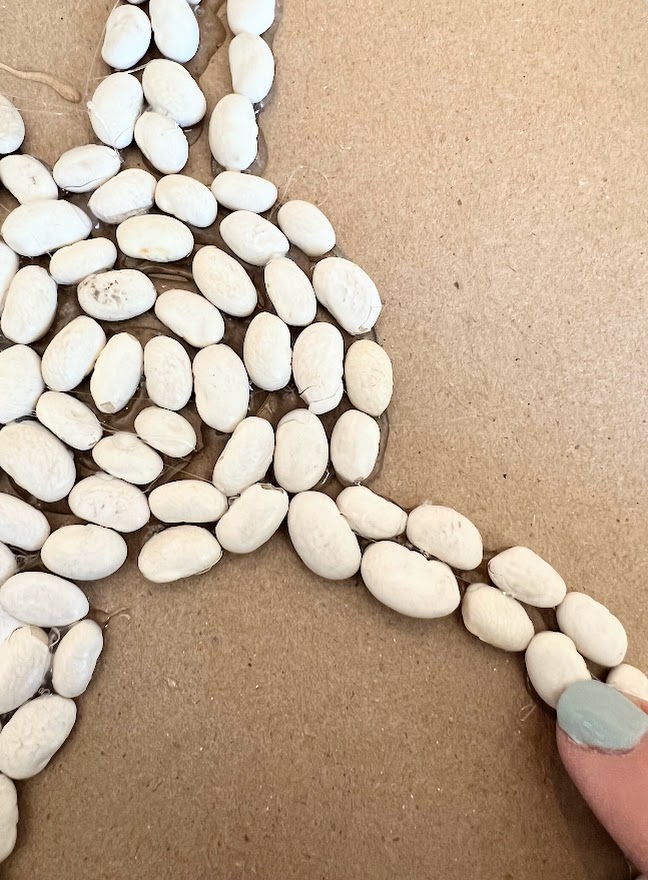
Arrange the Beans
Begin placing the beans on the glued areas, following the outline of your bunny silhouette. Work in small sections to ensure that the beans adhere properly. You can create patterns or a gradient effect using different beans.
Step 6: Let It Dry
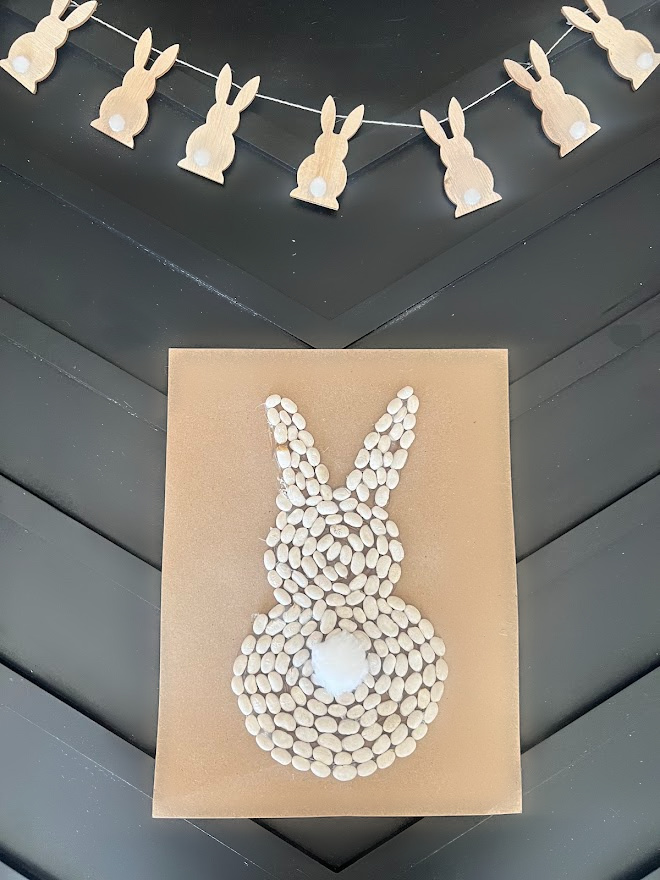
Allow the glue to dry completely. This step ensures that your beans stay in place and prevents them from shifting. Then Apply a cotton ball as it’s tail.
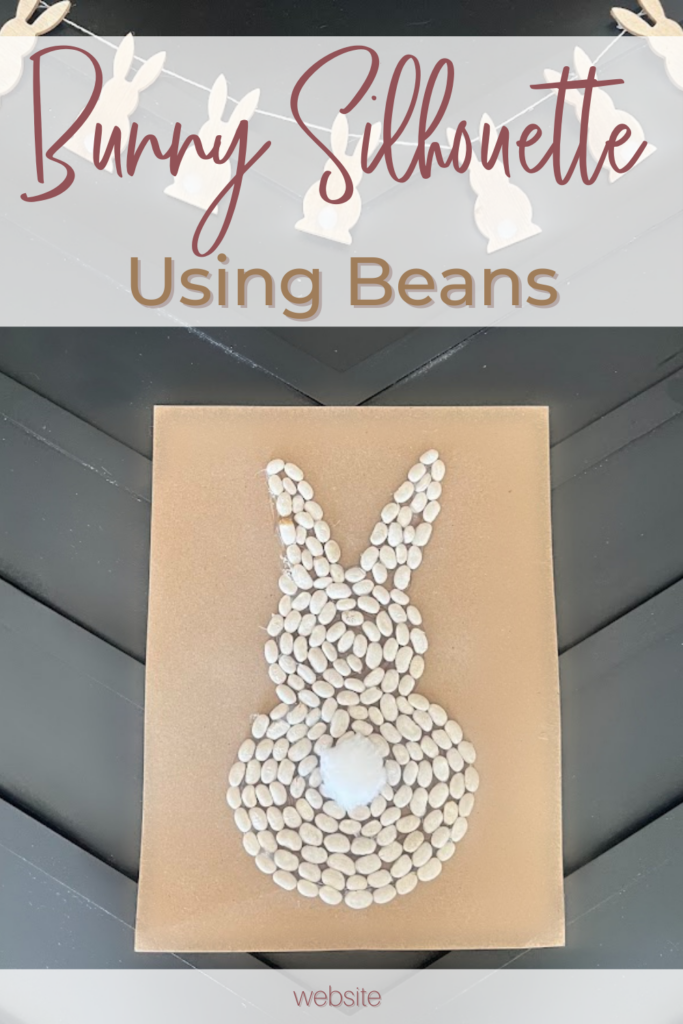
Step 7: Display Your Artwork
Once dry, you can frame your Easter bunny silhouette or mount it on a decorative board for display. It makes a lovely Easter decoration for mantels, tables, or walls.
Tips for a Unique Look:
-
Use different colors to create depth and dimension.
-
Add a cotton ball or pom poms for the bunny’s tail for extra charm.
-
Experiment with different shapes and sizes of beans for a mosaic-like effect.
-
Sprinkle a bit of glitter over the beans before the glue dries for a festive sparkle.
-
Use Mini easter eggs, jelly beans, mini plastic eggs or, dot markers instead of beans.
This DIY Easter bunny silhouette is a fun, affordable, and engaging craft that the whole family can enjoy. Whether you use it as part of your Easter décor or as a creative bonding activity, this project is sure to bring joy and creativity to your holiday celebration. Happy crafting!
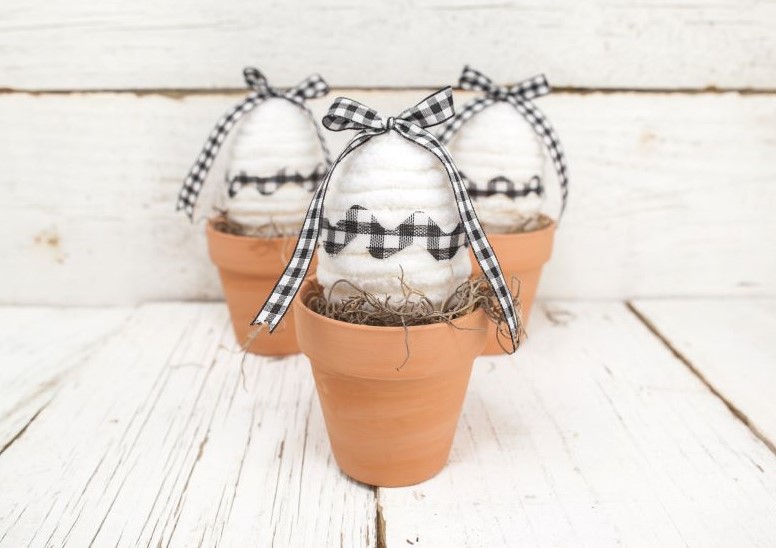
More Easter projects below
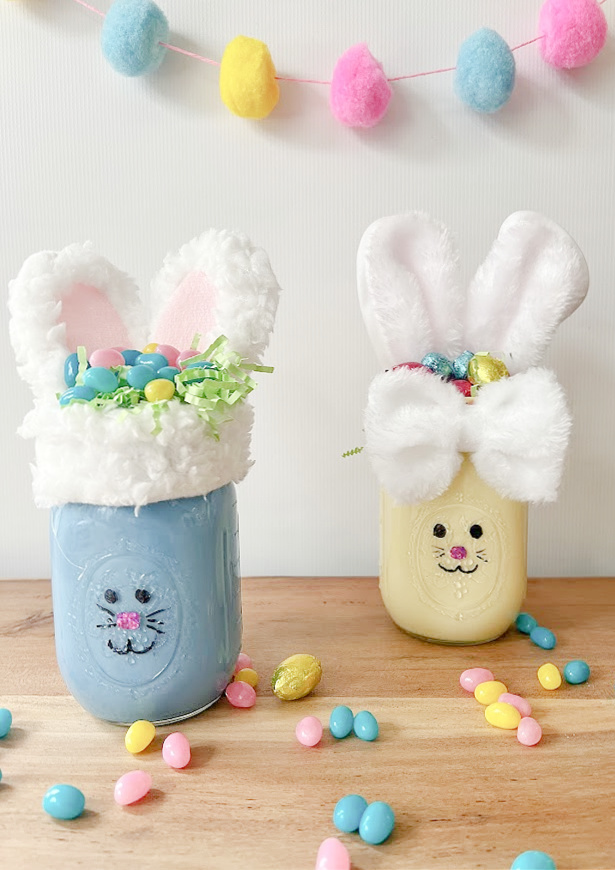
Last year I made the cutest Mason jar easter bunny


This bean bunny craft sounds super fun! Can’t wait to try it with the kids. Love that it’s quick and easy.