
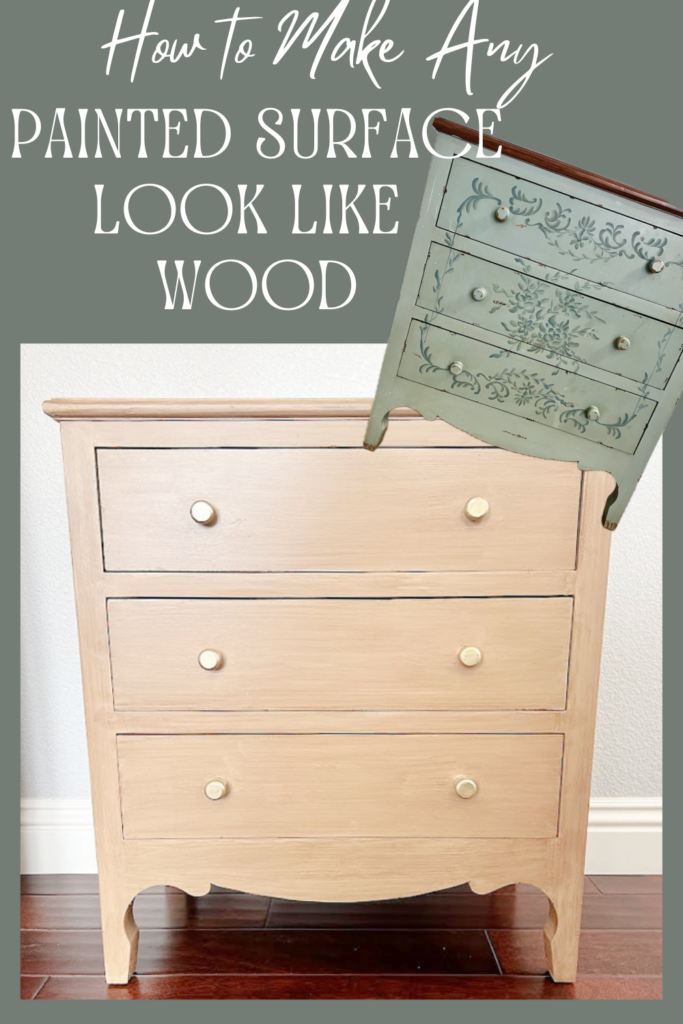
How to paint furniture to look like wood
Do you have an older piece of furniture that needs an update? If you’re looking for an easy way to make almost any hard surface look like wood, this post is for you! Using a liquid wood product and a gel stain, I was able to take a painted nightstand and turn it into a beautiful, warm, rich natural realistic wood finish.
It’s our monthly thrift store post and I have been so excited to make over this piece. I will be honest, I did get a little emotional when I started on this project. It was a piece I purchased about 18 years ago when I was making over one of the kid’s rooms. I found it at a consignment shop where they sell all of the pieces that were showcased in model homes. I loved the color and the design. I was really into the blues and the browns at the time.
Here is my before:
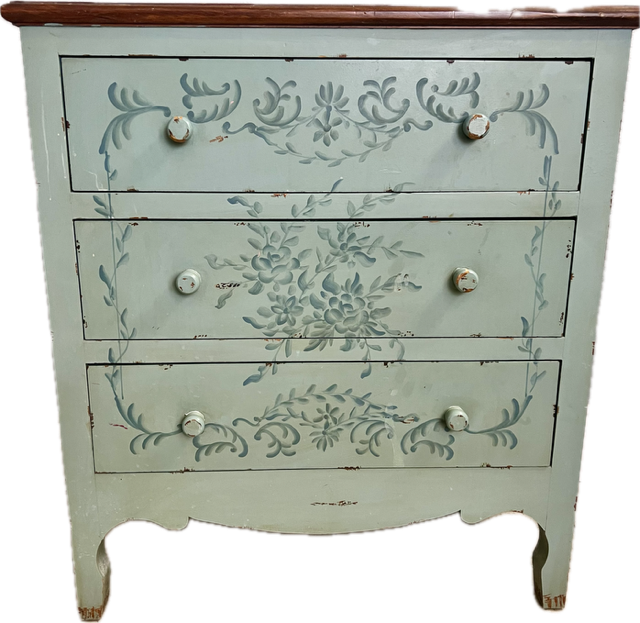
Normally I would donate this to the hospice resell shop but I couldn’t let go of this piece so I decided to retique it. I have used the product on the top of our nightstands and I loved how it turned out and I don’t have to sand or strip anything!
Retique It is liquid wood in a jar, and it has over 60% recycled wood fibers. These fibers help give it the look and feel of real wood, This means you can turn your plain, non-wood furniture or painted furniture into stunning pieces with a natural wood look. I’ll be using this technique on our kitchen table next and possibly our built-in entertainment center. Stay tuned!
I am an Amazon associate and have listed affiliate links below, on which I may make a small commission.
Materials you’ll need:
Affiliate Links Listed Below You can read my full disclosure here
Retique It Liquid Wood- Light
Retiuqe It Gel Stain -Pecan
Sponge
Angular Trim Paint Brush(Home Depot carries a variety of paint brushes)
Painters Tape
Sanding block or sanding sponges
Sander (optional for top)
Weatherwood Stains Dead Flat Top Coat
Or you can buy it through Amazon
Clean Cloth or Tack cloth
Drop Cloth
For the Door Knobs, I used Behr Metallic gold Spraypaint
Directions on how to make a painted surface look like wood
Note:
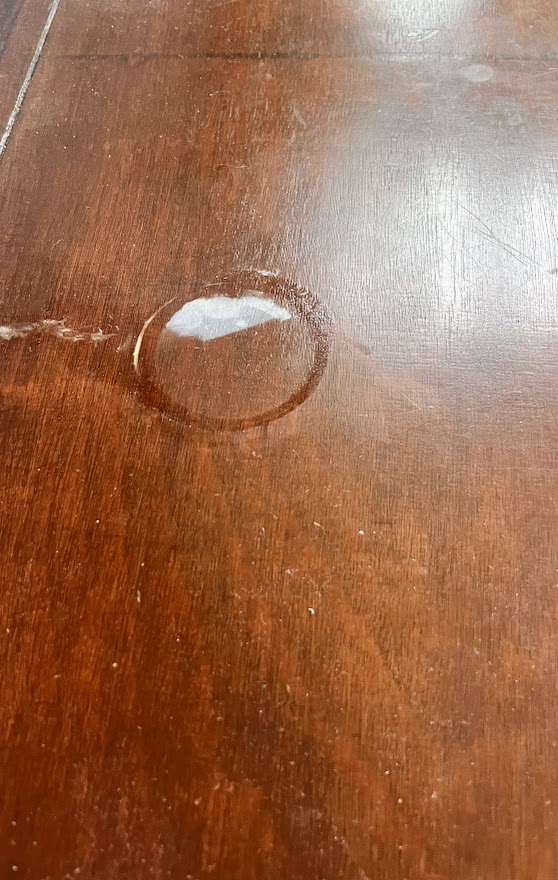
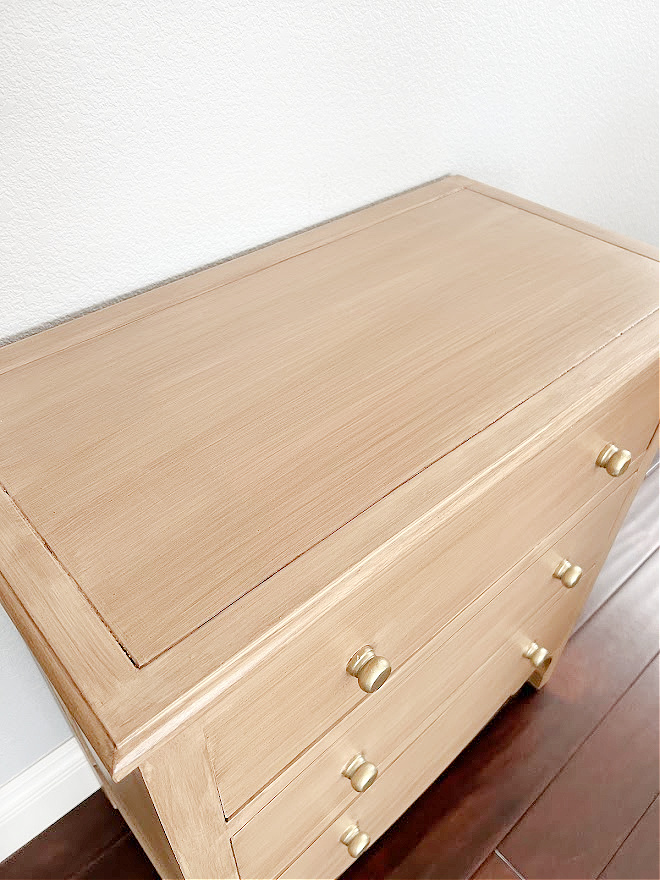
Since the top was exposed wood and not painted, I could have sanded this down exposing the raw wood using an orbital sander until I had a smooth finish and was actually a little excited about it. However, with the rain and not being able to work outside, I decided to use retique on the top as well. Plus I’m very grateful for the rain, we really need it! I did lightly buff out this spot with a sanding sponge.
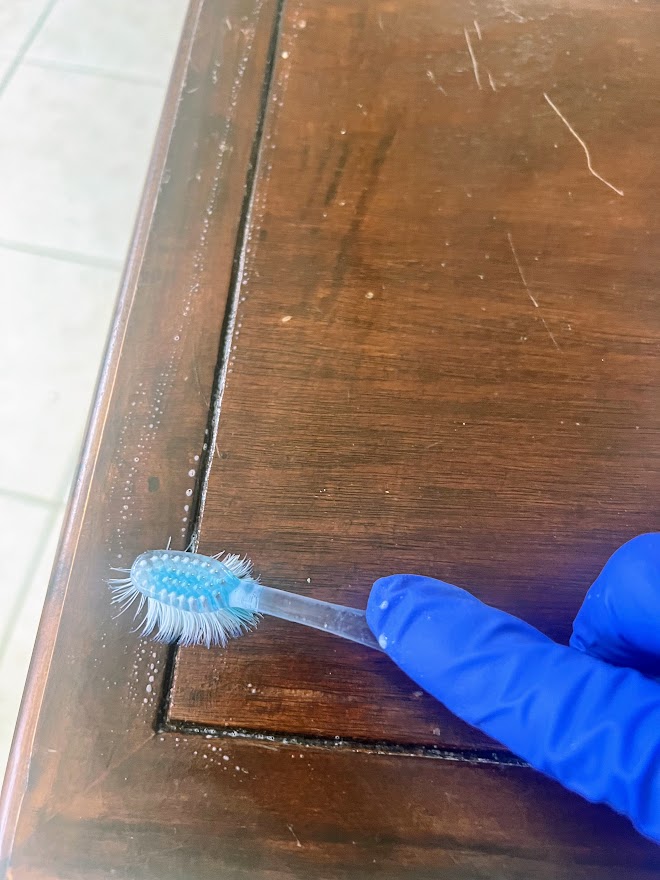
Prepare the Surface for proper preparation
The first thing you need to do, is give your entire piece a good cleaning, removing any dirt, dust, or grease. They recommend that you wipe Down with denatured alcohol mixed with water or dawn dish soap mixed with water. TSP will NOT WORK and the product will not adhere properly. Wipe away any dust with a clean cloth so you have a smooth surface.
I used a tooth brush to get into the little crevices.
Apply Top Coat:
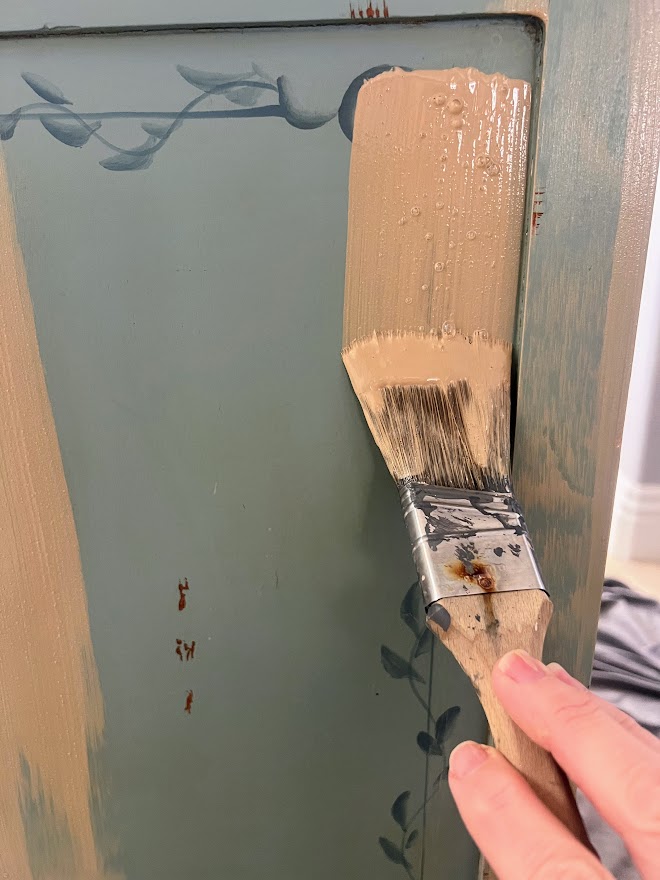
The next step is to apply the base coat of the liquid wood to the entire surface. I am not sure if the previous paint was oil based or latex paint but I have used this product on both with amazing results.
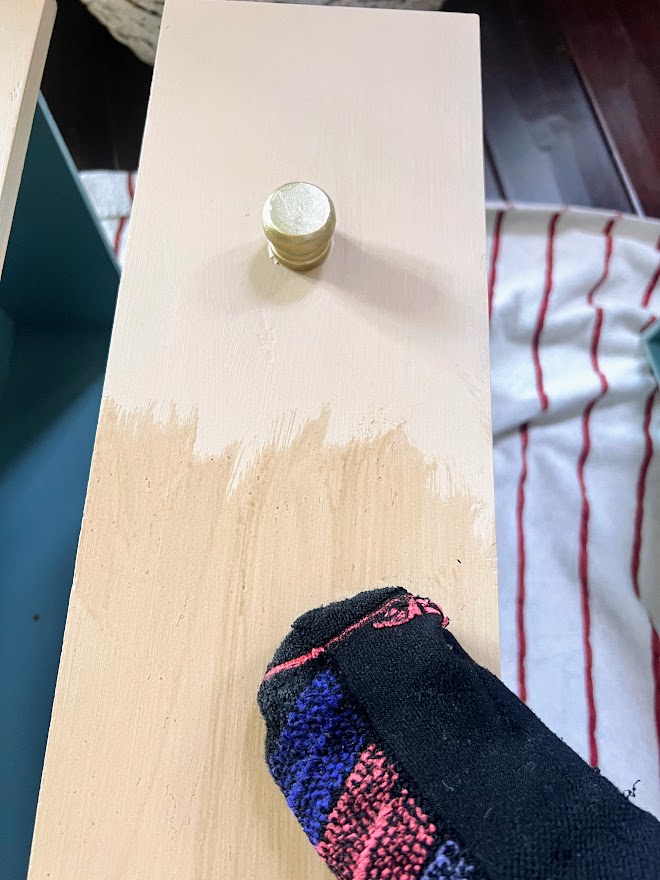
I normally use a small foam roller on painted surfaces, however, I used a paint brush since this is what they recommend, and applied 2 even and long coats. Your brush strokes should go in the direction you want the faux wood grain to go. If you are painting over wood that has grain showing, go in the direction of the wood grain pattern. Allow each coat of paint to dry completely. Drying time will depend on the weather and humidity, I found it to be dry within 30 minutes but it can take up to 2 hours.
These little feathered craft brushes were perfect for the little nooks.
Sorry for the lighting differences, I was painting at night and during the day.
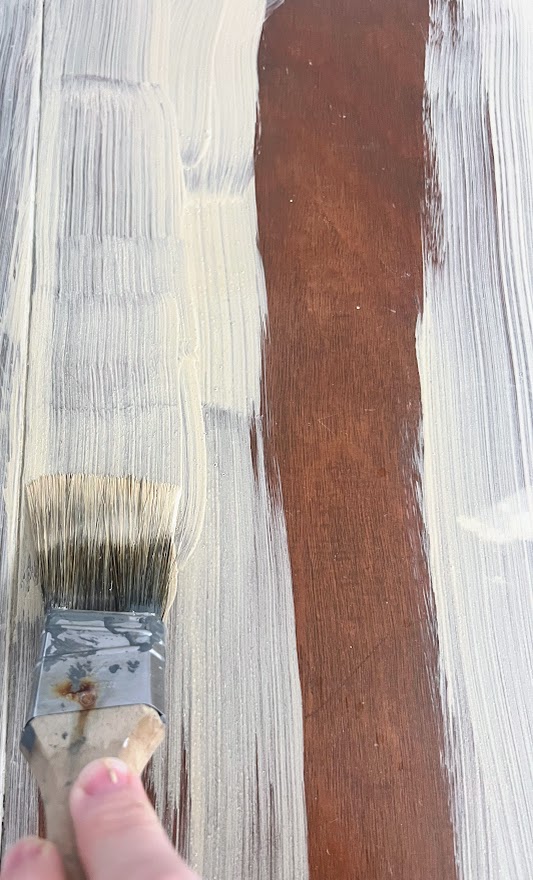
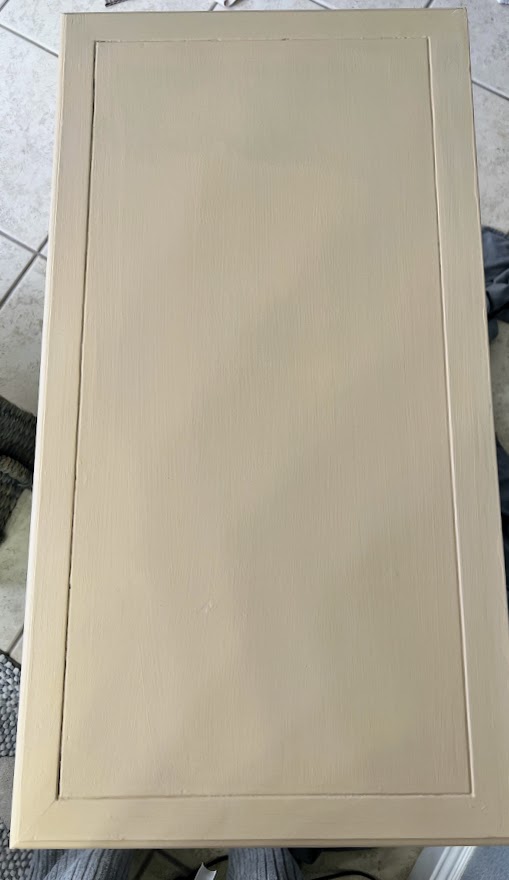
After 1 Coat
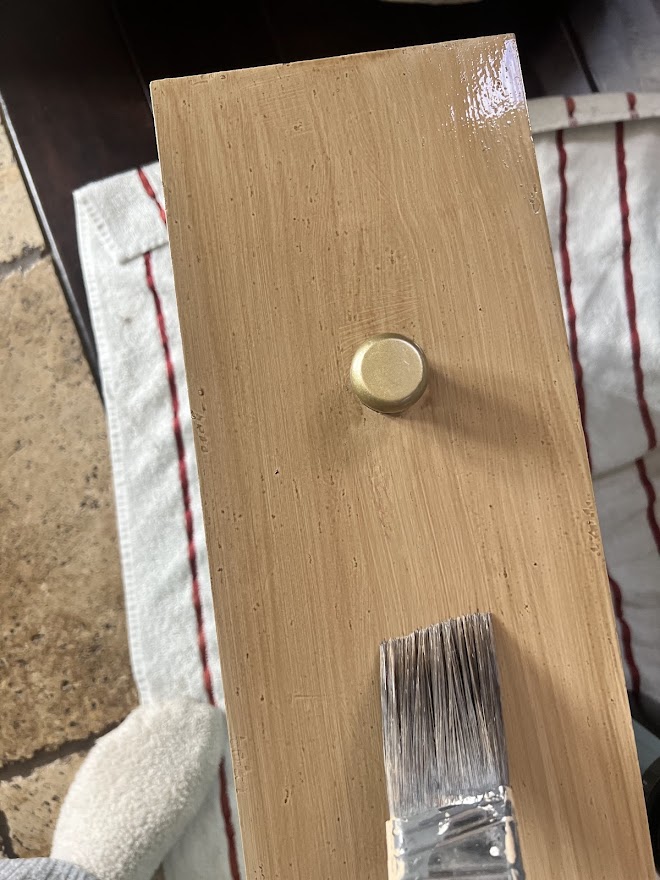
After 2 coats
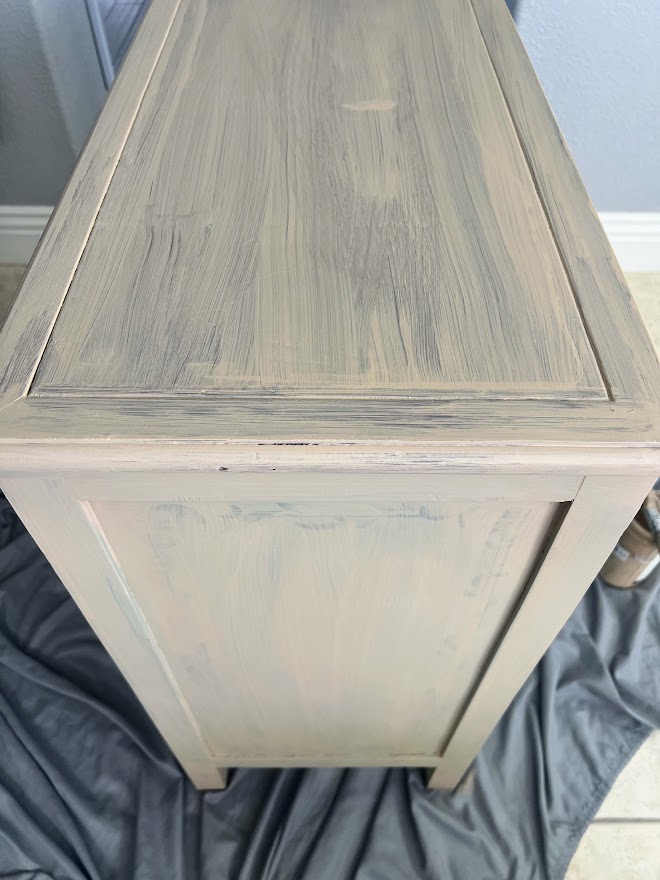
Apply Retique It Gel Stain
You do not have to use the Retique gel stain, you can use whichever wood stain you would like over the liquid wood.
The gel stain is not like your typical jello-like constancy, it’s a liquid that I found so much easier to work with. Once the base coat is dry, apply the gel stain. You can wipe, brush, or use a sponge or lint-free rag to apply. I used a rag for the first coat to really saturate the base color. Whichever way you apply it, you want to aim for long even strokes, and allow it to set for 1-3 minutes, You can allow it to set in if you are happy with how it looks or you can wipe off any excess.
I applied a second coat using a paint brush to achieve more of a wood look. I was happy after 2 coats, however, you can continue to add as many coats until you get your desired color, allowing for it to dry in between coats which can take up to an hour.
After 2 coats
Seal the Finish:
Once the wood grain is dry, you will want to seal the surface for protection. I did a lot of research on this since many products will darken the color or turn the wood yellow. I decided to use Weather Wood Stains Flat Varnish since I have had good luck with it in the past. It goes on as a clear coat, it ihas a flat finish, it did not change the color, and gave it zero shine, exactly what I was looking for.
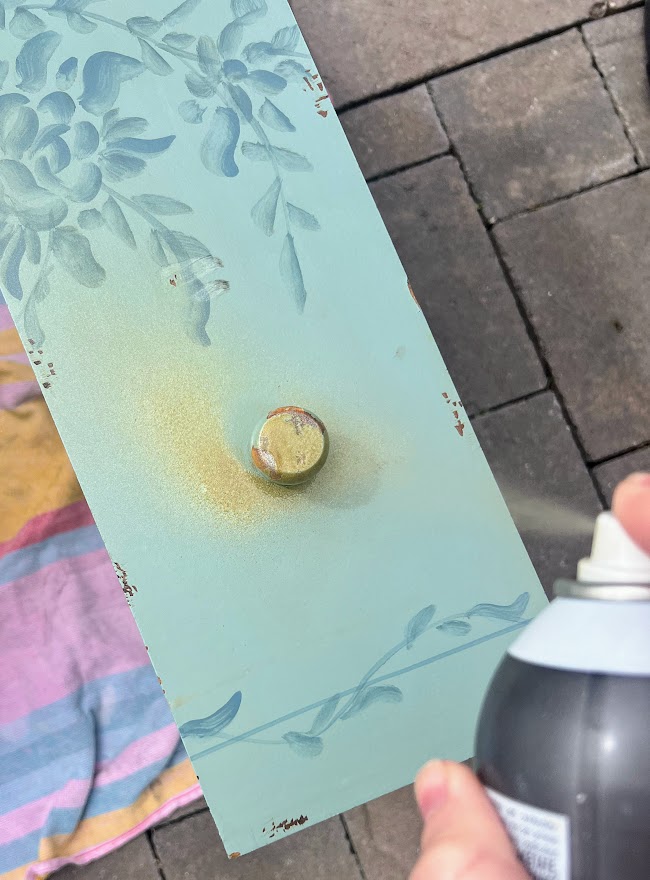
Spray Painting the drawer handles
I had every intention of swapping out the knobs for something a little more updated but they were glued on. I’m not sure how they have even lasted that long, I wish I knew what glue they used. I could have drilled holes inside of each drawer and replaced them but I was running out of time so I sprayed them before I started on this project.
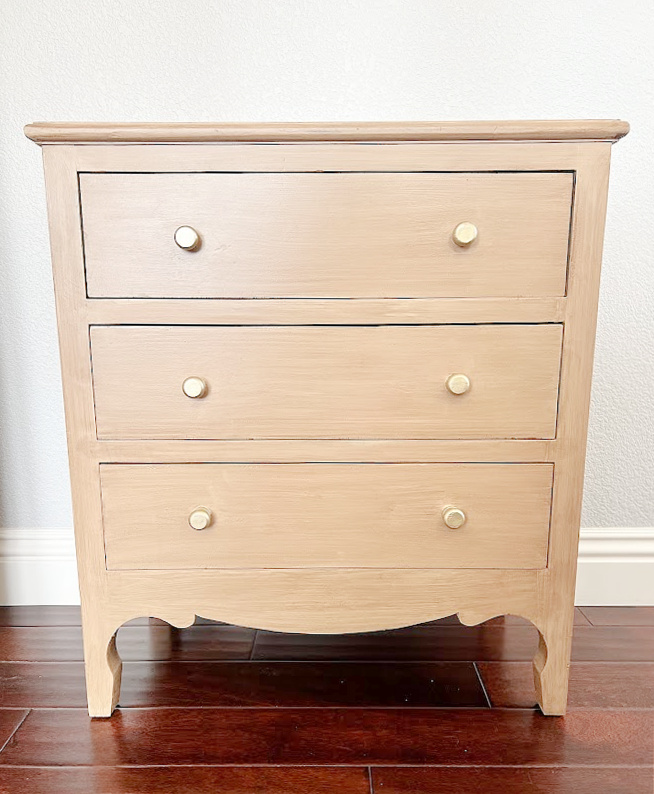
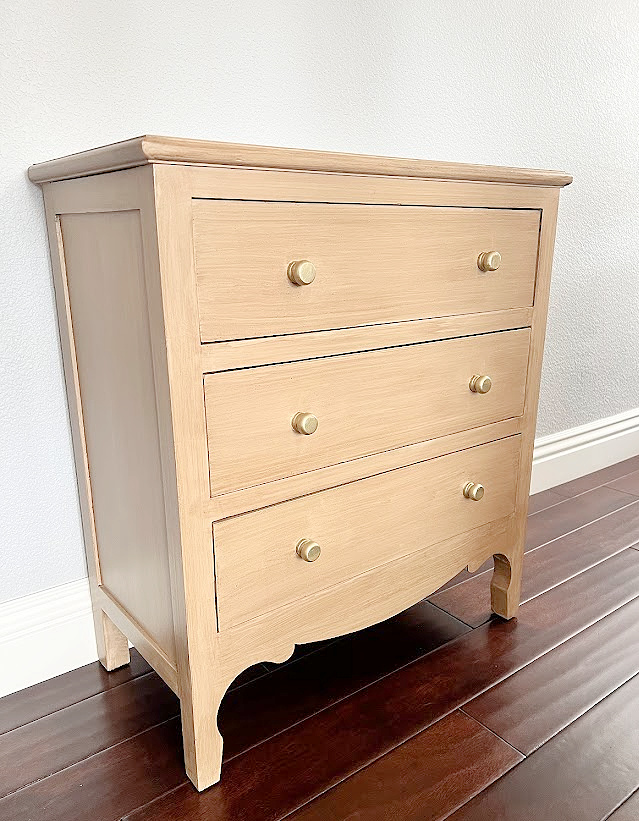
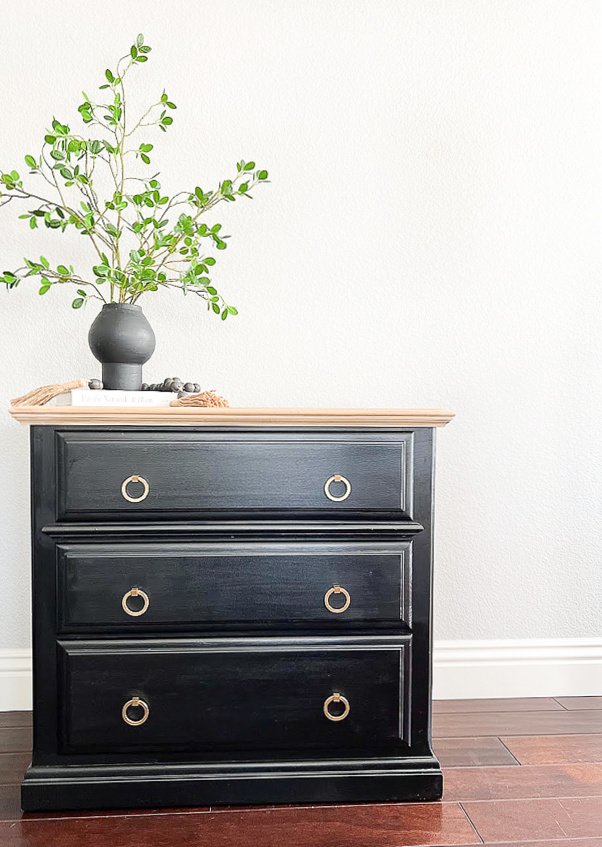
I couldn’t be happier with the way this turned out. I feel like once you get the hang of it, it is a great DIY project that most can tackle with beautiful results.
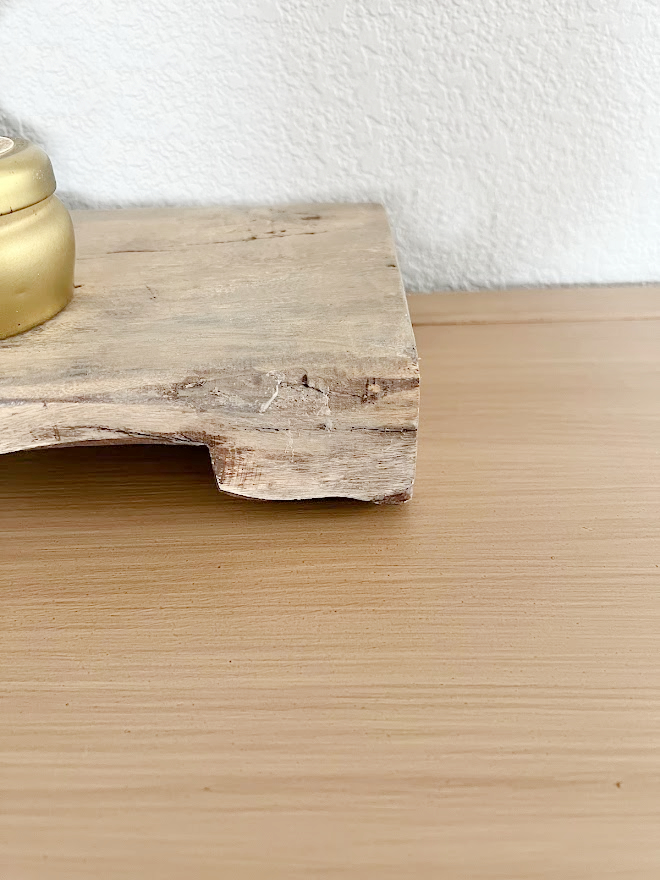
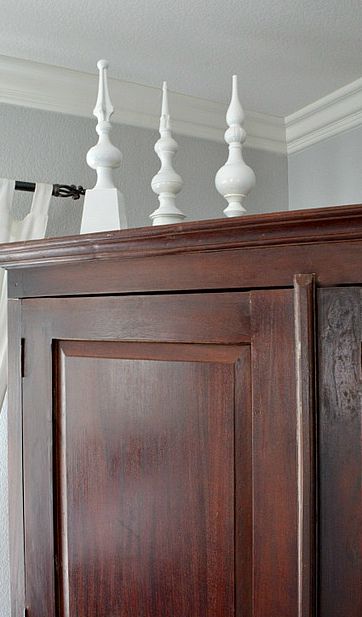
I love how versatile the product is! I used it on a very dark vintage wood riser the only difference is I used a whitewash for the final step.
![]()
Your home will soon be adorned with pieces that reflect your unique style. I sure wish I had this stuff years ago when I was painting some Ikea laminate furniture I found off Facebook marketplace many years ago!
PIN FOR LATER
Let’s see what everyone else created with their thrift store finds.

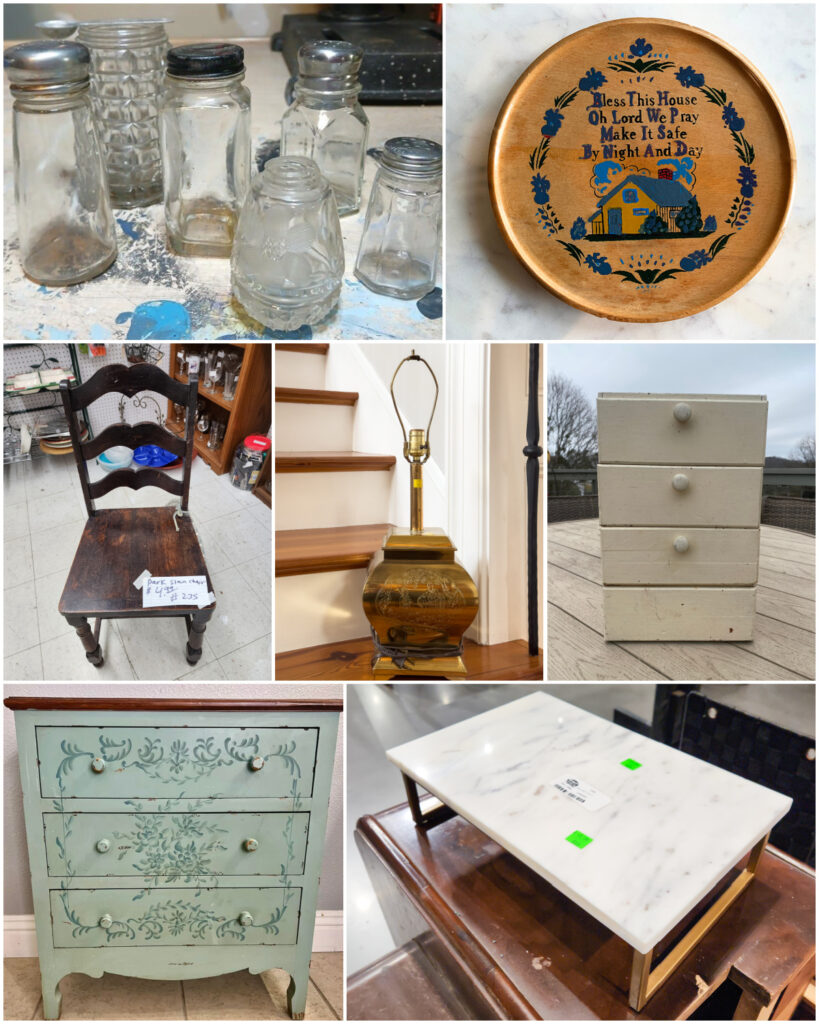
How to repurpose miniature glass dishes-Petticoat Junktion
Rub-On Transfers For Thrift Store Upcycles-House of Hawthornes
Cutting a Kitchen Chair Down to Size-My Repurposed Life
Thrift Store Lamp Makeover-Our Southern Home
Vintage Wooden Box Upcycle-Shop At Blu
How To Paint Furniture To Look Like Wood-My Uncommon Slice of Suburbia
Fixing a Cracked Marble Tray with Kintsugi-Sadie Seasongoods
You can see how I transformed a pair of nightstands using Retique it on the top.
Thank you so much for stopping in today!
Oh my goodness, Kristin! This looks like that common finish from the 60’s! On my list to try! Pinned.
Thanks Sue, you know what they say, everything always comes back in style at some point. lol
Thanks Sue, It’s a fun product to work with. I might even add another layer of stain to darken it just a tiny bit. 🙂
I had never heard of Retique before, now I’m obsessed with it! I can use that on so many projects. Thanks for the tips!
Your going to love it and a little goes a long way 🙂
I agree with Sue, my mom used to do something so similar in the 60’s. I love the final look Kristen. Very pretty. I love that you bought it second-hand so many years ago. What an awesome story.
Pinned
gail
Thanks Gail, I have a hard time letting go of pieces that have meaning.