How to Propagate a Snake Plant
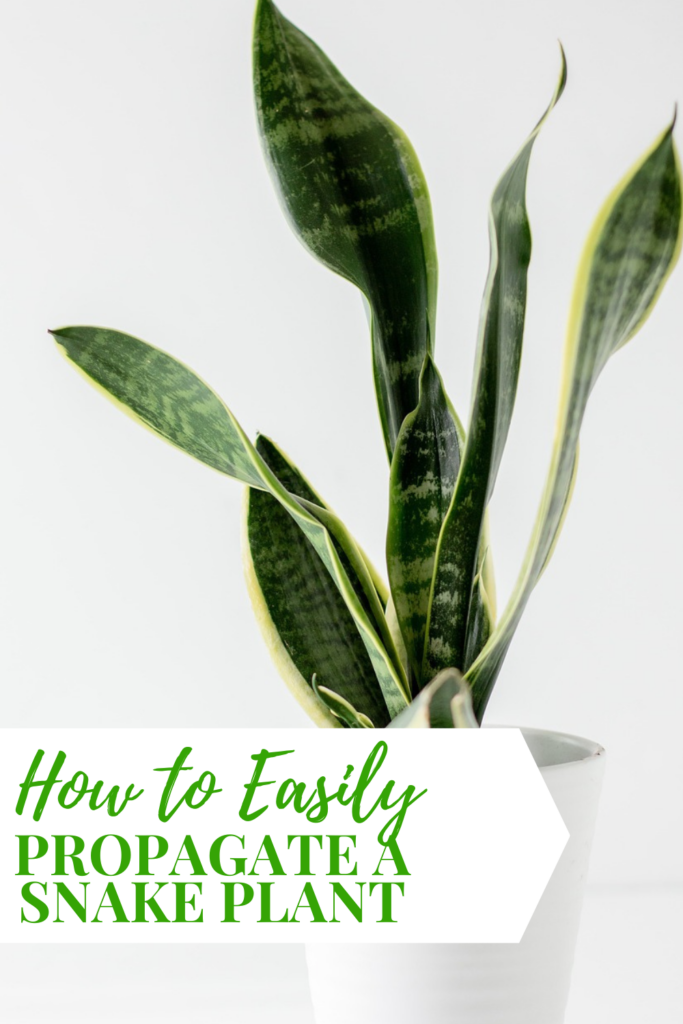
Learn how to easily propagate a snake plant (also known as Sansevieria Plants) by division with my step-by-step guide. The propagation method is perfect for a plant that has outgrown its existing pot and is in need of some extra space. This is an easy way to turn one plant into two or more! Not only are snake plants low maintenance, but they are also one of the most oxygen-producing houseplants, no wonder the snake plant is quickly becoming popular houseplants, a gardener’s favorite both for indoors and outdoors.
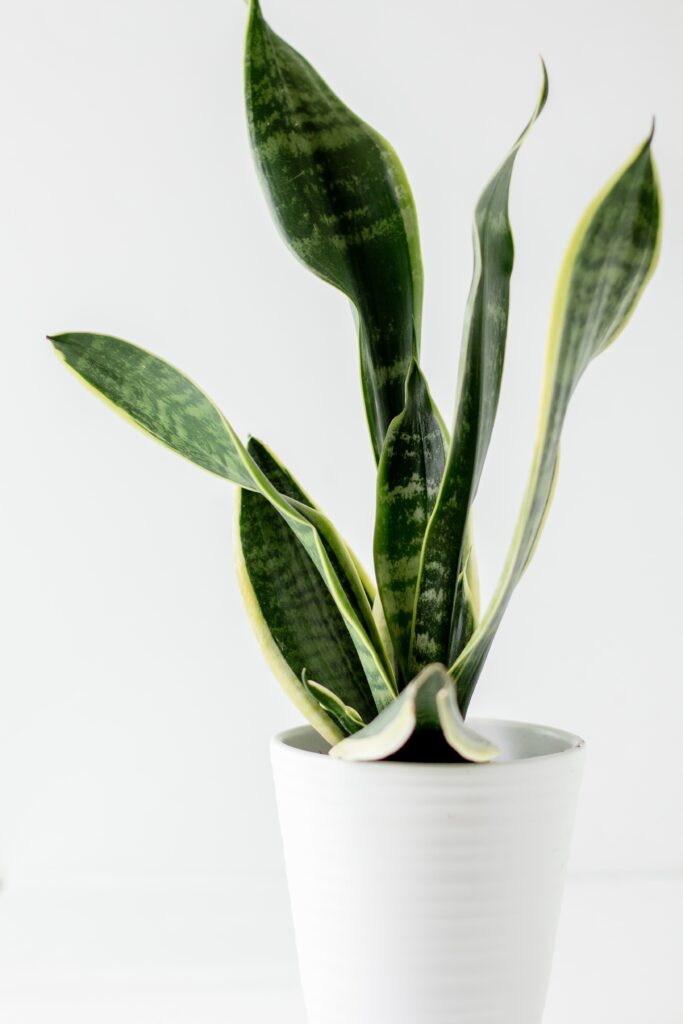
About a year ago, I purchased 1 snake plant, I loved it inside but the gnats quickly arrived so I brought it outside and placed it in indirect sunlight and it thrived so well I decided to propagate it. We now have FIVE mature plants out of 1, easy peasy, let me show you how!
What is division?
Division involves breaking the plant into sections and is a great way for multiplying larger snake plants.
Supplies
A sharp clean knife or garden shears
Pot
Potting soil (I use a cactus mix for my snake plants)
Propagating a snake plant is a rewarding and simple process. Follow these steps to successfully propagate your snake plant:
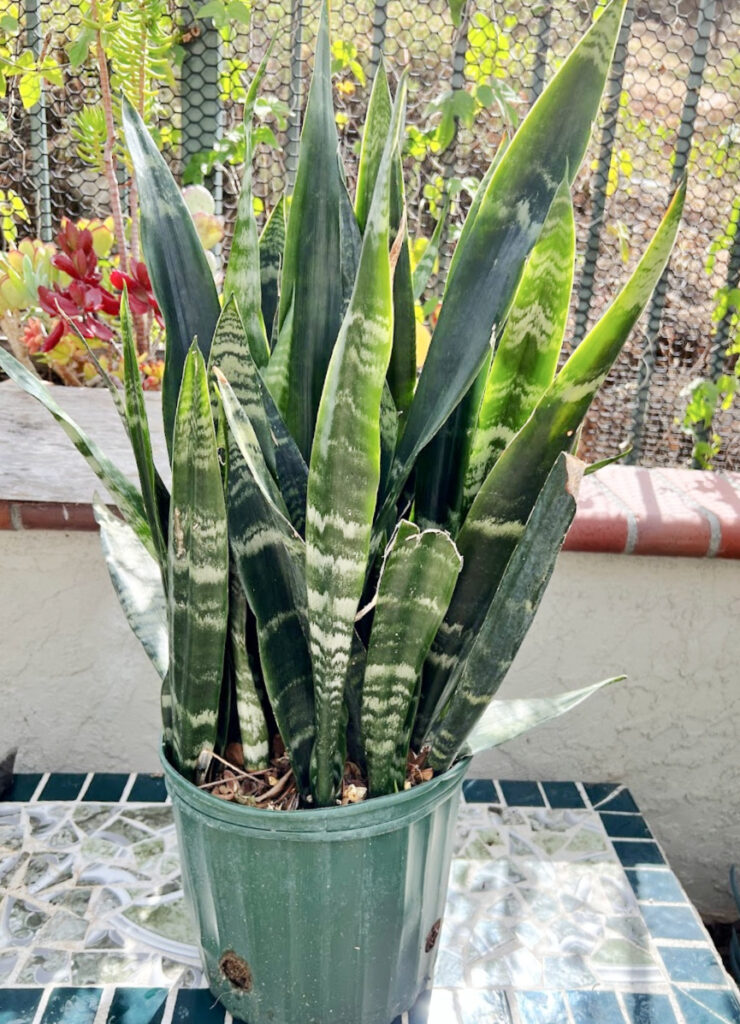
- Select a healthy snake plant: Choose a mature snake plant with several sturdy leaves. Ensure the plant is free from any diseases or pests. You can find new snake plants at most garden centers.
-
Remove the plant from its pot. Lay your plant on its side and gently remove the plant from the pot.
-
Gently pull the clump away from the mother plant, most likely you will need a sharp knife to cut apart the tightly tangled root system, it will look like a ball. You want divisions with at least 3 leaves and accompanying roots. You may have heard that you need to allow the cuttings to sit out for a few days to allow the rhizome (the ends) to callus over, I don’t and have had zero issues.
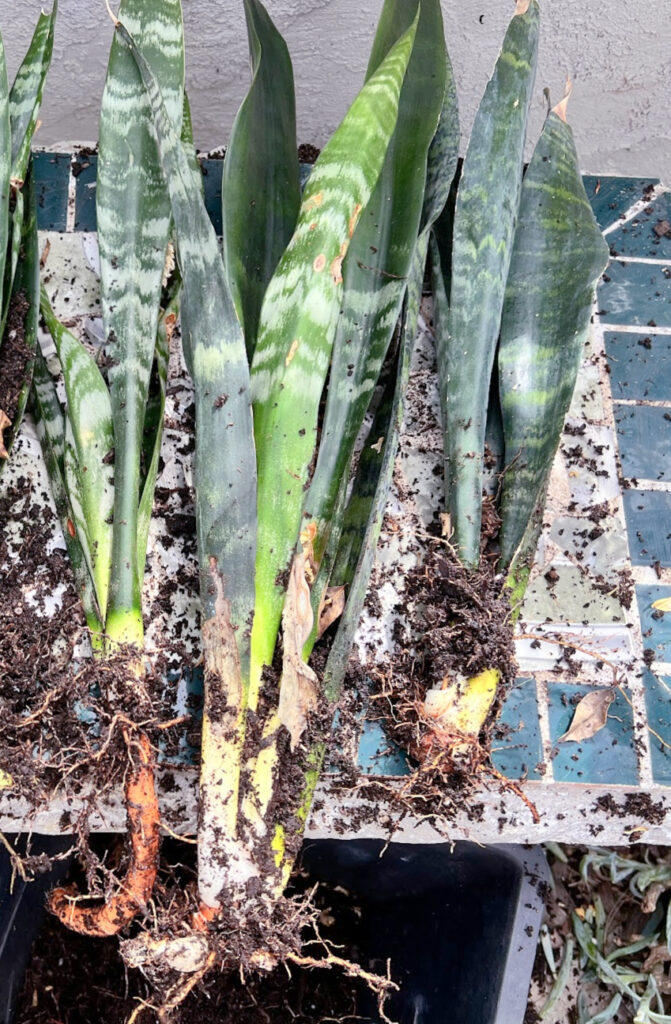
Once the sections are separated, simply repot each division into a container with succulent potting mix. Pat the soil down firmly around the roots and place it in a location with similar lighting that it had before. You can place them in a small pot if you would like. I choose to place the healthy leaves in a bigger pot so I would not have to transfer them over later. You want to make sure your pot has the proper drainage holes and you will see new growth in no time at all.
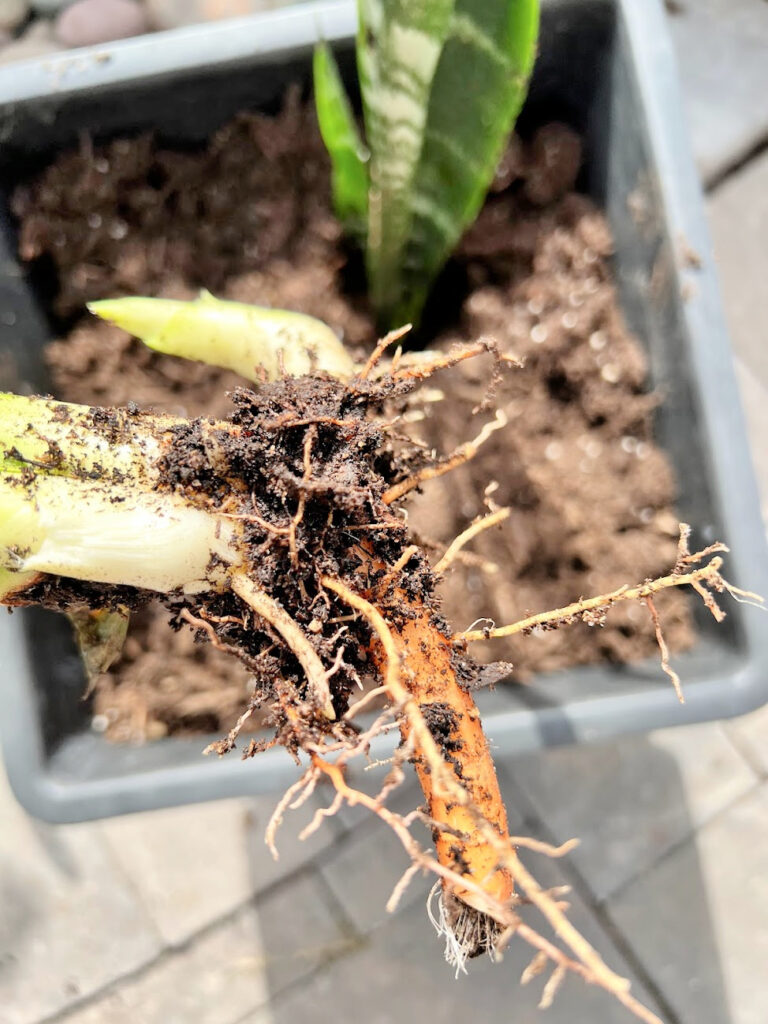
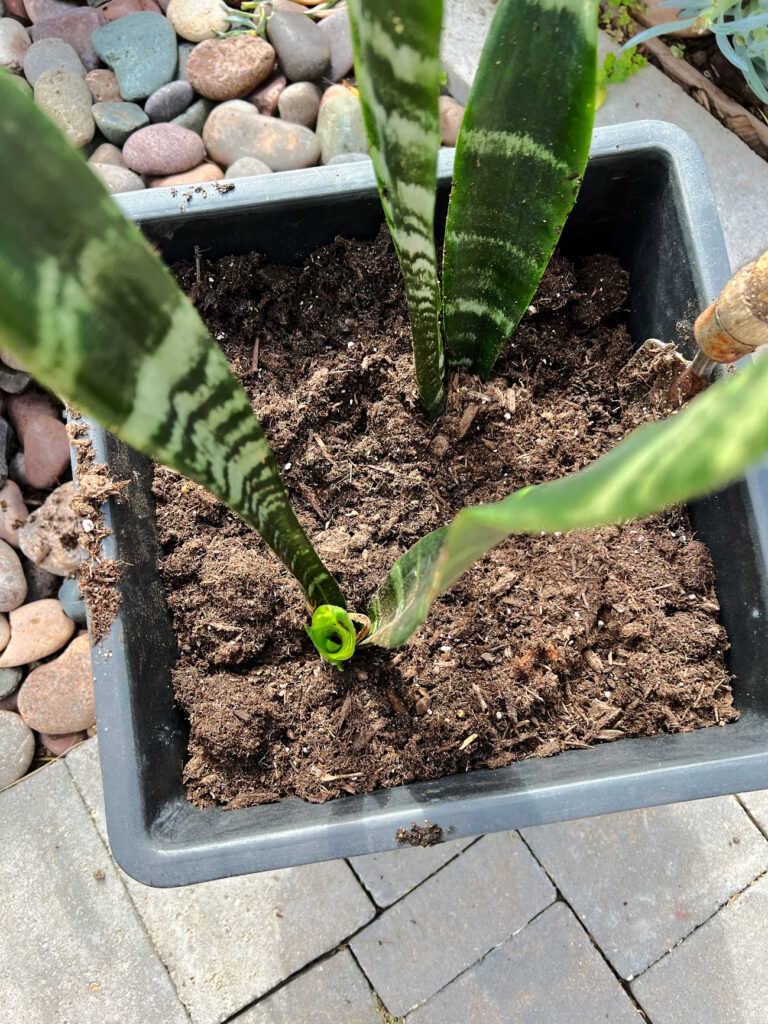
Here they are 2 years later

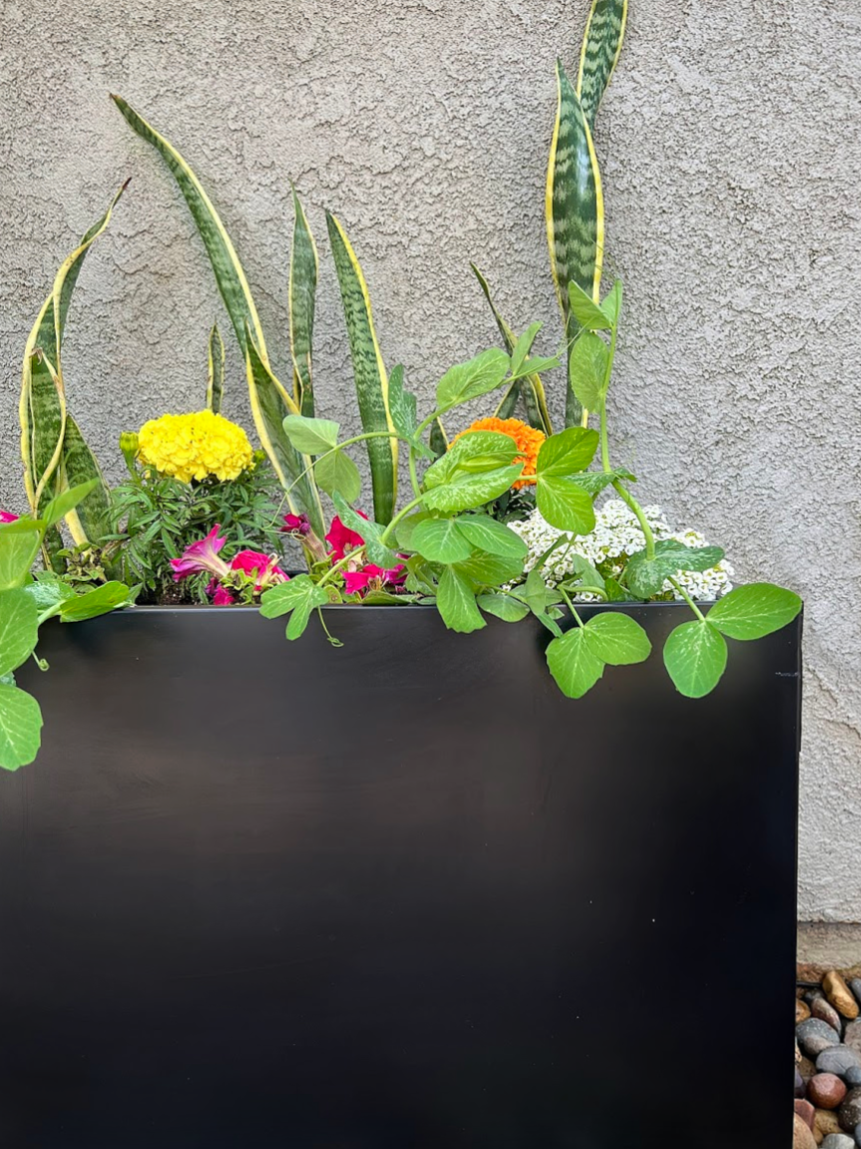
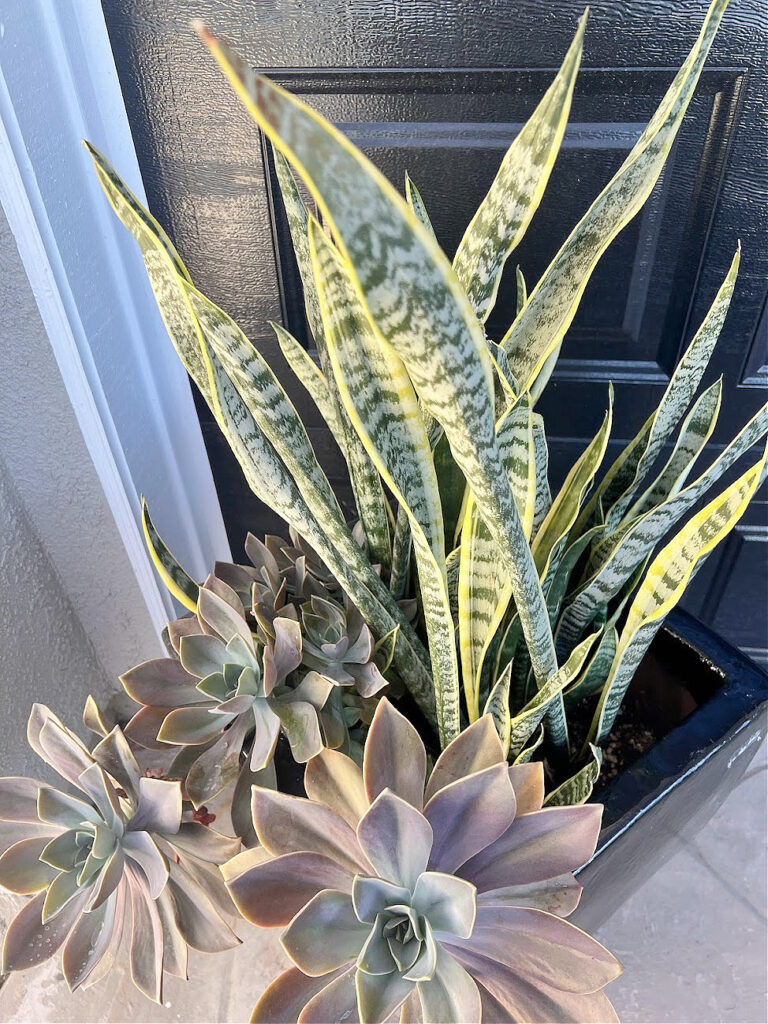
This was fun to look back on, the 2 pictures below were taken 13 months apart when I made this welcome sign, you can see the amount of growth in a year and that is with me pulling a few leaves out to give the plant more room.

1 year later

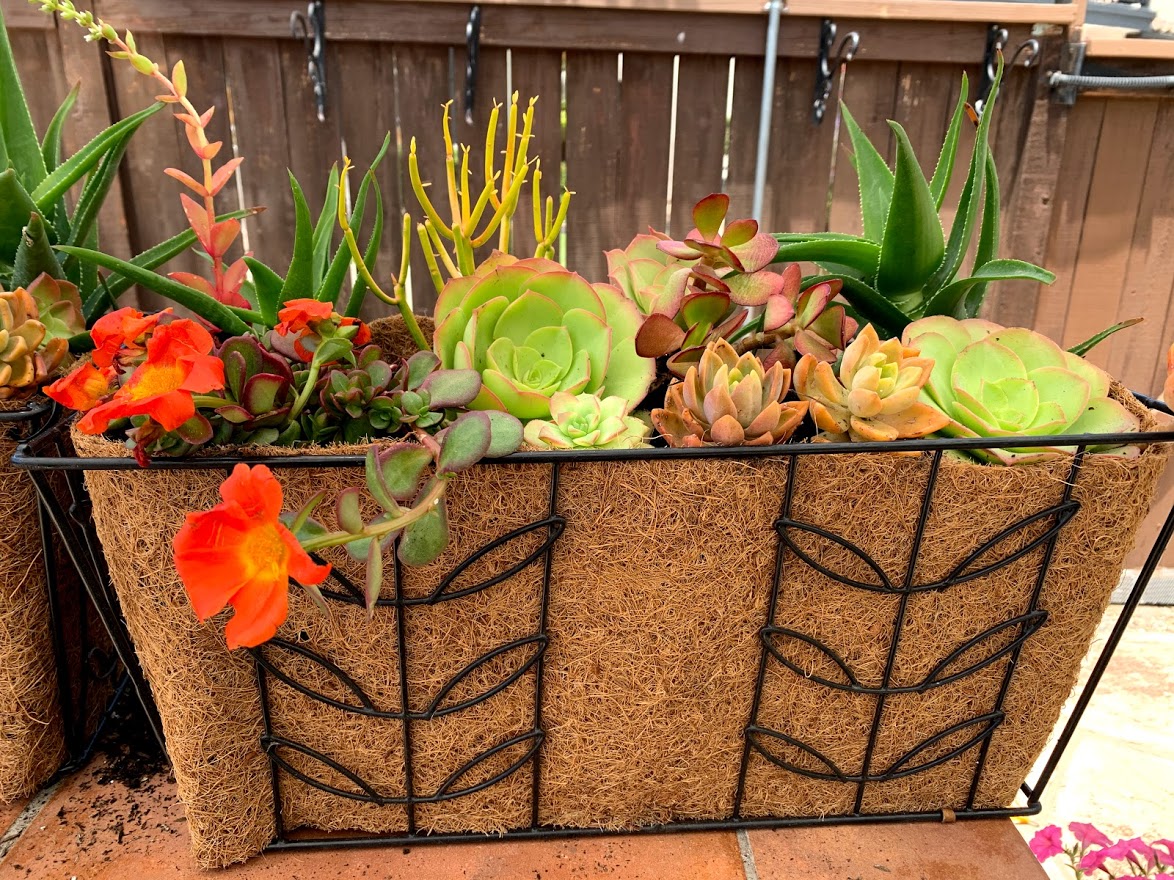
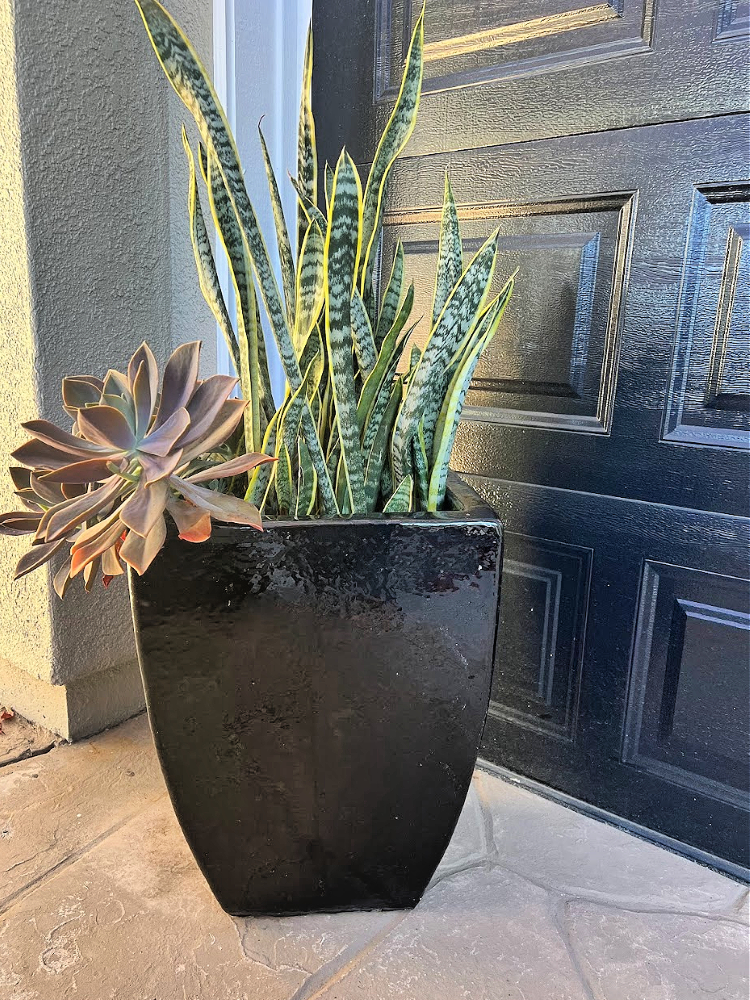
This pot is in our driveway, it’s fun to mix succulents with the snake plants, both are so easy to grow.
Provide proper growing conditions:
Avoid too much water and root rot, only water when the top 1-2 inches of your well-draining soil is dry so you have a consistent moisture level in the soil.
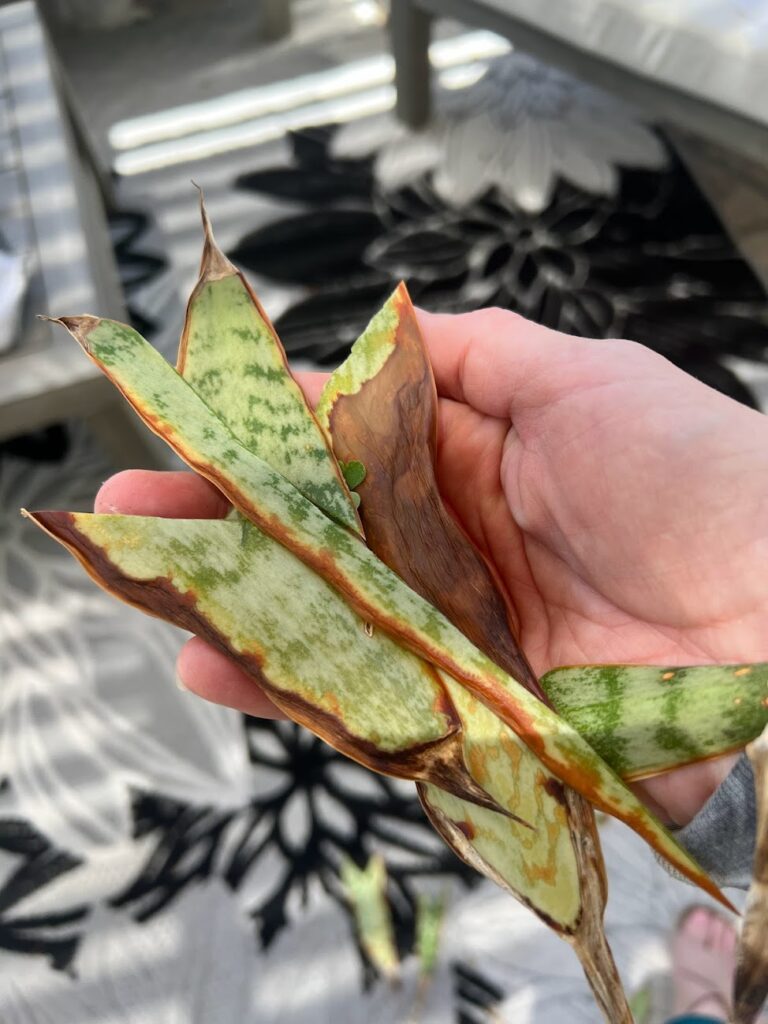
Snake plants thrive in bright, indirect light but can tolerate low-light conditions. Ensure the temperature remains between 60-85°F (15-29°C) and avoid exposing the new plants to drafts or extreme temperatures. One of my plants was getting too much sun and it was burning, I simply cut the burnt parts off.
Best time to divide my snake plant?
This isn’t the only way, there are different ways for snake plant propagation process.
Water propagation (the easiest way but takes the longest)
Place the leaf in soil
Use a sharp knife to cut off a healthy leaf near the soil line and place the cut end in a pot filled with moist potting soil. You will begin to see new leaves emerging from the soil. From then on, care for it as you did the mother plant.
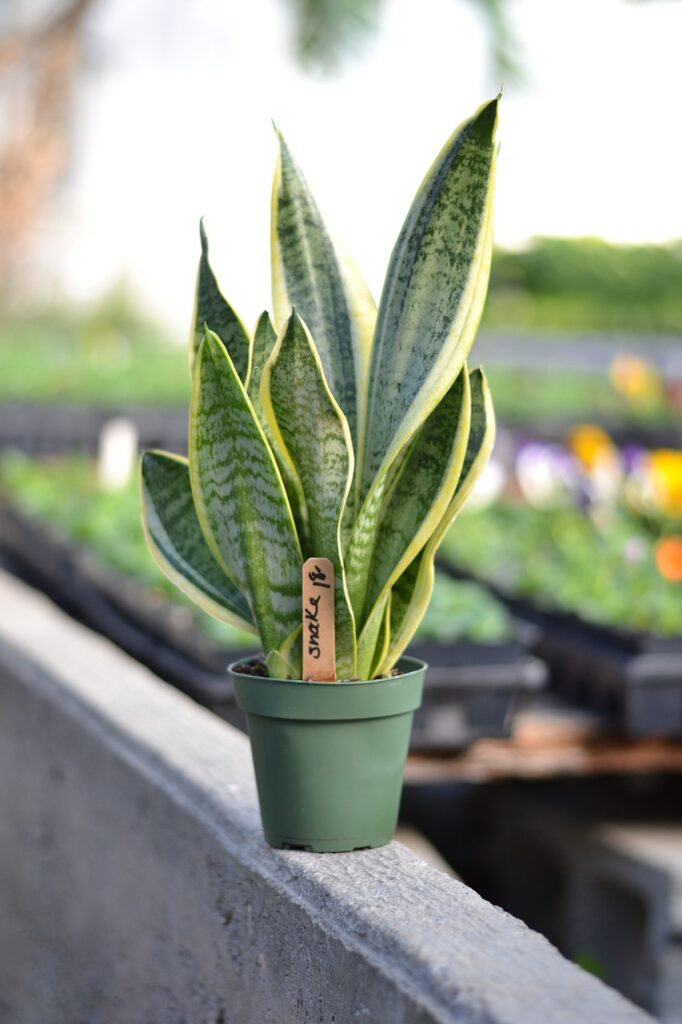
By following these steps, you’ll be able to successfully propagate your snake plant and expand your indoor garden with new, thriving plants.
You can find more of my garden posts here! Thank you so much for stopping in today!


