
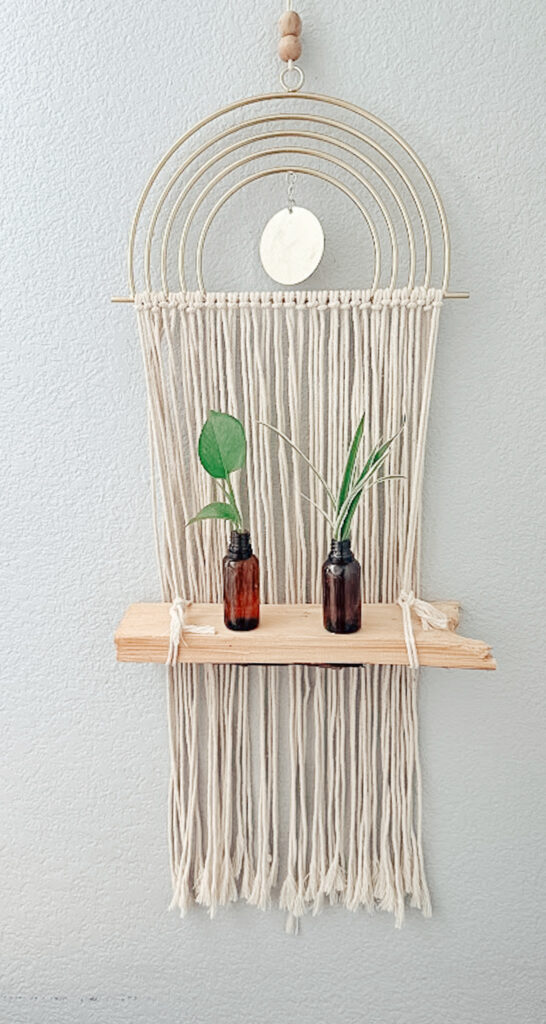
Turn a macrame wall hanging into a propagation station
How to Turn a Macramé Wall Hanging into a Stylish Propagation Station
Love propagating plants and boho decor? Create your own propagation station by combining the two with this easy DIY project that transforms a simple macramé wall hanging into a beautiful little propagation station using recycled small glass bottles. You will be growing new plants in no time! What is plant propagation exactly?
It is when you take a piece of an existing plant, encourage it to grow roots, and create a whole new plant from it.
I will admit, I had a clear plan for this little project. But as I began working, the project took on a life of its own, and I went in a different direction a few times. And that’s OK, that’s the special part of being creative. It doesn’t always go exactly how you thought it would; that is the beauty of the creative process.
It’s our monthly thrift store post, so make sure you see what all the creative ladies madeover!
I found the macrame wall art at our local hospice thrift store for $6, and since it was Wednesday, all home decor is 50% off, woohoo, this whole project cost me $3!

Why You’ll Love This DIY Propagation Station
Using macramé wall art as a base, this project brings together natural fibers, greenery, and glass to create a one-of-a-kind propagation display. It’s not only a great way to propagate your houseplants, but it also doubles as home decor.
Affiliate links are listed below
Materials You’ll Need:
A pre-made or handmade macramé wall hanging
Recycled Small glass bottles, test tubes (dollar store), mason jars, or small vases.
Amber Glass Jars 1 OZ or Amber glass jar 2 oz
Your favorite plant cuttings for propagation
Optional: This is when my project went in a different direction
Driftwood or scrap wood
Hand saw
Liquid Nails
Step-by-Step Instructions
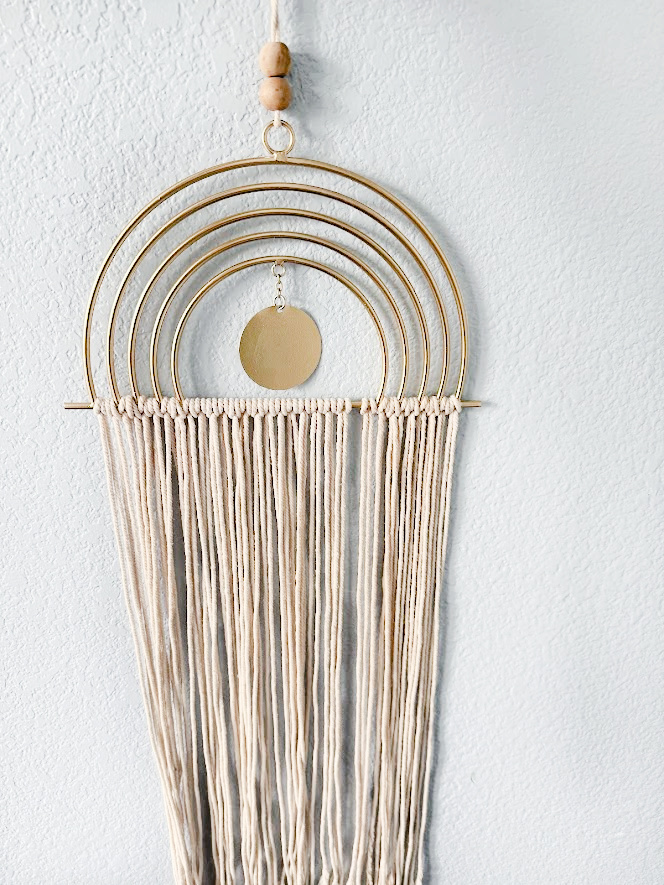
Choose the Right Macramé Hanging
Select a macramé wall hanging with loose or open weaves so you can easily secure bottles. Make sure it’s strong enough to hold the weight of the bottles with water and plant cuttings.
Prepare Your Bottles
Clean the small glass bottles thoroughly. You can reuse spice jars, bud vases, or even mini milk bottles. I used bottles from my favorite skincare line. Take off any labels, and if there is residue left, let them soak in soapy water and use a little alcohol if residue still remains.

Favorite plants to propagate in water
- Pothos
- Monstera
- Philodendron
- ZZ plants
- Fiddle leaf fig
- snake plants
Select a plant with an established root system, so the plant will not be affected when a few stems are cut from it.
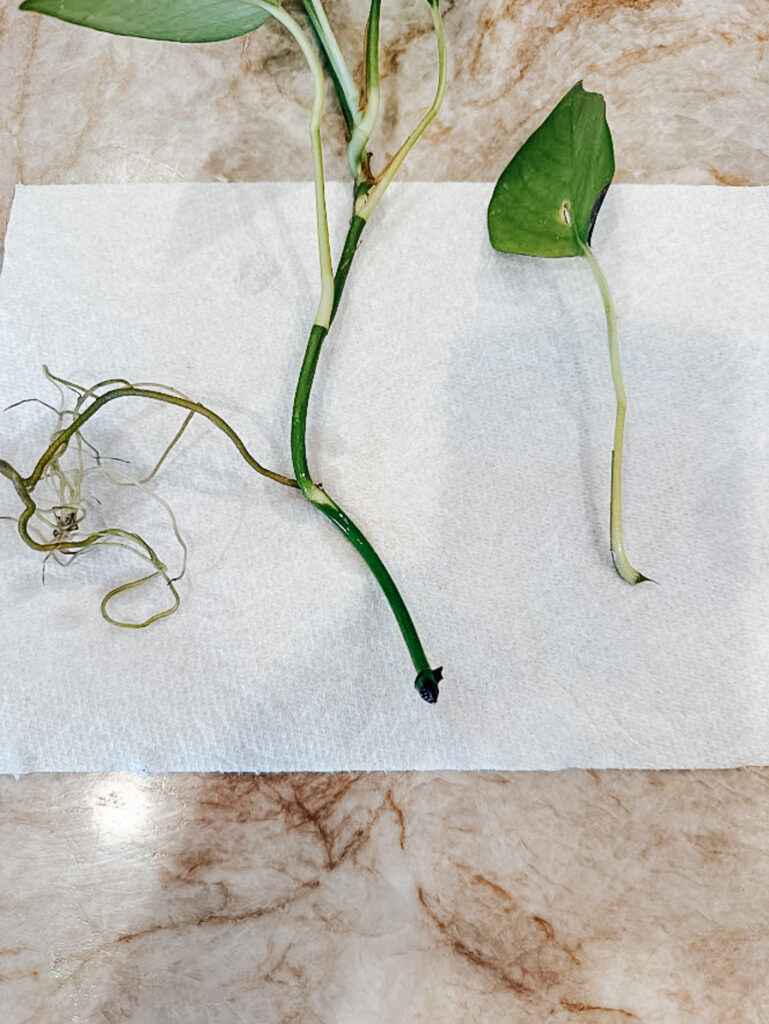
Take the stem cuttings from the plant. Find the node and make a diagonal cut. The node is a bump where the leaf and stem are attached. However, ensure the cuttings are at least 4-6 inches long. The picture below shows the cutting on the left that I have been propagating for about 1 month, look at the roots already! Cutting on the right will be going into the water.
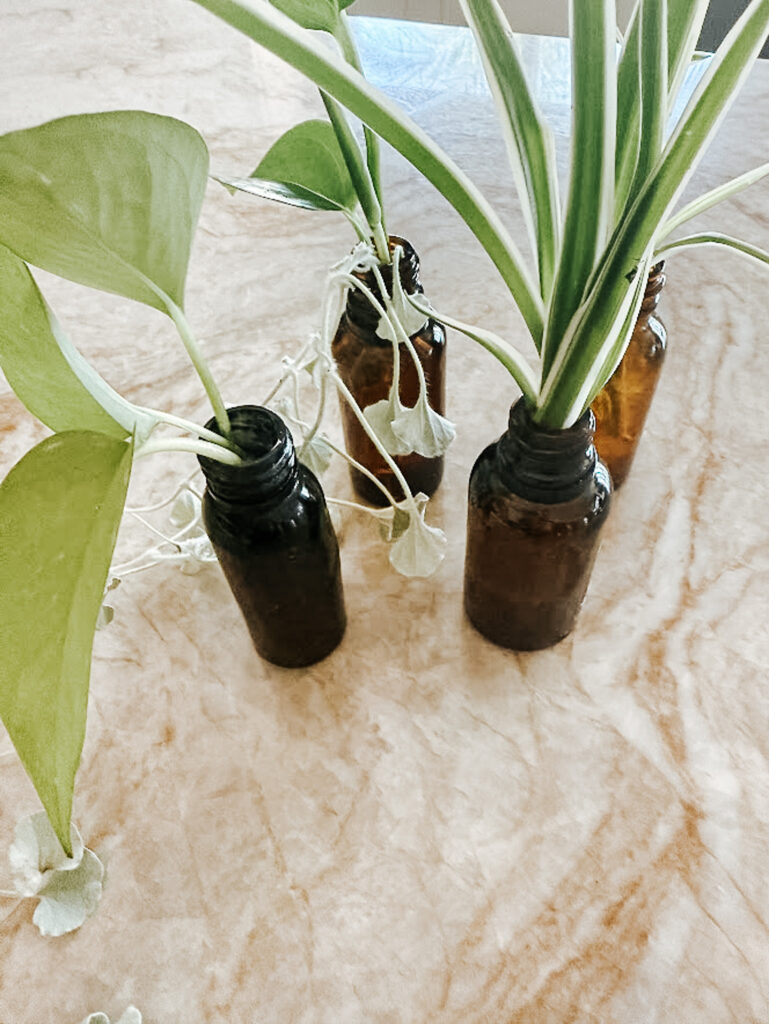
Add Plant Clippings and water
Add your new cuttings to your glass jars.
Attach the Bottles to the Macramé
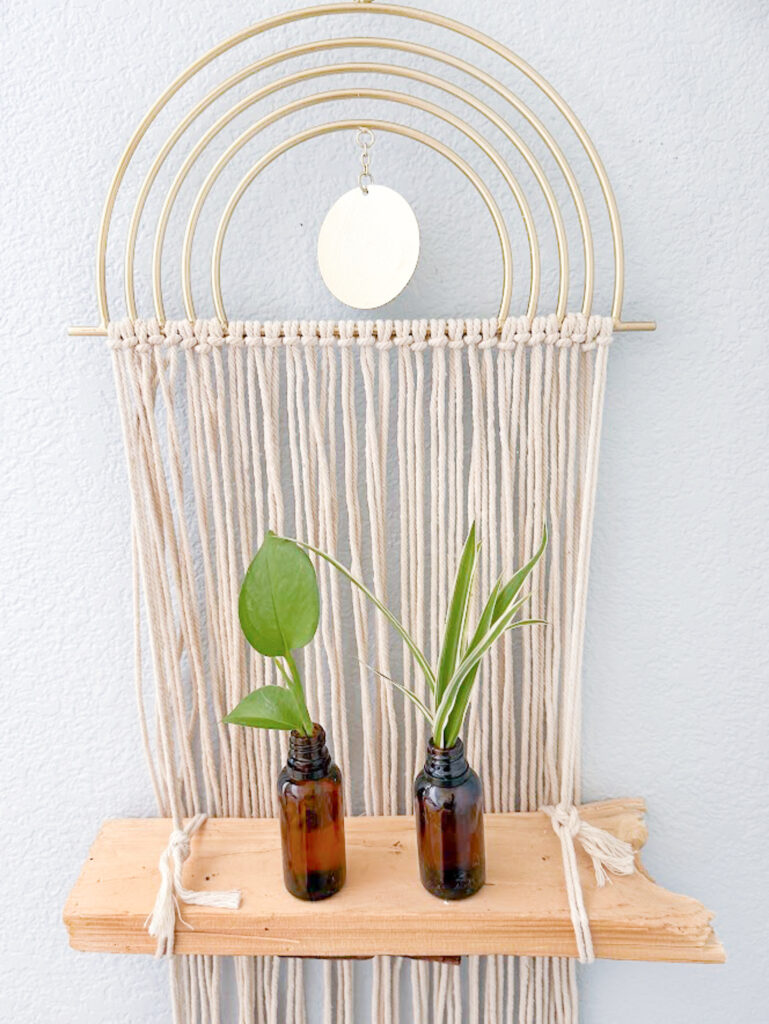
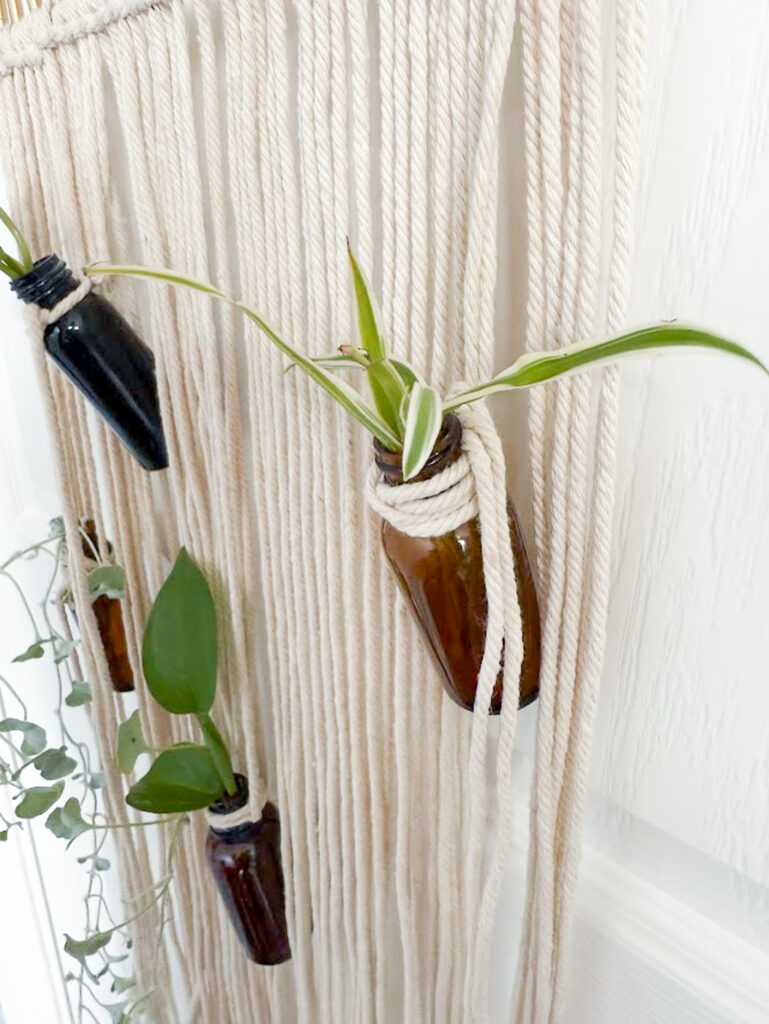
I simply wrapped the macrame around the neck of each bottle until secure. You could also use twine or wire to fasten each bottle securely to the macramé. Hang them to create balance and visual interest.
This is where my project took a little turn; I felt like it was off. So, I decided to cut a piece of driftwood that we had and attach it with the macrame.
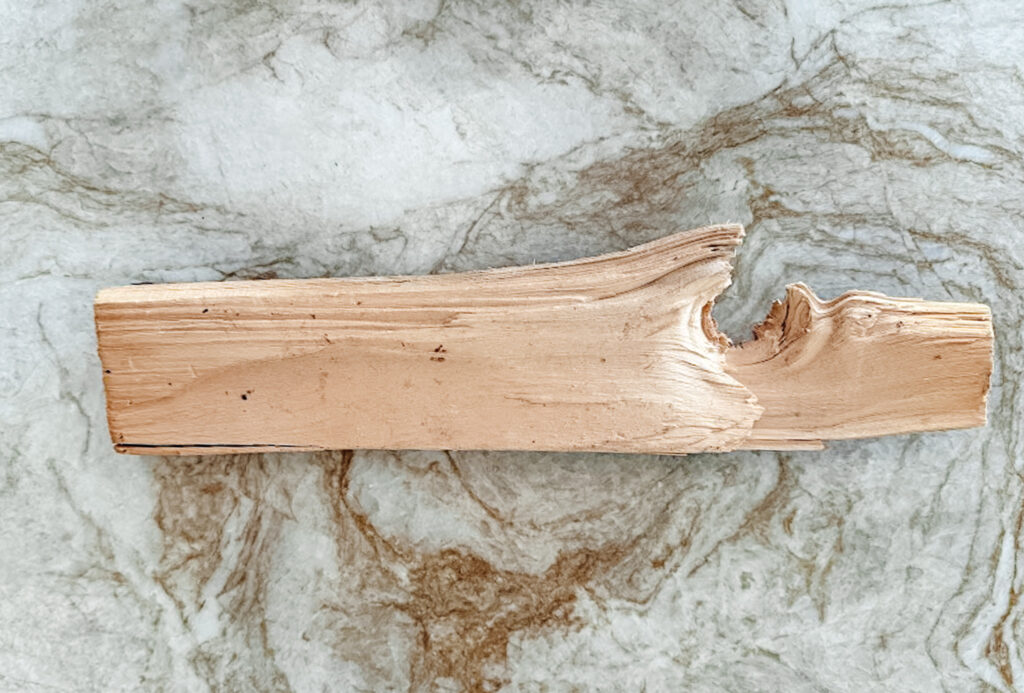
Choose the Right Driftwood
Pick a piece that’s wide and flat enough to function as a shelf. Ensure it’s dry, sturdy, and free from rot or soft spots. You can sand the top slightly if needed for stability. You may need to cut the driftwood, no table saw needed, just a hand saw will work.
Decide Shelf Placement
Hold the driftwood up to your macramé wall hanging and decide where you’d like the shelf to sit. I positioned it in the lower third of the piece, where the cords can support it evenly.
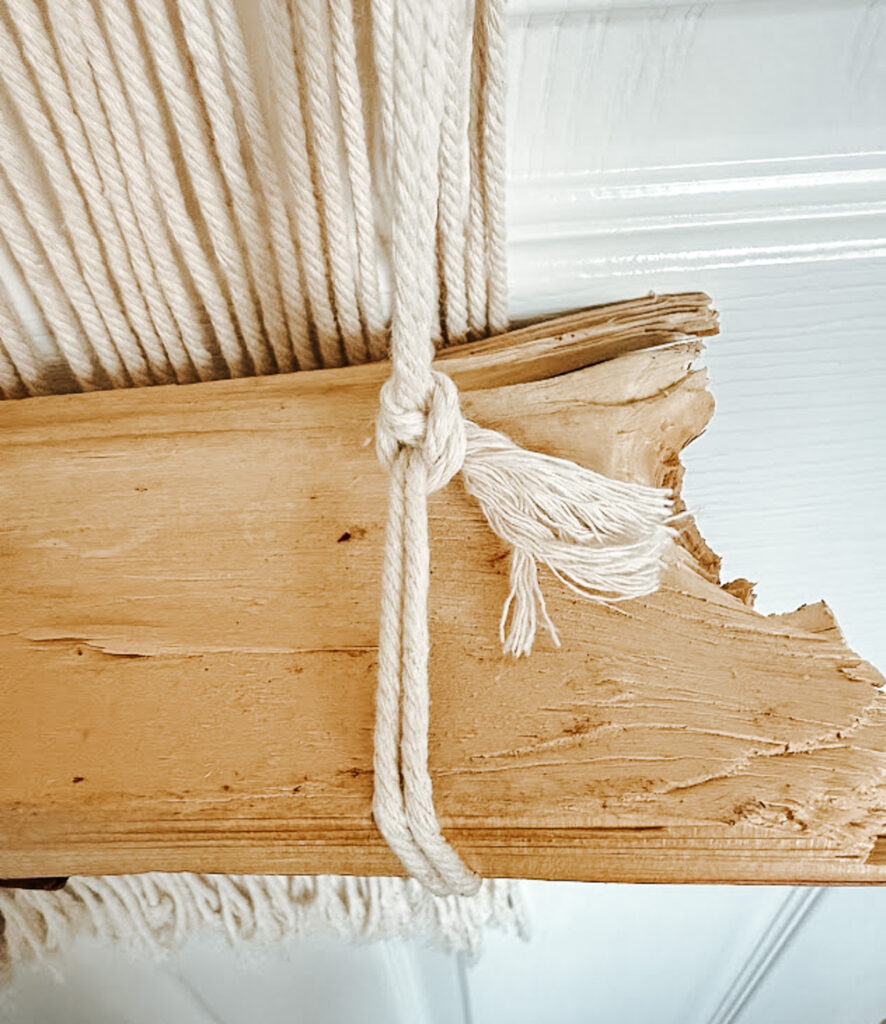
Place the Driftwood on the Loops
Lay the driftwood on the hanging cords like a swing. Adjust the knots or cord lengths until the shelf sits level. For added stability, you can drill small notches or holes into the driftwood to accommodate the cords, allowing them to sit inside or pass through.
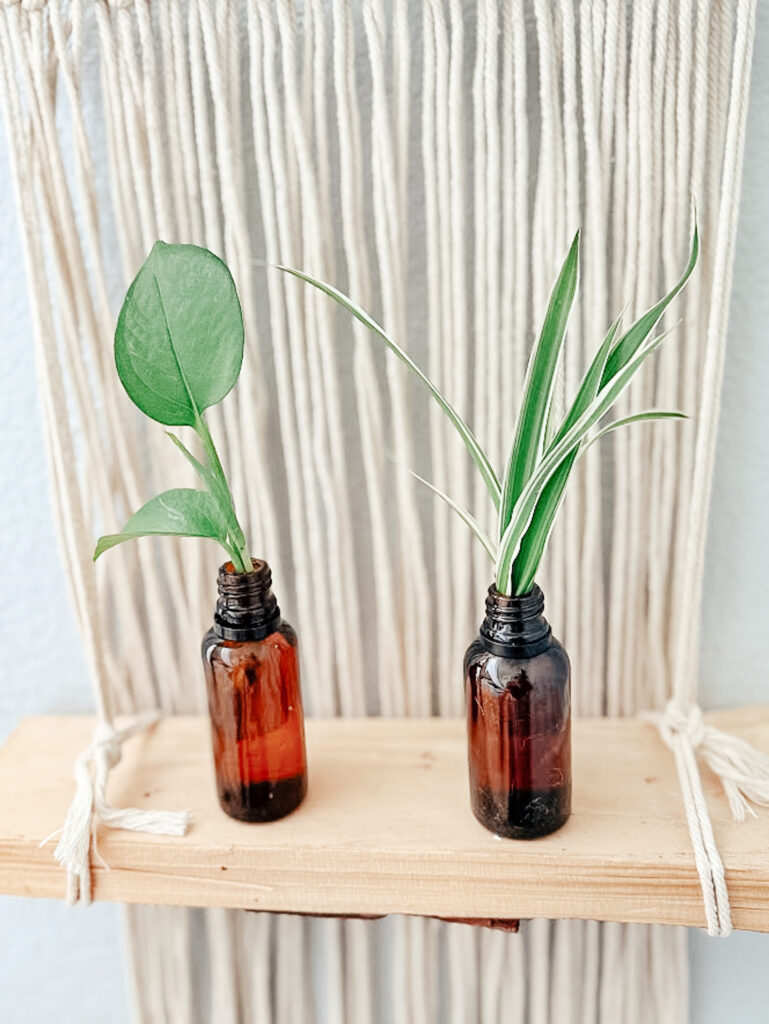
Secure glass jars
You can place a dab of Liquid Nails under each bottle to ensure it won’t fall off the driftwood
Hang It Up and Enjoy!
Hang your new cute propagation station near a window where it will get plenty of indirect light. Monitor the water level and roots over time. Happy propagating!
Tips for Success
Wait for the roots to develop. Try to maintain the water level so the roots don’t become dry. Change the water once a week, and clean the bottle each time so that mold does not grow. If you feel the roots are outgrowing the small glass bottles, you can move them to a larger vessel. It is recommended that the roots be at least two inches long before being transferred into the soil. Look at this beauty my sister in law gave to me, it’s ready to transition.
![]()
Transition Carefully
Once your cutting has strong roots, it’s time to move it to its permanent home. Acclimate the to the soil gradually by keeping the soil consistently moist at first.
Take a look at what everyone else made over for June!

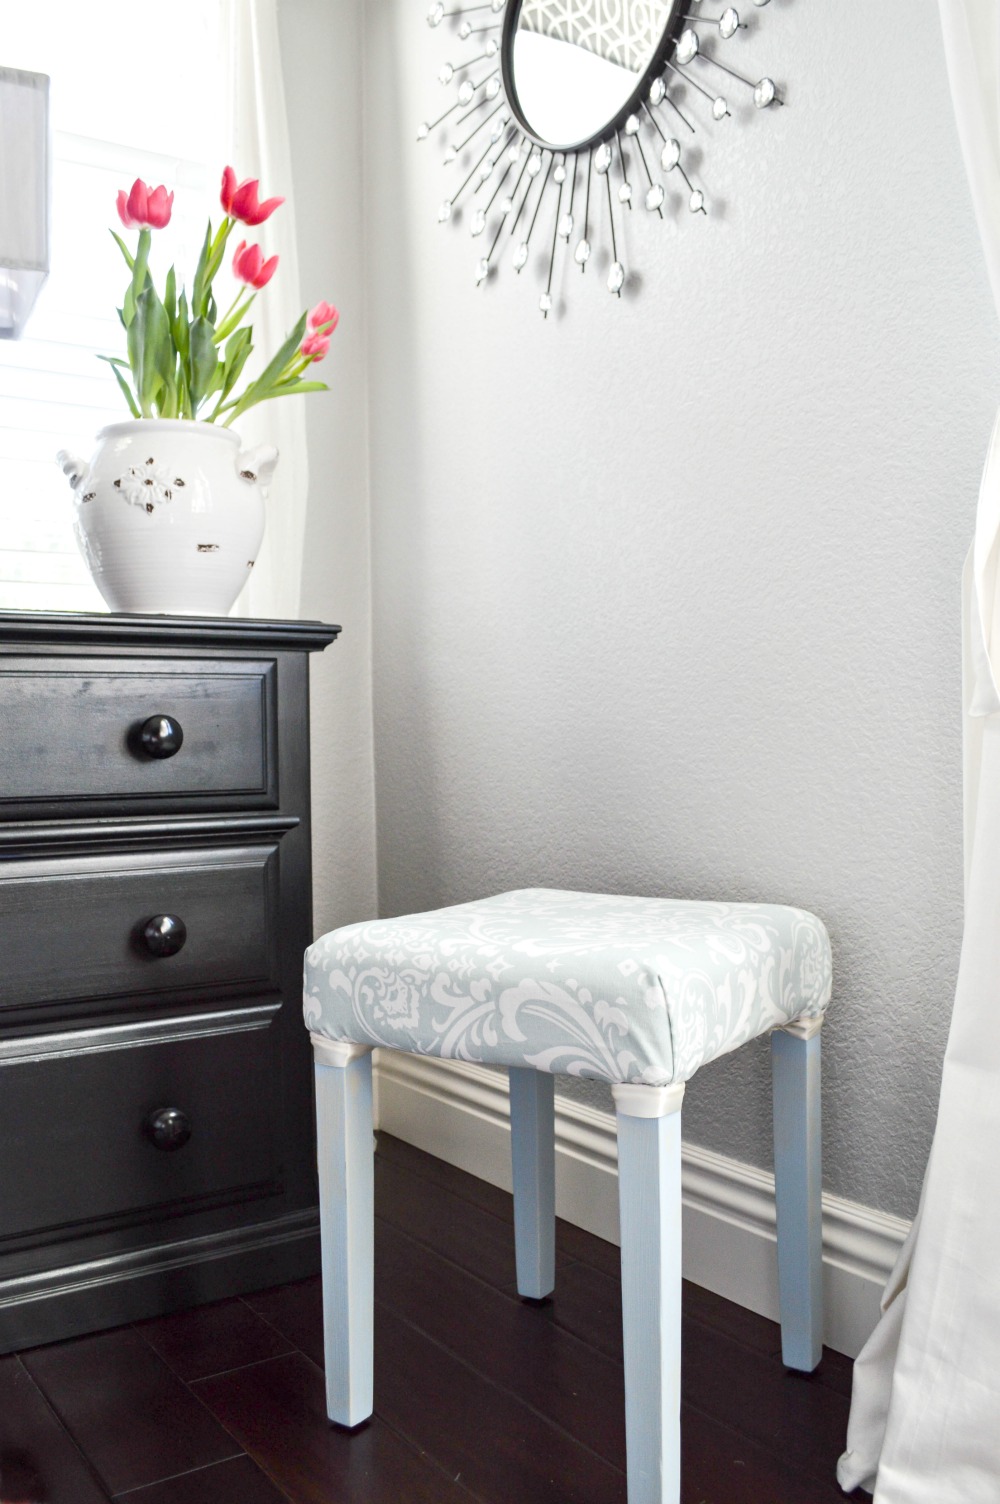
My Repurposed Life – Little Girl Statue Makeover
My Uncommon Slice of Suburbia – DIY Macrame Propagation Station
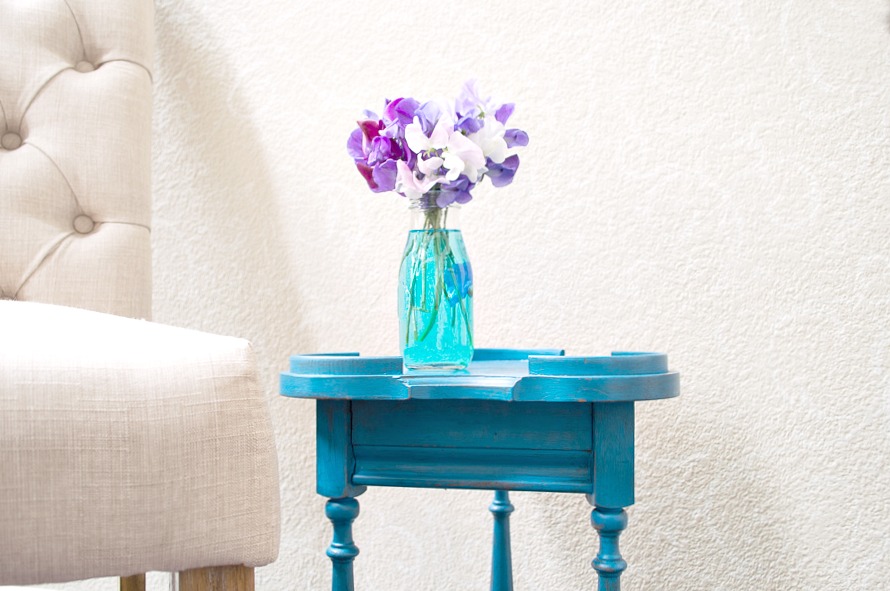
Petticoat Junktion – Repurpose A Mirrored Vanity Tray
Shop at Blu – Barn Metal Pride Flag
Thank you so much for stopping in today, wishing you a beautiful week ahead. We are off to go pick up the kids from college for the Summer and this mama heart couldn’t be more happier!!


Kristen,
I’m jealous! I love your propagation station (it reminds me of School House Rock, lol).
I used to propagate plants successfully years ago. However, in recent years, I’ve tried to do an African Violet without much luck. I’m VERY good at rooting dwarf schefflera cuttings from a plant I got when my mom passed away 33 years ago. I have given away many lovely plants from that.
Pinned!
gail
They really are the best gifts, my sister in law is queen of propagation! I looked up schefflera and I love the color variations, I’m going to be on the lookout for it!