Naturally Dye Easter Eggs
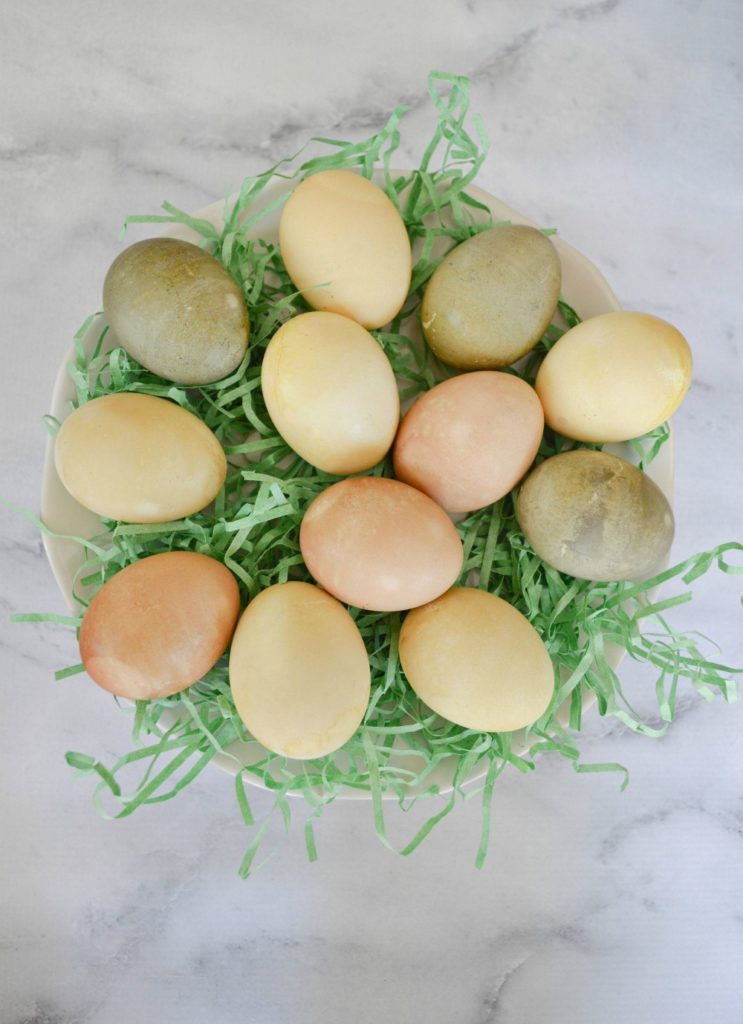
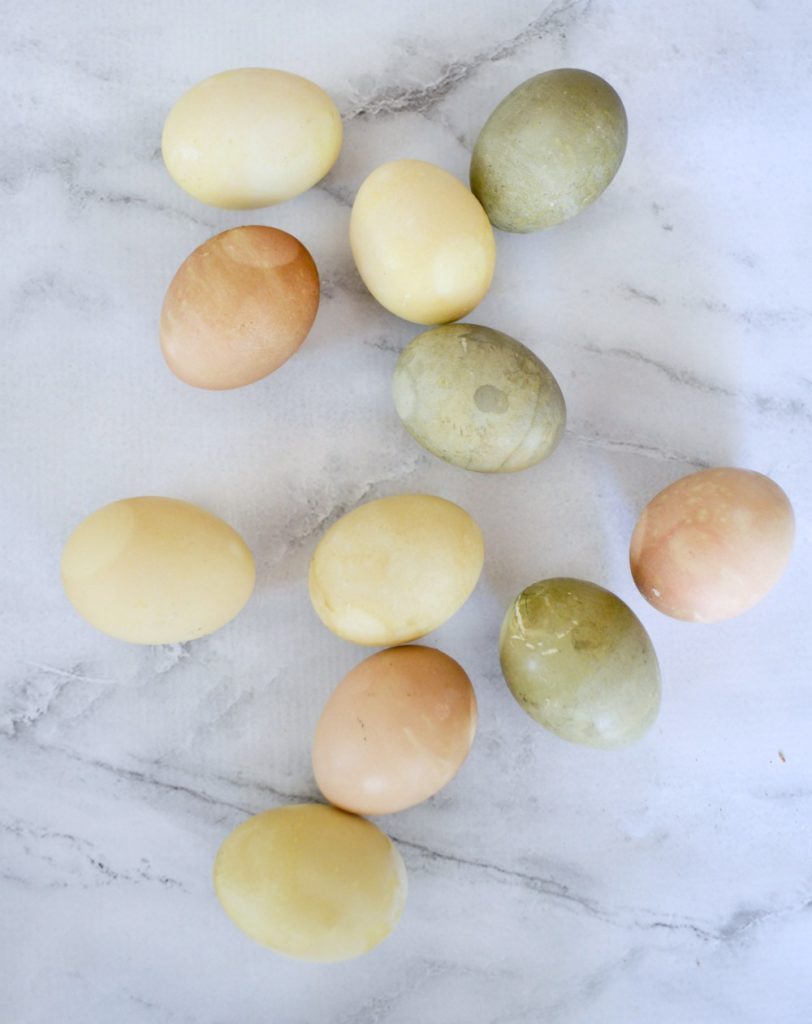
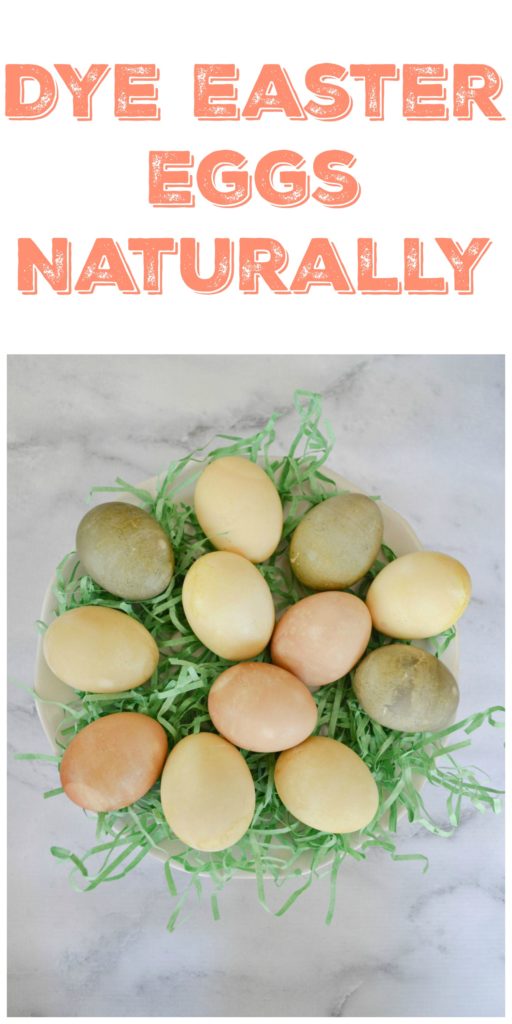
We have been naturally dying Easter eggs for many years now, the process is so much fun and the kids love to see what colors they will create. Most likely you aren’t going to get those vibrant colors that the synthetic dyes give you (at least we haven’t so far) but creating naturally dyed eggs brings you beautiful muted colors. It’s not simple or instant like artificially dying eggs but the rewards are so much greater!
How To
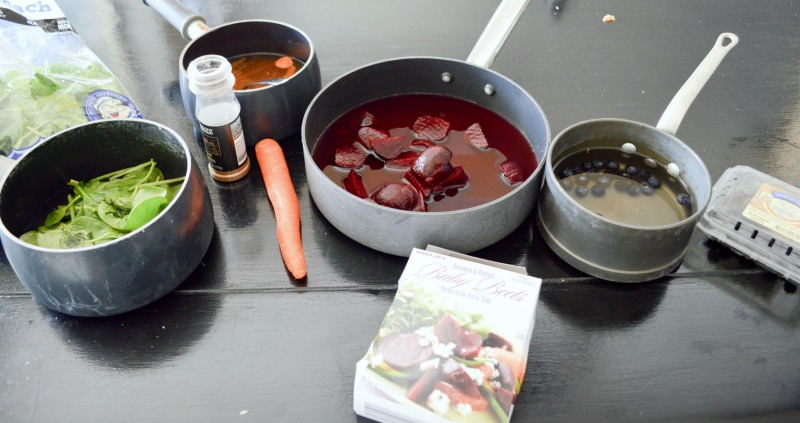
If you are using vegetables, use 2 cups of each vegetable. When using a spice, use 2 Tablespoons of each spice.
Example: 2 cups beets/2 cups water/1 tsp salt/ 1 tbs vinegar
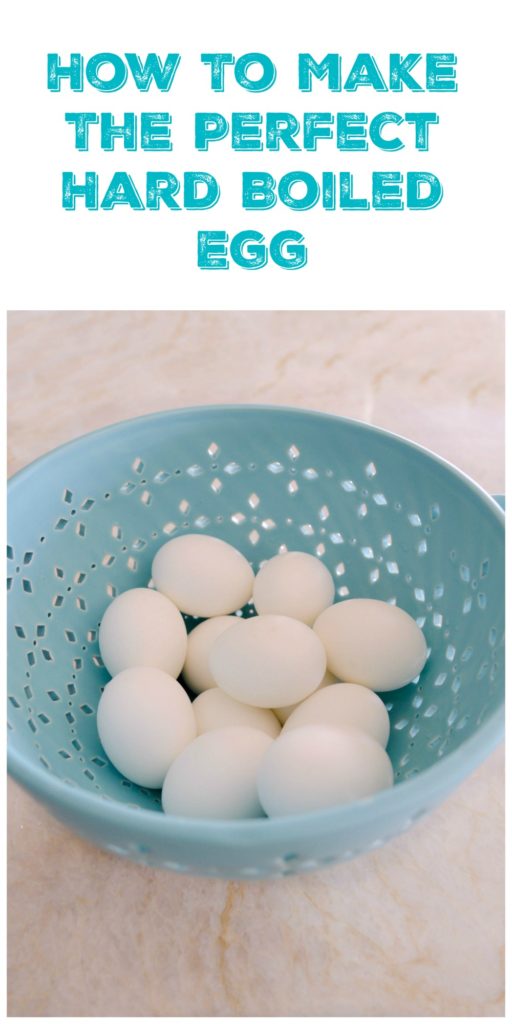
Hard boil the eggs first and make sure they are completely cool before starting the dye process.
Using a saucepan, place each item (vegetable or spice) separately into 2 cups of boiling water along with 1 tsp salt and let simmer for about 60 minutes.
Strain out the bits of vegetables and use the remaining liquid as your dye.
Add 1 Tbsp white vinegar to each dye.
Allow the dyes to cool before using.
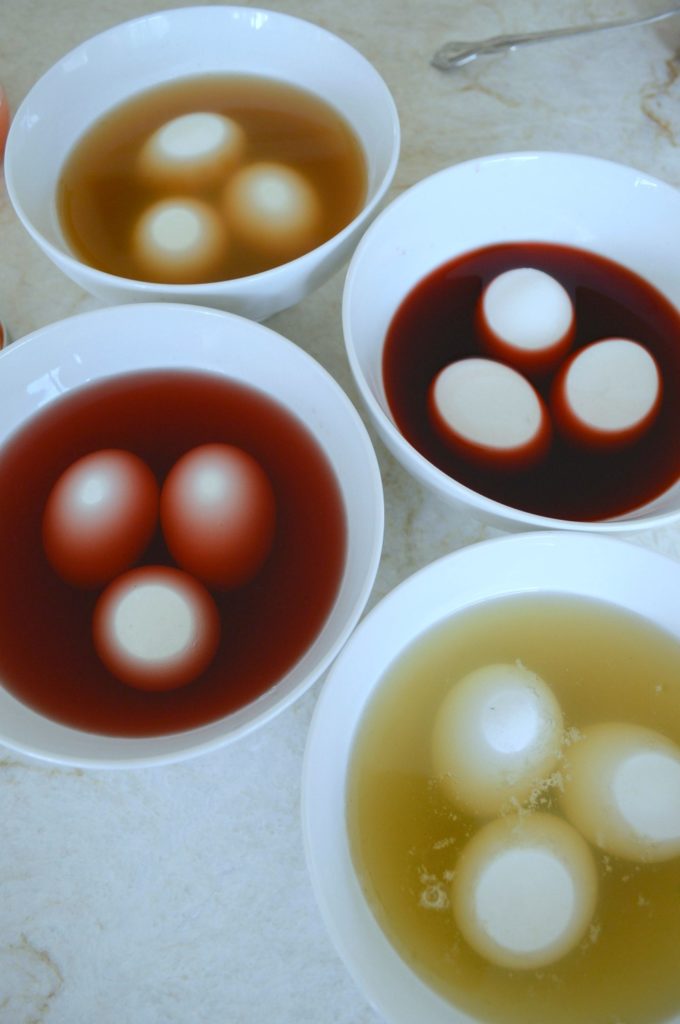
Soak the eggs in the dye overnight in the refrigerator. (If the eggs are not completely submersed into the dye make sure to rotate the eggs half way through so the whole egg is covered) The longer you soak the eggs in the dye liquids, the more intense the colors will be.
Remember, natural dyes will take longer to work with than synthetic dyes, so make sure you give yourself enough time.
Examples Of Items You Can Use For Each Color
Blue: Canned Blueberries
Pink: Beets
Orange: Carrots
Beige: Black Tea
Yellow: Ground Cumin
Red: Red Onions Skins
Green: Spinach Leaves
Brownish Orange: Chili Powder
I love that the process teaches the kids about making and mixing natural dyes from things right out of our fridge, they look forward to it every year! If you are looking at how to make the perfect hard boiled egg I have a no fail method below, just click on the picture below.
Wishing everyone a beautiful Easter!

