
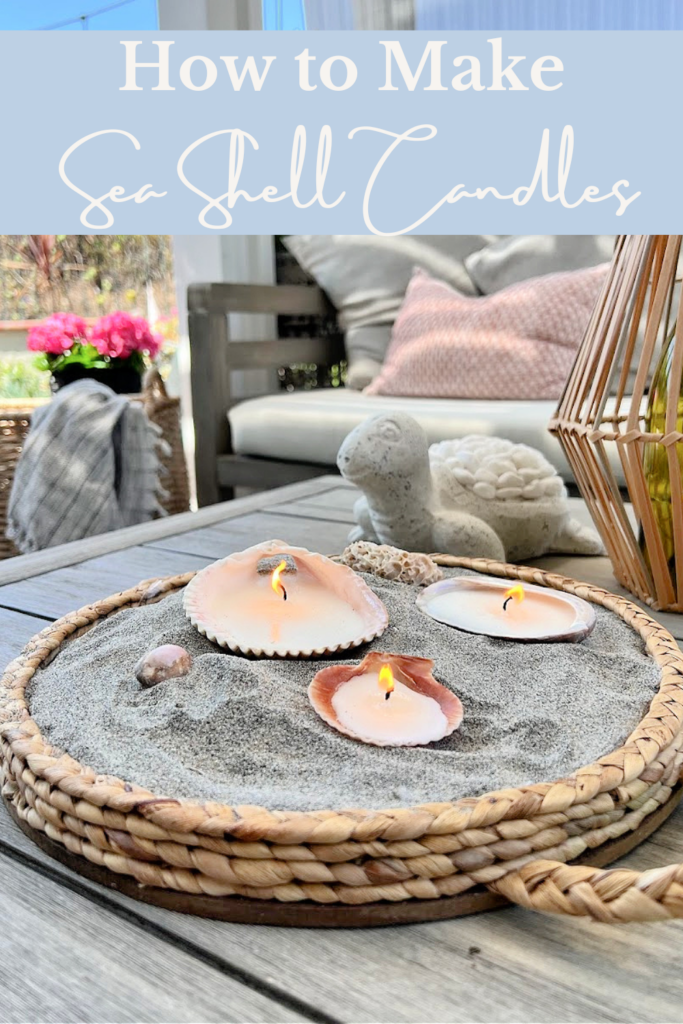
How to Make Easy DIY Seashell Candles
DIY Guide: How to Make Tea Light Seashell Candles
One of my favorite things to do is walking along the beach and finding beautiful sea shells, it was one of my mom’s favorite things as well. Making these Seashell candles was so much fun and a great way to add a charming touch to any room or outdoor space! They emit a soft glow that creates a cozy atmosphere. If you love crafting and want to bring a bit of the beach into your home, making tea-light seashell candles is the perfect project!
When my mom was diagnosed with Parkinson’s and before her dementia started, she began to clean out her house and gave me a bag of all the sea shells she had collected. I’ve used them for various projects over the years and I’m using up the last of them to make these DIY seashell candles.
I was inspired to make these homemade seashell candles from my friend Julia over at Cuckoo 4 Design. She melts the wax from tea candles, make sure to check out her full tutorial!
Affiliate links are listed below
Here’s a step-by-step guide on how to create these delightful candles:
Supplies:
Seashells (you can find them at your local craft store as well)
Cotton Candle Wick 6″
Natural Soy Wax candle melts
Glue Dots Double-Sided
Scissors
Double Boiler or Pouring Pot
Candle Wick Holder
Premium Grade Essential Oil Of Your Choice
Step-by-Step Instructions:
Step 1: Prepare Your Workspace:
Cover your work surface with newspaper or a protective cloth you will want to work on a flat surface
Set up your double boiler
Step 2: Prepare the Seashells:
Ensure the seashells are clean and dry.
If the seashells are not flat on the bottom, you may need to level them by gently chipping away any uneven parts using a small hammer or file. Scallop shells would work best.
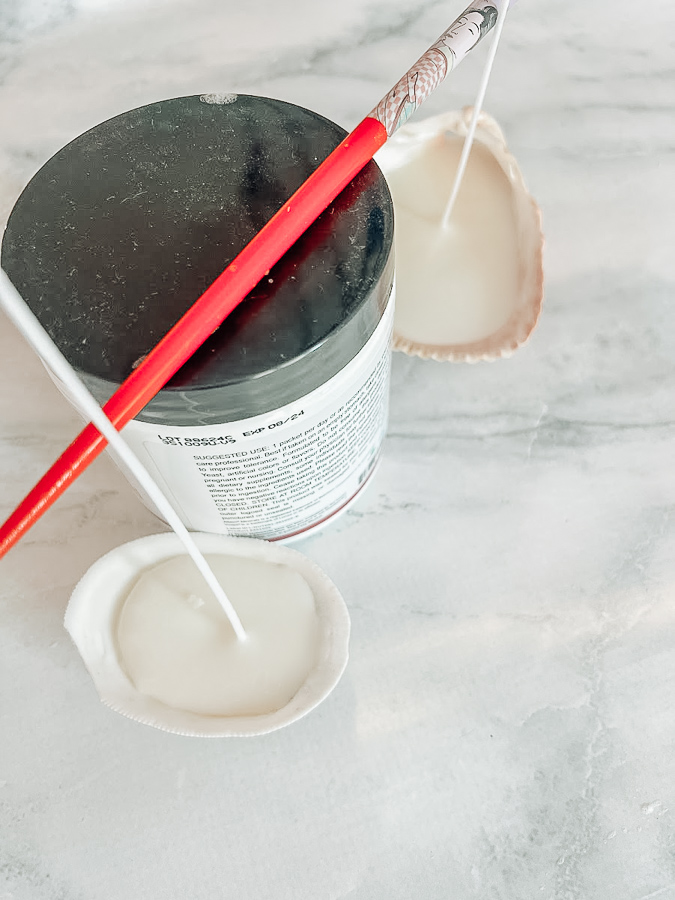
Step 3: Prepare the Wicks:
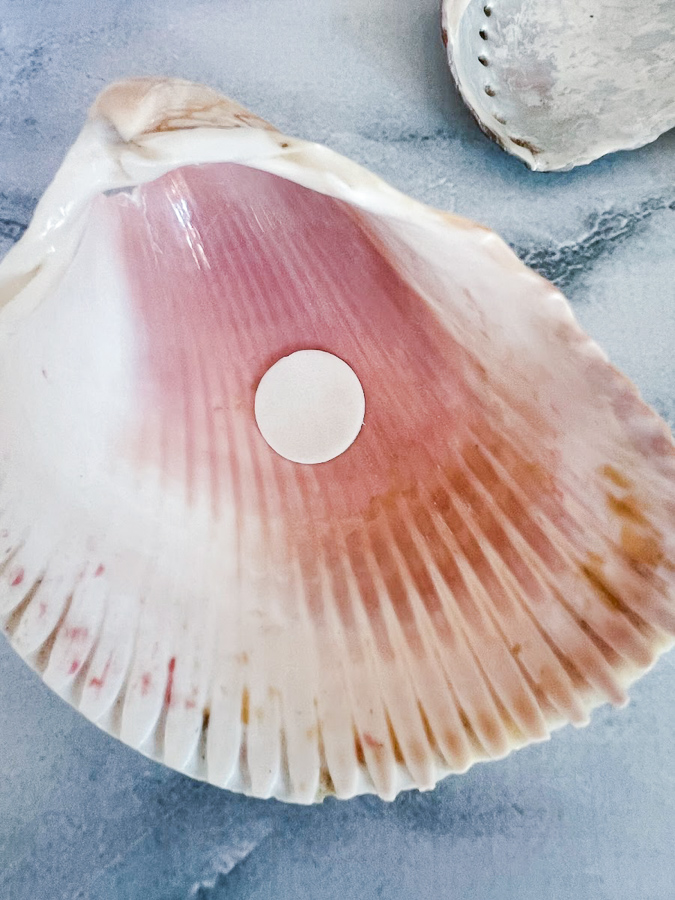

If using pre-tabbed wicks, simply stick them to the bottom center of each seashell. If not, use a hot glue gun to secure the wick in place or use glue dots that are double-sided.
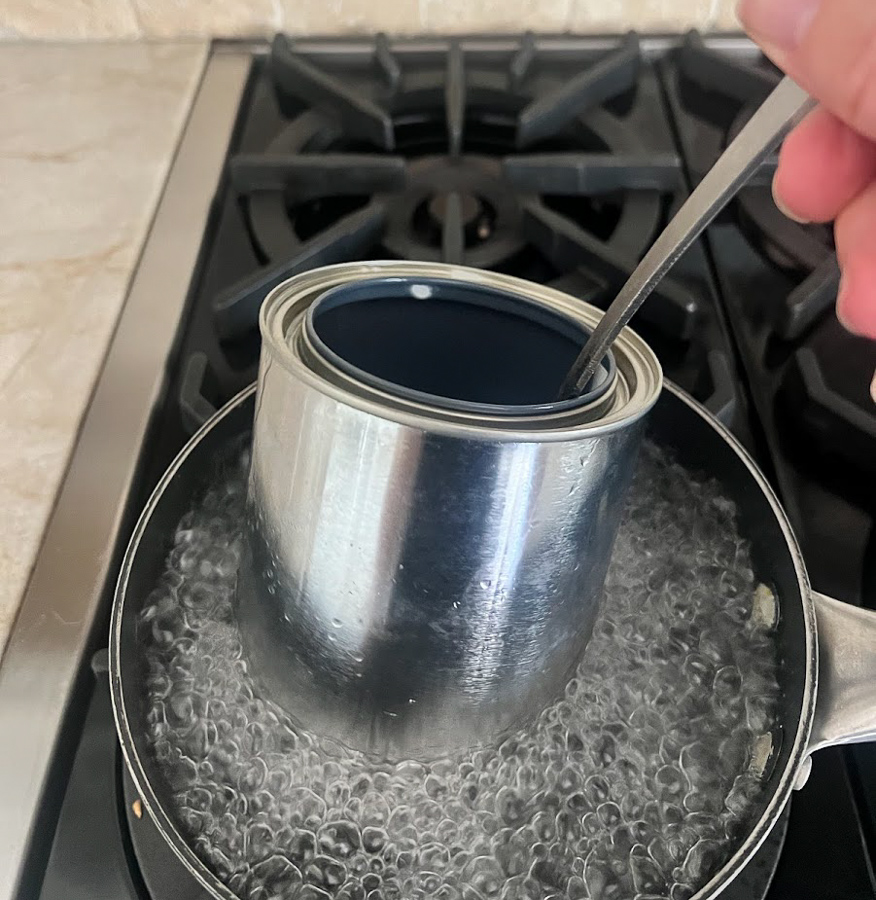
Step 4: Melt the Wax:
Use your double boiler or microwave to melt the candle wax according to the manufacturer’s instructions. (I used a new empty paint container from Home Depot, much cheaper than a pouring pot) Your pour temp should be between 165 and 185 degrees F. You can check the temperature using a candy thermometer. Use a metal spoon to stir.
(optional step) If you are adding drops of essential oils into the melted wax, add it when you reach a temperature between 165 and 185 and stir gently.
It’s a little difficult to say how much wax to use since it depends on the size of your shells, 1/2 cup per shell is a pretty good estimate. If you don’t have enough wax, just melt some more, it heats up pretty quickly.
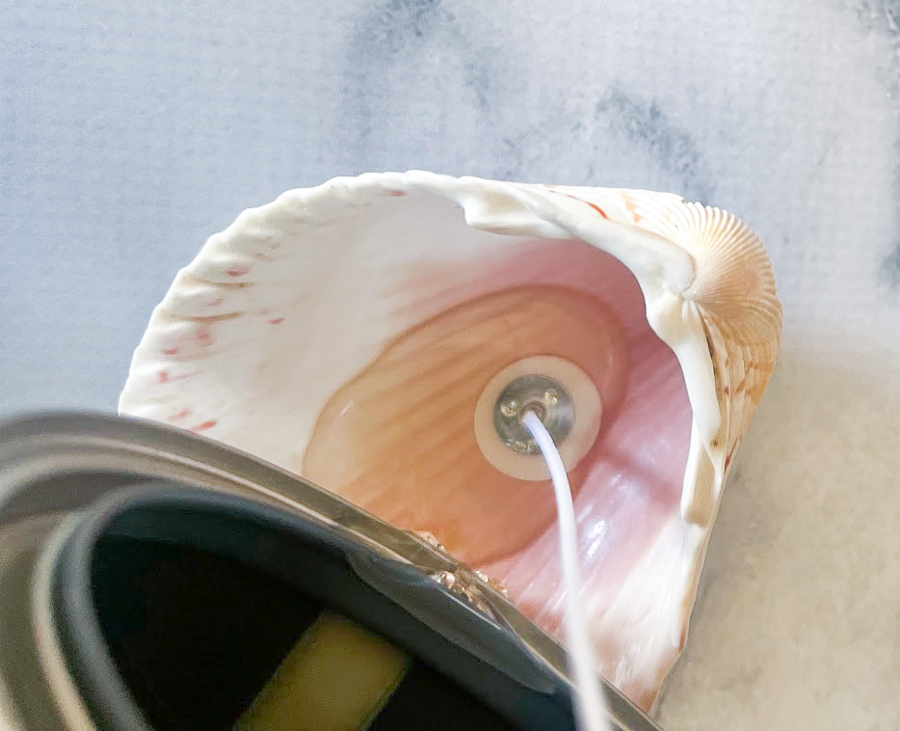
Step 5: Pour Wax into Seashells:
Carefully pour the hot wax into the deepest part of the shells, ensuring the wick stays centered.
Leave a small space at the top to prevent overflow when the wax solidifies.
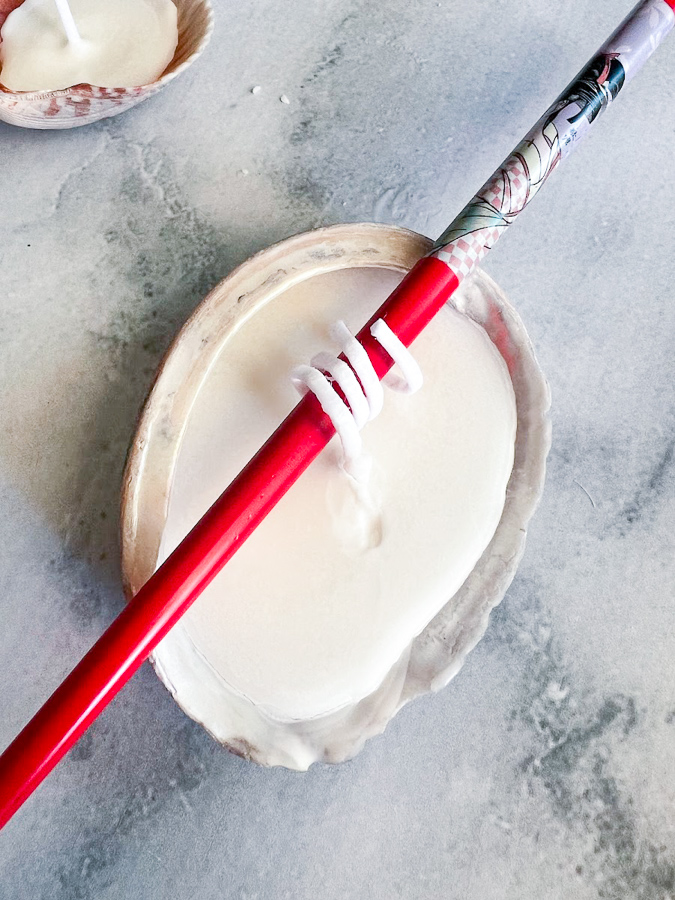
Step 6: Let Wax set:
Allow the wax to cool and solidify completely. This may take a couple of hours depending on the size of your candles and the type of wax used. I propped my shells up on various household items to help keep them level while drying. And got a little creative with propping the wicks up. You could also trim the wicks prior to pouring the wax.
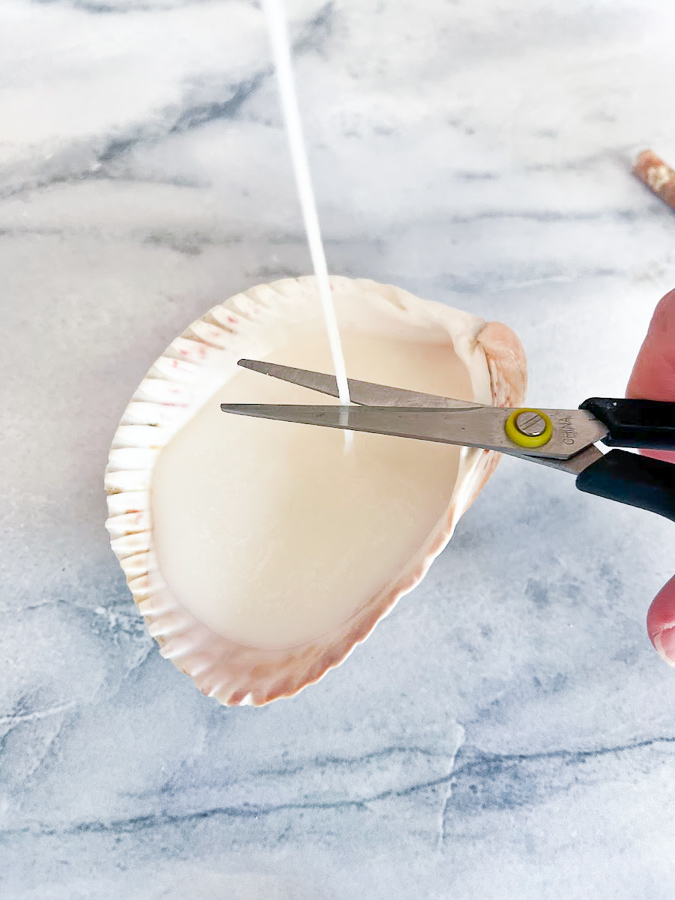
Step 7: Trim the Wicks:
Once the wax is set, trim wicks to about ¼ inch above the wax surface.
Tips for Success:
Safety First: Always melt wax carefully and never leave it unattended. Never leave a candle unattended.
Experiment: Try different types of seashells and wax combinations to find your favorite style.
Large Shell: If using a larger shell you can add 2 or more wicks.
If you have any imperfections in the wax, use a heat gun to smooth them out. Just a few seconds is all it takes.
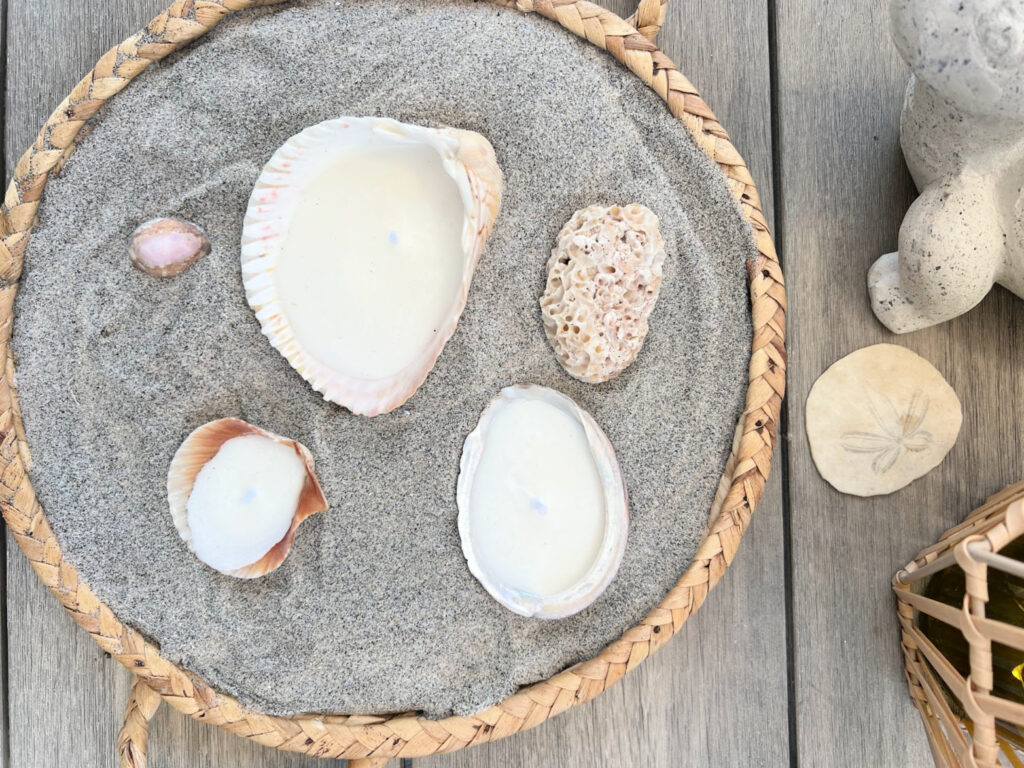
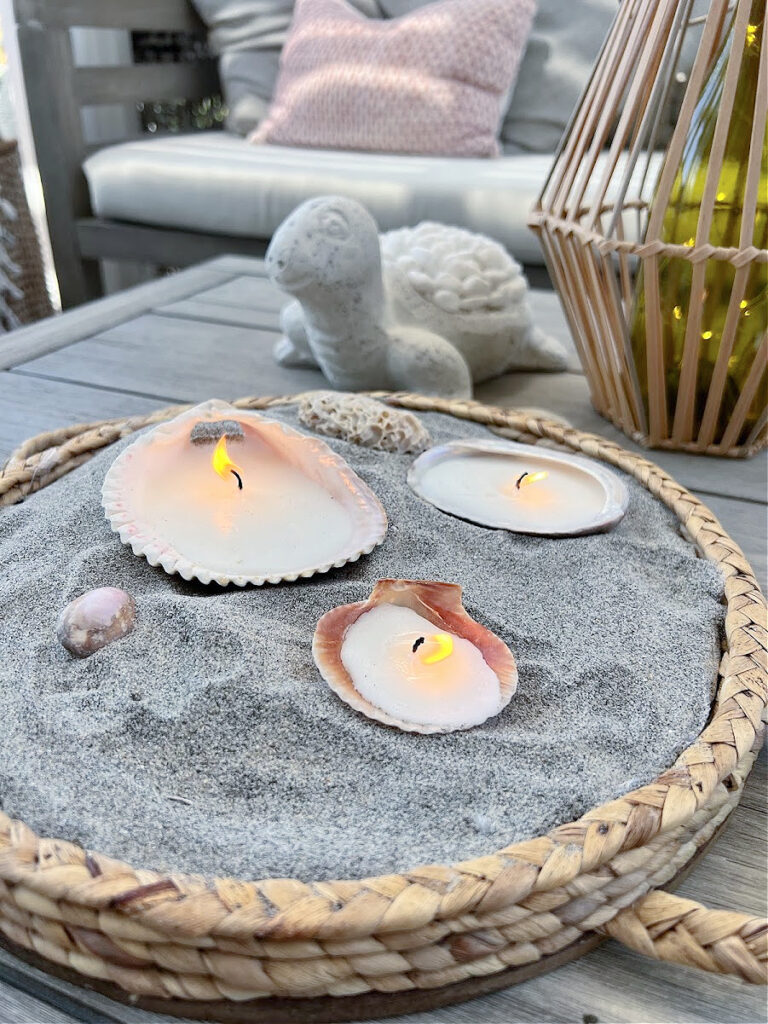
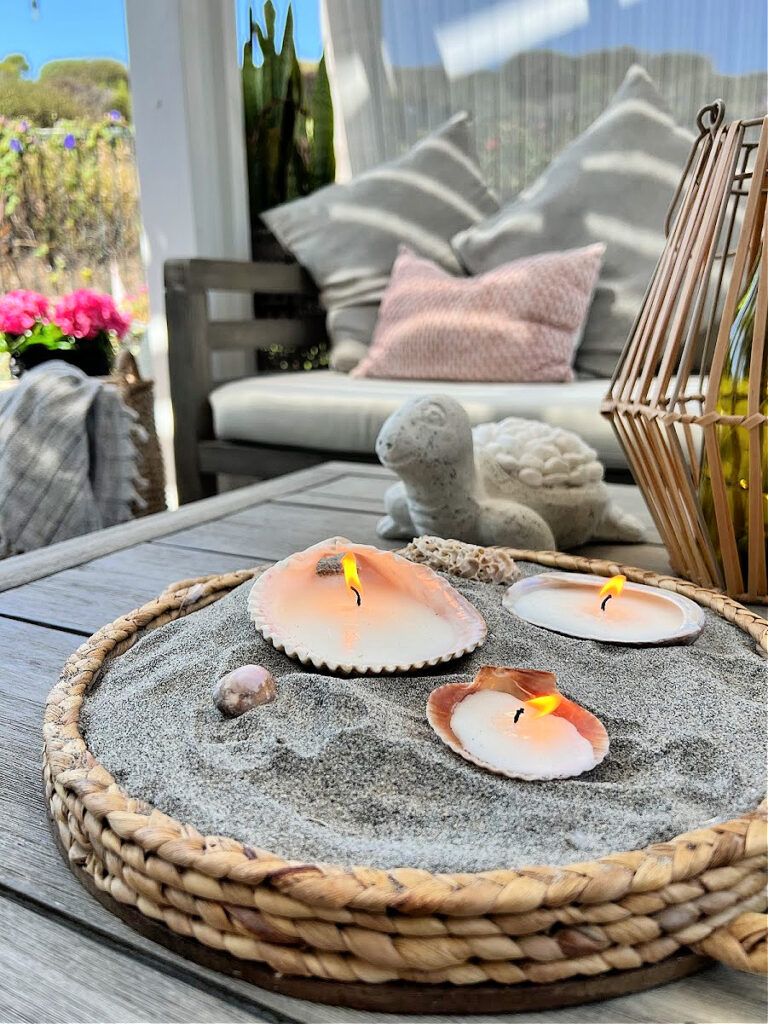
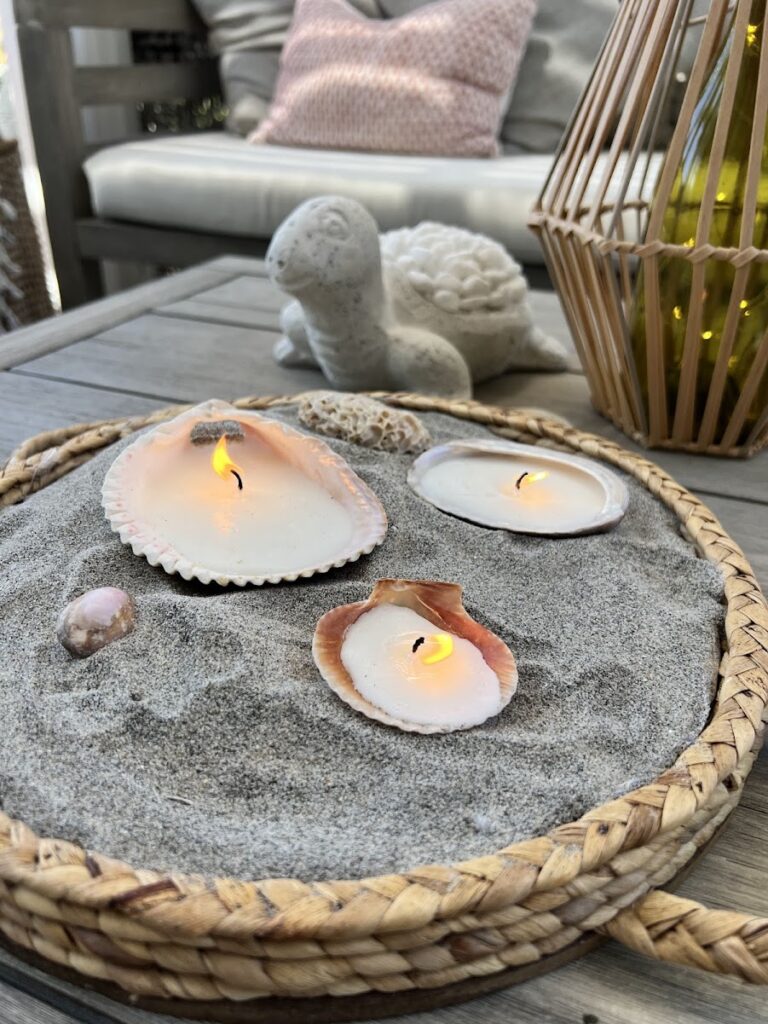
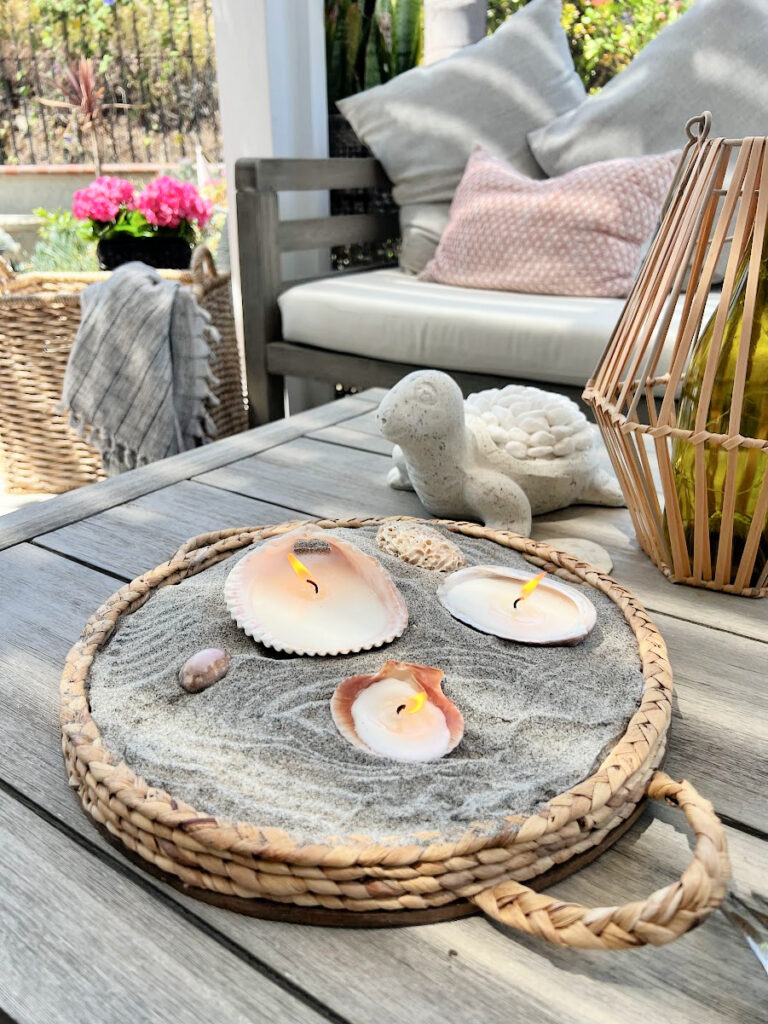
Arrange your homemade candles on a tray, shelf, or in a glass bowl filled with sand on a summer table setting to create a beach-inspired touch. I don’t recommend setting the sea shell candles directly on a surface, add sand so it will catch any melted wax, and you won’t have a mess to clean up afterward.
If you have extra wax, don’t throw it away. Place it in a bag and reuse it next time. If it’s scented, put a little note with the type of scent.
If you are unable to find wax, you could use tea lights, take off the metal tins, and wick and melt the wax. You could do this with larger candles as well.
I really loved this little craft project and had so much fun making them. I think these beautiful decorative candles would be a great gift as well. They are a wonderful way to infuse your home with a romantic element and bring a touch of the beach into your home! Let me know if you make some, I would love you to send me a picture!
You can see how I made dough bowl candles here and mason jar candles here.

Wishing you a beautiful week ahead!
+
These are so pretty, Kristin! And perfect for anyone who wants a coastal ‘touch’ inside or outside of their home! I’m happy to be featuring your post at Tuesday Turn About this week!