
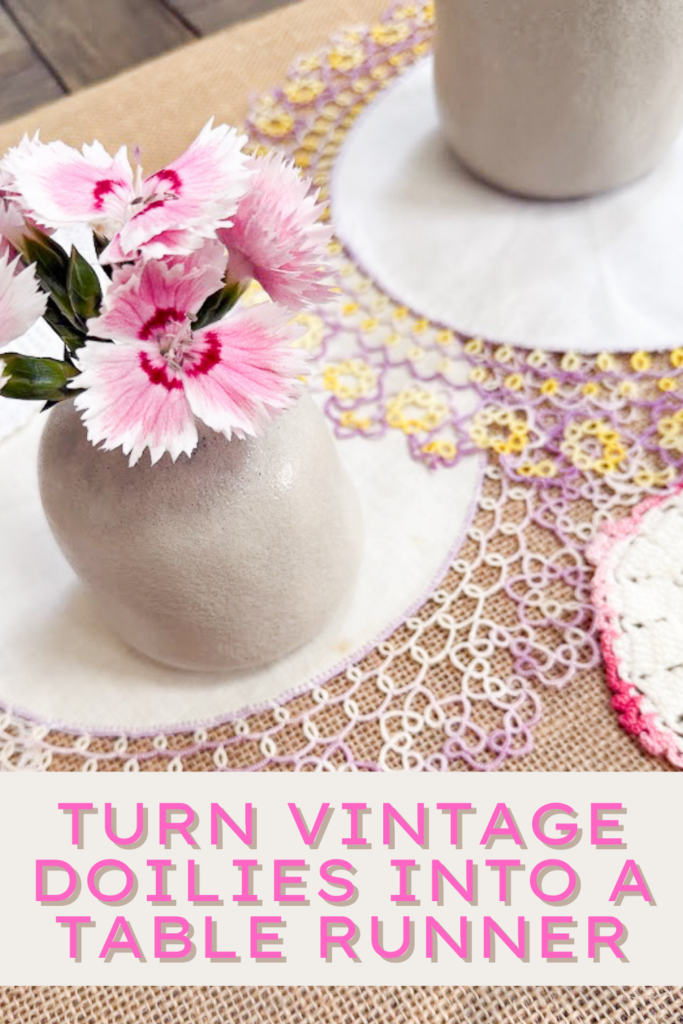
How to Make a Vintage Doily Table Runner
Learn How to Make a Vintage Doily Table Runner in a Few Easy Steps
I have had my grandmother’s vintage doilies for years, sitting in a drawer, collecting dust. I wanted to showcase them and decided to turn them into a vintage table runner! While sifting through the doilies, I found a few pieces that my husband’s mom had given to me, which made me so happy! Two different styles that blended so perfectly!
It’s thrift store decor day, I can’t wait to see what everyone created this month! Although I did not find these particular doilies at the thrift store, I have seen them many times during my thrift store hunts. So don’t worry if you don’t have doilies that have been passed down to you; you can thrift them, check antique stores, ask relatives, or even buy mixed lots on Etsy or eBay.
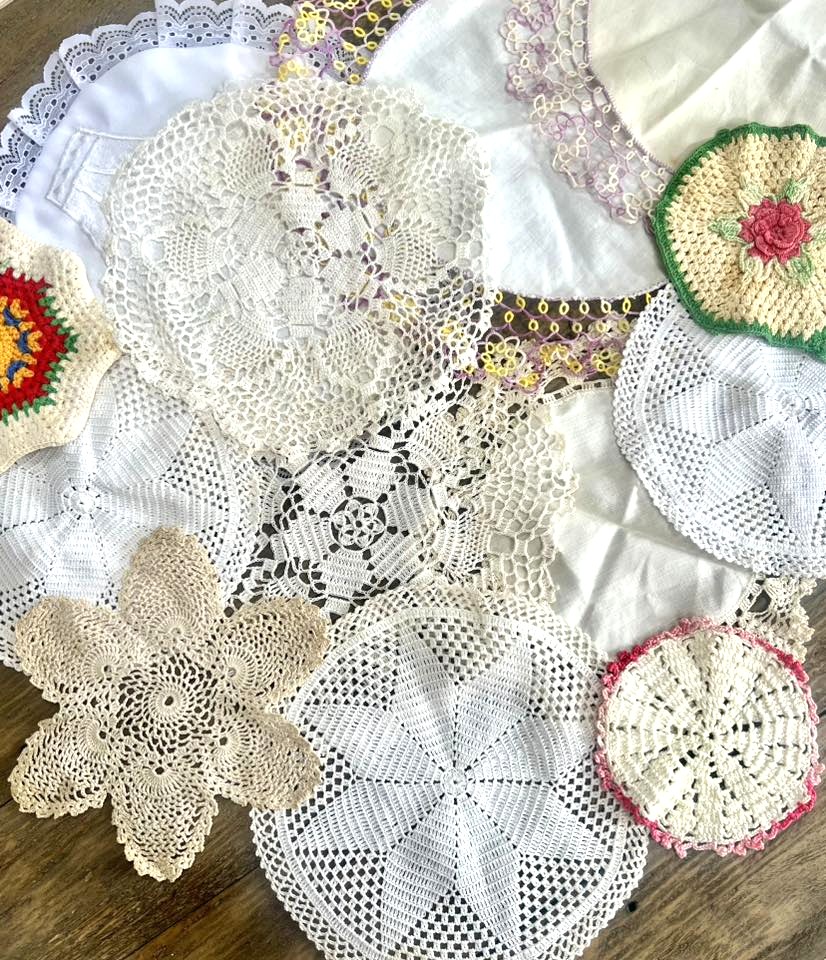
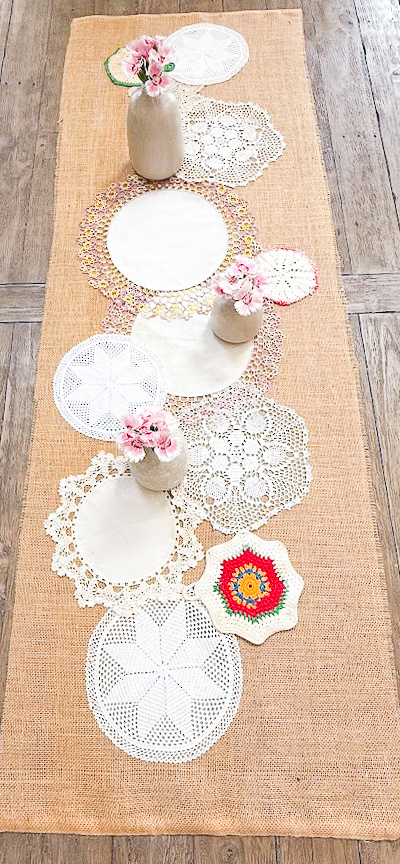
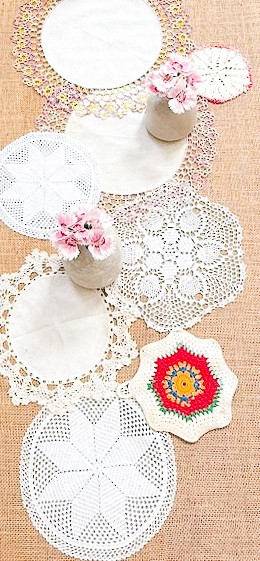
Here is my assortment before being cleaned, ironed, and stitched together.
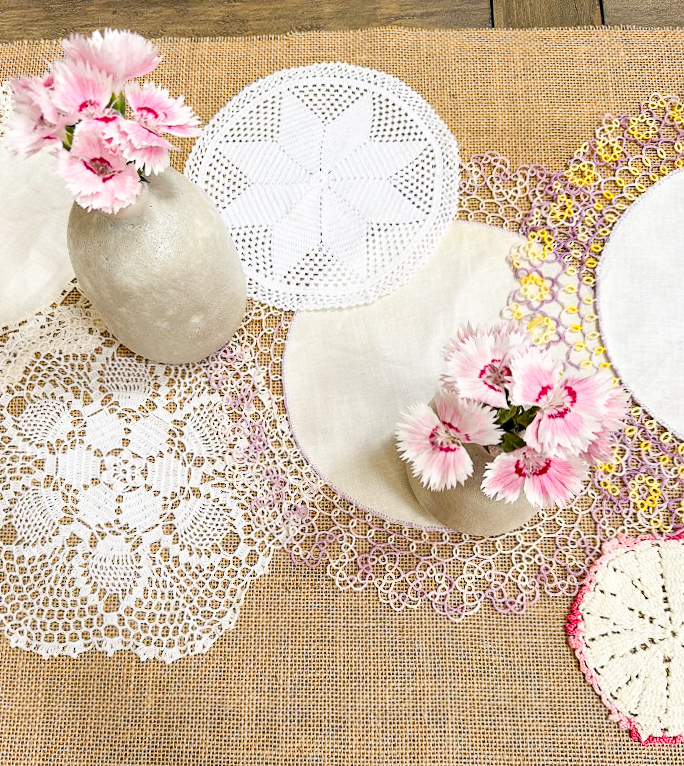
This project was such a simple and sentimental DIY project, and it looks so pretty in our dining room. My grandmother was always busy, sewing, cooking, canning, and creating anything she could. She loved to display the doilies under her candy dishes, such great memories of her!
Affiliate links are listed below
Supplies
A collection of vintage doilies (various sizes, shapes, and patterns)
Iron and ironing board
Neutral-colored thread (white, cream, or beige)
Sewing machine (or needle if sewing by hand)
Scissors
Straight pins or fabric clips
Optional: backing fabric or tulle (if you want extra support)
Step-by-Step Instructions
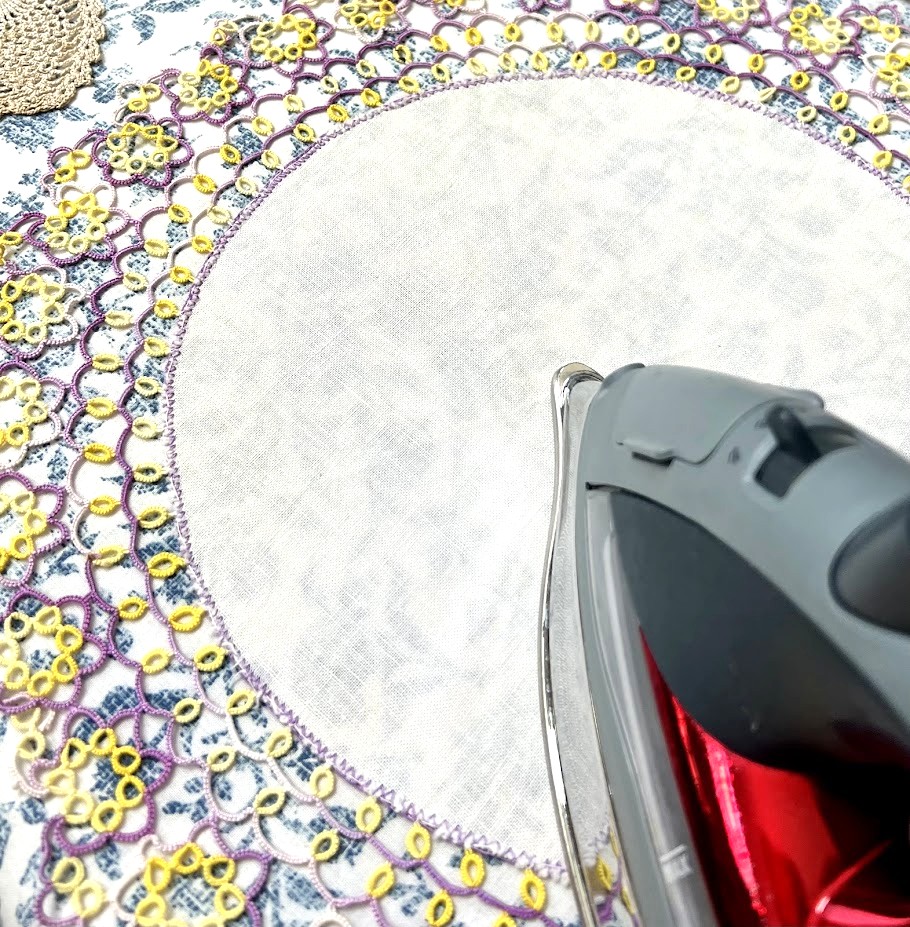
Clean and Press the Doilies
If your doilies have stains, I would hand wash them, as a machine wash could ruin them. Next, use a warm iron to gently press each doily so they’re flat and easy to work with. Steam can help if they’ve been folded or wrinkled in storage.
Sort and Plan Your Layout
Lay your doilies out on a large flat surface (like the floor or a table). Play with different arrangements—overlapping the edges slightly, alternating shapes, and different sizes until you are happy with your design. I liked the largest ones in the center. Depending on your style, the runner can be rectangular, asymmetrical, or free-form.
Tip: Snap a photo of your layout once you’re happy with it. It’ll help guide you during assembly.
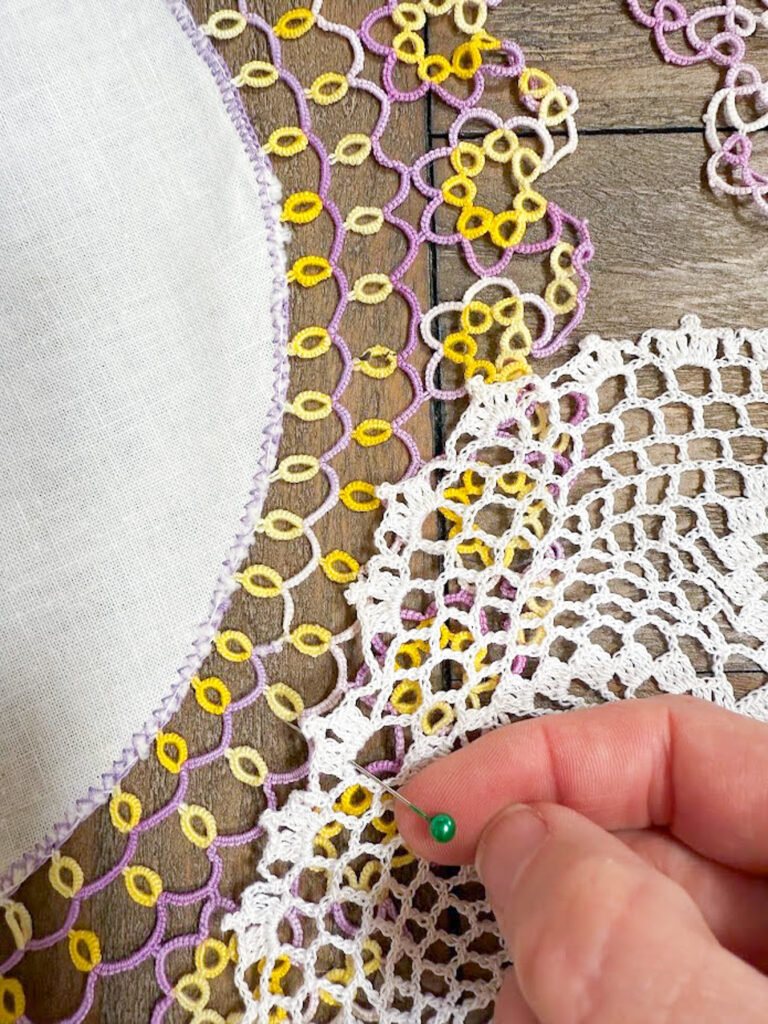
Pin the Overlaps
Start pinning where each doily touches another. Aim to secure them where they naturally overlap, usually around the edges. Keep checking your original layout to make sure nothing shifts too far out of place.
Stitch the Pieces Together
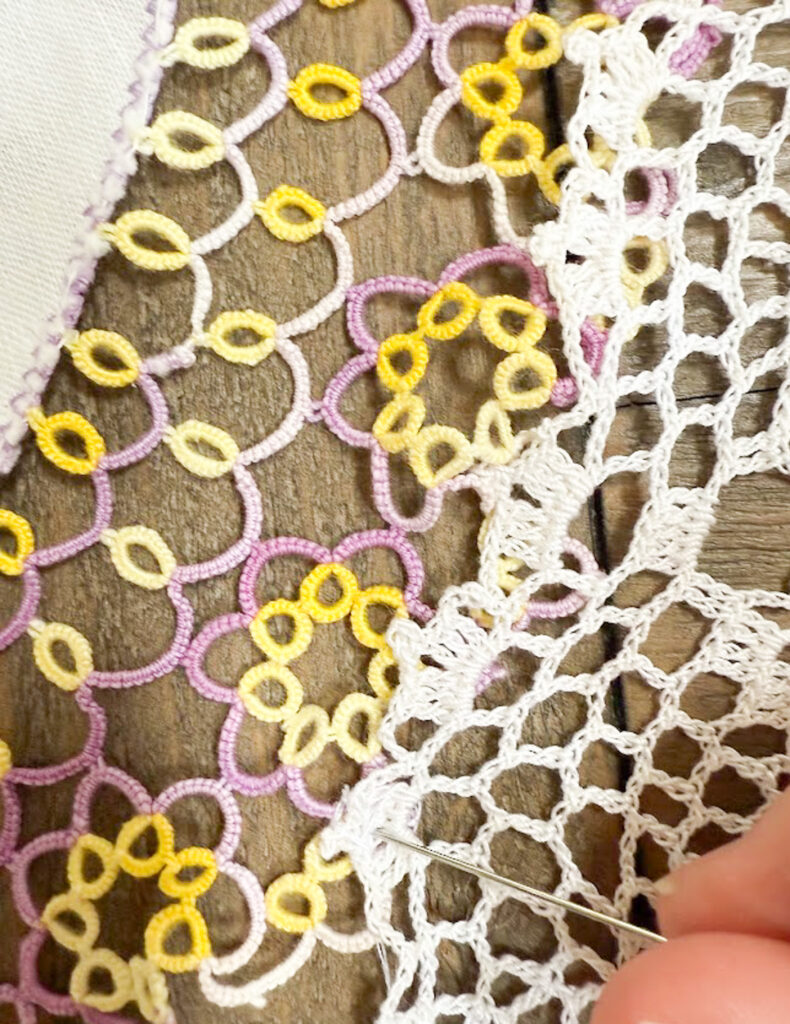
I decided to hand-stitch the lace doilies together to make it less permanent. Plus, I was concerned I might ruin the lace with the machine.
Carefully sew the overlapping edges of the doilies together, using small invisible stitches that won’t distract from the lace pattern, connecting the edges of touching doilies in a couple of places.
Trim
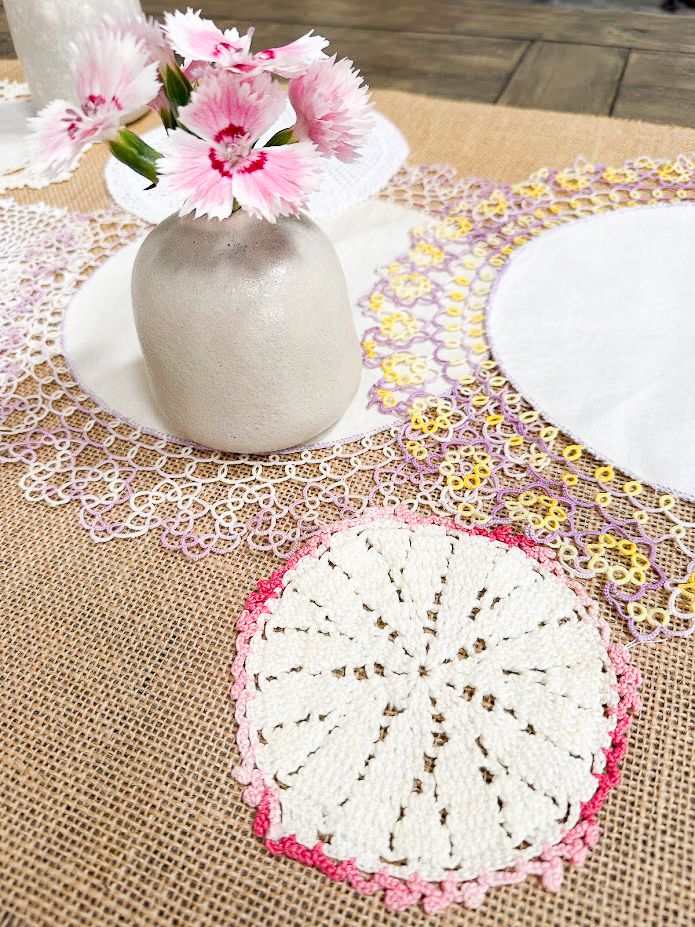
Once everything is stitched together, trim any stray threads and place it on your favorite table!

The flowers were from our youngest for Mother’s Day, the perfect addition!
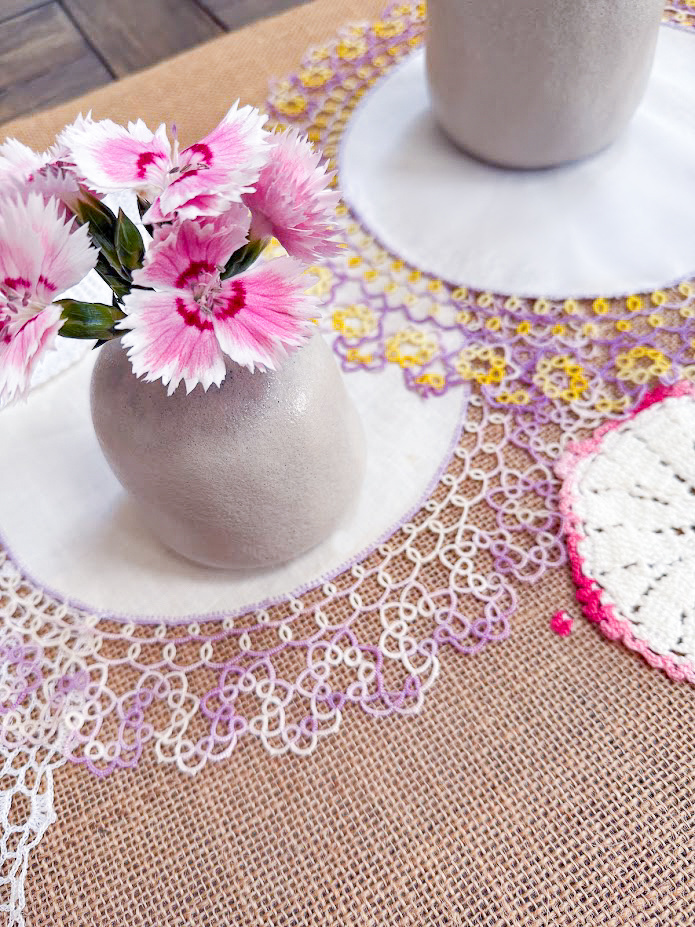
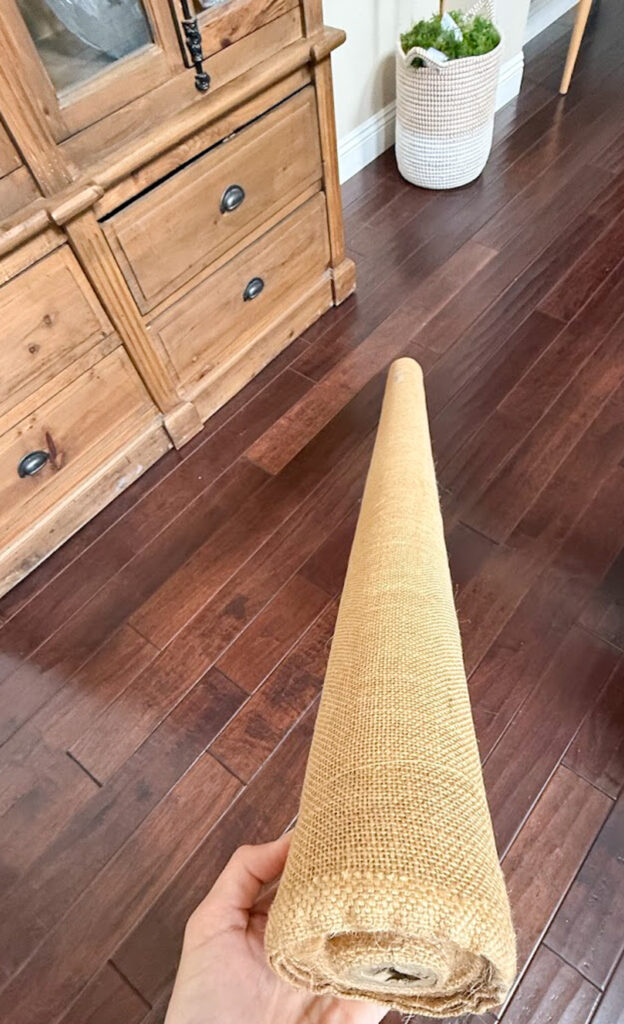
A friend of mine gave me a bunch of burlap before she moved, which gave the table even more of a vintage vibe.
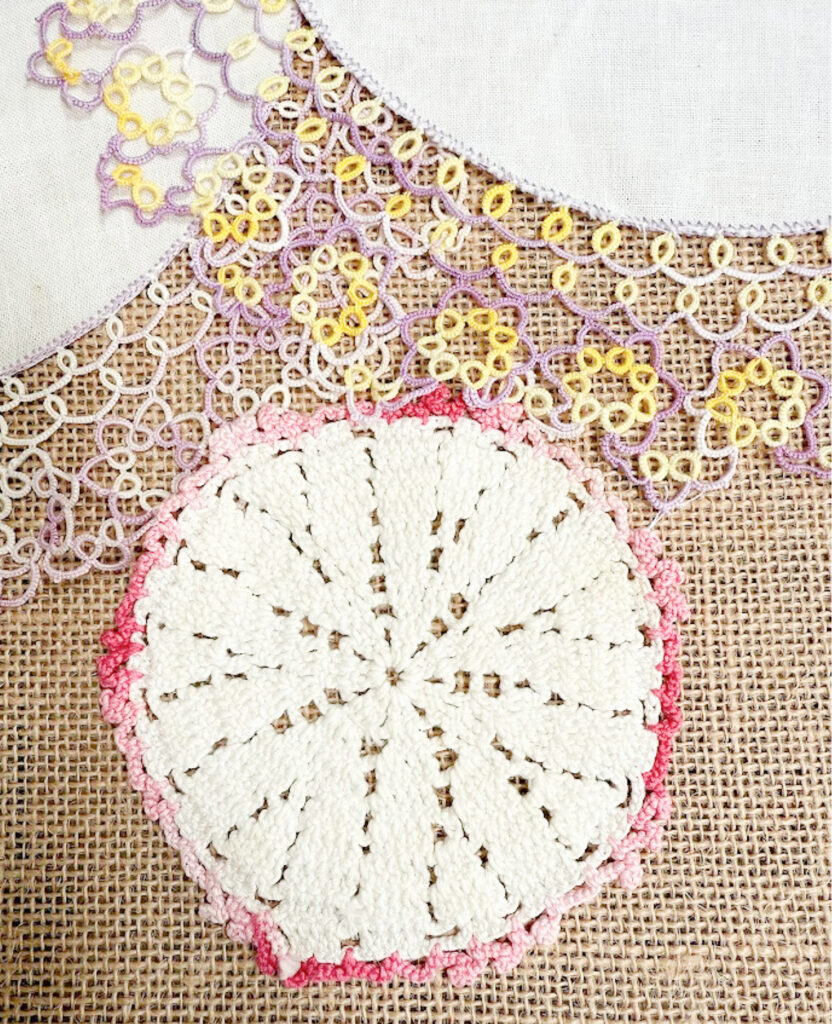
I love the slight imperfections that are so hard to spot.
Styling Ideas
Drape your table runner down the center of a rustic farmhouse table for a vintage-boho vibe.
Layer it over a contrasting tablecloth to make the patterns pop.
Use it for an elegant, handmade touch at special events, like weddings or bridal showers.
Hand-dye the dollies for a more vibrant look. I love Sarah’s from Sadie Seasongoods. The fun colors make it perfect for Spring!
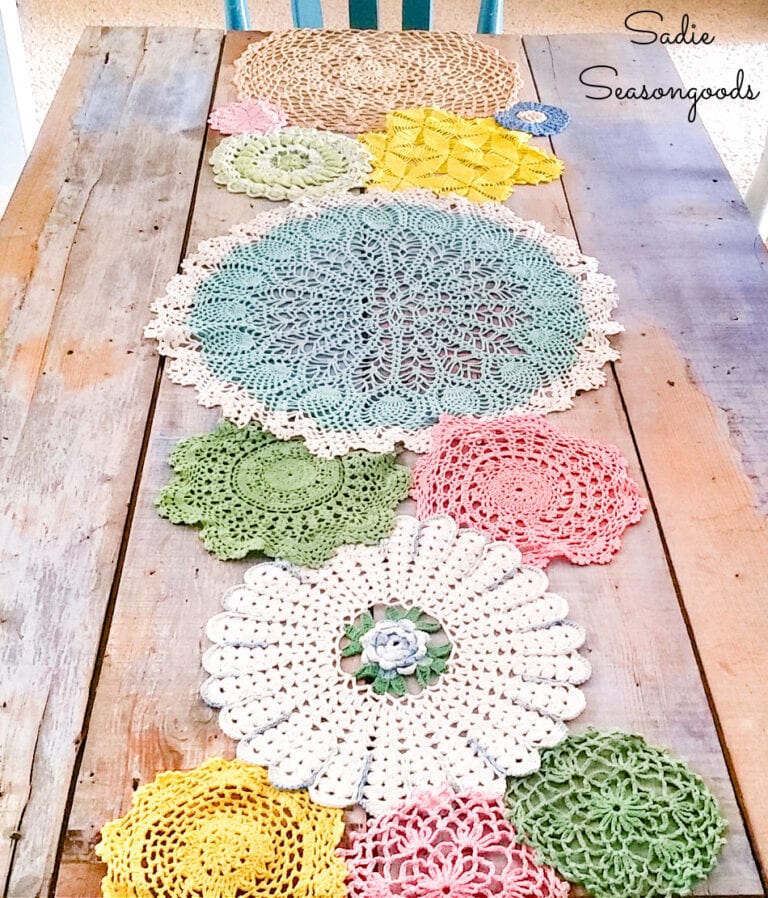 Sadie Seasongoods
Whether they remind you of your grandmother’s home or you simply love their delicate, lacy charm, doilies can be turned into beautiful keepsakes. This project blends antique beauty with modern farmhouse vibes and is perfect for weddings, holiday décor, or everyday table styling.
This project is more than just a craft—it’s a way to bring sentimental items into your home. Whether your doilies are heirlooms or thrifted treasures, turning them into a table runner gives them new life in the most beautiful way. This is a great way to showcase a little piece of your loved one’s hard work. If you aren’t having luck finding any at your thrift store, try making a paper doily table runner; it would be a fun addition to a spring tablescape!
Let’s see what our thrift store team made over for the month of MAY!
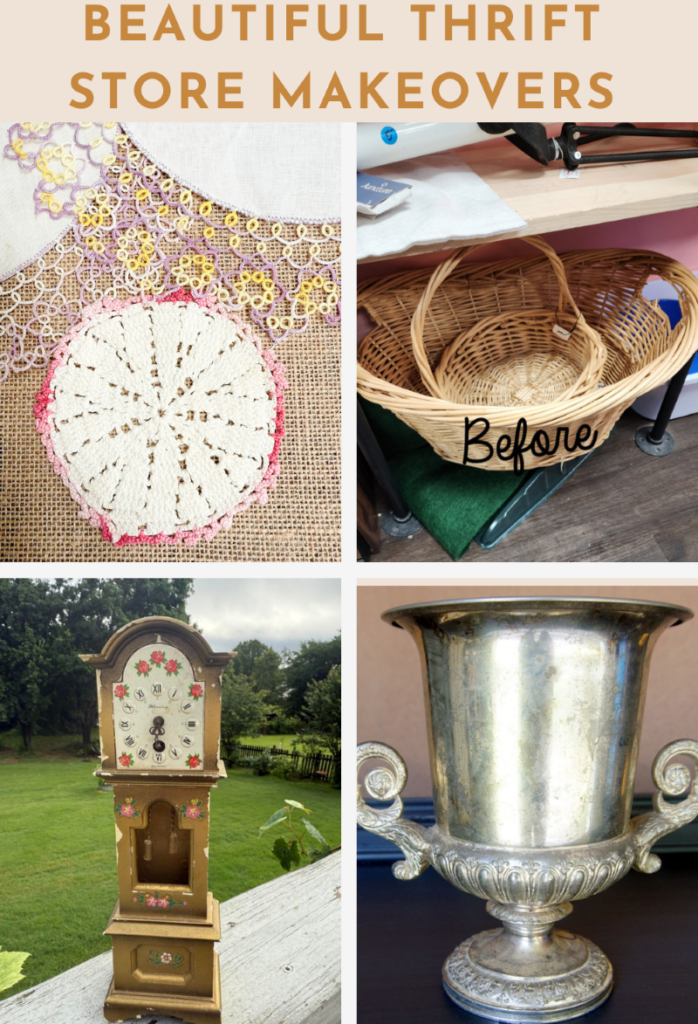
Boho Farmhouse Wicker Basket Makeover: My Repurposed Life
Miniature Grandfather Clock Upcycle Shop at Blu
Spray Paint A Silver Plate Trophy Petticoat Junction

This little side table from my grandparents is one of my favorite makeovers that I recently completed.

Thank you so much for stopping in today, friends, it means the world to me!

Kristen,
Your new doily table runner gives me a warm fuzzy feeling, thinking of the beautiful women who worked on the doilies all those years ago. So sweet!
You did a beautiful job honoring them.
Pinned!
gail
Thank you Gail, it was a fun project to put together, so many great memories!
Kristin, this is just darling! I have so many of these from my grandmother and now I want to grab them and make a runner ASAP!!
You are so sweet Kim, thank you so much!
Not really a comment, even though the dollies together to a very good idea. My question to you is, if the dollies are stained die to age and wear, how would you go about hand washing them to remove the stains?? (Have several of my grandmothers and greatgrand mother that I would love to display).
Thanks Sherry for your comment, I still have a few that I just couldn’t get a really bad stain out but this worked for the most part:
Soak in cool water for 10–15 minutes.
Add a mild cleaner like dawn and A small scoop of oxygen-based cleaner (not chlorine bleach) or A splash of white vinegar
Let the doily soak for another 20–30 minutes. If the stains are stubborn, you can extend the soak to a few hours.
For darker or older stains, mix a paste of baking soda and water. Dab it gently onto the stain with your fingertip or a cotton swab. Avoid scrubbing—antique lace can tear easily.
Rinse under cool running water until all soap or cleaner is gone. Residue left behind can cause yellowing over time.
Hope that helps!
Lay flat to dry