How To Make A Easy Chunky Knit Pumpkin
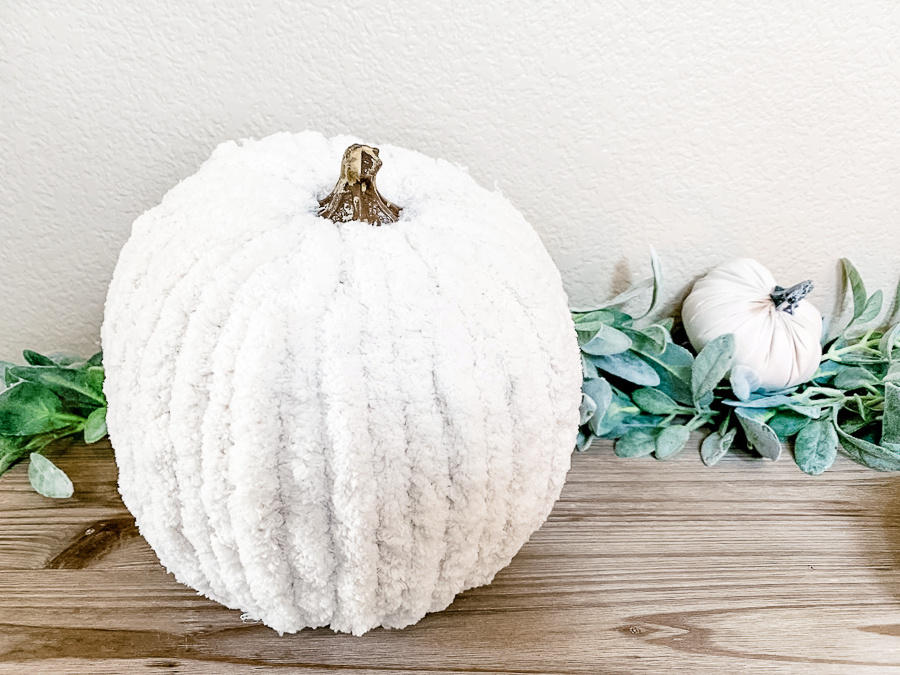
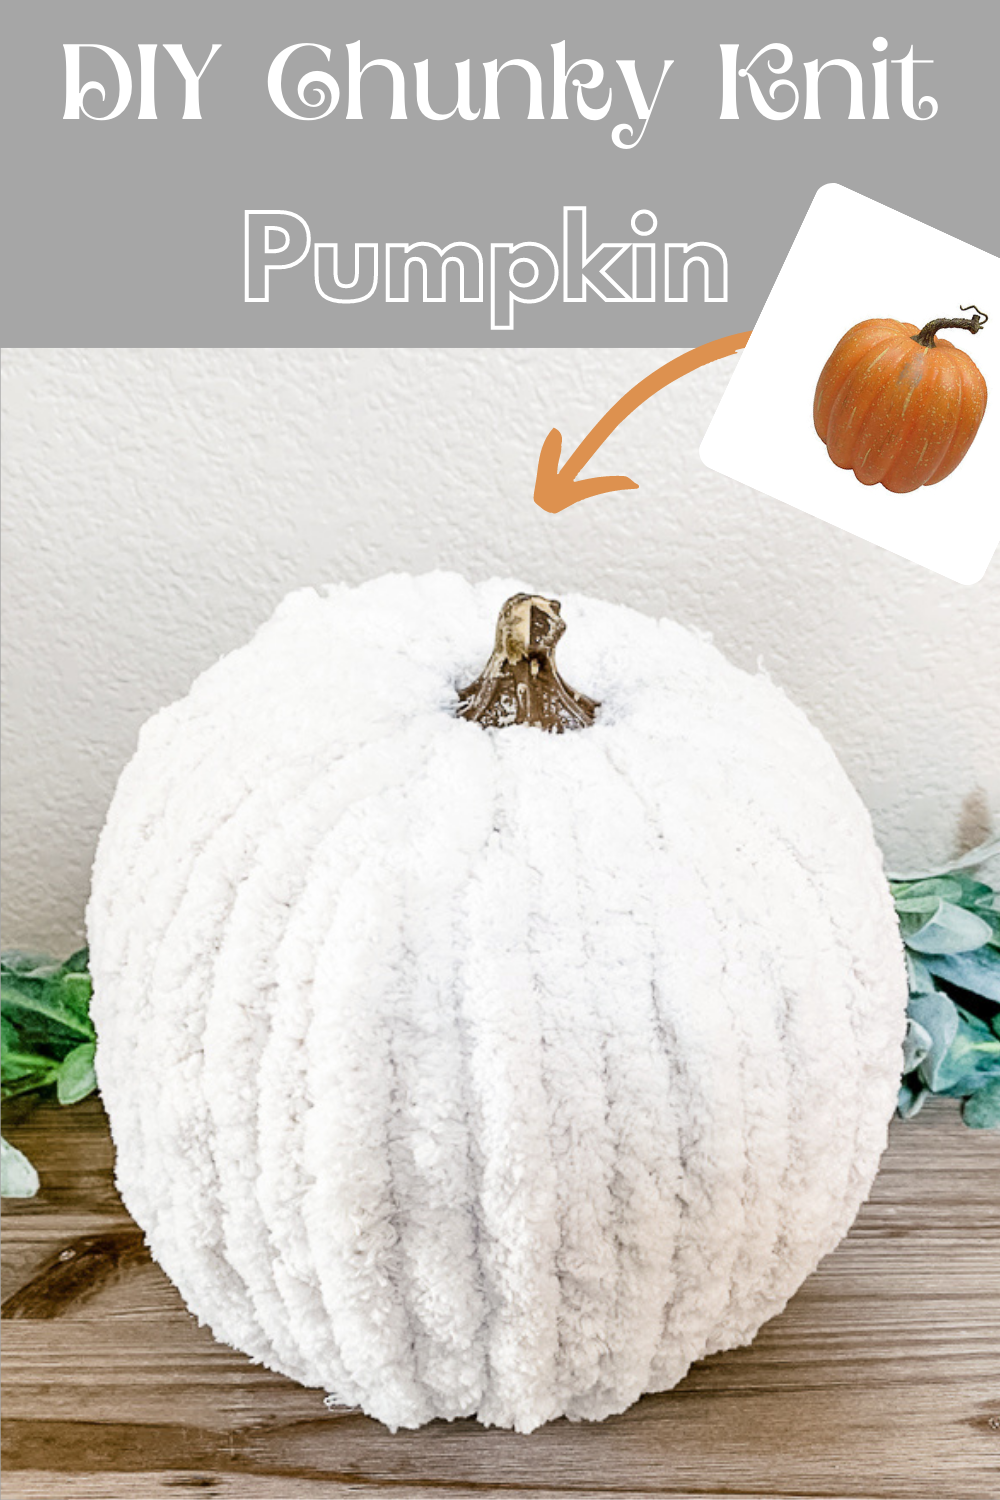
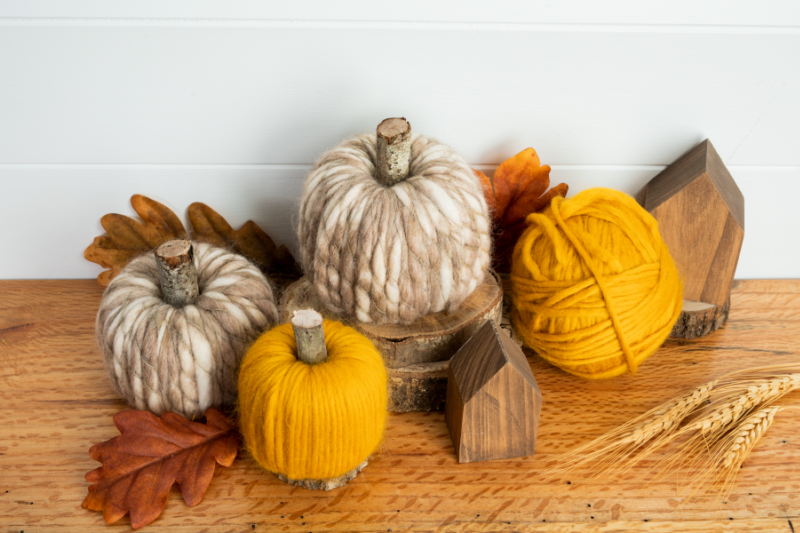
I’m showing you how to make this EASY chunky knit pumpkin! It was so simple to make and has a beautiful farmhouse rustic look, the perfect fall decor.
And while it’s not “pumpkin” weather yet, autumn will be here before you know it, so why not get a little ahead of the season.
Today is all about pumpkins, I am so excited to be joining in this year’s pumpkin blog hop where you will find beautiful and creative ways to dress up your average-looking pumpkin. Don’t miss out on all the other fabulous ideas at the end of this post.
Amazon affiliate links are listed below.
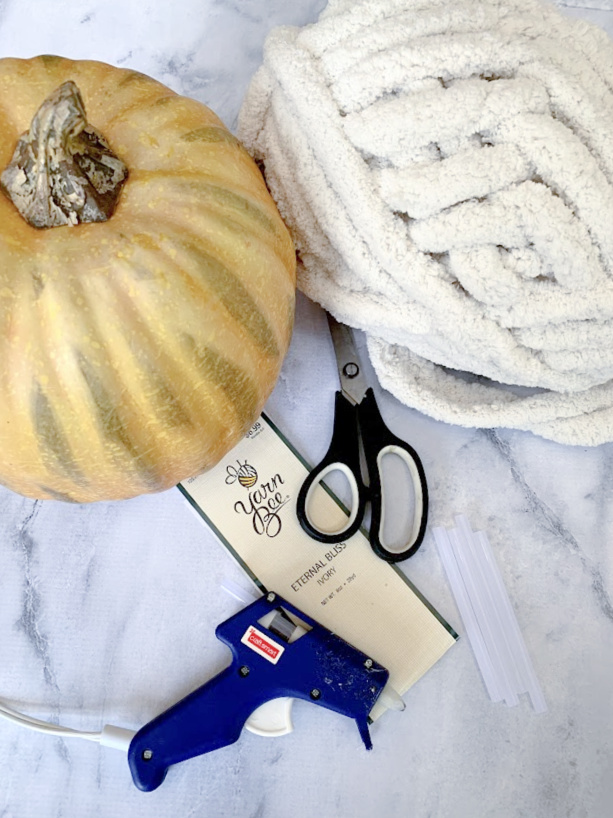
MATERIALS:
You can find many of these items at the dollar store or Dollar Tree
First, decide if you want a taller pumpkin a small pumpkin or a large-sized pumpkin. This pumpkin measured 9 inches wide by 9 inches tall and I used about 1/2 of the bulky yarn.
Faux Pumpkins -I would stay away from the foam pumpkins as the hot glue could melt it.
Chunky Knit Yarn – You can find it on Amazon or I used Yarn Bee Internal Bliss in ivory, I almost picked the light gray (found at Hobby Lobby)
Hot Glue and hot glue gun
Scissors
Directions:
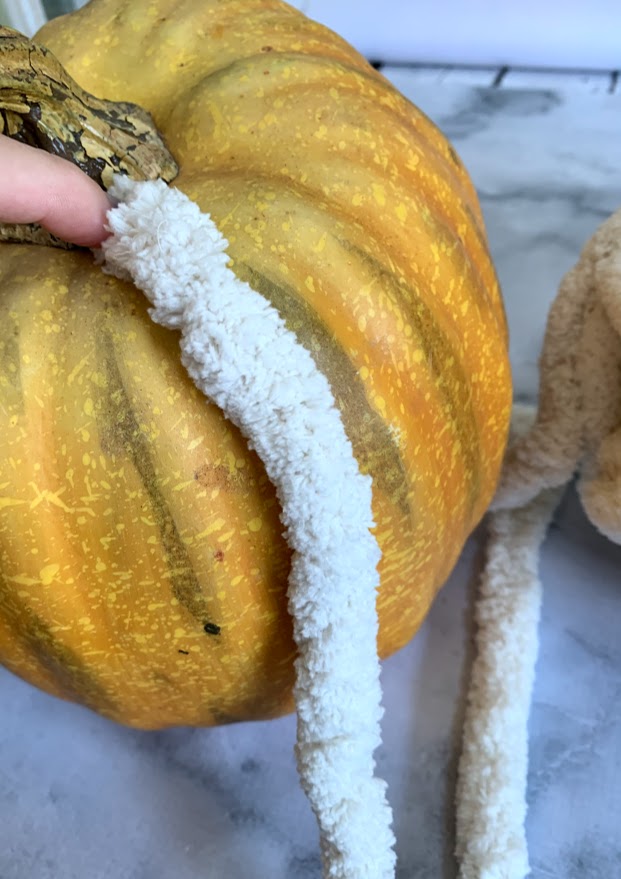
Measure the length from the top of the pumpkin to the bottom of the pumpkin, this will let you know the length of yarn that you need and cut accordingly. I pre-cut a few strips at a time.
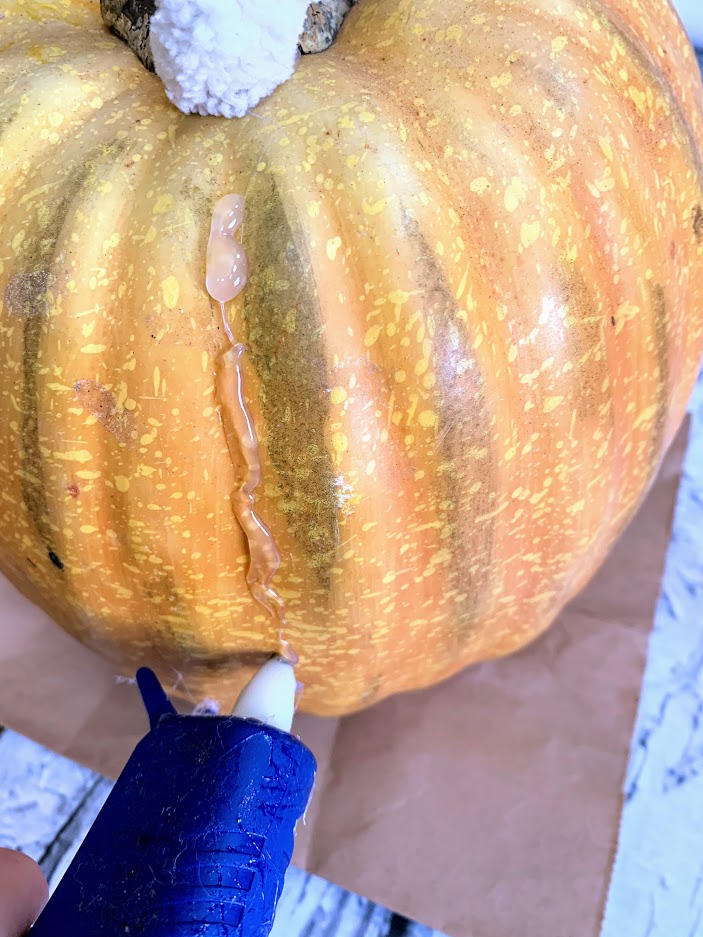
Run a bead of glue from top to bottom down one rib at a time adhering the yarn to the glue. I left the ends dangling.
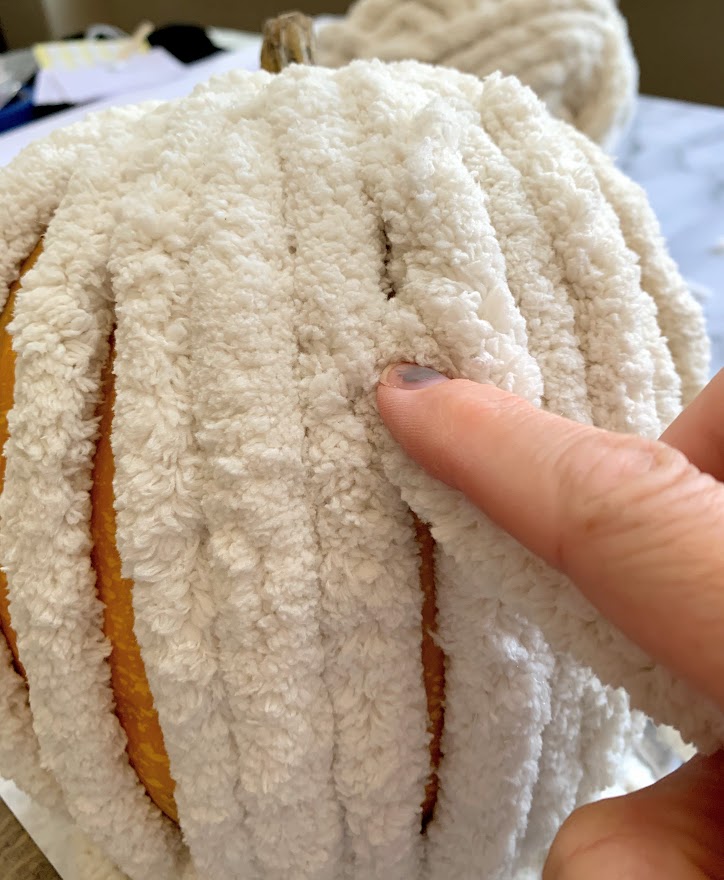
Continue doing this until all ribs are filled with the yarn
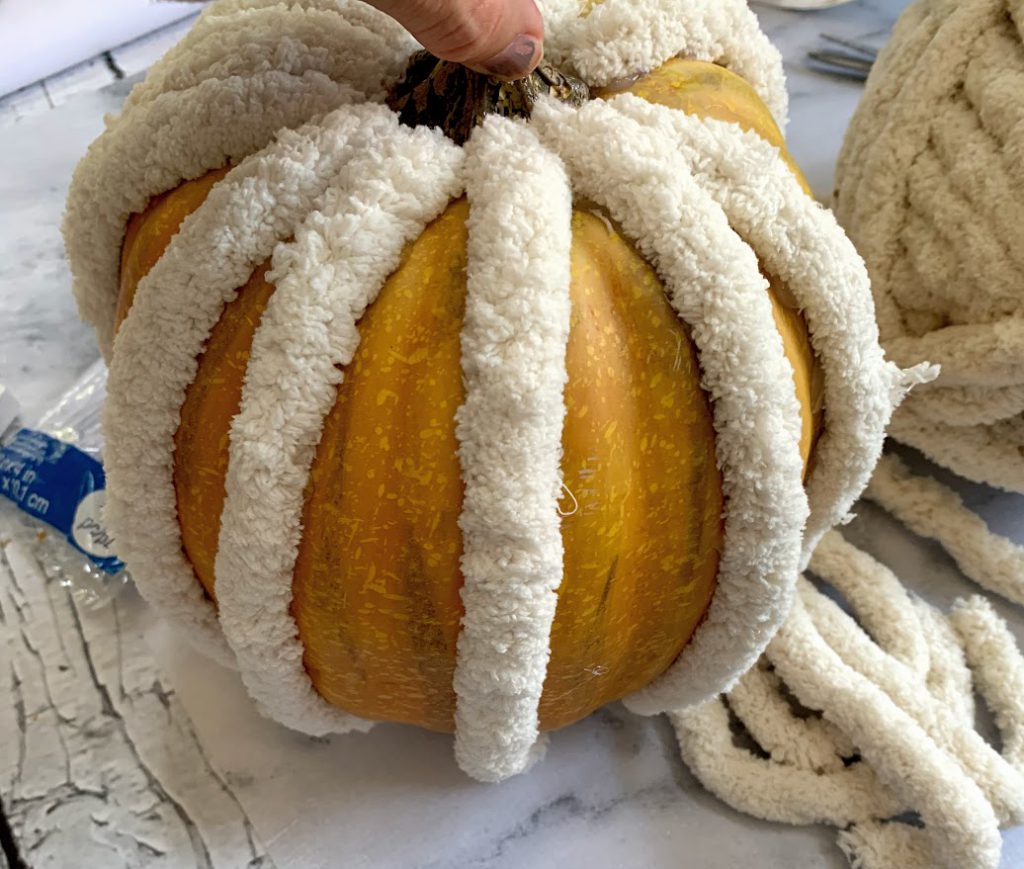
Next start filling in the areas between each rib. You just need a dab of hot glue at each end of the yarn. You will notice as the pumpkin starts filling in more you will need to add shorter strips to fill the gaps, don’t worry, they blend perfectly.
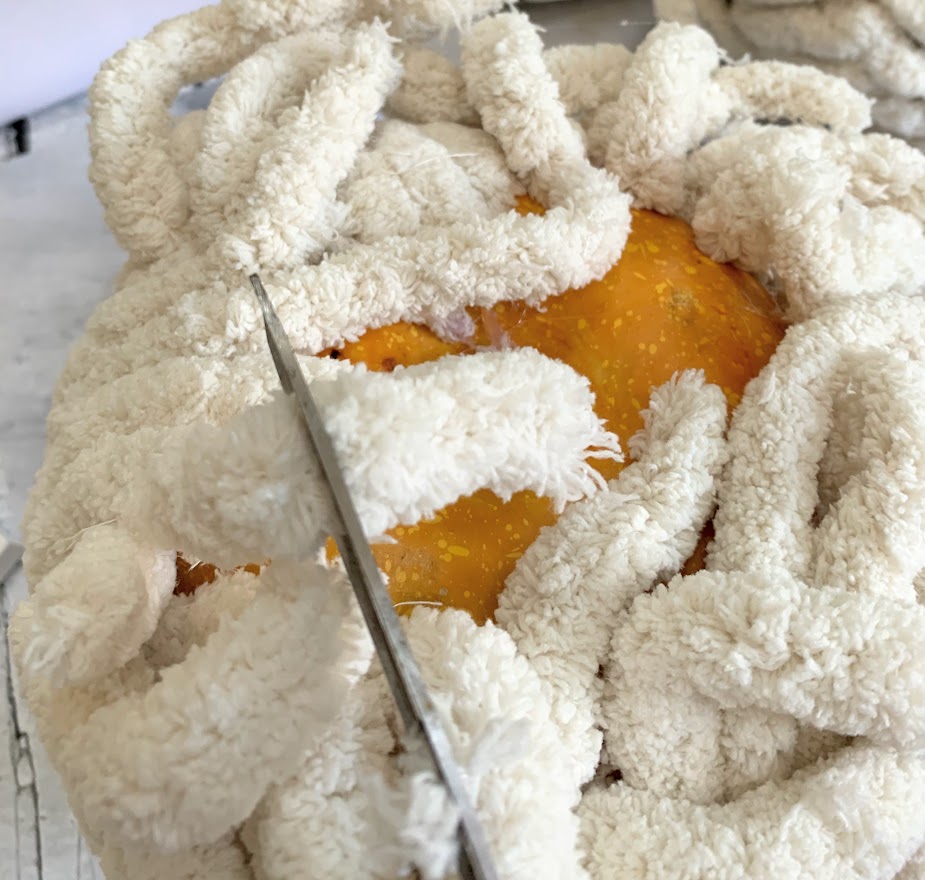
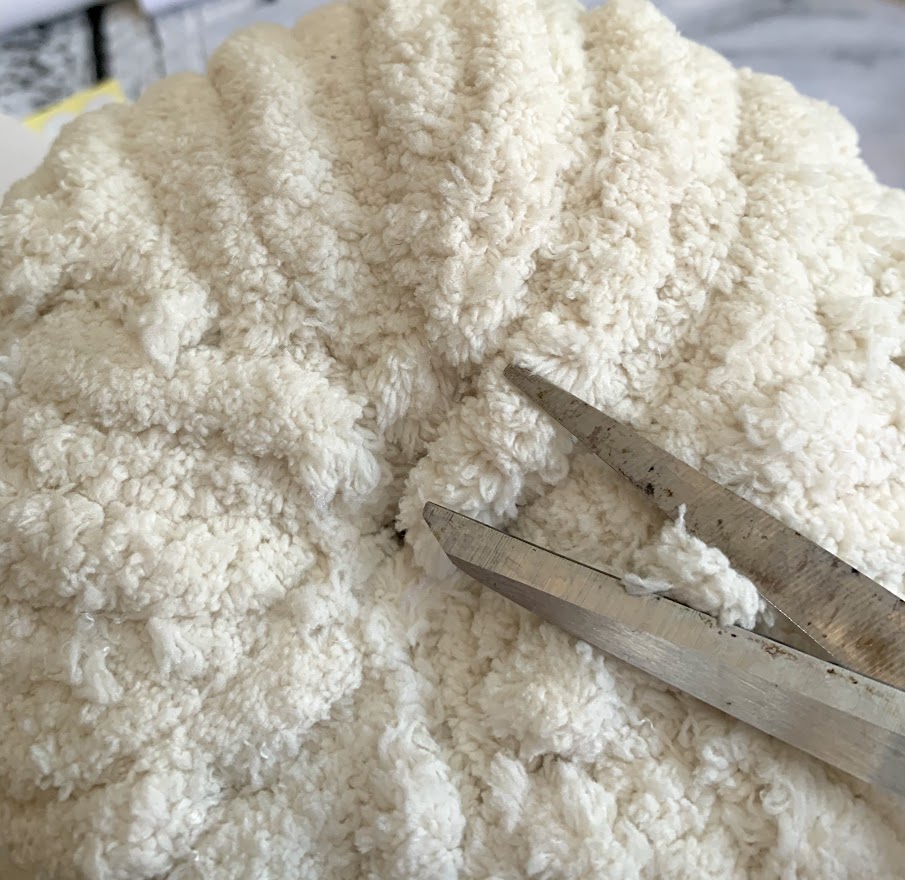
Last, cut the pieces of yarn that are dangling on the bottom and glue them to the bottom center of the pumpkin.
That’s it, so simple! This entire project took me about an hour.
I love how cozy these yarn pumpkins are for fall, it is such a fun way to spruce up those old pumpkins sitting around. The texture is so soft, it’s hard not to touch it every time I walk by.
The color possibilities are endless and they make the best last-minute fall gifts for friends and family.
A quick tip: If your adorable pumpkins doesn’t have a fun little stem, you can use a wine cork, stem from a tree, or a stem from a real pumpkin. Simply just put a dab of glue on the top of your chunky pumpkin and attach the stem.
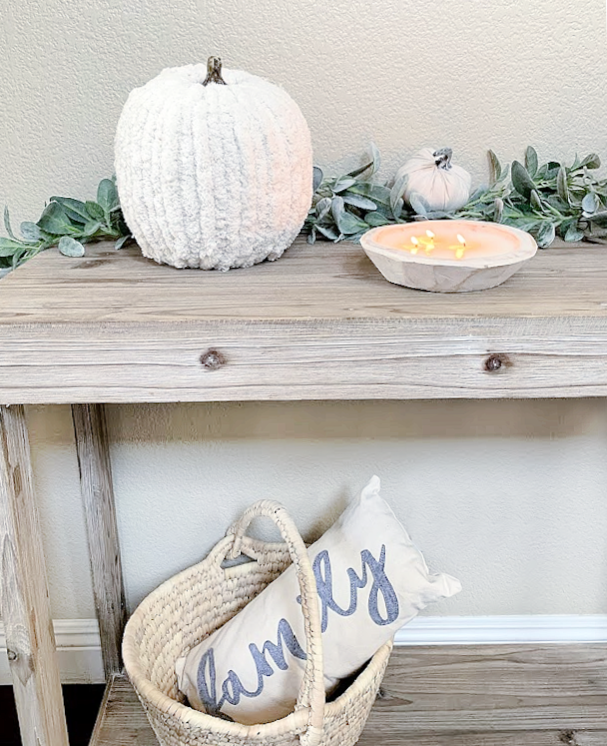
Next week I’ll be sharing the tutorial on how to make this beautiful dough bowl candle with the most amazing scents for fall!
I hope you will enjoy making these fun pumpkins this fall, if you do I’d love to hear how yours turn out.
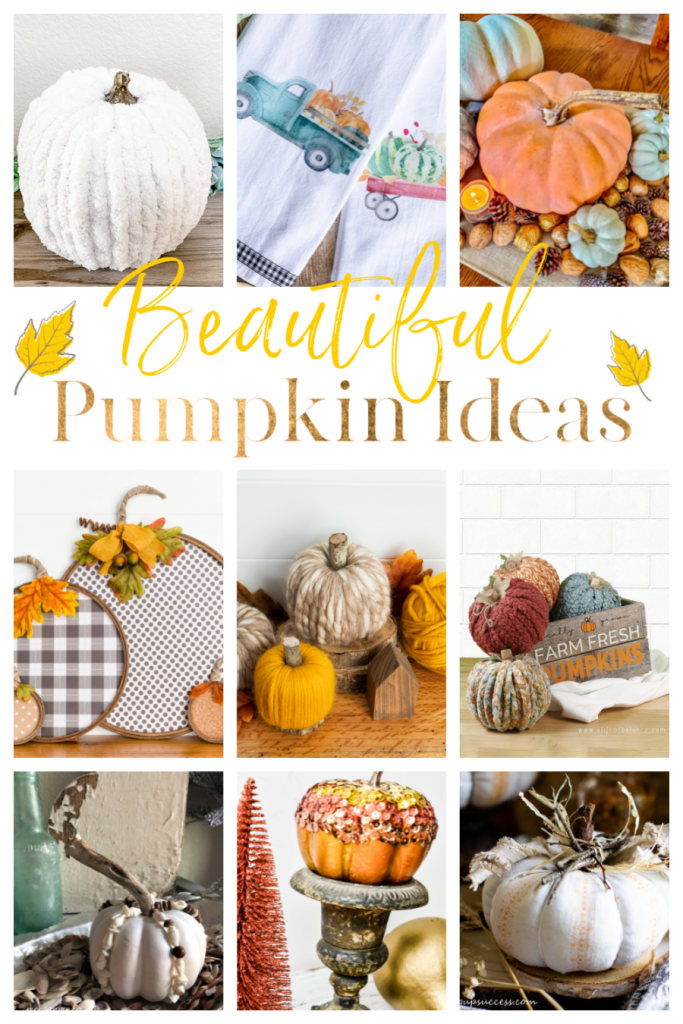
Let’s see what my talented friends created
How to Make A Yarn Pumpkin from a Dollar Tree Pumpkin
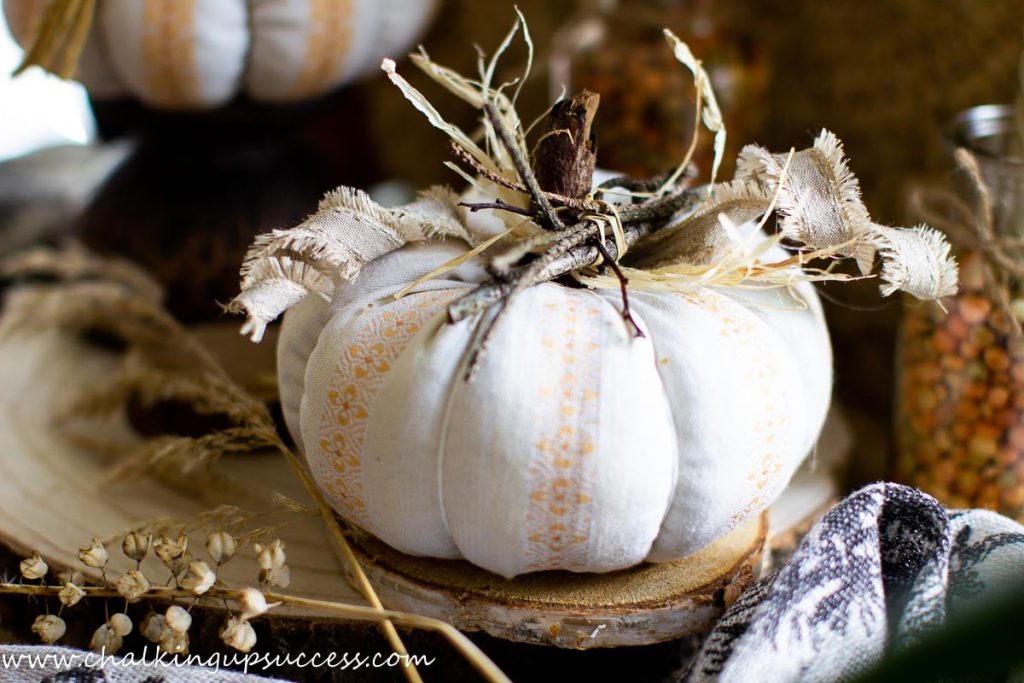
How to make an Inexpensive and easy fabric pumpkin
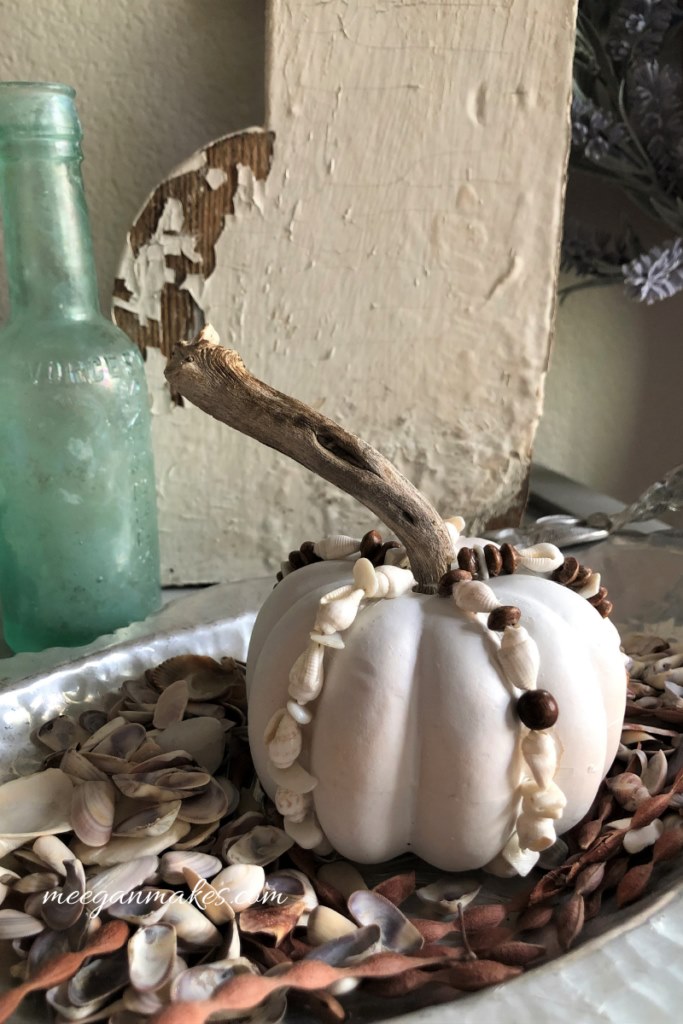
How to Decorate a Pumpkin with Sea Shells and Driftwood
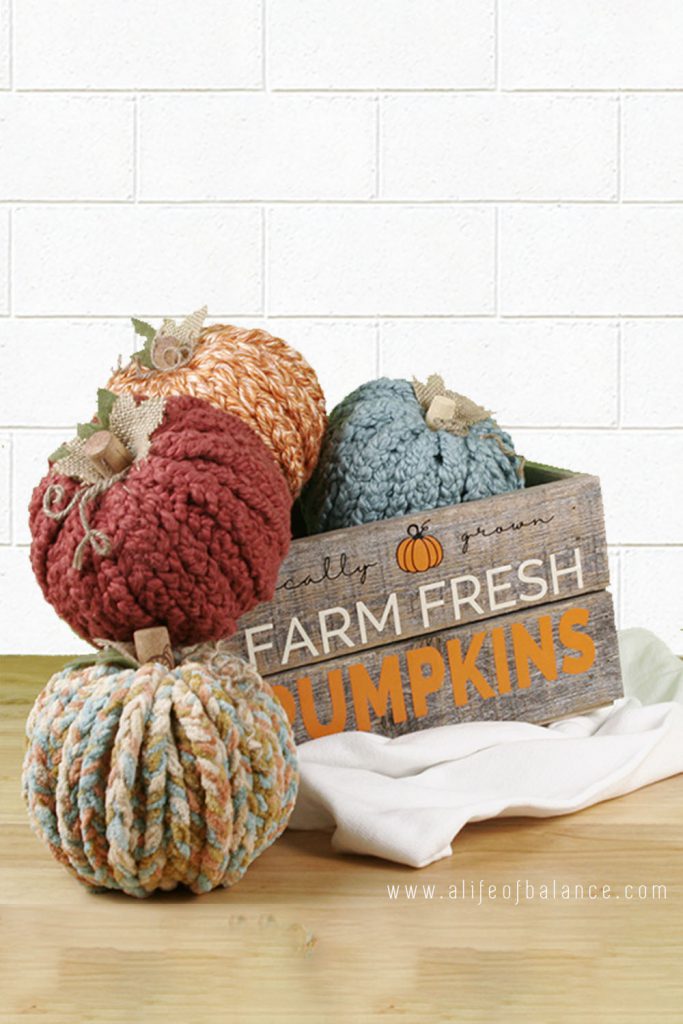
How to Make Yarn-wrapped Pumpkins
Thank you so much for stopping in today, here are some more pumpkin ideas for you!

I love your rustic chunky yarn pumpkin! This would fit perfectly with my neutral home decor for Fall!
Thank you so much Jayne!
Your yarn pumpkins get me in a cozy fall mood, Kristin! I love the white color and how versatile it is for fall decorating, too. I haven’t done much decorating with yarn yet, but I’m digging the trend!
Thanks so much Crissy!
These are very pretty! Great tutorial.
Thanks so much Cindy
What a cute idea. I love it❤️
Thank you so much Diana!
This pumpkin is so cozy it sets the vibe for a cozy fall season. I love how easy it was to make too.
Happy Fall,
Kippi
Ps. Pinned
Thank you so much Kippi and thank you for organizing!
I love that you used chunky yarn. It makes a beautiful texture. Thanks for the detailed tutorial. Beautiful job, Kristin.
Thank you Meegan!
Great idea for an easy, adorable pumpkin. Thanks for sharing!
Thank you Olivia!
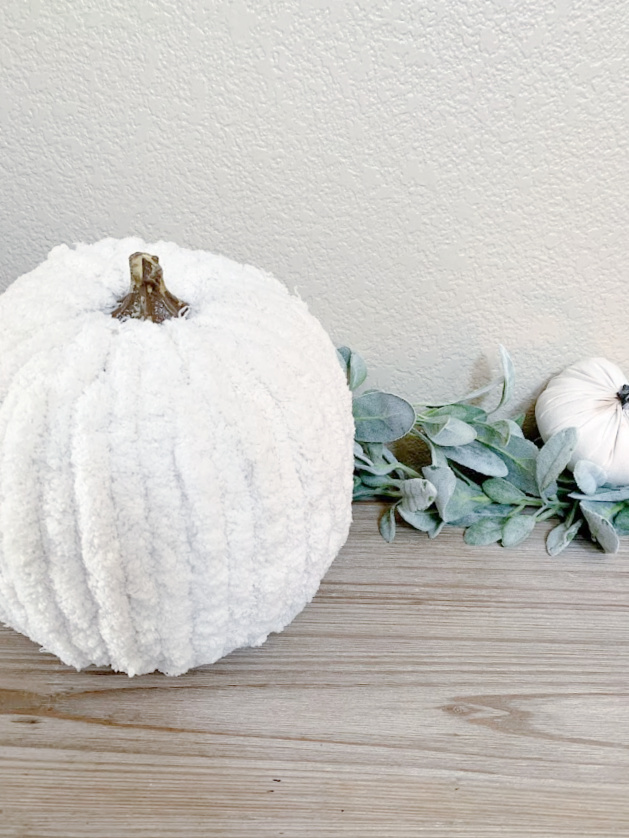
Kristin, I love that soft, thick and cozy yarn that you chose. It looks great styled with your lambs ear, which also has a nice texture. It’s perfect for Farmhouse Fall decorating. I had fun pumpkin crafting with you!
Thank you, Rebecca
I love how much texture these have. They give me such a cozy feeling.
This turned out so cute, and you make it seem so easy! In the past I’ve always decorated with real pumpkins, but I feel like they get so messy. So I’m excited to try making these faux ones that will (hopefully) last for years to come, thanks!
What a neat home decor diy, I love the cozy vibes. Pumpkin turned out so cute thanks for sharing.
You are so welcome!
This is such an awesome idea that I’d love to try. Thanks for sharing.
You are so welcome, let me know how it turns out!
This is simple and turned out so pretty – my favorite kind of craft. Thank you for sharing on Whimsy Home Wednesday!
Loved your tutorial on pumpkins.
They will be a good fund raiser idea for our rescue animal shelters in Alberta Canada.
Many thanks.
I’m so glad you enjoyed it!! Let me know if you have any questions 🙂