
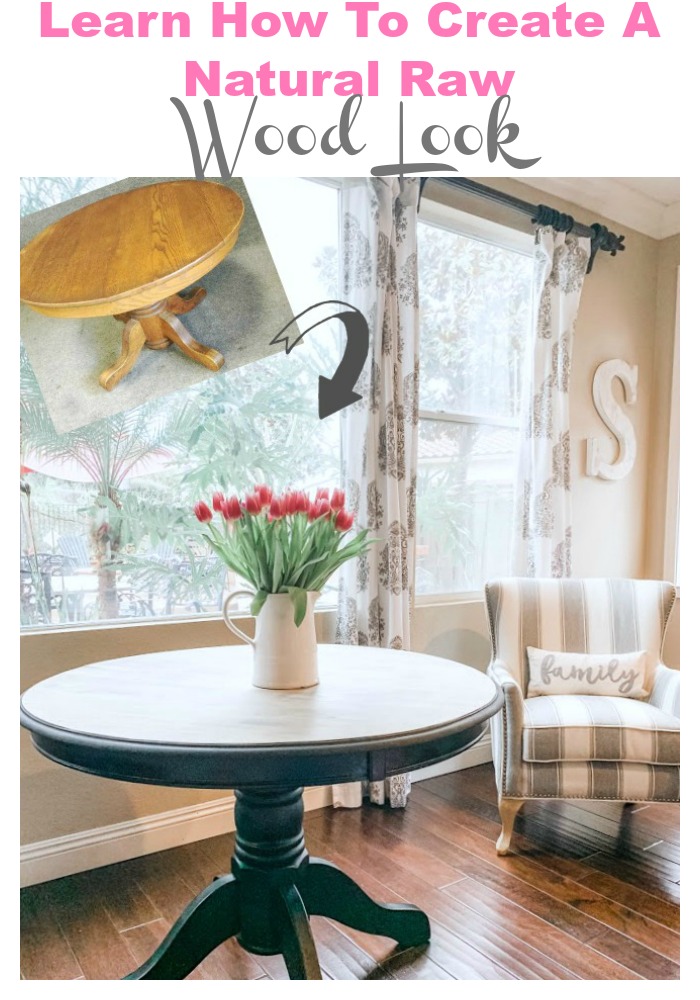
How To Create A Natural Raw Wood Look
Over the past few years, we have brought in a few pieces of furniture that highlight the natural beauty of the wood’s grain. After living with these pieces for a little while and really loving them, I have started to take some of my painted and stained pieces of furniture and bring them down to their natural raw wood. So today’s makeover is for all you natural wood lovers out there, I’ll be showing you how to create a natural raw wood look.
It’s Thrift Store makeover day, once a month we come together to share our transformations, make sure to check out all the projects at the end of this post!
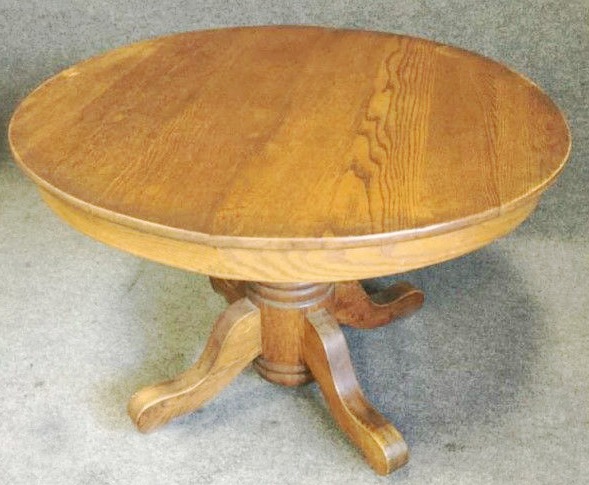
The picture below is what the table looked like when I told my husband to put his truck in reverse and throw the free roadside table in the back. He gave me the roll of the eye and being the good man that he is he put it in the truck. When I brought it home I painted the piece white with blue legs I got so excited to start working on this table again I totally forgot to take a before picture, blogger fail moment!
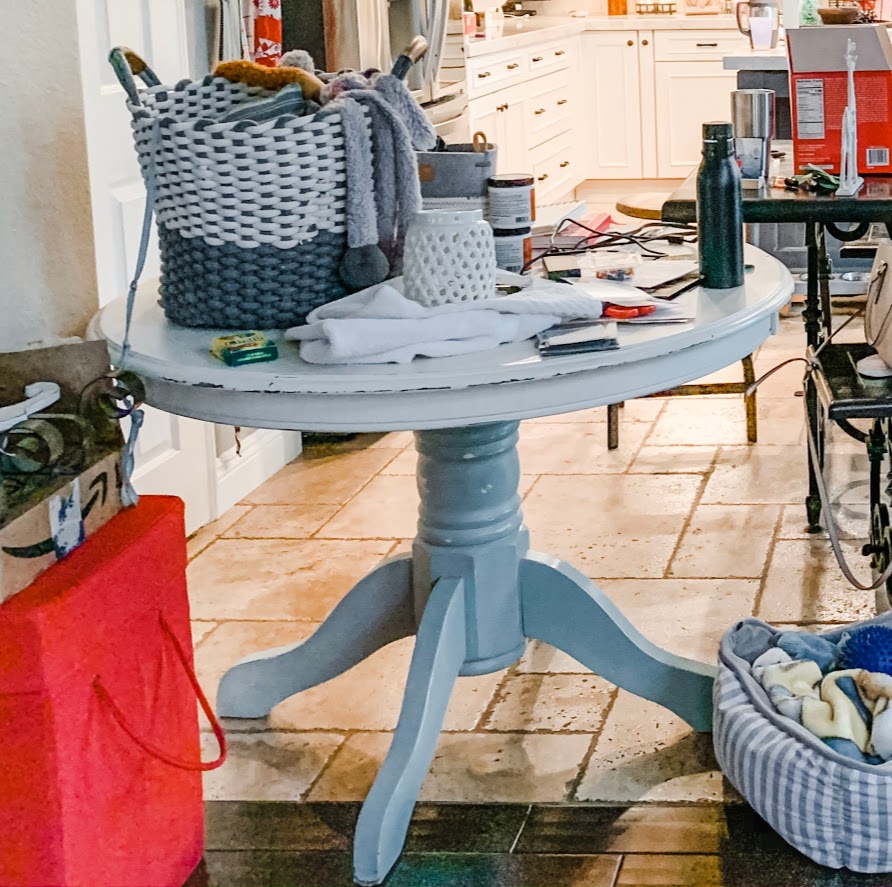
I do however have this one, don’t judge! This was around Christmas time and I was getting the house ready for Christmas and I posted this picture to our Holiday Housewalk FB group saying my house was ready for the tour. Basically around that time, I just move crap from one room to the next to take pictures until I can get it all put away. So here is the painted table, it was white on top, blue on the bottom and lots of distressing. I really liked it but I was ready for a change.
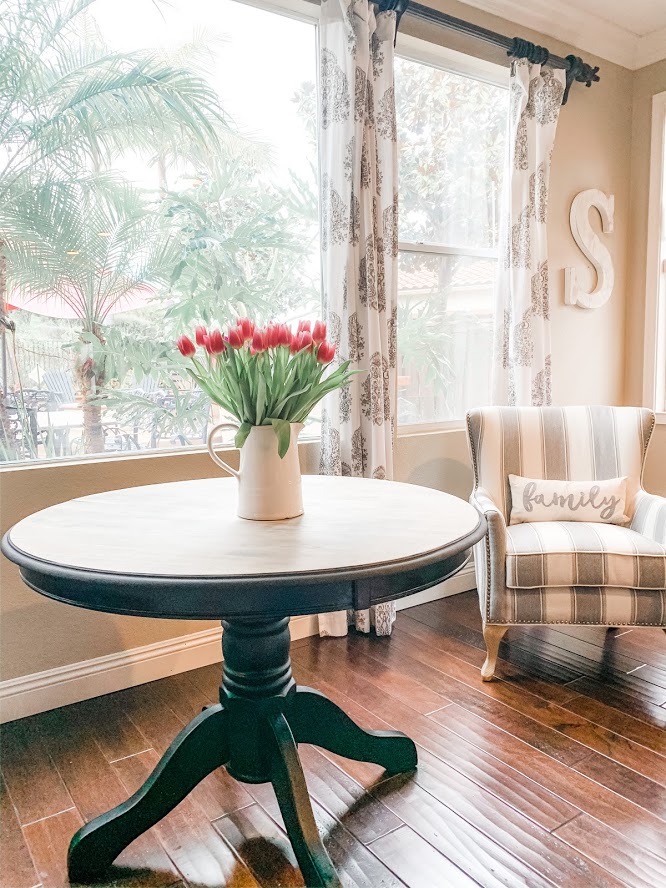
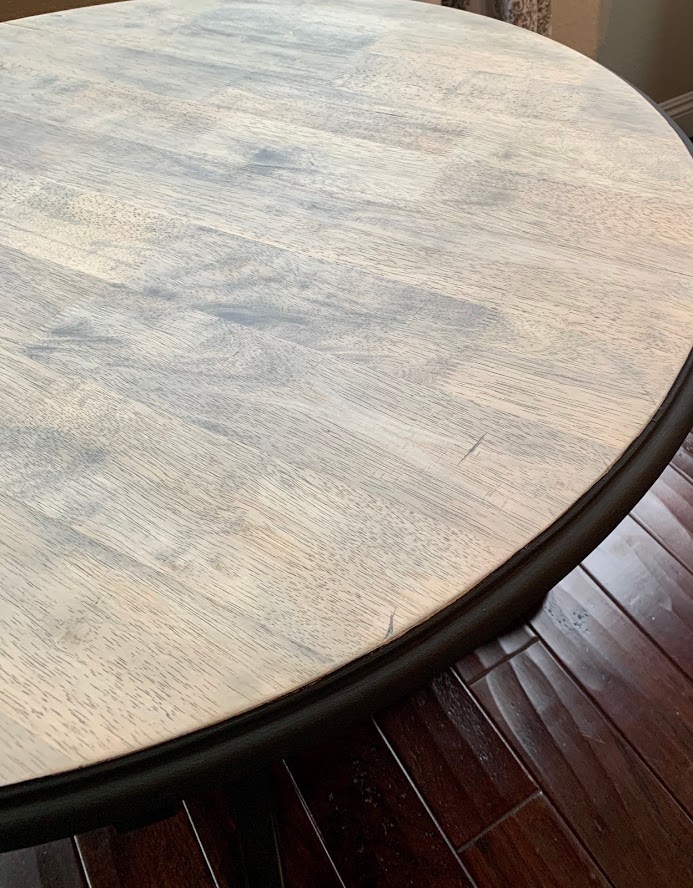
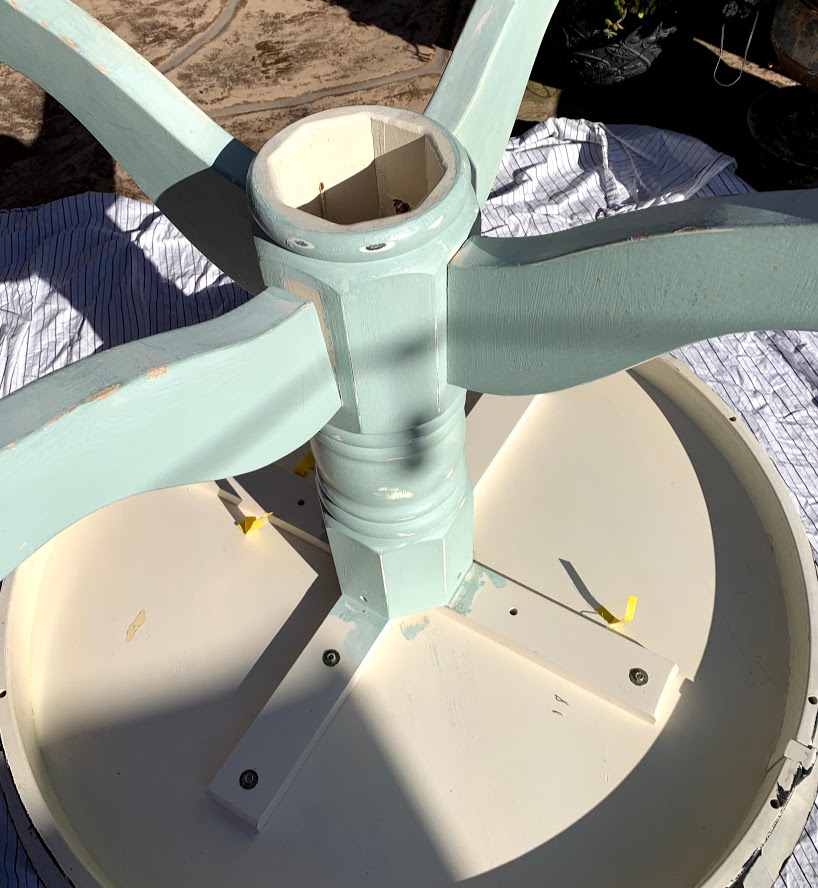
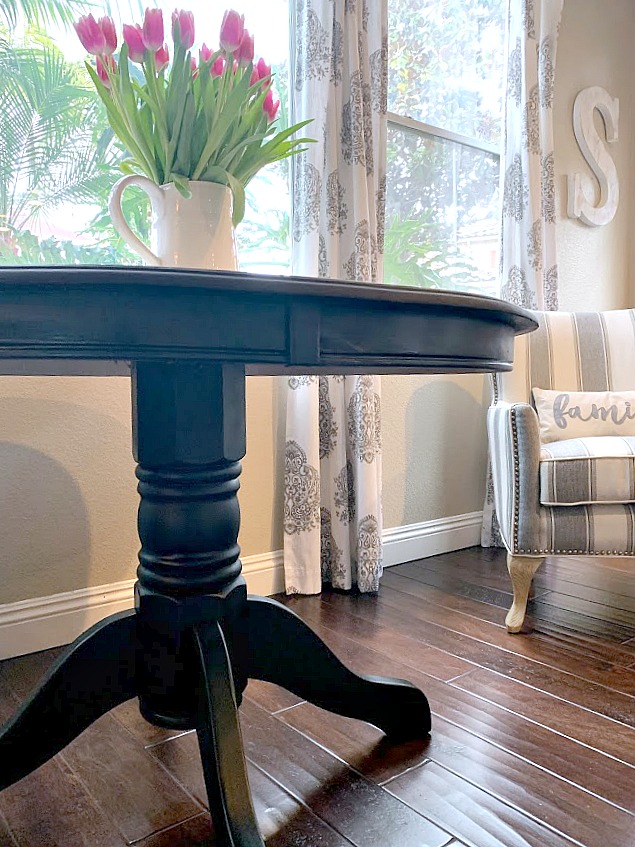
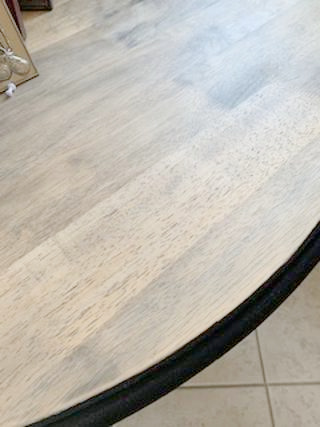
Note: I decided to only sand down the top part of the table and paint the base black. I’m seeing this a lot in design lately and it will also match the barstools we have in the kitchen. Plus I’m not going to lie, it made this project a lot easier not having to sand down all those curves.
Affiliate links listed below
Supplies
- Stripper – I used Blue Bear Paint & Urethane Stripper which is a soy gel stripper and environmentally friendly.
- Putty Knife
- Gloves
- Small paintbrush
- Orbit Sander
- Sandpaper
- Tack Cloth
- Sealant
- Sanding Sponge
- Top Coat
If you are spray painting the base of the table
More Tack clothes
Spray Paint color of your choice
Zinser bullseye 123 primer
Sand Paper and Sanding Sponge
Directions:
Strip your piece of furniture using a putty knife, follow the directions according to the label.
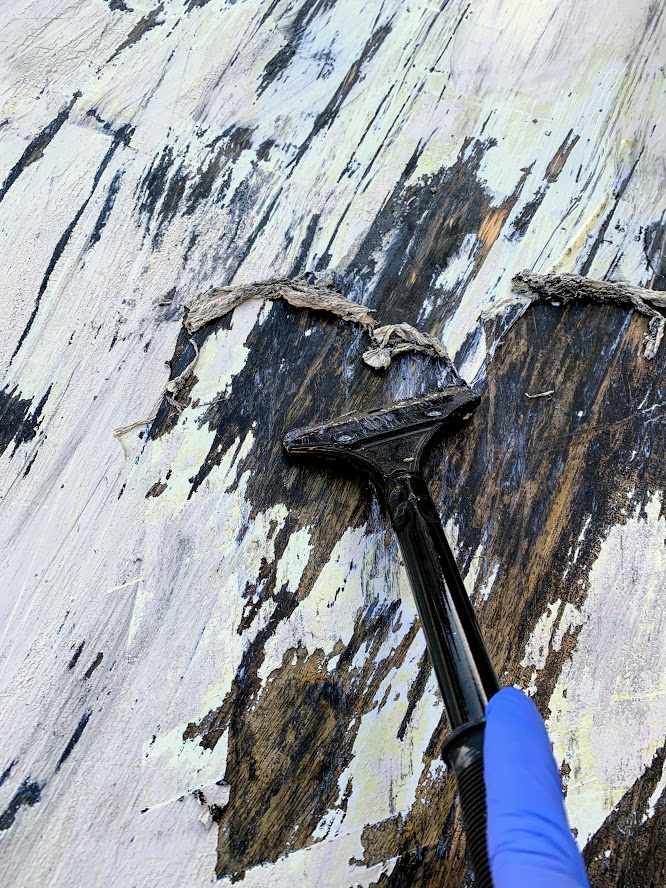
I stripped the piece 3 times and finally decided it was time to bring out the sander. The stripper did remove the paint and much of the finish but it still needed sanding. My sweet hubby stepped in and sanded the top down for me using a orbitol sander. I loved the look but decided to give the piece one more good sand down and I was able to get it just a little bit lighter.
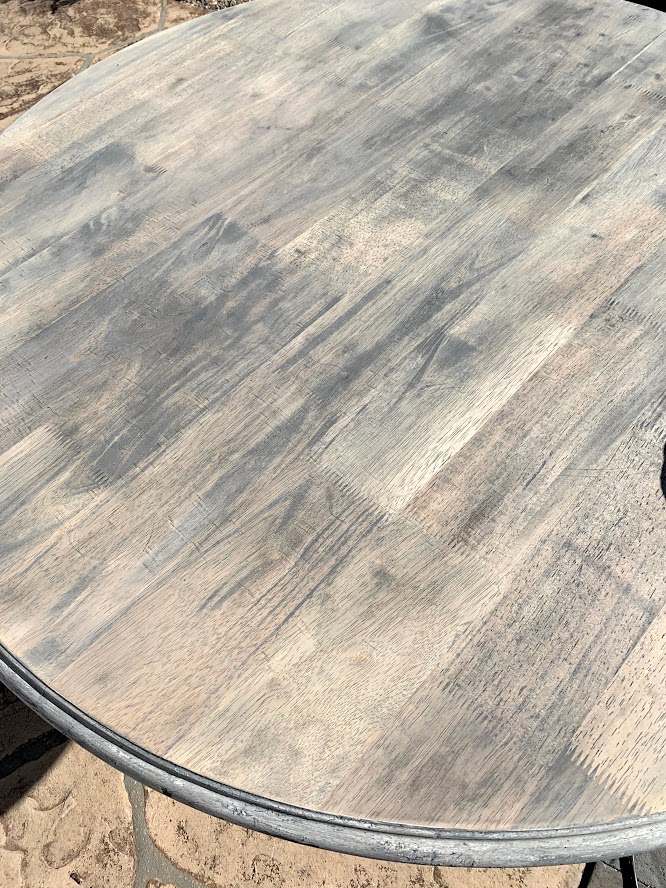
You can see just a slight difference between the two sandings.
Wipe the whole piece down with a tack cloth
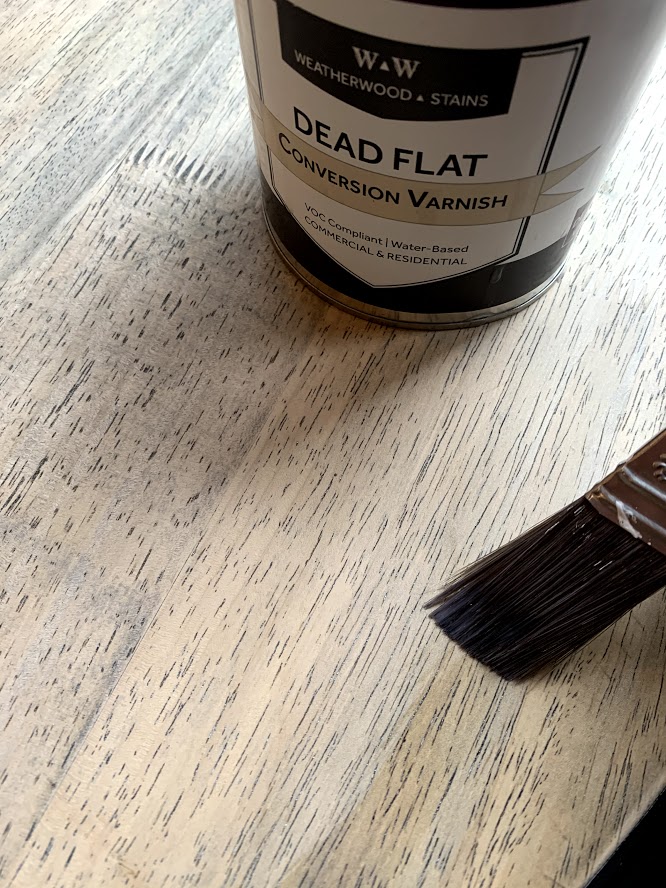
Next you are going to want to seal your piece for protection. I did a lot of research on this since many products will darken the color or turn the wood yellow. I decided to use Weather Wood Stains Flat Varnish since I have had good luck with it in the past. It kept my piece the same color and gave it zero shine, exactly what I was looking for.
If painting the base of the table
Clean with a mixture of water and vinegar.
Give the piece a light sanding
Wipe it down with a tack cloth
Prime with Zinnser BullsEye 1-2-3 Primer.
Go over the whole piece with a fine-grit sanding sponge and wipe clean with a tack cloth
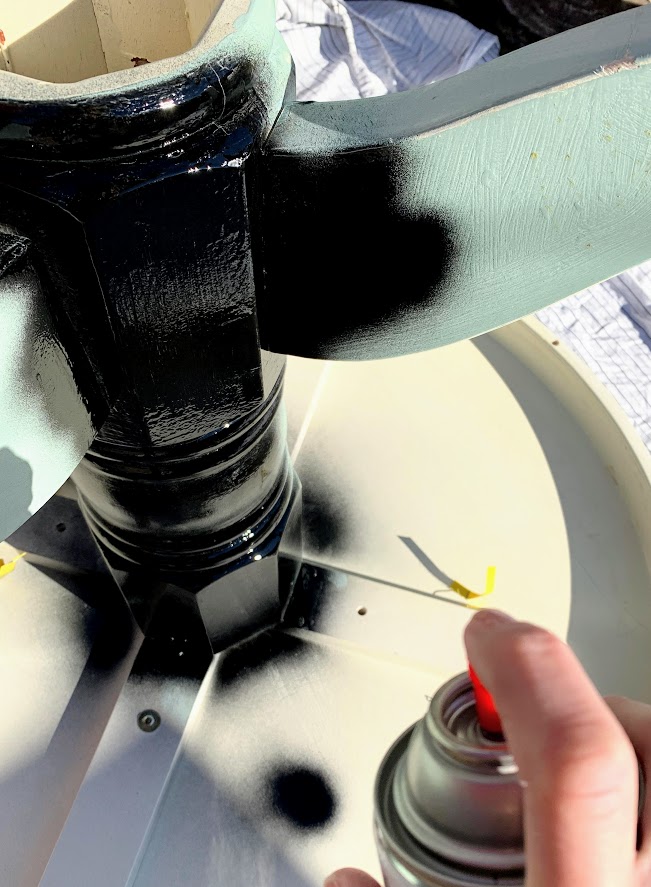
Spray your furniture with your choice of spray paint. This may take 2 or 3 coats, just allow it to dry for about 30 minutes in-between coats. If you are using a paint and primer in 1 you can skip the primer, which I did. If I was spray painting a piece of furniture that was going to get lots of use I would have used the bullseye first. But no one is really going to be touching the base of this table.
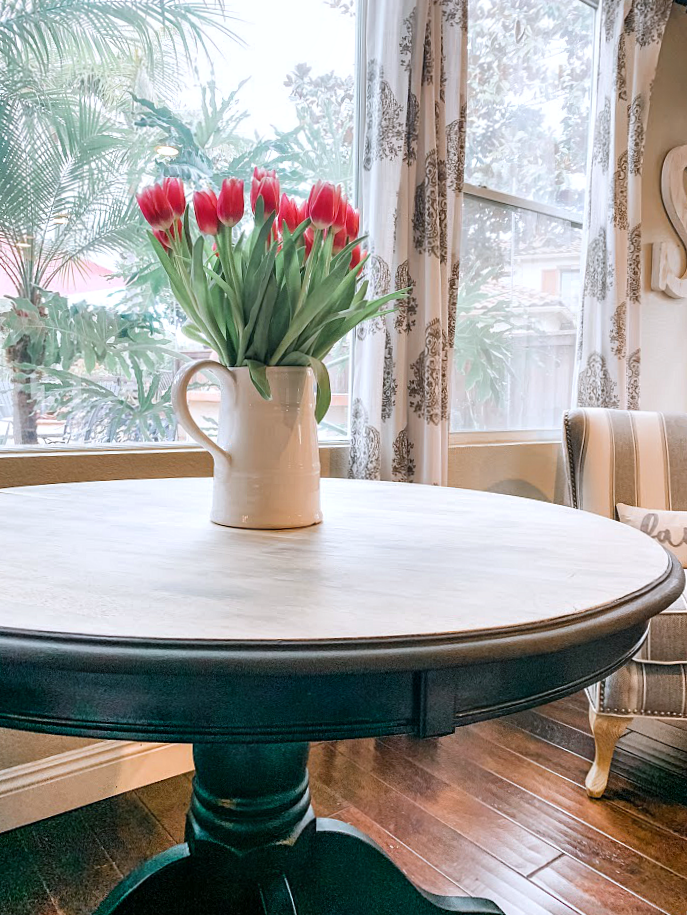
Voila, you have a completely new transformed table that brings out the beauty of the natural wood!
I have a smaller version of this table from my grandparents that I’m ready to sand down!
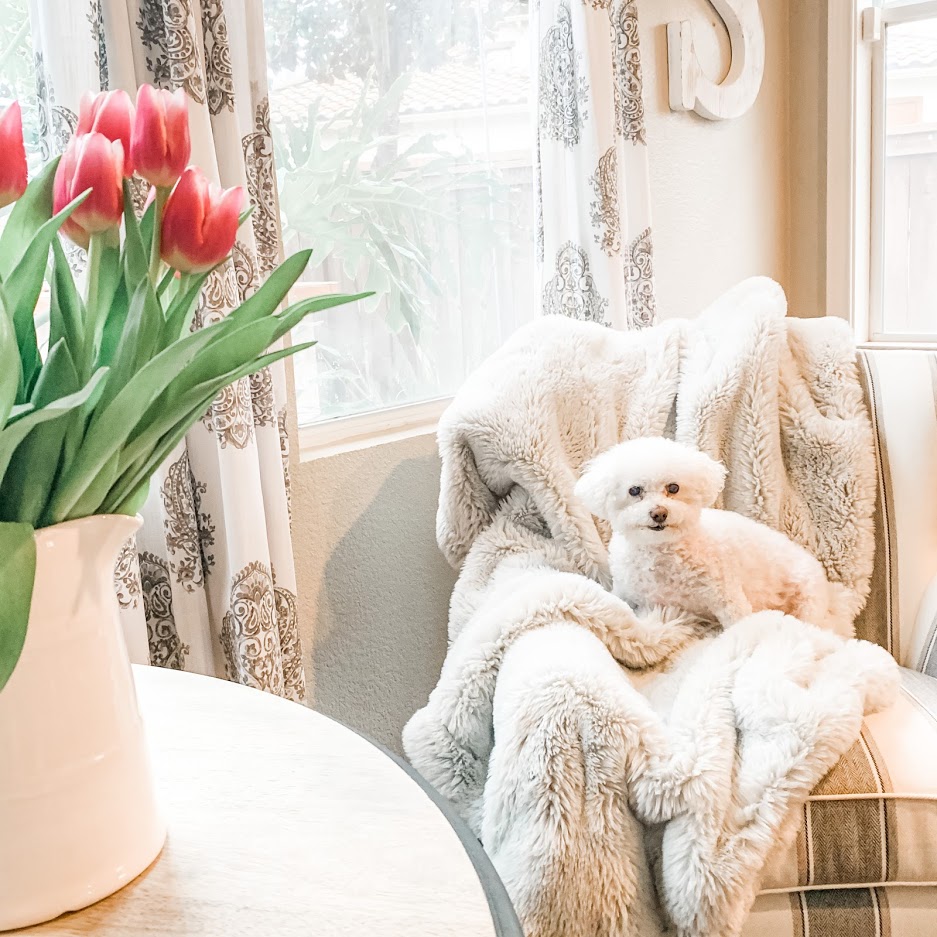
As always, Sophie had to sneak into the pictures!
Here are some other products that came highly recommended when it comes to sealing natural wood. Note: I have not had any experience with them but I thought you might find it helpful.
Beeswax finish from Fusion Mineral Paint
Briwwax liming wax
White Paste Wax FIDDES & SONS
Flat out flat by General Finishes
Sweet Pickins top coat
Gator Hide by Dixie Belle
****General finishes Flat (this one kept coming up again and again, people loved it)
Benjamin Moore Stays Clear Flat
I have received many e-mails asking how the table has held up, here it is a year later, it looks exactly the same
Time to check out all of the amazing thrift store makeovers for this month!

How to Make a Cement Pot
Decoupage Sewing Drawer
Antique Kitchen Tools for Spring
Create A Natural Raw Wood Look
DIY Coffee Pot Terrarium
Retro Canisters for Vintage Kitchen Decor
Decorative Candy Jar
DIY Footed Tray

Thank you so much for stopping in today!

I have a very similar table that I got at the thrift store. Always surprises me that people cast these off so much. They are heavy and excellent quality! I adore your transformation!
Thanks, Christy, yes a truly solid piece!
It’s hard to believe this is the same table! It looks like an entirely different piece. It turned out beautifully!
Thank you so much Michelle, I appreciate it!
That’s a very pretty table makeover! I’m not a shiny girl, so I appreciate the tips about keeping the wood color without adding shine.
Sophie is too darn cute!!
pinned!
gail
Thanks, Gail, I’ll give an update in a few months 🙂
Love that 2 tone combo – that tabletop turned out just beautiful!
Thank you Maryann!
This is really awesome, the color is so adorable. what a cute and different idea, just amazing. I’d like to see more. Thanks for the share dear.
Thank you so much Alina!
That really gave that table some new life. You did a great job!
Thank you so much Denise!
I love a good before and after, and this is one of those. I’ve tried and failed to get the raw wood look, next time I’ll follow your instructions!
Let me know how it turns out 🙂
Amazing transformation! I like the new look you created. Here via your party. 🙂
Thank you so much!
Hi there! I am planning on doing this to my Dads table. It is a treasure as he and his family ate around it all his life. I am kind of afraid as I have never done this before and don’t want to screw it up. So much work. I like the raw finish on top and am wondering, as this post is a year old, if the finish on top has changed color or how it has held up. I don’t think I would do black on the base as it wouldn’t go with my colors. Maybe a white or a cream. Do you have any updates? You have provided so much info. Thank you
I love that you are making this over for your dad, that is so nice of you. I think the hardest part is stripping off the varnish, which will take a little while and require some patience. The top has held up perfectly, I can snap a picture for you tomorrow if you would like when it’s light out. It looks the same as the day I sanded it down. I would paint it white or grey, something subtle. Let me know if you have any questions along the way!
Thank you so much for getting back to me. I would love to see a pic! I probably won’t get to this til after the first of the year and I may have some questions. I appreciate your help! Merry Christmas!!!
I have a table that is left to the raw wood on top. I’ve been wanting to seal it but like you, didn’t want it to darken or turn yellow. Where did you purchase the Weathered Wood Stain Varnish? I clicked on the link but can’t find that particular one. Also, how did you apply it? Thanks so much!
Could you send me a photo showing how it’s held up? Thank you
I am sending you a email with a picture, it looks the exact same still. Here is a direct link to the top coat, hope that helps. https://www.weatherwoodstains.com/cart.html?store-page=Varnish-DEAD-FLAT-p60254226
Thanks for sharing a helpful post