How to create a mood board
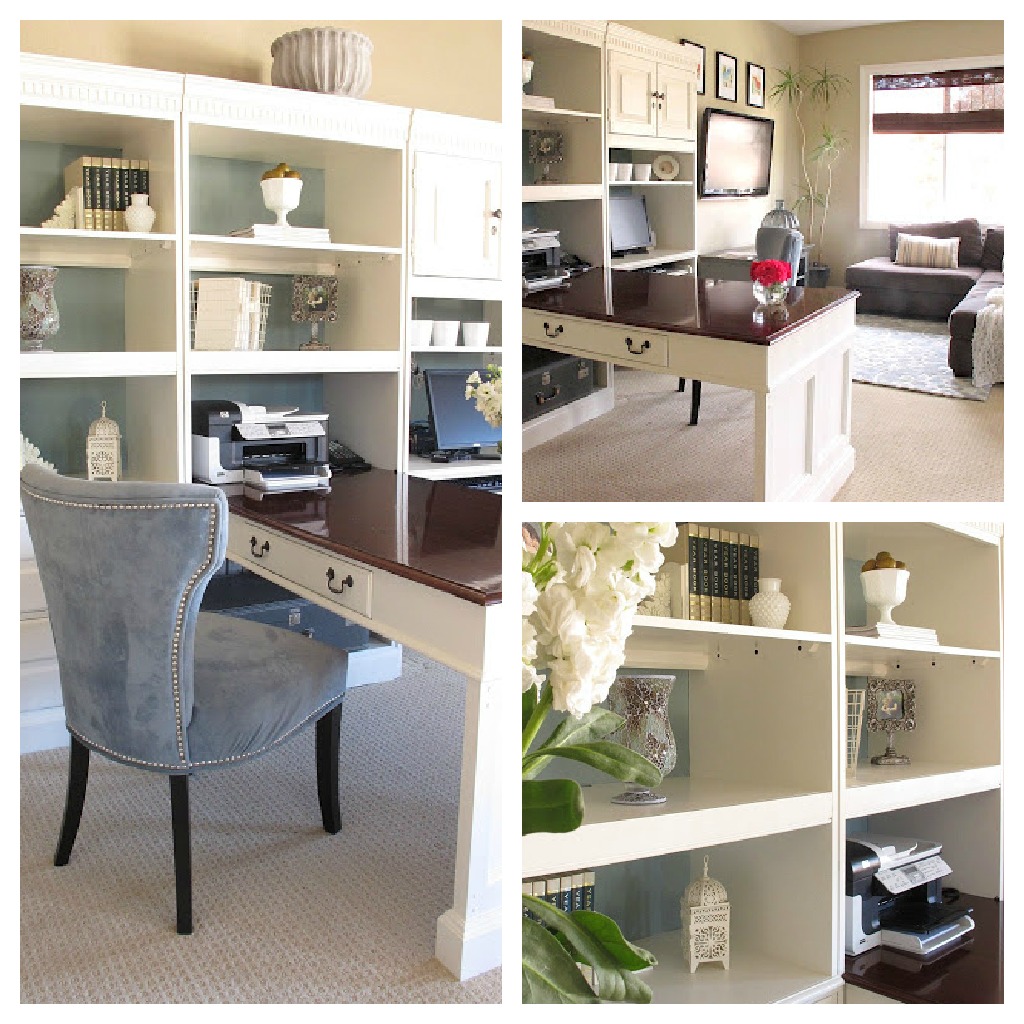
I’m almost done priming the bookshelves,
they look better already.
sneak peek.
Since I have started making mood boards, I have been asked how it works. Today I thought I thought it would be fun to give a quick little tutorial.
I will admit, at first I was a little intimidated but I learned as I went along.
There are a lot of sites that give you free software so you can begin creating. I have only used
My Deco but am excited to start trying out a few others to see which one is the most user friendly.
~Onto The Tutorial~
Log onto My Deco site and register.
Click on Create a New Mood Board
and you will come to a screen that looks like this:
Here is where the fun begins.
You begin by grabbing pictures from items you have clipped from the Internet (Very much like pinning) by downloading their clipper and adding it to your toolbar.
You simply drag and drop your items into the white cloud.
Click here to learn how to download their clipper.
You can also grab items from from their store. Search for items by color, brand, category, etc.
Drag & drop those items into the “white cloud.”
I continue to drag and drop until I have all my items, not worrying too much about arrangement.
Start to arrange the elements by decreasing or increasing the size.
Once you have all your elements you can start dragging them around the cloud to create your vision.
If there is something you don’t like simply delete it or drag it back.
Save your moodboard and categorize it.
You are all done, not too bad, right?
Here are the two mood boards I made for the loft….


And one for the pumpkin mask.

Do you have a favorite site to create your moodboard?
Thanks for stopping in today!
XOXO


I haven't done a mood board yet because I always get frustrated with the sites I have tried using but I am going to try My Deco and see how I like that one! Thanks!
-Shelley
Thanks for sharing! I never knew how people did this. I'm excitied to try it.
I'm so happy to see your tutorial on this! I've wanted to do some mood boards, but have shied away, assuming I had to figure this out in Photoshop or something!
This looks very do-able!
Thanks for sharing,
–Katie
@Creatively Living
Love your mood boards – I've been using Polyvore which works in a very similar way. I'll actually be sharing my very first mood board tomorrow on my blog (eek!)
Thanks for sharing this site Kristin! I've used Polyvore and Olioboard and I will definitely try Mydeco! I love the Holt wing chair in your board!
Awesome! Thanks for sharing, Kristin – I've always wanted to know how to make real mood boards!
This looks like fun! I have never tired it before but will have to now. Thanks for sharing. It is amazing how much decorating goodness is available on-line. I am drawn to the color schemes you use here and in your home in general. Take care, Kristen!
Thank you so much for this post. I have been in the dark on how one creates a virtual pinboard. I love Pinterest, but doesn't look like you can create a board to post on a blog there. I will try your suggested site. Thanks!
I've only done this kind of thing in Photoshop, but it would be so much easier with a site to do the dirty work for you! Thanks for the tutorial!!
This is a wonderful tutorial, Kristin! Sounds fun…I've got to try it. I can't wait to see your finished bookshelves. I peeked on FB and you are making a lot of progress! They're looking great.
I do love this one but also use Olioboard – its a lot of fun too! I love doing these! Thanks for sharing and thanks for stopping by my blog and leaving a comment!! Nice to meet you too – ;-))
I love my deco and olioboard! Thanks for the reminder that I need to get playing again on the boards! Oh my, between this and Pinterest, I don't know how I'll ever get anything done! 😉
Hi Kristin,
I have not yet made a mood board, I will need to try this. Your bookselves are looking wonderful.
Cool! I will have to check this one out!
I have used Olioboard but had problems with white images (like bed linens) showing up. So now I am back to Powerpoint. I think I will try this one though.
How fun! I love all your boards and I'm definitely going to have to visit this site. Thank you for sharing your tutorial. Have a great wknd!