
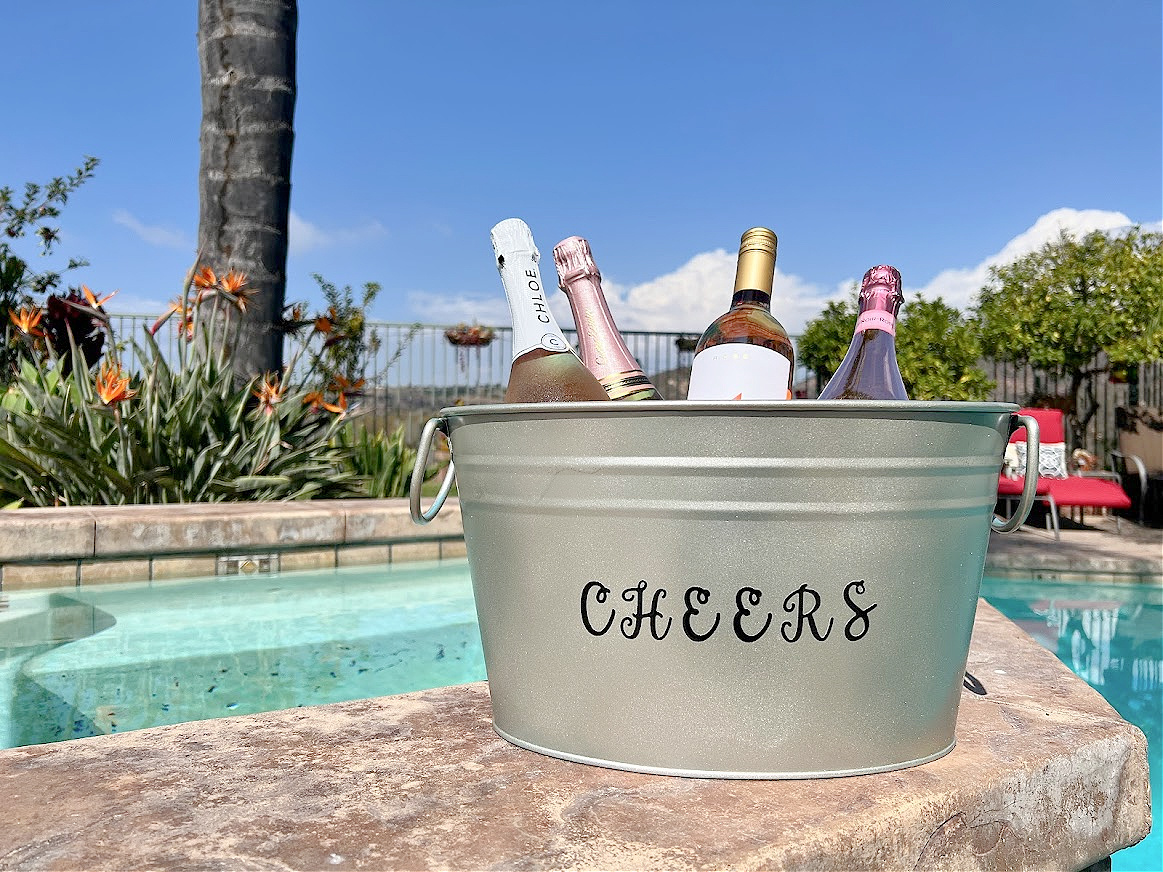
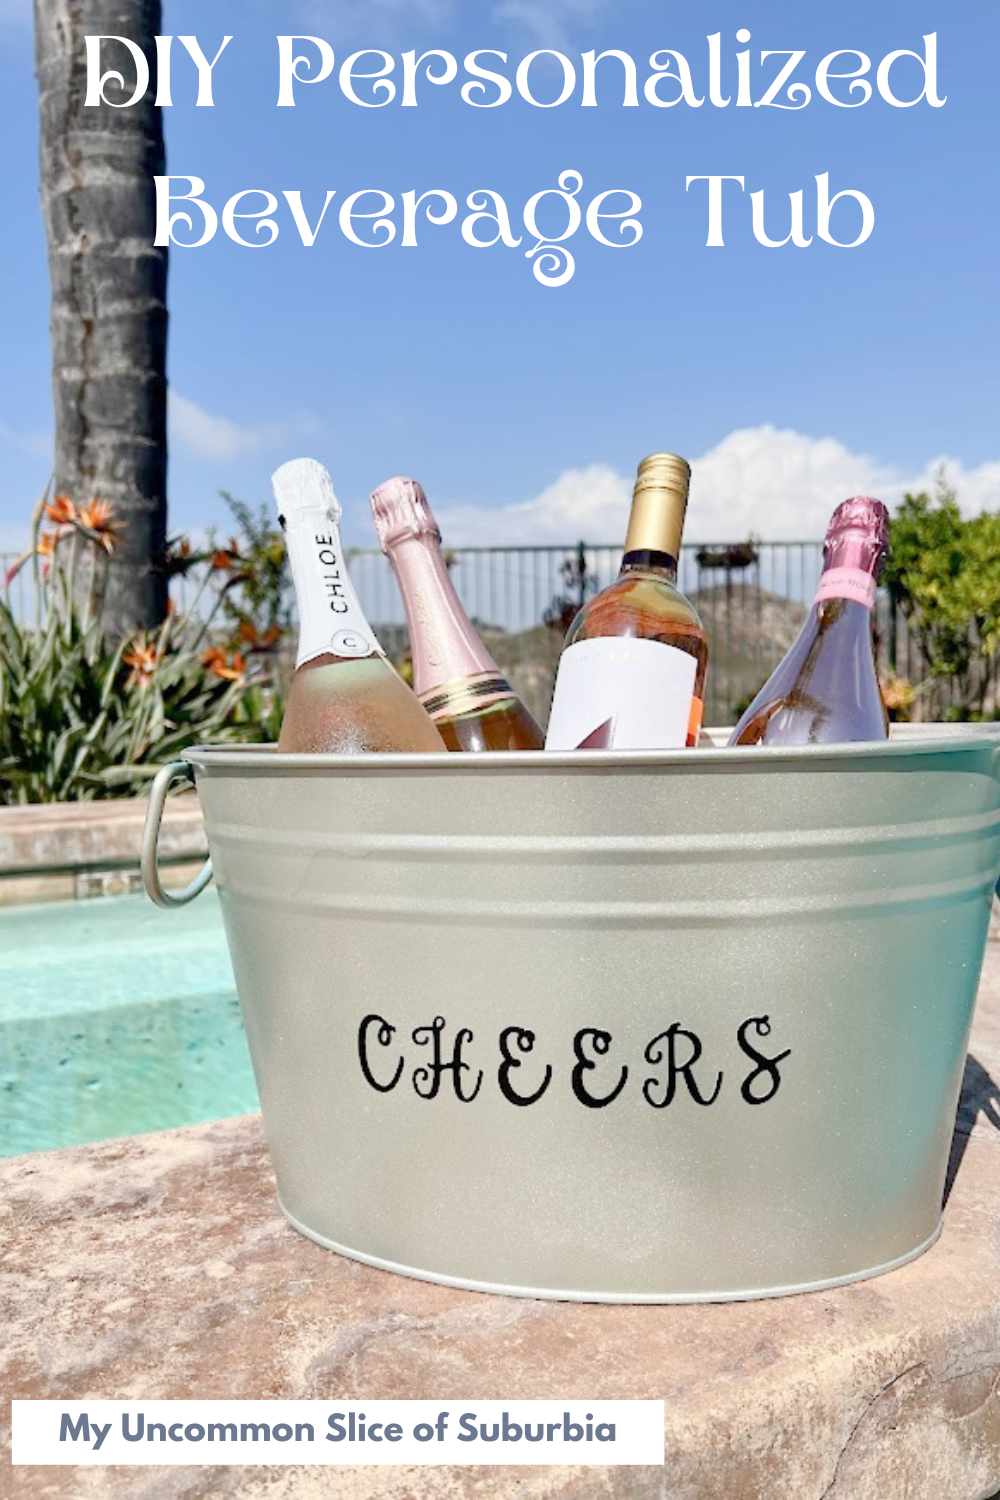
DIY Personalized Beverage Tub
Create a DIY personalized beverage tub using some spray paint and adhesive letters, it’s the perfect way to update an old tub! These ice buckets are the perfect way to keep your beverages cold indoors and outdoors.
It’s Thrift Store Decor Day so make sure you check out all of the talented ladies’ makeovers at the end of this post!
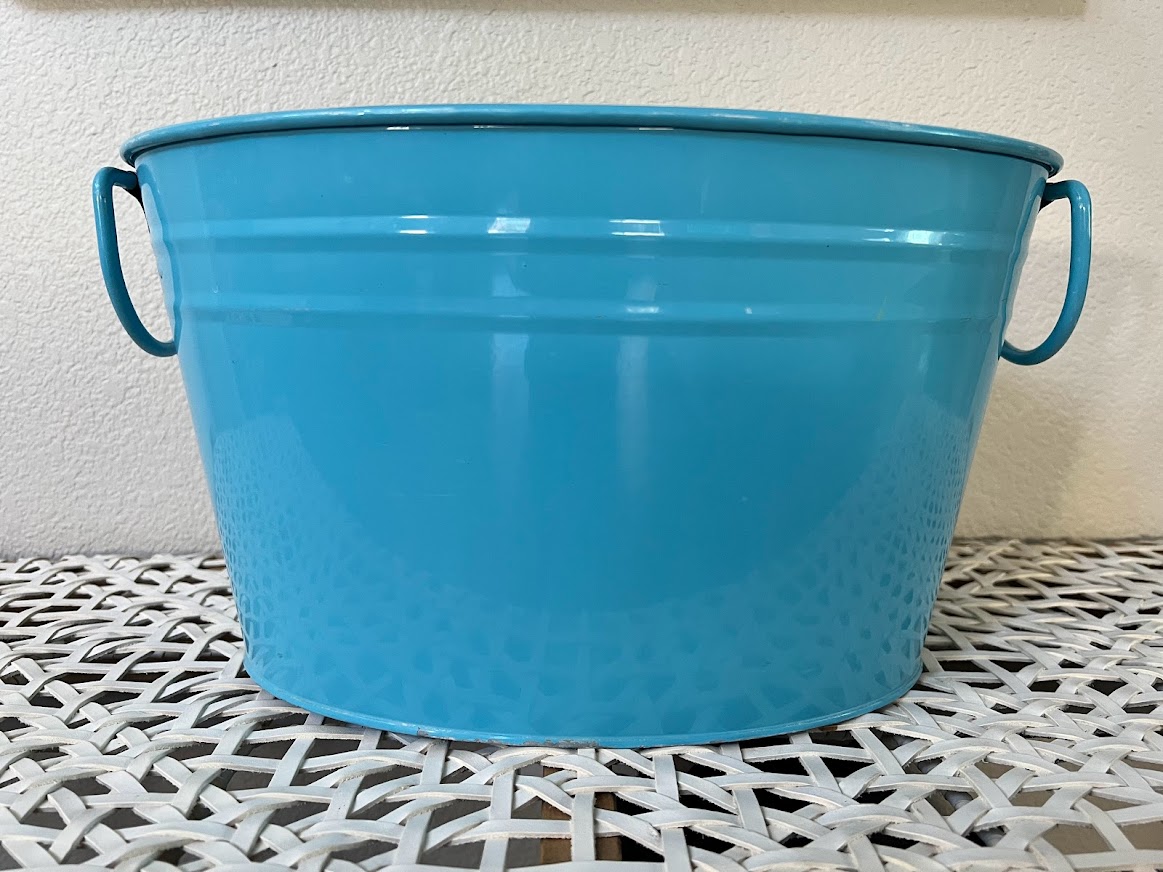
We have a party coming up to celebrate my 50th and we are in the process of getting everything ready. I’m scouring the thrift stores so I can pull this party off on a budget. I ran across the cutest beverage tub at Marshall’s and it was $50, no thanks, Amazon wasn’t much better. I ran off to goodwill and found a nice and colorful tub for $4 it still had the sticker on the bottom from target and it said beverage container. I brought it home and filled it with water and it didn’t leak so I knew it would be perfect.
Here is the before, looks brand new! Although there were still some stickers on the inside of the container I couldn’t peel off so I just spray painted over them lol.
Affiliate links listed below
Supplies Needed:
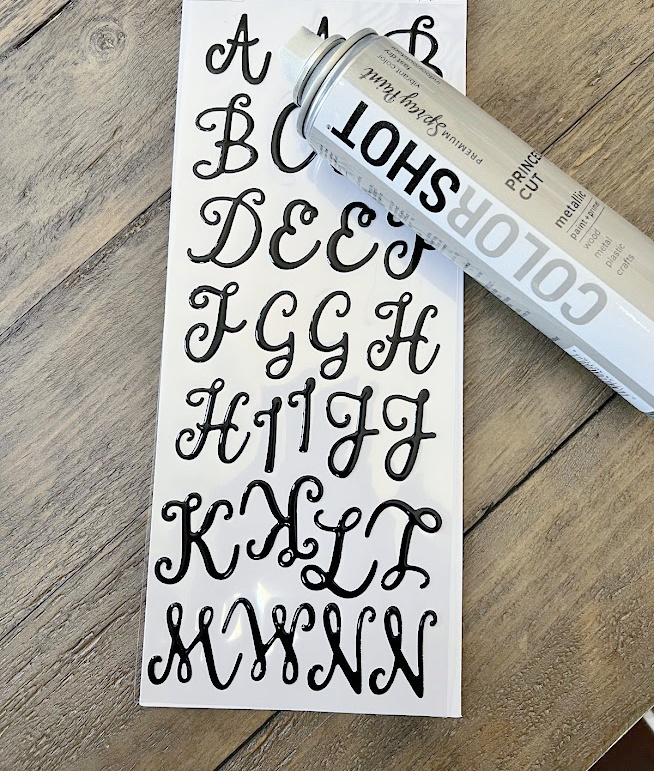
Spray Paint the paint I used Color Shot In Princess Cut paint and primer in 1

Rag with Soap
Waterproof Vinyl Stickers
You could also use permanent vinyl or you could stencil letters using paint. Get creative!
Ruler
Ice Bucket or galvanized tub
Directions:
Using a clean rag, give your bucket a good cleaning and let it dry.
The bucket did not have any rust but if it does, your Paint will not stick to it. Remove the rust using a stiff wire brush.
Shake the spray paint can well to make sure the paint is appropriately mixed up.
I applied 2 coats of paint waiting about 15 minutes in between each coat. (read the paint label for detailed directions specific to your paint)
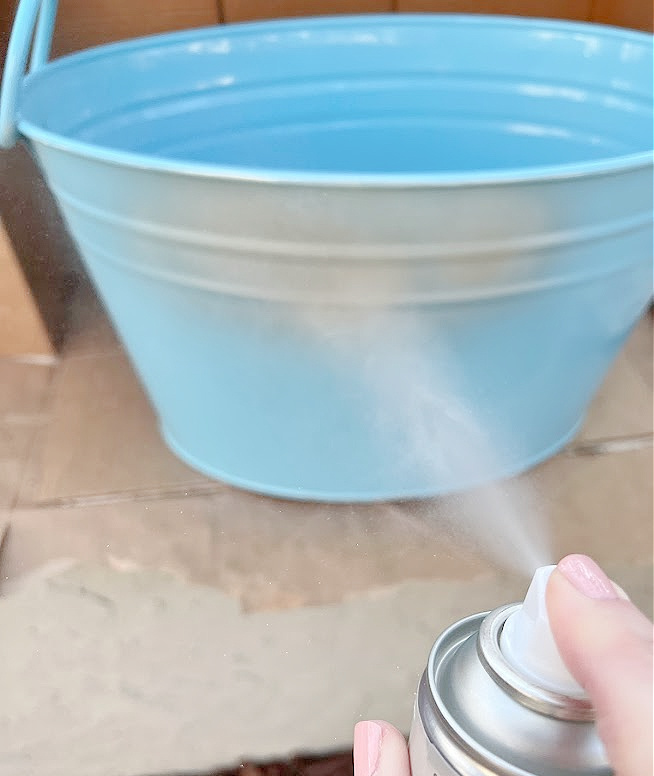
Avoid applying thick coats of spray paint. You achieve better coverage by utilizing thin coats and repeating the application until you get the look you want.
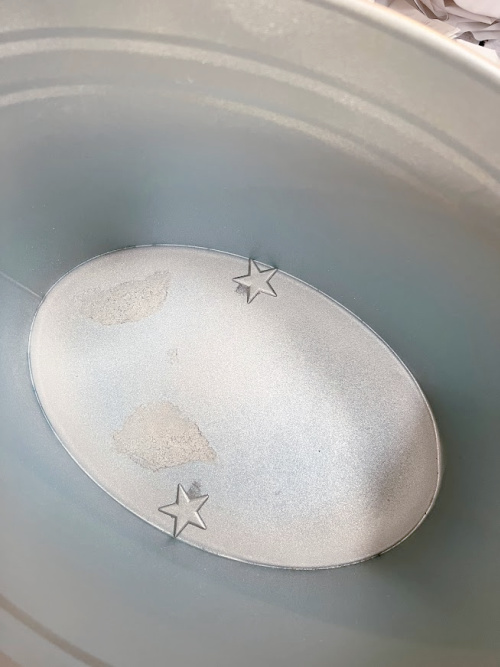
With one can of paint I was able to almost get the whole inside with 2 coats but not the very bottom, here you can see the old stickers.
Allow to dry overnight.
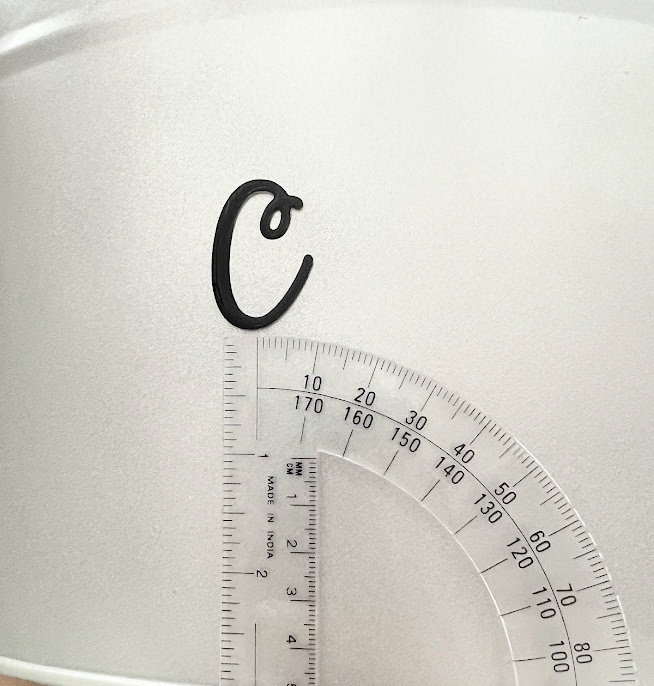
Make sure you measure your letters and consider the placement before applying the letters.
Stick the letters to the side of the tub.
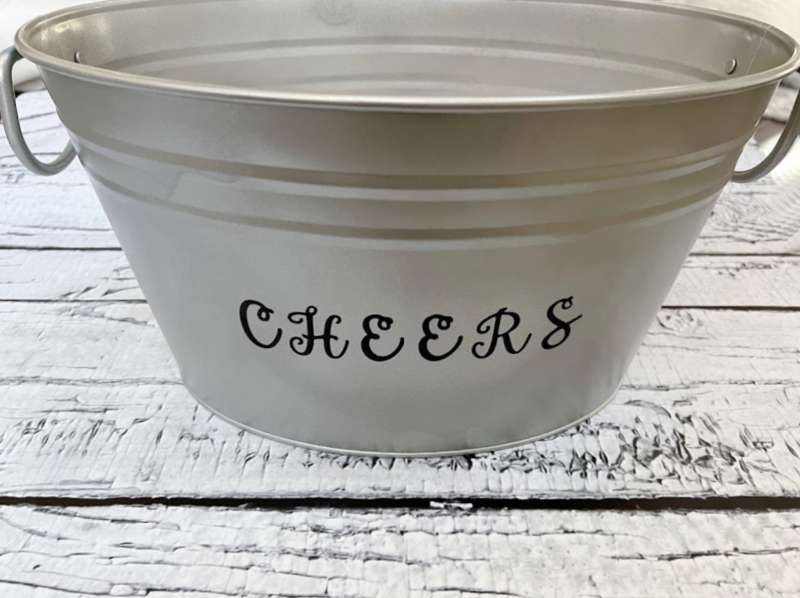
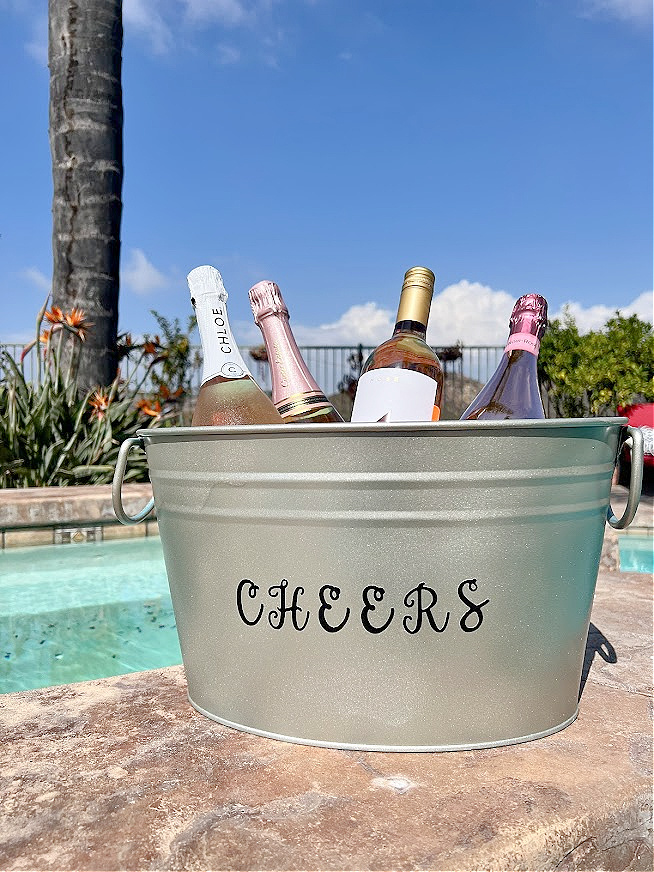
You’re all done, so easy and it looks so much more sophisticated!
Now it’s time to fill your DIY beverage tub with ice and your favorite ice-cold drinks and enjoy. Wine bottles, champagne, beer bottles, water, and sparkling water would all fit perfectly.
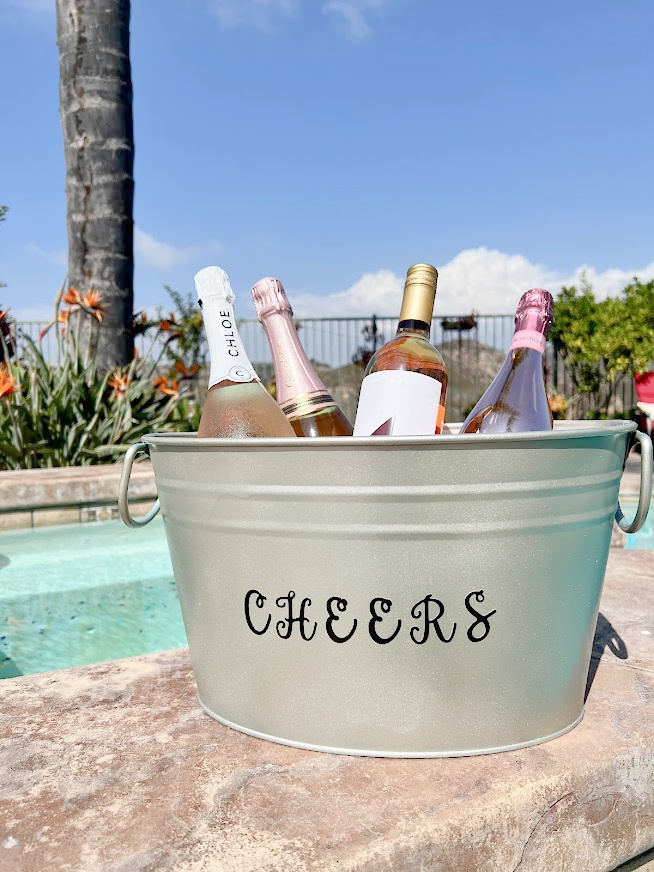
This is perfect for parties or small get-togethers and summer barbecues or a great addition to your party decor.
Would these make for a great gift? YES!
Wedding gift
Anniversary gifts
Housewarming gift
Use it as a gift basket and fill it up with goodies
How can I customize it
Write the couple’s last names or the couple’s names
Add wedding dates
Move-in date of the new home
Make one for the holidays writing Happy Fourth, Merry Christmas, Happy New Year!

Time to check out all of the thrift store makeovers!
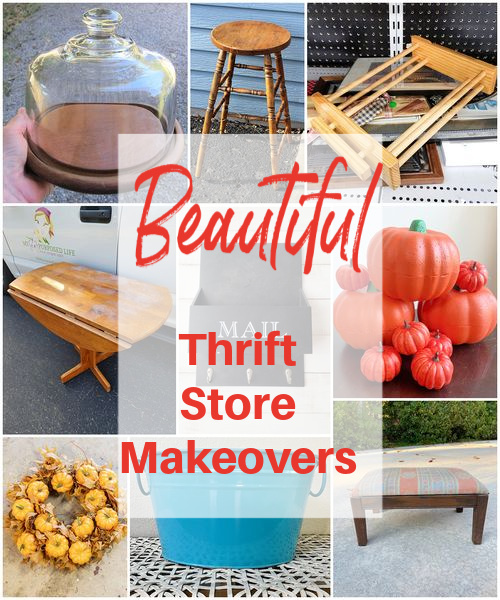
DIY Multi-Colored Mercury Glass – Petticoat Junktion
Wooden Stool Makeover With Oven Cleaner – Our Southern Home
Hello Fall Sign on a Casserole Dish Holder as a DIY Loom – Sadie Seasongoods
Personalized Beverage Tub – My Uncommon Slice of Suburbia
Broken Vintage Stool Makeover – Organized Clutter
The Easiest Thrift Store Wreath Makeover For Fall – Reinvented Delaware
Customize Your Pumpkins – Shop At Blu

Kristin, this turned out so good! I love that you are decorating for your 50th (happy early birthday!!) with upcycled items! Pinned 😊
Thanks Cindy!
The beverage container looks so good! You got the lettering perfect!
Thank you Carlene
Awesome job on the beverage tub! I love, love, love spray paint!
Happy Birthday!
pinned!
gail
Thanks Gail!
Just in time for your party this weekend- cheers!!
Thanks Sarah, it worked out perfectly!
What a thrifty way to make a knock off tub of an expensive original! Happy Happy Birthday!
Thank you Sue!
What a fantastic project! I love the idea of personalizing a beverage tub for gatherings. Your step-by-step guide makes it seem so doable, and the design is just perfect for summer parties. Can’t wait to try this out at my next BBQ! Thank you for sharing such a creative idea!
What a fantastic idea! I love how you personalized the beverage tub, and it would be perfect for summer gatherings. Your step-by-step instructions are super easy to follow. I can’t wait to try this out for my next backyard party! Thanks for sharing such a creative DIY project!