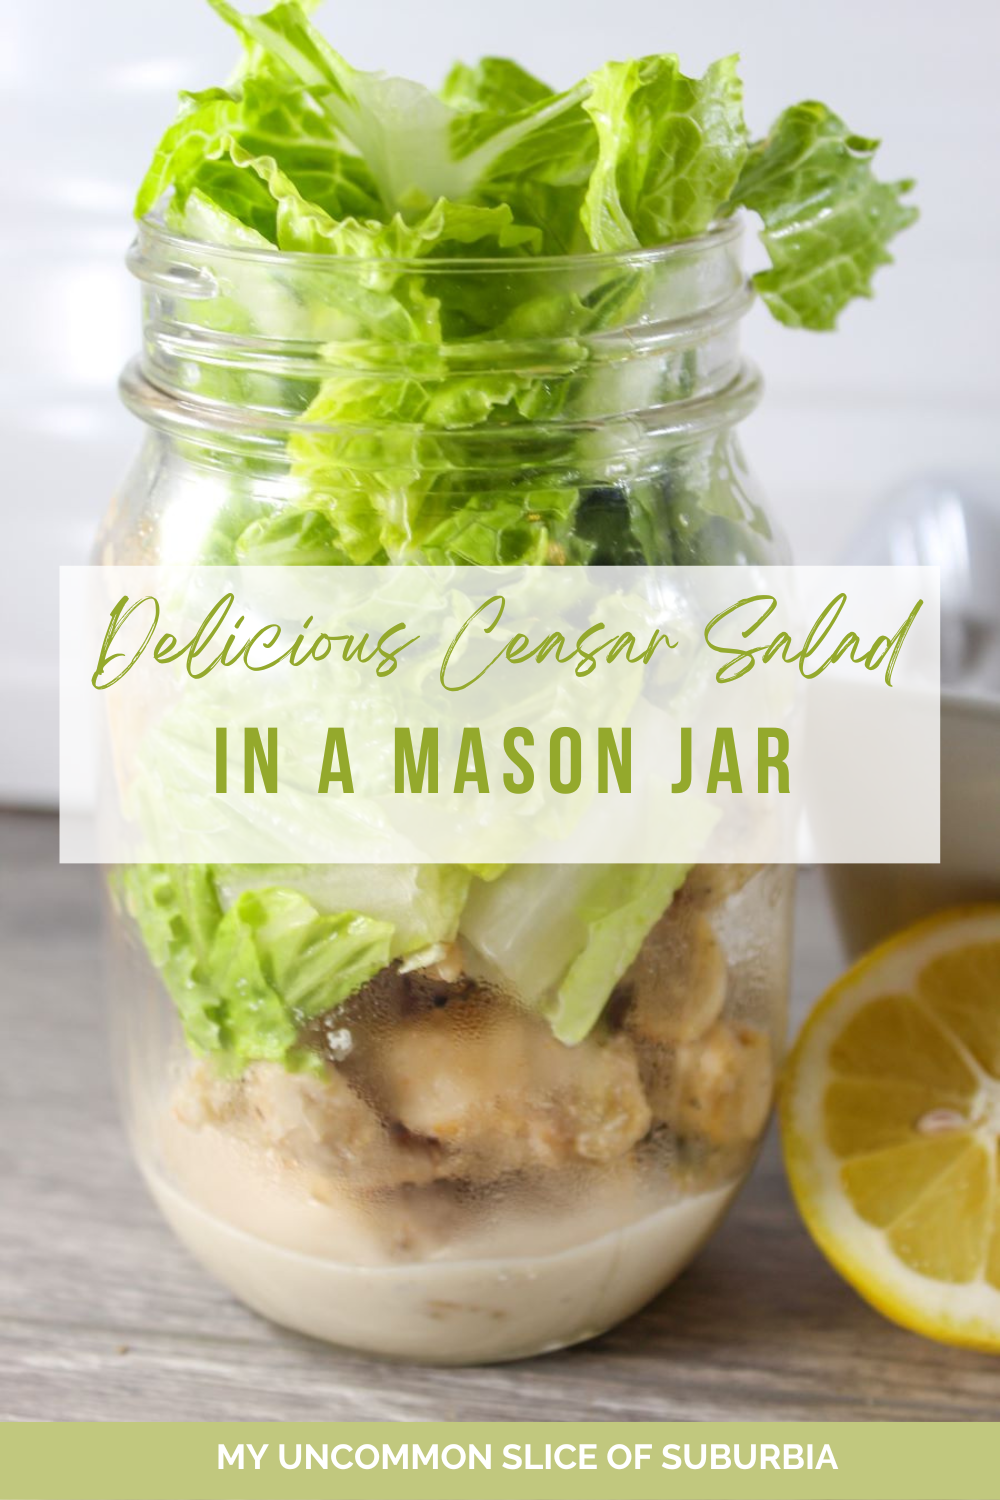
Chicken Caesar Salad in A Mason Jar-Keto Friendly
Are you looking for a quick and easy way to enjoy a satisfying Chicken Caesar Salad? This portable easy lunch option is a delicious solution for busy days when you want a nutritious meal without the hassle. This is such an easy meal prep, packed with flavors, textures, and all the goodness you crave, this recipe is not only low in carbs but also incredibly easy to prepare. I love that you can make all your lunches for the whole work week in one sitting, no more worries about what to eat every day for lunch.
I’ve been making these salads for years now and they are a lifesaver on busy days and make for an easy choice when possibly grabbing a not-so-healthy option. I try to meal prep on Mondays. I know most prefer the weekends but now that the kids are older I’m not making lunches for them anymore so Mondays work out great.
How to make a Caesar salad in a jar
Prepare your creamy caesar dressing or you can use a pre-made dressing.
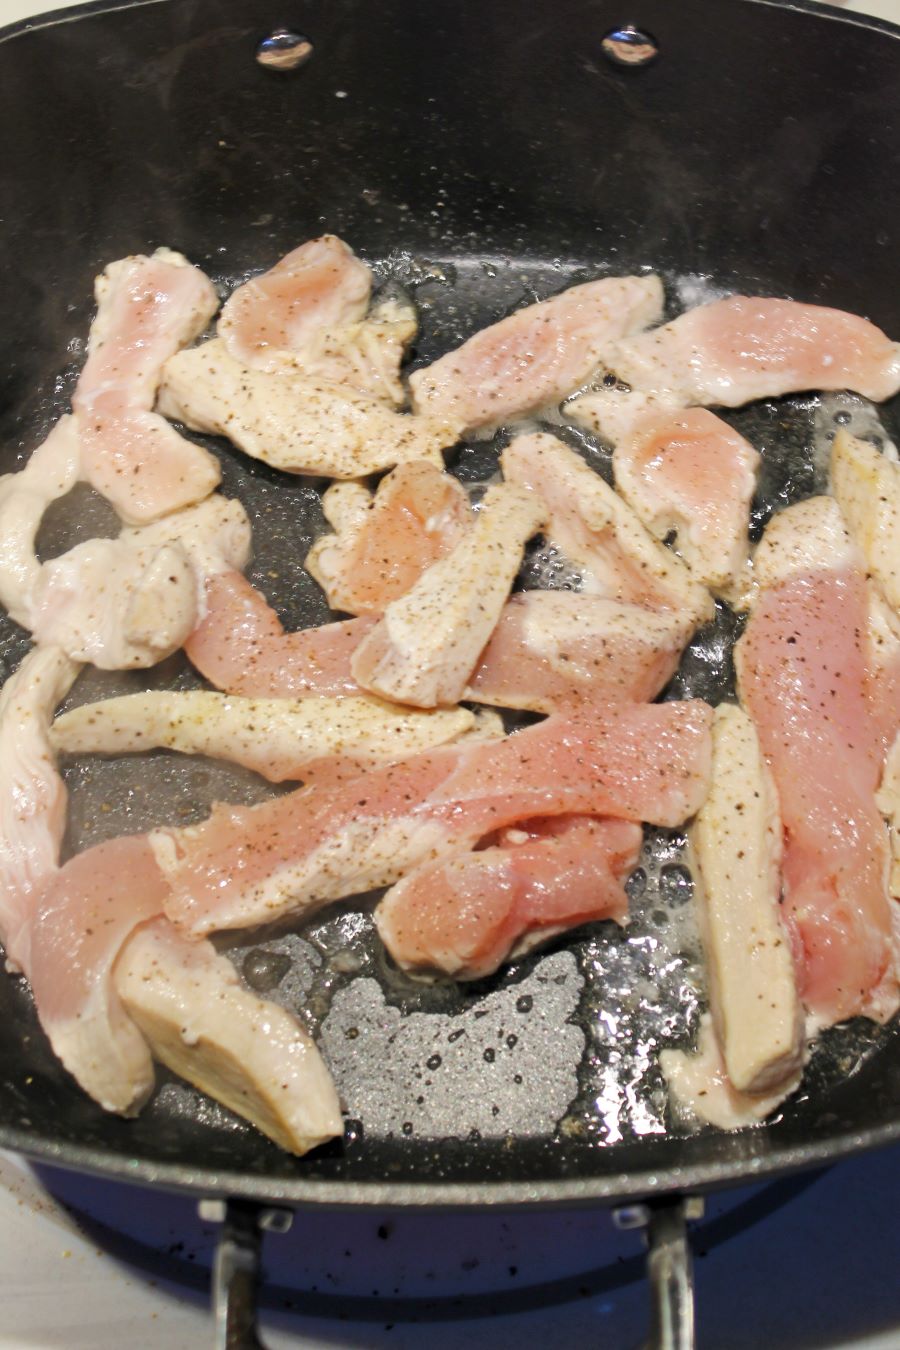
Cook Your Chicken
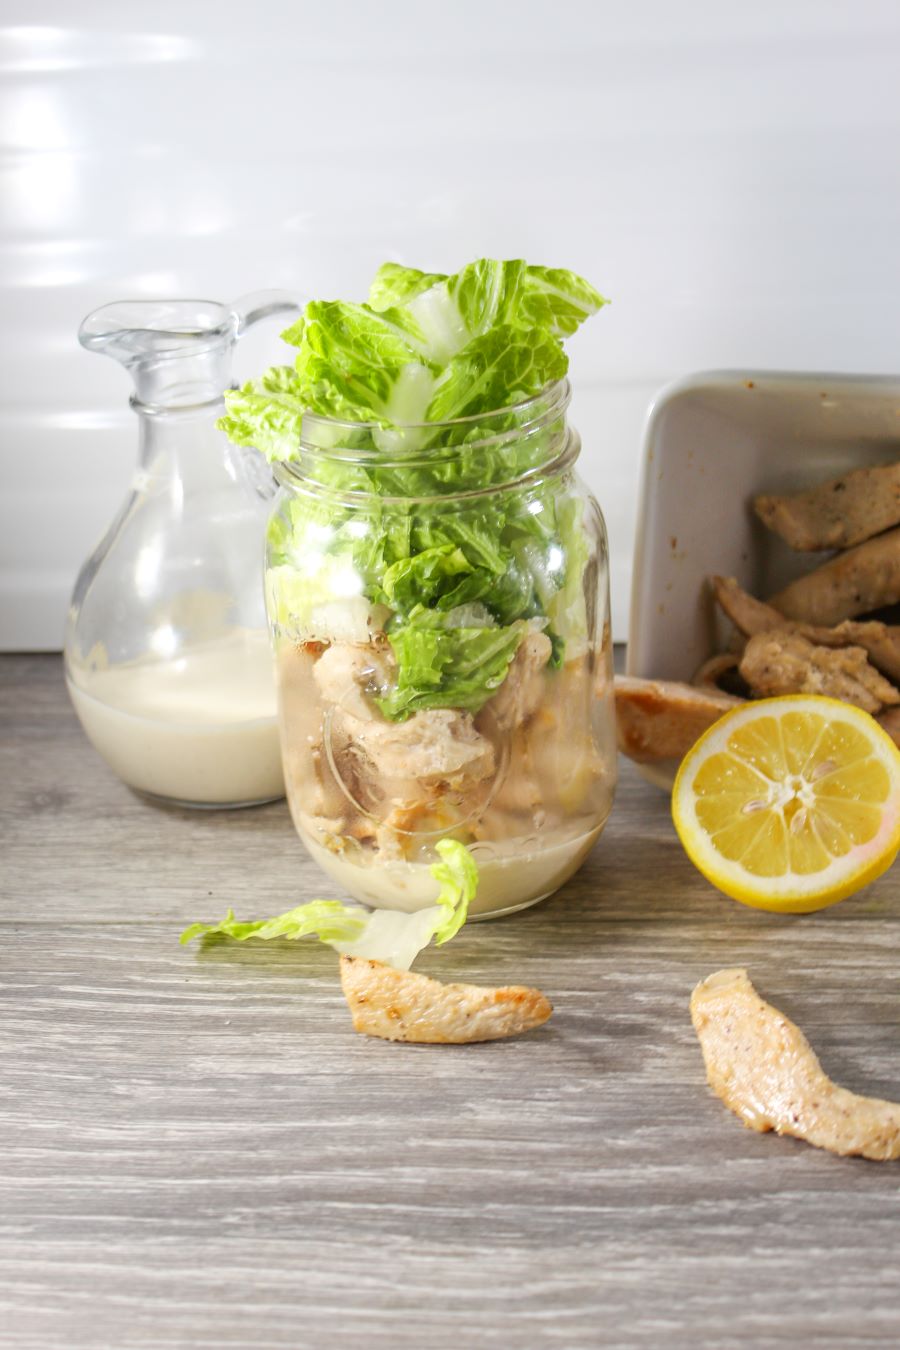
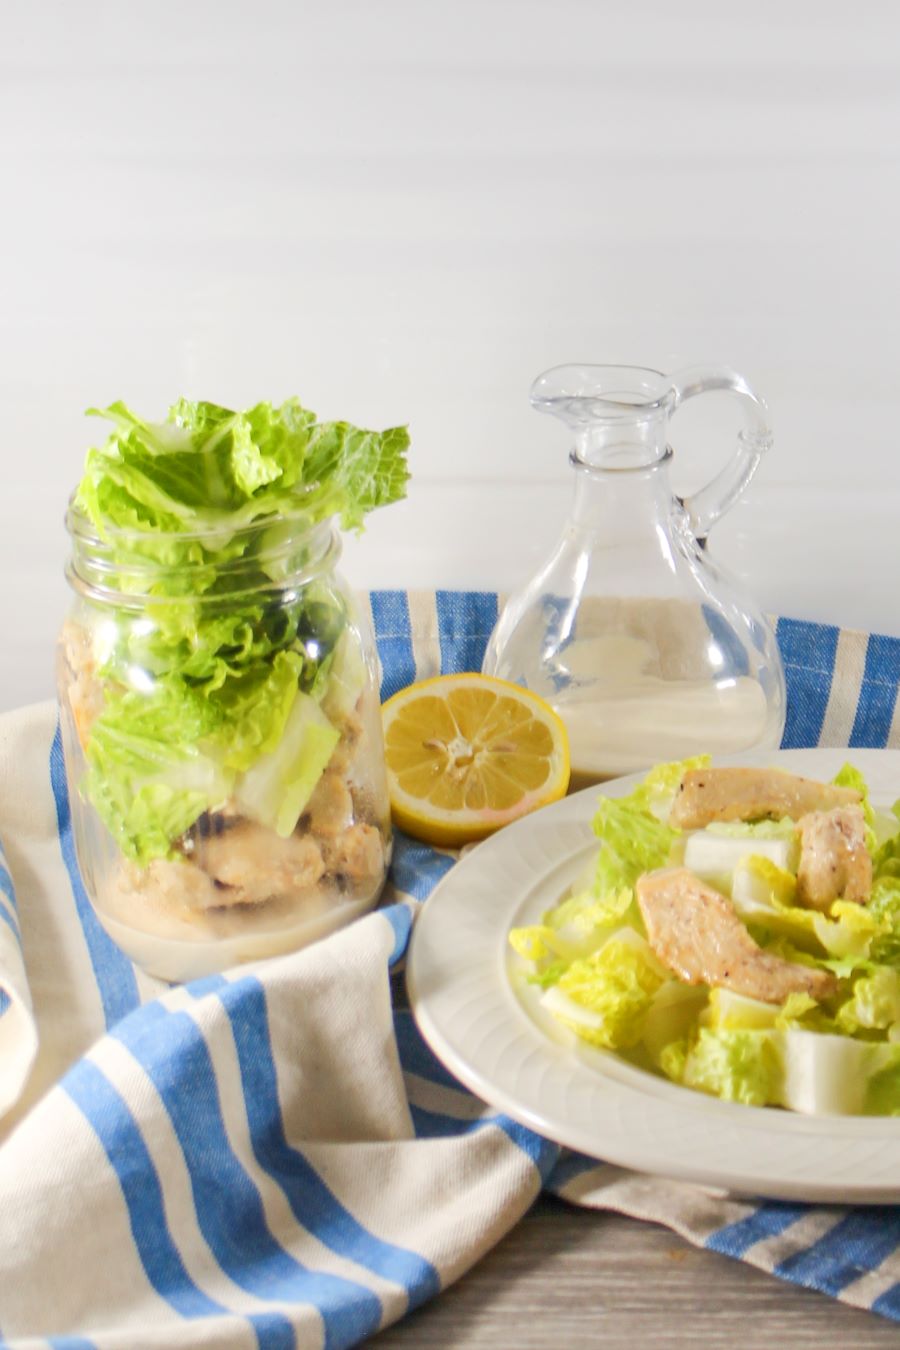
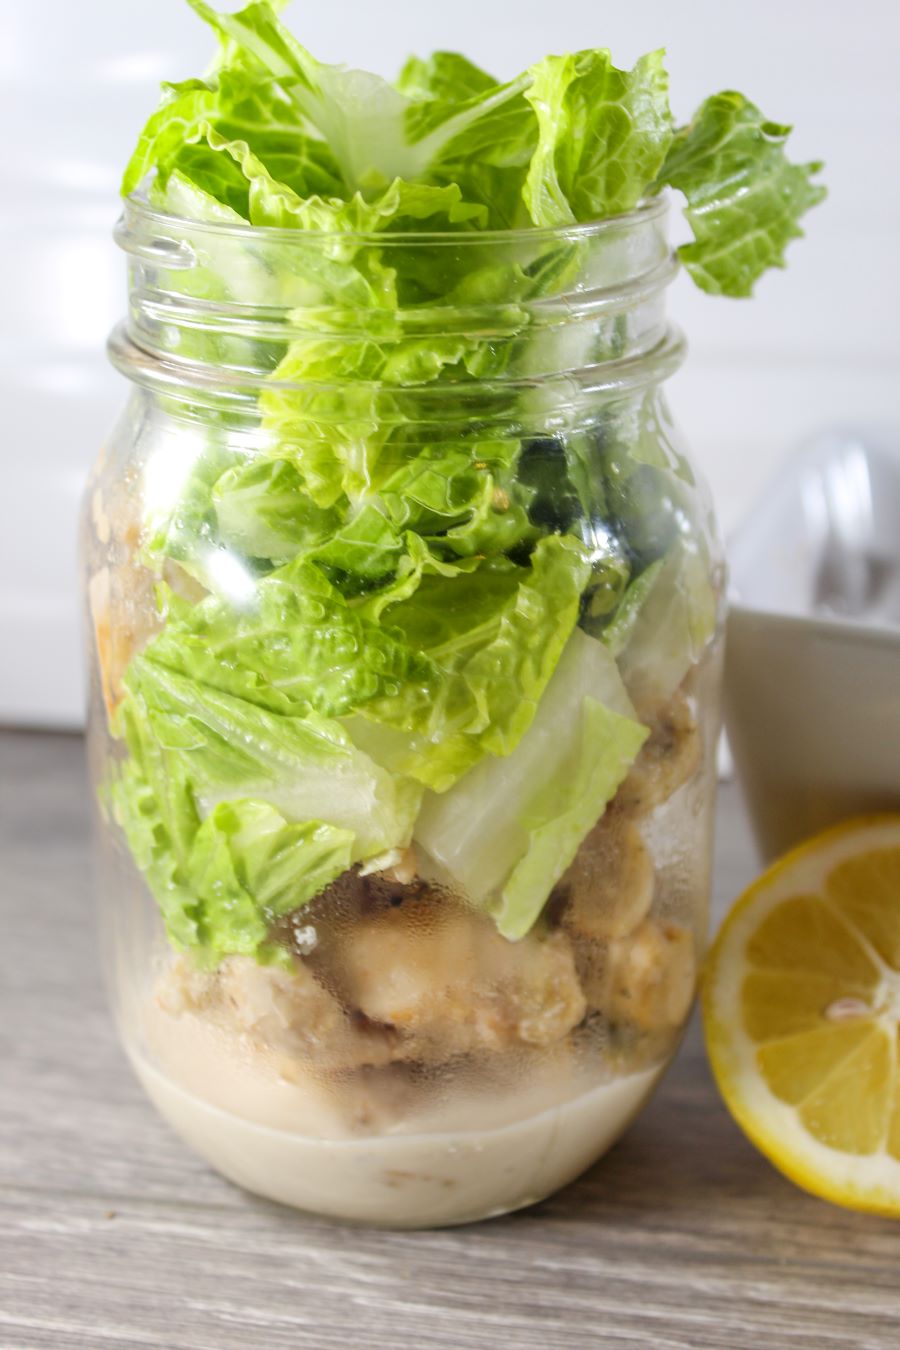
Assemble the Mason Jar Salad into individual jars. The way you pack your salad is important so your lettuce does not get limp. The key is to keep the wet ingredients away from the greens. Always start with the salad dressing, then vegetables like chopped tomatoes, avocados, and greens go at the very top of the jar, with a buffer like nuts in the middle.
Seal and Store: Seal the mason jar tightly with its lid. You can store the assembled salad in the refrigerator for up to 2-3 days. The dressing at the bottom helps prevent the lettuce from getting soggy.
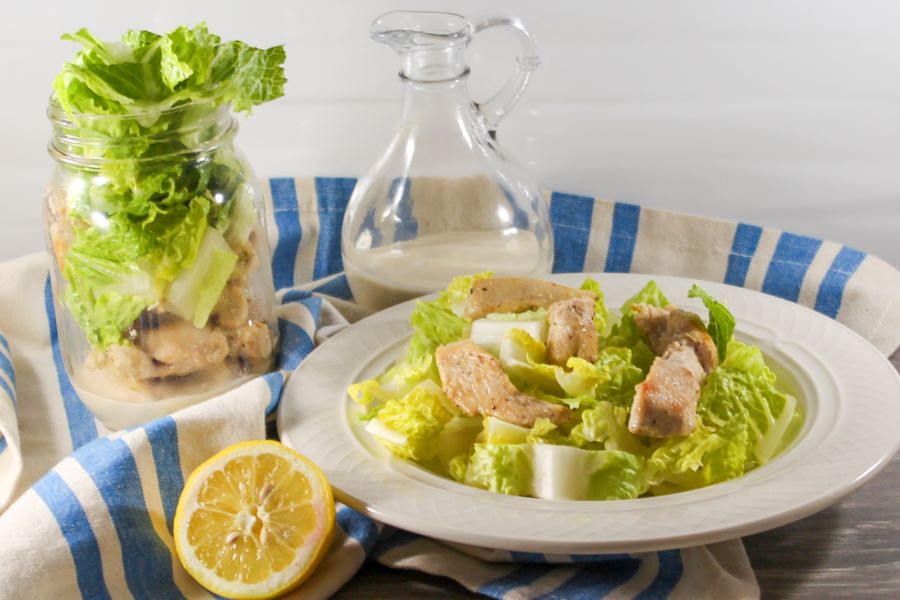
Serve: When you’re ready to enjoy your salad, simply give the mason jar a good shake to mix everything up and distribute the dressing. Pour the contents into a bowl or plate and dig in!
affiliate links are listed below
Why Mason Jars?
Mason jars aren’t just for canning anymore. They’re a fantastic tool for assembling salads that stay fresh and crisp until you’re ready to dig in. By layering your ingredients strategically, you’ll prevent the dreaded soggy salad situation. Plus, the convenience of a ready-to-eat meal that’s neatly packed in a portable jar makes lunchtime a breeze. This 2-quart size jar seems to work the best.
How long do mason jar salads last in the fridge?
If you are just adding dressing and veggies to your salad, it will easily last 7 days if stored in an airtight container. However, if you add chicken or other animal protein I would say eat within 3 days no more than 5 days.
Optional ingredients
Grape tomatoes
Red onion
Garbanzo beans
Your favorite veggies
Nuts
Raisins
Hard-boiled eggs
Bacon bitsSubstitute a rotisserie chicken instead of a chicken breast
Parmesan Cheese
Crunchy croutons (but I do find they get a little soggy so I leave them out)
Ingredients
Equipment
Method
- Drizzle the oil in a skillet
- Season the chicken with fresh lemon juice, salt, pepper, and any other spices like garlic powder that you might enjoy.
- Cook the chicken fully in a medium frying pan on medium heat, flipping frequently until slightly browned on all sides. The Food-Safe Temperature for Chicken is 165 degrees F.Remove from heat and let cool completely.
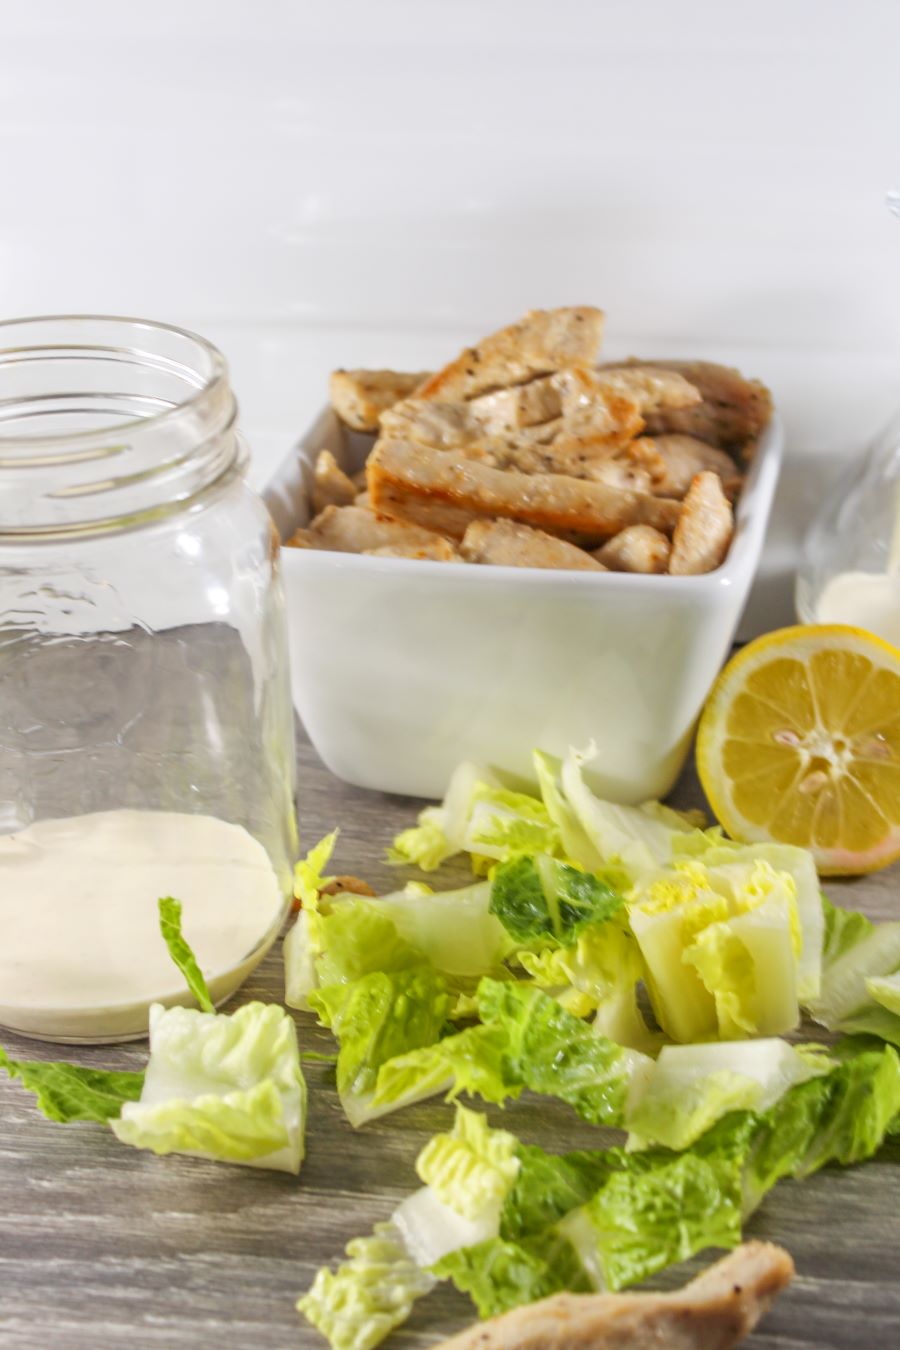
- Place your desired amount of dressing in the bottom of the jar.
- Add cooled chicken to your bottom layer.
- Top with romaine. Make sure to add in as much romaine as you need to create a tight pack.
- To eat, dump the entire contents of the jar into a bowl, toss, and enjoy!Serve chilled
My favorite caesar salad dressing (without anchovy paste)
Ingredients
Method
- Combine the mayonnaise, garlic, lemon juice, Dijon, Worcestershire sauce, and salt in a bowl.
- Stir in the Parmesan and the water.
- Season with salt and pepper, to taste.
Hope you enjoyed this recipe, let me know if you give it a try!

