Candy Easter Wreath
How to Make an Easter Wreath with Robin Eggs
Create a stunning Easter wreath using robin eggs and a styrofoam wreath form just in time for Easter! This project is not only a fun and creative way to welcome the season but is so easy! The sun is out and with that came my first spring craft, super easy and fun!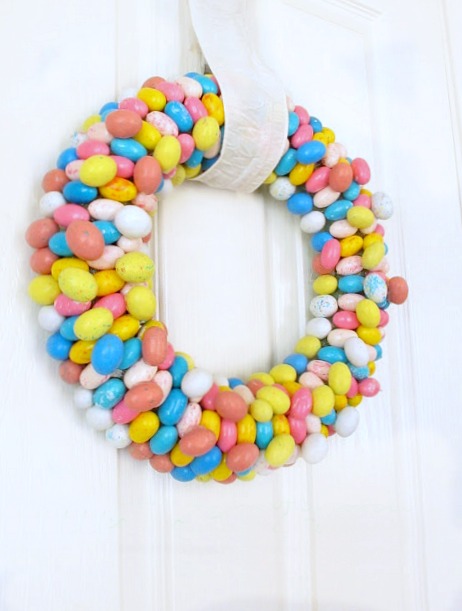
Affiliate links are listed below
Materials You’ll Need:
- Styrofoam wreath form
- Faux robin eggs or real candy robin eggs
- Hot glue gun and glue sticks
- Ribbon (for hanging)
Step 1: Prepare Your Workstation
Set up a clean and spacious area to work on your wreath project. Lay down some newspaper or a crafting mat to protect your surfaces from glue drips and spills.
Step 2: Arrange Your Robin Eggs
Before attaching anything to the wreath form, take a moment to plan out your design. Arrange the robin eggs in a pleasing pattern, spacing them evenly around the wreath form. You can create a symmetrical design or opt for a more organic, random arrangement – it’s entirely up to you!
Step 3: Glue the Robin Eggs
Once you’re happy with the placement of the robin eggs, it’s time to start attaching them to the wreath form. Carefully apply hot glue to the back of each egg and press it firmly onto the styrofoam. Hold it in place for a few seconds to allow the glue to set before moving on to the next egg. Continue this process until all the eggs are securely attached to the wreath form
So I overlapped a few pieces of candy to hide the green.
Step 4: Add Decorative Elements (Optional)
If you’d like to embellish your wreath further, now’s the time to get creative! You can add silk flowers, greenery, or other small Easter-themed ornaments to enhance the overall look of your wreath. Use hot glue to attach these elements securely to the wreath form, being careful not to disturb the robin eggs.
Step 5: Attach the Ribbon
To hang your Easter wreath, cut a length of ribbon to your desired size and loop it around the top of the wreath form. Secure the ends of the ribbon together with a knot or bow, ensuring it’s tight enough to support the weight of the wreath.
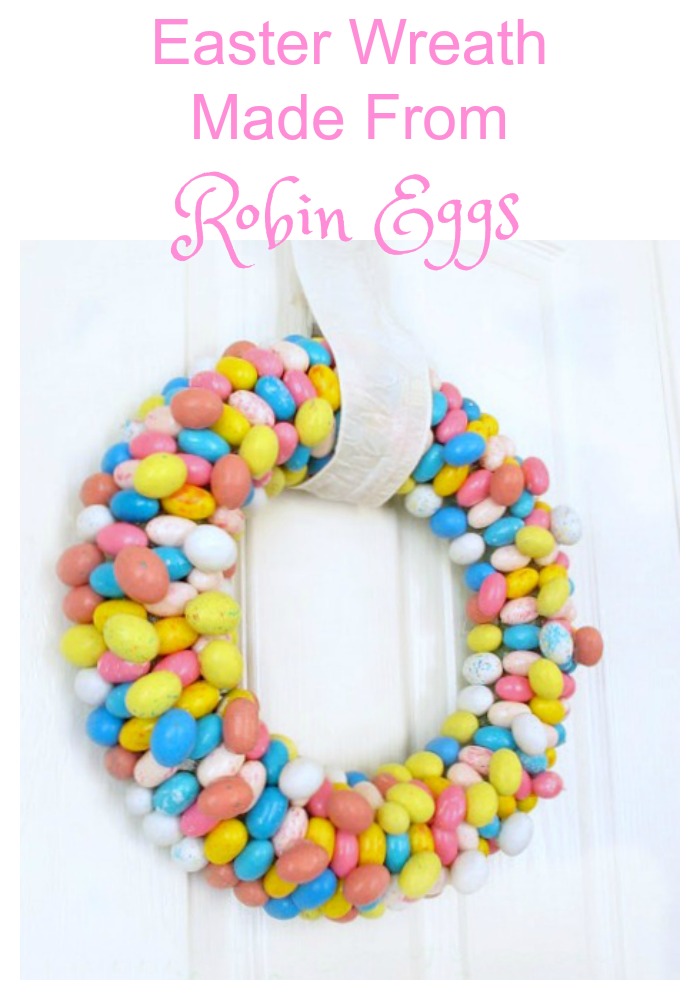
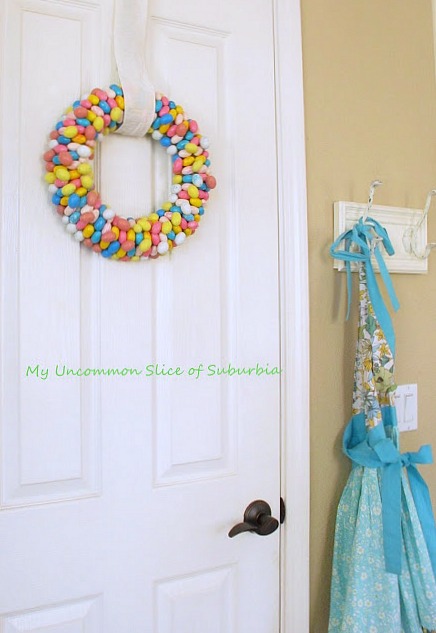
Hang it on your front door to welcome guests, or use it as a charming centerpiece for your Easter brunch table. However you choose to display it, your handmade wreath is the perfect addition to your Easter décor.
This only took about 30 minutes, let me know if you make one! I would love to see it!


That is so cute! I've been loving all these wreaths made with candy and Peeps….I never thought of that…figured the humidity would turn it into a mushy mess! Keeping it indoors is good…So cute!
Lorraine
Mmm it looks good… I kinda want to eat it…
OOOOOH, I don't think this would last very long in my house. My boys would eat before I get a chance to hang it up. Thanks for sharing Kristen.
Mandy
Whatever you do.. DON'T invite me over.. 🙂 I fear I would loose all sense of decorum and start nibbling on your wreathe.. 🙂 Okay true story… when I was little we had a Christmas wreathe that had Glued candy on it… And every year more and more candy was disappearing… Well it was, ME!!!! eating and picking away at the candy… LOL!!! I had to of been 3 or 4 yrs old.. No telling how long that Candy had been there… EEEEKKKK!!!
Oh Congratulations to your Sweet winner.. Nana Diana.. 🙂
Just beautiful! Delicious, actually. I'm afraid, however, that I wouldn't be able to keep my HUSBANDS hands off of it. Thanks for the great inspiration. Much love, Lisa
Your wreath is so adorable! My kids would look at me funny if I told them the candy I bought in the house was for a craft project rather than their bellies! LOL!
I don't think I could do a candy wreath, Kristin! I would be eating all the supplies! : ) Congrats to Nana Diana!
Too cute, Kristen! Love the pop of color! Happy Spring! xo ~Liz
Kristin- Thank you soooo much! I am just thrilled! It comes as a really nice surprise because of all that is going on here- what a bright spot in my day! xo Diana
My kids would NOT be happy if I glued Robins' Eggs to anything… Their favorite Easter candy! 😉 It's colorful and fun, though!
So cute! Love all the bright Easter colors. As long as it is not made of peanut M&Ms it would be safe in my house!
I think my kids and I will try this one out!! Thanks for the fun idea
~Cheryl
Love this!
YUM! And cute!
I love this candy wreath, Kristin! So cheerful, yummy and a breath of spring. It's fun! We finally had a day of sunshine today. It's been gloomy here, too. Did you make that apron hanging? It is so pretty.
It's really a yummy idea. Loved this fun!
"Yummy idea" agreed in here. 😀
I thought those are little stones with different colors. lol But I love it. 🙂
manila condominiums
Great idea! I will need a couple of candys because I love them *yummi* 😉 Greetings, Doris
Love this idea! So cute!
It looks great. A good idea may be to spray paint the wreath with your desired colour before adding the sweets. You could also wrap it with ribbon?
I do like your candy wreath. If I were to hang that on my door I'll have every child in the neighborhood, along with every ant in the ground racing to have a go at it!
Super cute! I know what you mean about all of the gloomy weather out here in Cali! My friends in the midwest seem to be getting all of our usual weather lately! Weird. I am happy to see the sun again too!
I love your adorable candy wreath!
xo-Lisa
I love this wreath! I tried to make a wreath like this last year and I became frustrated when the hot glue kept melting the candy (I used malted milk eggs… yours look like they have a nice hard coat of candy on them. That's what I should've used!)
Gorgeous!!
Kristin,
How cute – just catching up after surgery which kept me sleeping lots!
Kelly
I really like the festive colors of your candy wreath! Perfect addition for Easter decor. I can hardly wait to make my own 🙂
Perfect confectionary eye candy!! So cute Kristin!
This is so totally CUTE! Pinned! Life to the full! Melissa
Thanks Melissa 🙂
Clever idea Kristin! What a gorgeous wreath! I love the rainbow of colors too 😀