
How to Make Easy Decorative Moss Balls for Spring
If you are looking for a simple Spring craft to decorate your home decor, these diy moss balls were fun and surprisingly easy to make. They bring a natural, organic feel into your living space, and add a soft, earthy texture that instantly makes your home feel warm, fresh, and inviting.
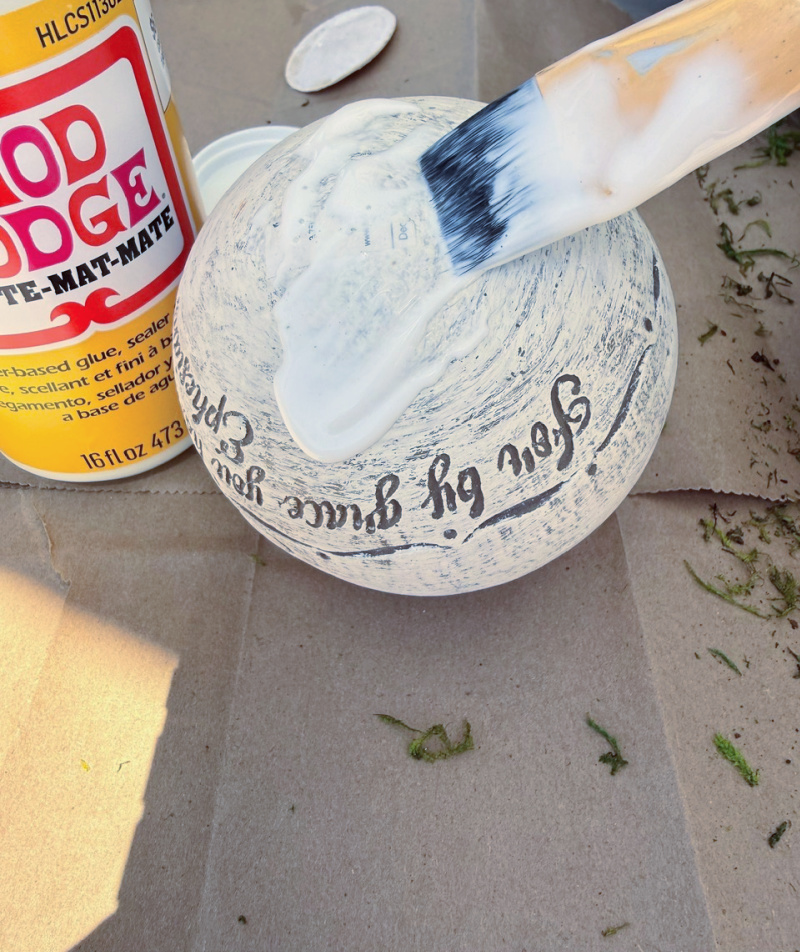
I picked up these decorative balls years ago at a thrift store when the “word decor trend” was all the rage throughout the house. I had a great idea to turn them into moss balls.
Before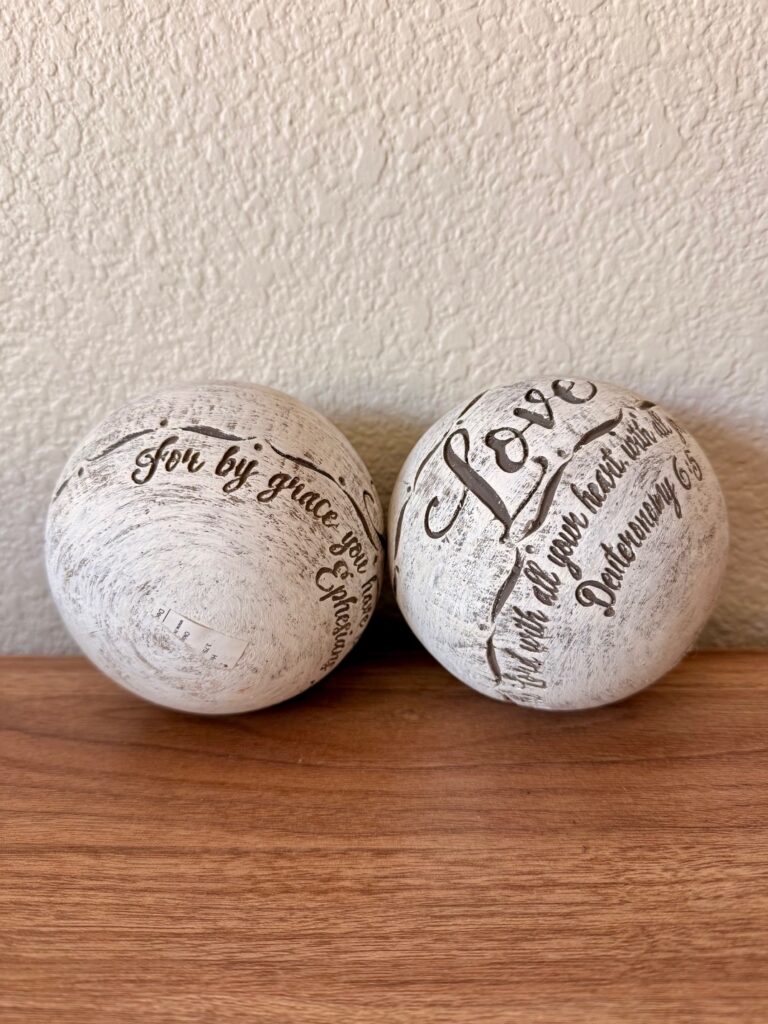
Once I finished making them, a childhood memory suddenly came to mind. My parents loved Japan, and we even hosted a Japanese exchange student, whom they visited several times. After their first visit, my dad developed a passion for kokedama balls and bonsai plants. Something tells me this little project may eventually turn into a kokedama ball. I love how so many of my small thrift projects bring back glimpses of my parents’ and grandparents’ hobbies.
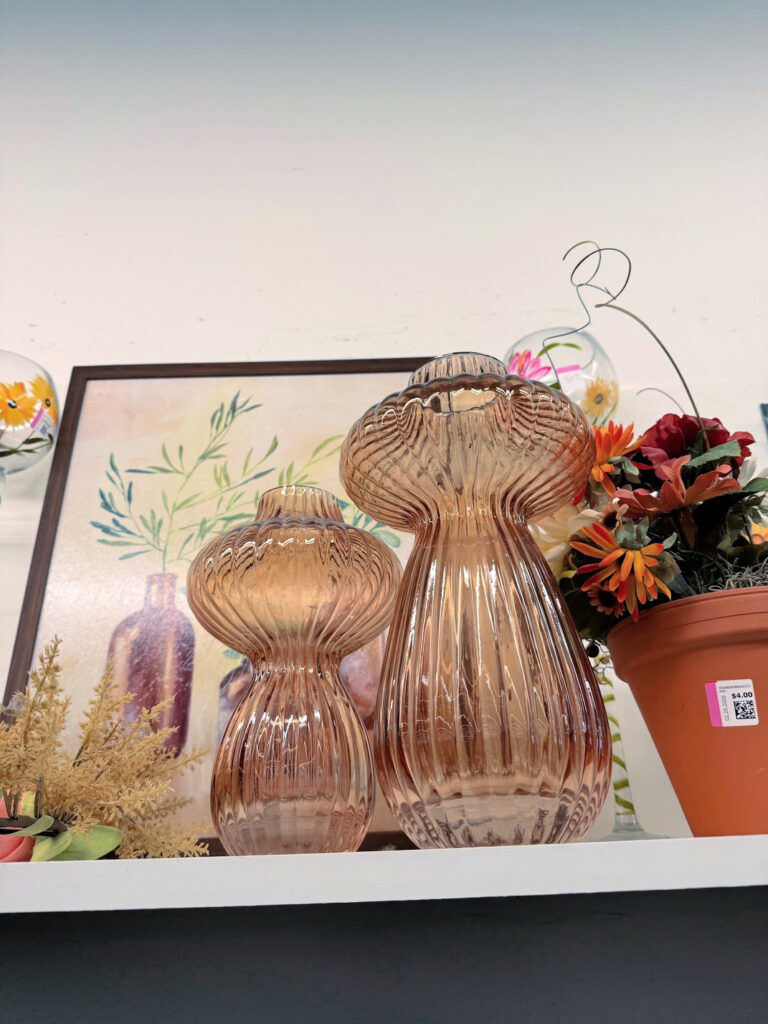
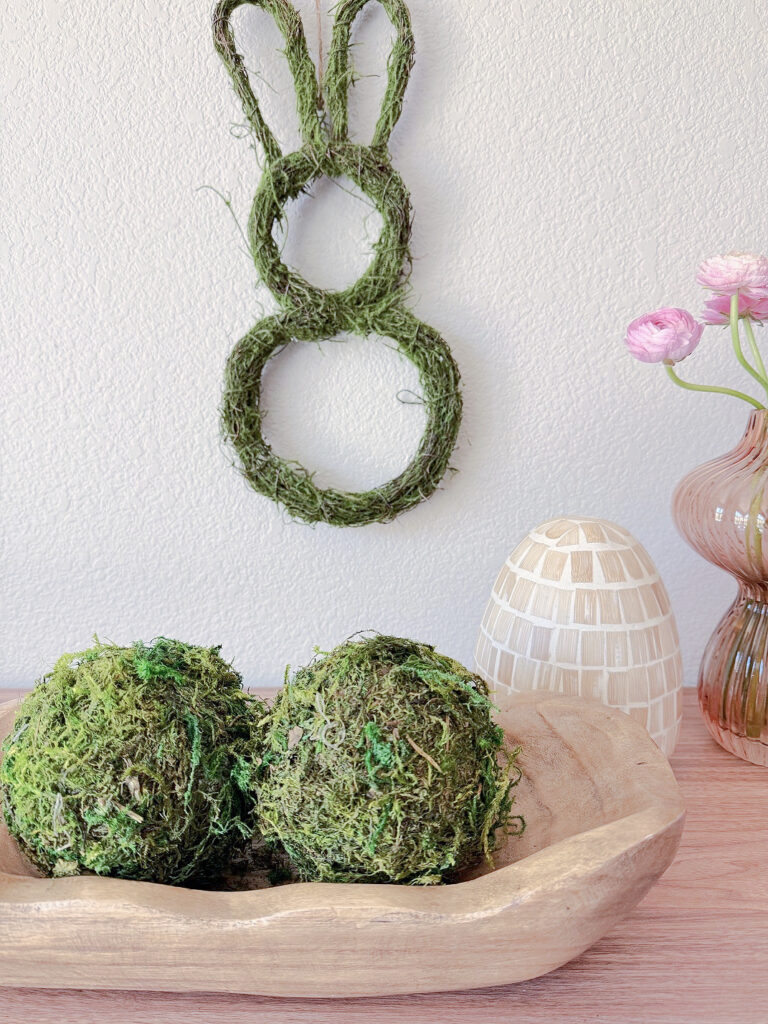
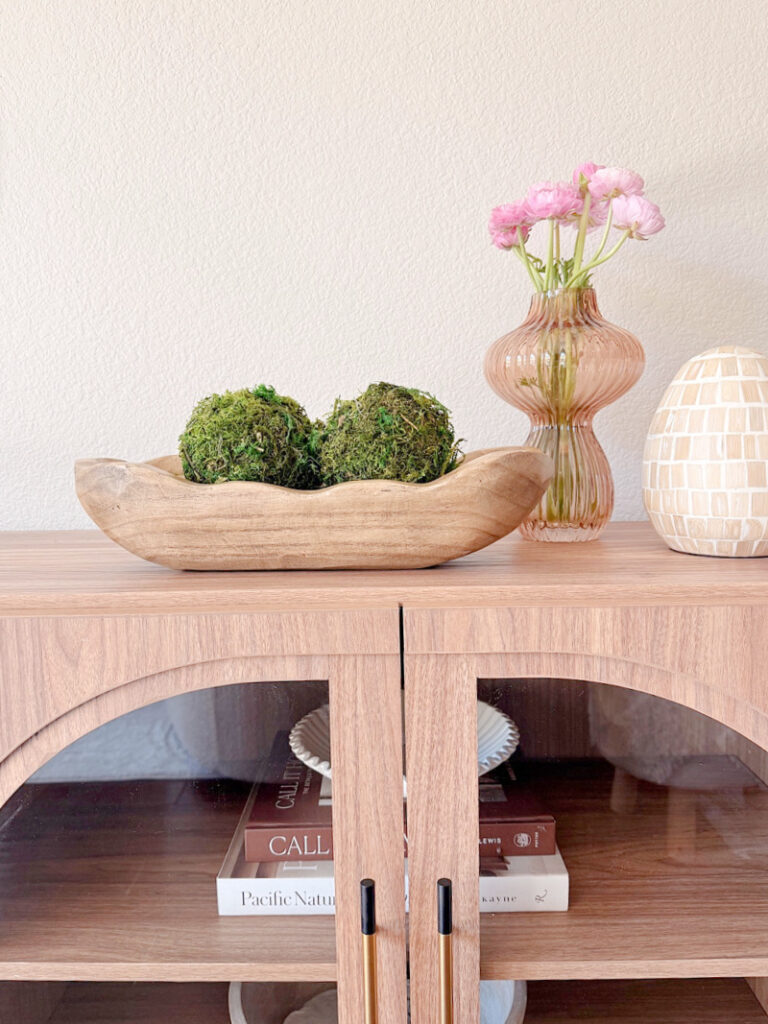
These were the glass vases I picked up for $10 for the set. I loved the shape. I also grabbed a decorative egg, which you will see in the pictures, for $3. The vases still had the store tags on them at $39 a piece. SCORE!
affiliate links are listed below, where I may earn a small commission; you can read my full disclosure policy here
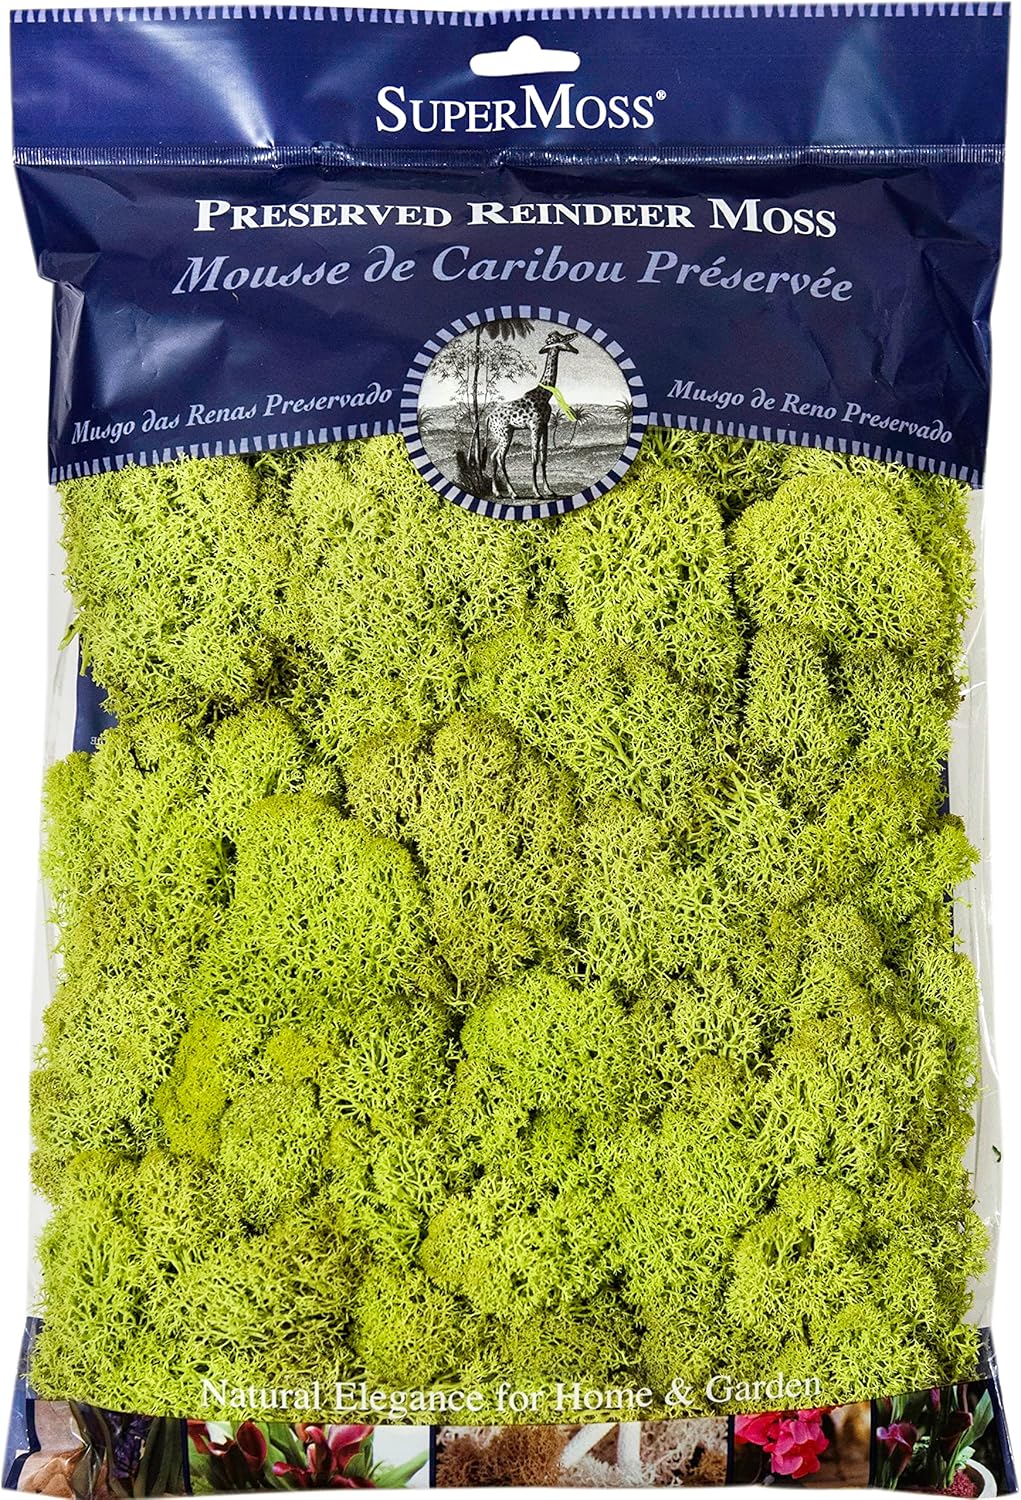
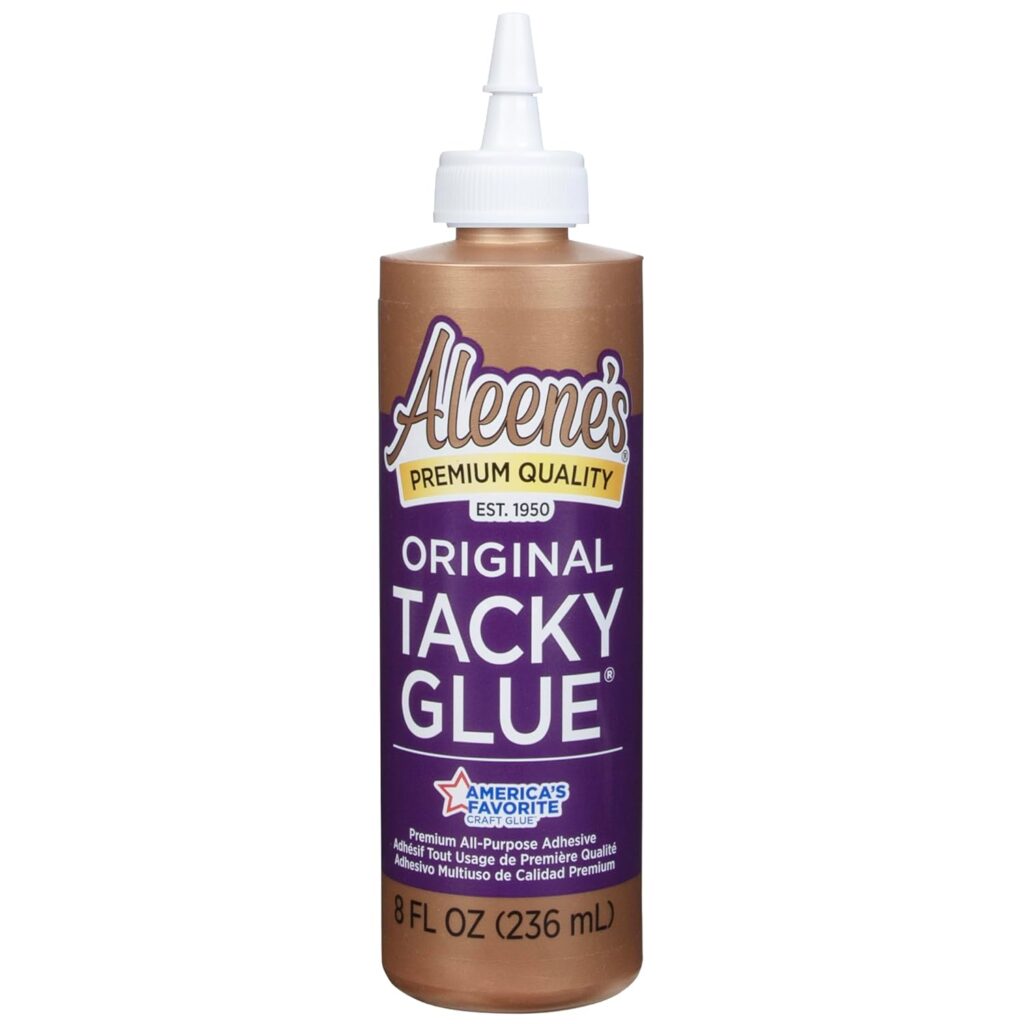
Supplies
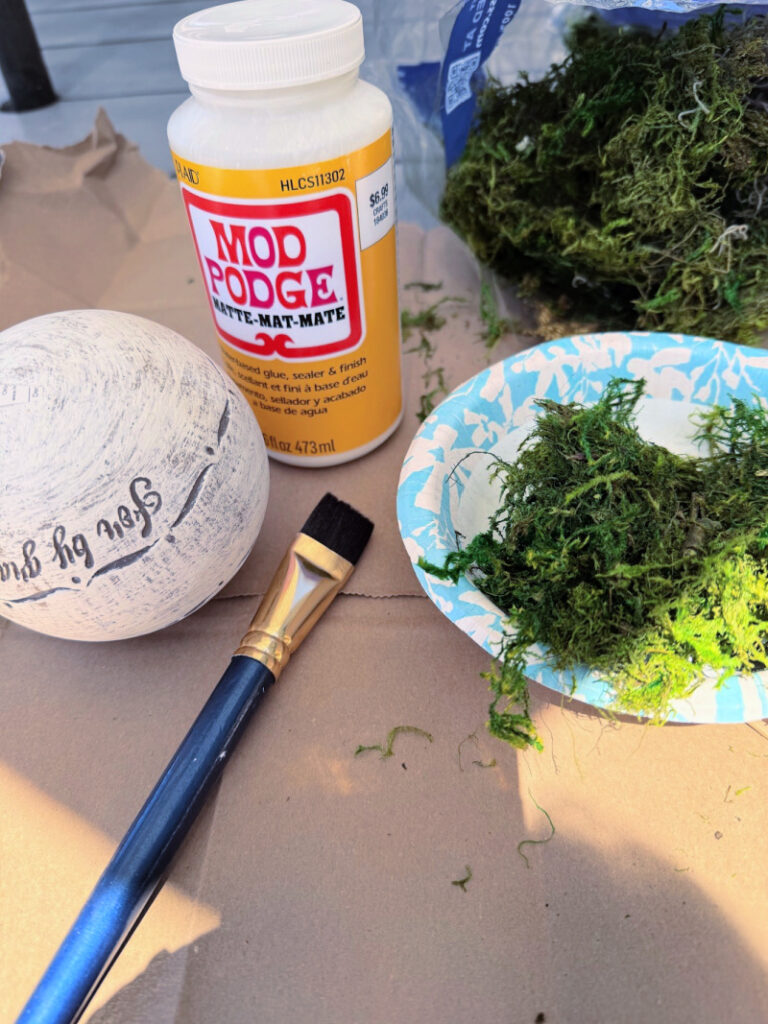
You can find most of these materials at your local Dollar Tree or dollar store, and even your favorite thrift store.
Step-by-step instructions
There is really no wrong or right way to do this, but it does get messy, so I would protect your surface.
Start by preparing your ball shape. If you are using a styrofoam ball or tennis balls, make sure they are clean and dry. This will be the base for your diy moss balls.
Paint your glue on the ball. I covered about 6 inches each time.
Take small moss pieces and begin applying them to the ball. Work in small amounts so it is easier to manage and gives a more natural look.
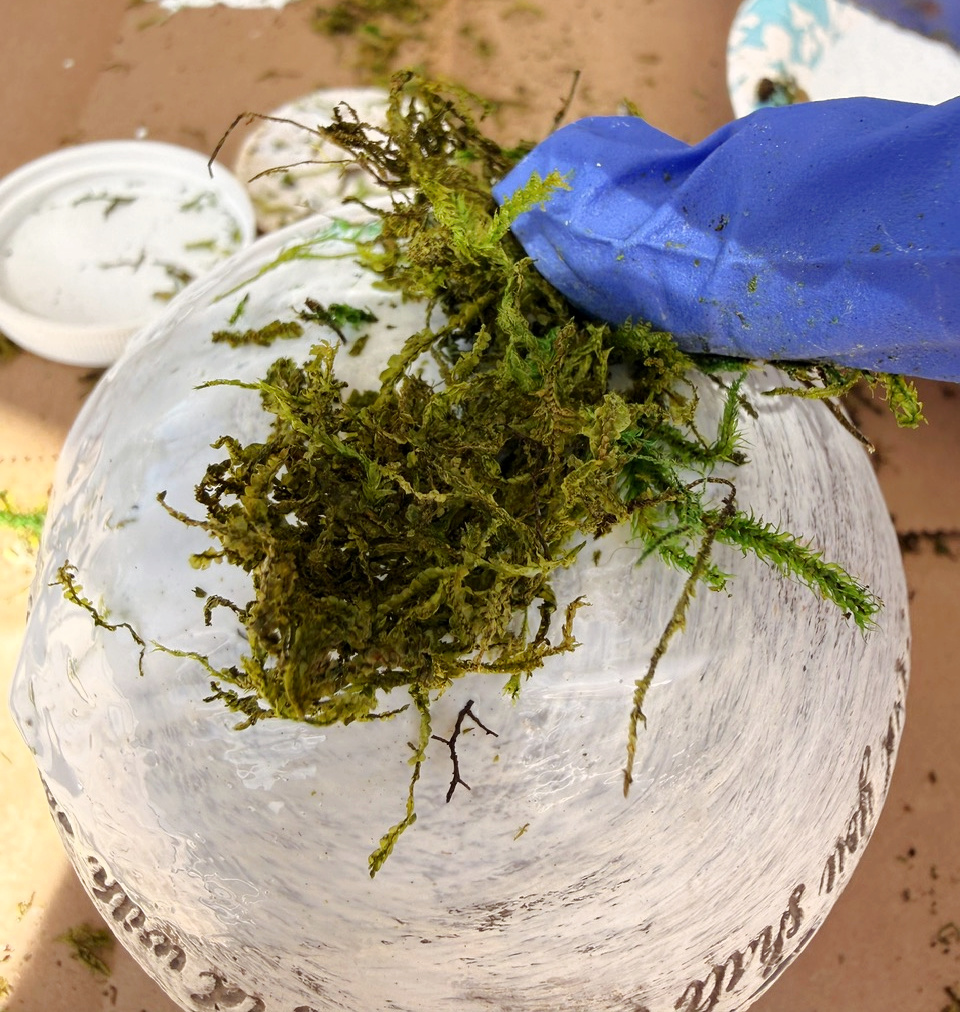
Continue to apply glue in sections and press the moss firmly onto the surface.
Continue layering moss pieces until the entire ball is covered.
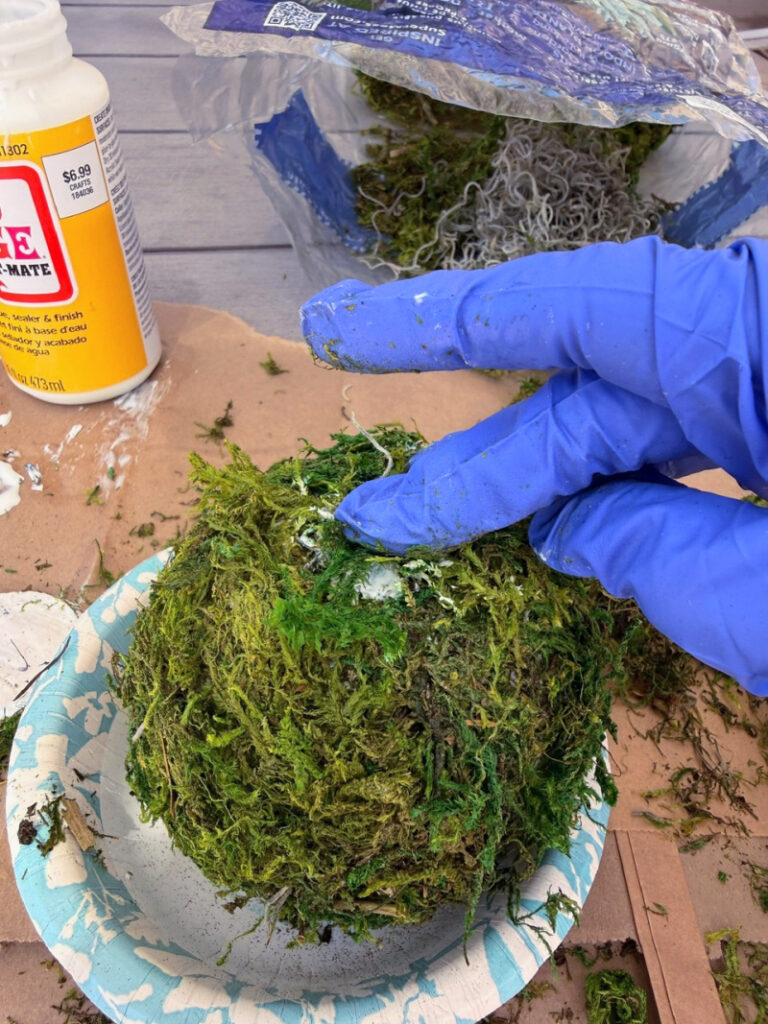
Trim any excess moss for a clean finish. You can tuck in a handful of moss where needed to fill gaps.
You could also pour the glue into a bowl or bag and roll the ball into the moss. I did this on the bottom of the ball. I would say it’s a little less messy. If you notice loose areas, just add a bit more glue and press gently. The goal is to create a full, soft, natural texture.
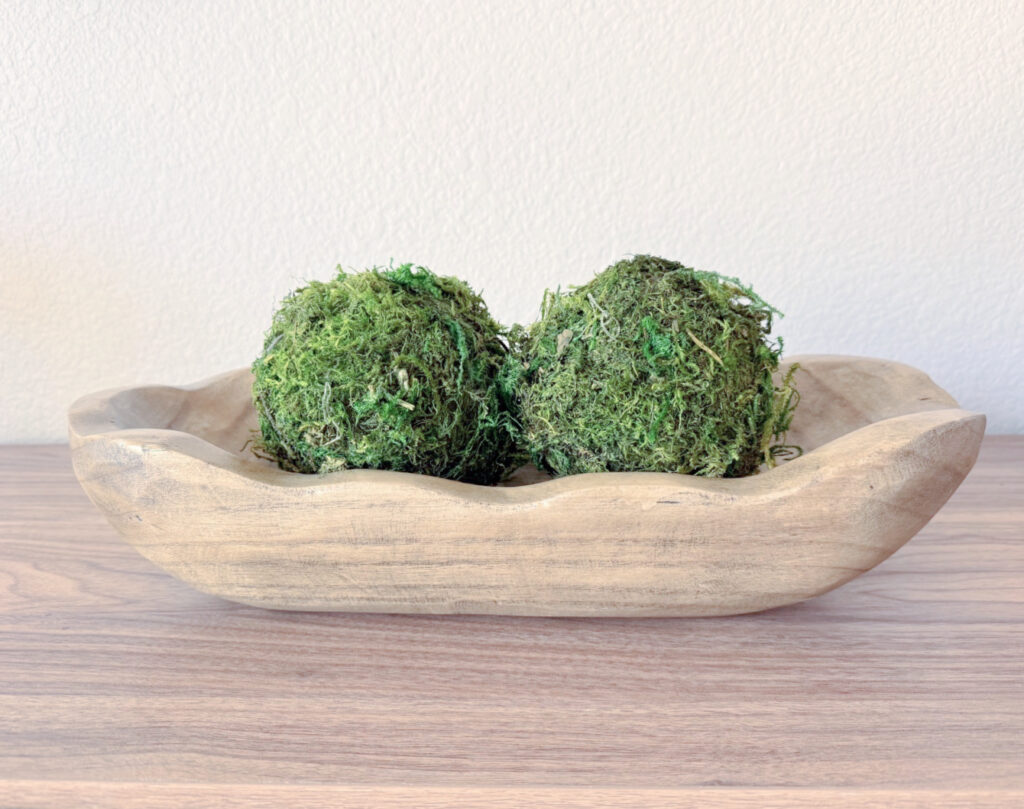
That’s it! Seriously, I think this was one of the easiest thrift store transformations I have EVER created!
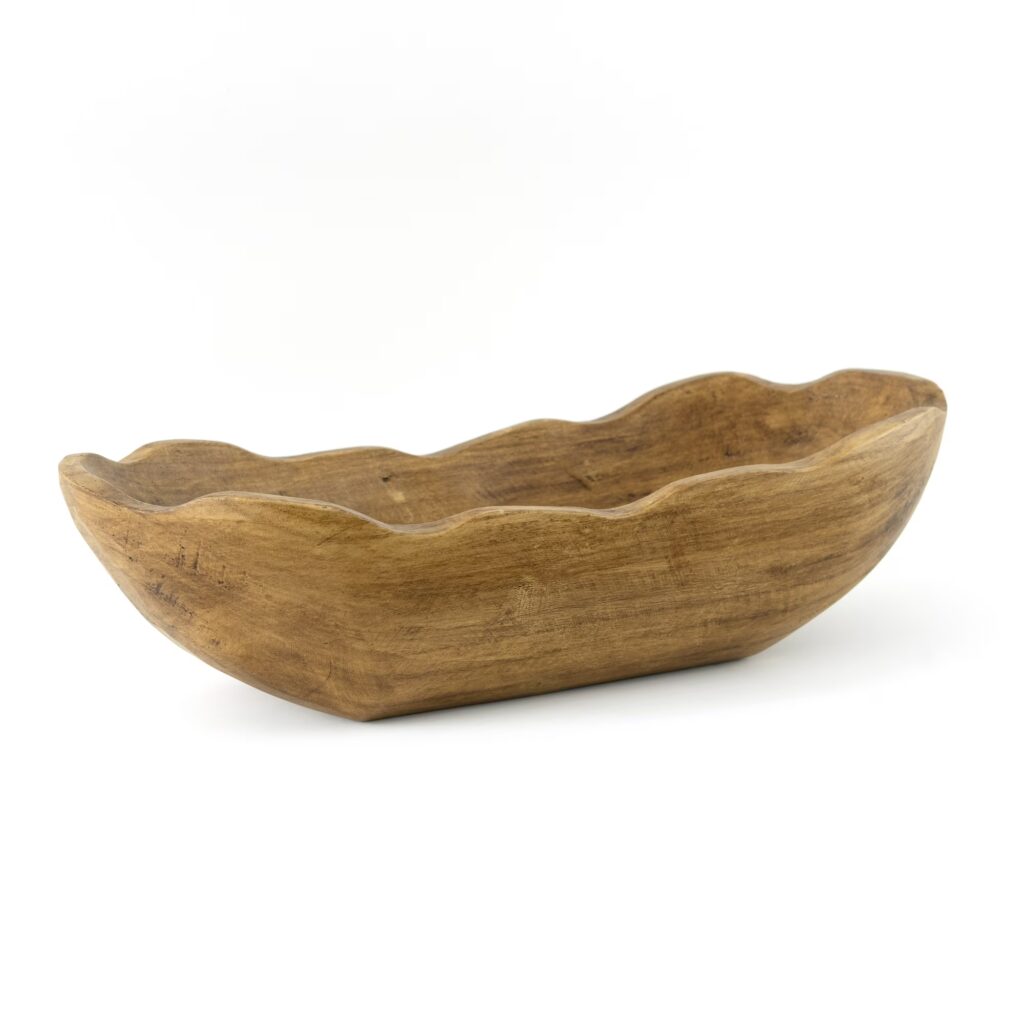
Here is the dough bowl I used.
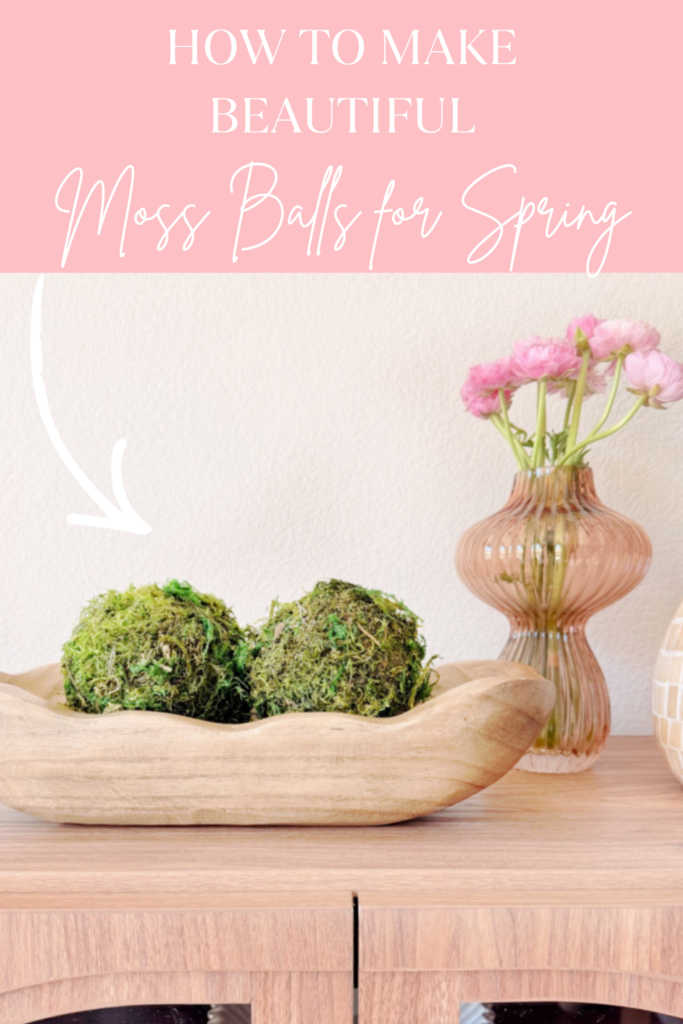
Styling your moss balls
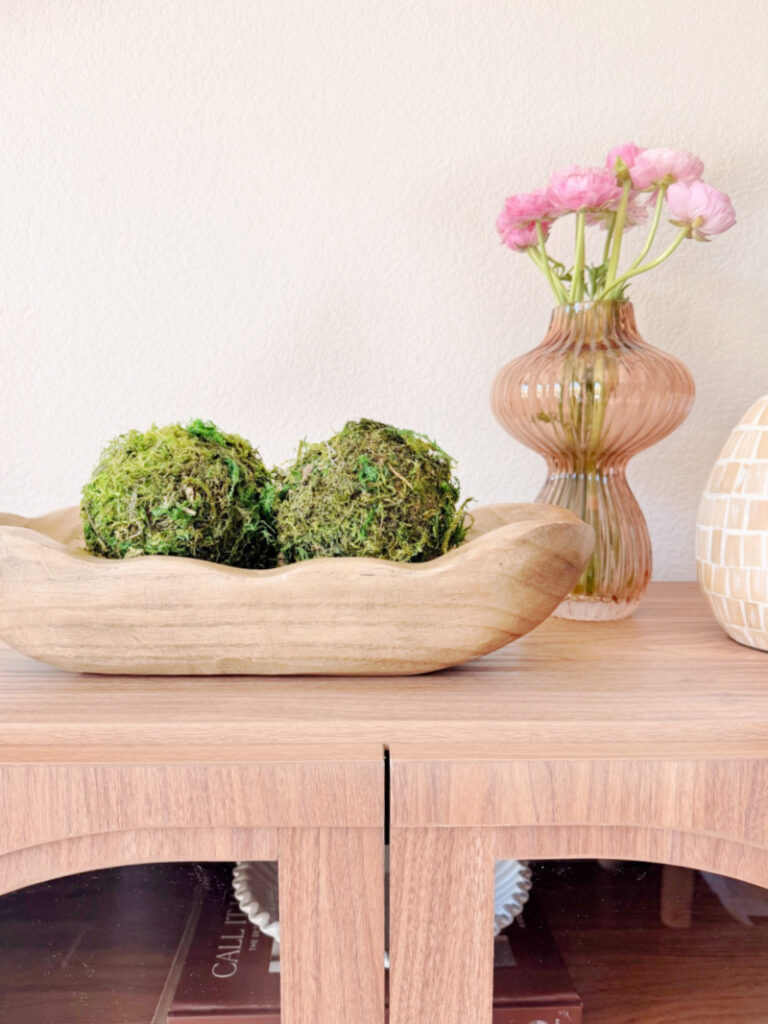
Once your own moss balls are complete, it is time to style them. Place them in a moss bowl, a dough bowl, or, as I did, in a wooden bowl. If you find that they are rolling around, you can place a piece of sticky tape at the bottom of the bowl.
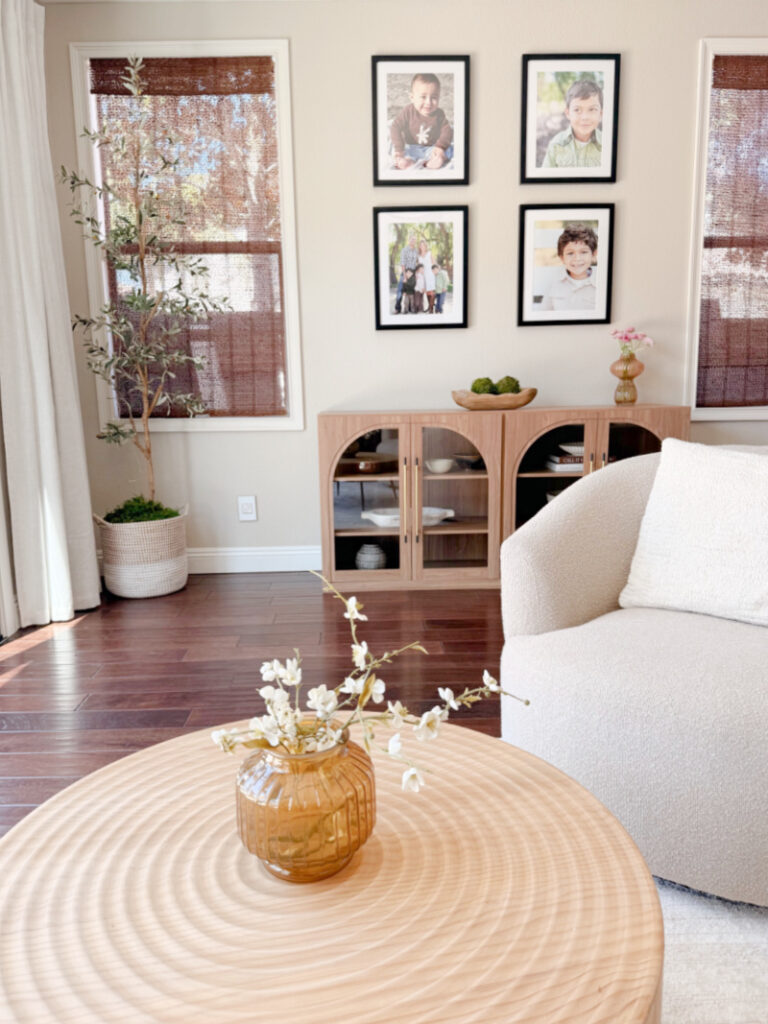
They look beautiful on a dining table or a coffee table placed in your living room. Try grouping them in different containers for added dimension. You can style them in various containers around your home to create a cozy, inviting space. They would look beautiful mixed into a flower arrangement as well!
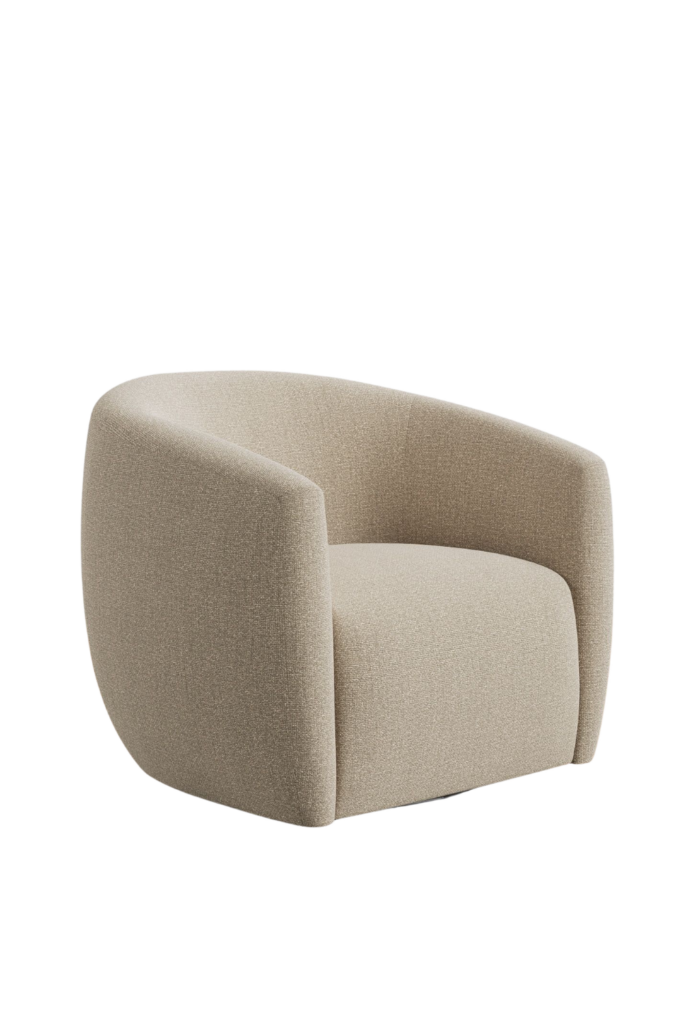
Link to our chairs! I absolutely love them, and they swivel.
Helpful tips
Store any leftover moss in plastic bags to keep it fresh for future projects.
Mix different shades of moss for a more realistic look.
Use a variety of sizes for your decorative moss balls to create visual interest.
You could also use sheet moss, but you will need to cut it into smaller sizes to fit the ball.
Keep them away from direct sunlight to maintain their color and texture over time.
Time to look at everyone’s project for the month of APRIL!


Shop at Blu Metal Outdoor Side Table Upcycle
Exquisitely Unremarkable DIY Decal Pitcher Makeover
My Uncommon Slice of Suburbia Easy Decorative Moss Balls for Spring
Redhead Can Decorate How I Transformed Our Foyer with a Thrift Store Room Divider
Sadie Seasongoods Geometric Abstract Art from a Collage Frame
Our Southern Home Piano Bench Makeover with New Color and Fabric
My Repurposed Life Can This Become a Lamp?
Funky Junk Interiors Rustic TV Stand Dresser Makeover with Easy Wood Strip Drawers
Our Crafty Mom DIY Rope Vase Pottery Barn Dupe
Songbird Vintage Tool Decor Idea
Thank you so much for stopping in today!

Download your free Spring Stationery here!
Shop my favorite Chair
Super cute makeover and perfect for spring. I love that you have a sentimental piece to your DIY, as well, with an ode to your parents!
Ahh thanks so much Kim!
Those look fantastic, Kristin!! I honestly would never have guessed- great job!
Your so sweet, thank you Sarah!
Kristen,
First, your moss balls are awesome, great tips for doing it yourself.
Second, what a deal on those vases. I couldn’t help but notice that they would make awesome lamps with a new wireless shade! heheheh I think I’ll be seeing everything as a lamp for the next few weeks.
Pinned your DIY Moss Balls!
gail
Thanks Gail, I might have to turn them into table side lamps, what a great idea!!!!
Girl…you know I am going to come steal those gorgeous colored vases!!! The shape on them is so modern & unique. Your moss balls are amazing for Spring…I have moss so now I got to find some balls. That sounds funny ha ha
Ha ha, I know I couldn’t resist them even thought I didn’t need more vases but they were too unique. xo
Kristin, I adore your decorative moss balls, especially how you displayed them in the dough bowl with the sweet moss bunny. You scored on those!!
Thanks Michelle, a fun little spring project!
Kristin, I need these on my table on the deck! I’ll be on the look out for some sturdy decor balls. Those will NOT blow away. Fun project! Pinned.
Thank you Sue!!!
Thanks for sharing such a clear breakdown of How to Make Easy Decorative Moss Balls for Spring
Your so welcome 🙂