Picture Frames Transformed With Chalk Paint
Unlock your creativity with our guide to transforming picture frames using chalk paint. Discover how to give your frames a new lease on life with this versatile and easy-to-use paint. Elevate your home decor with unique, hand-painted frames that showcase your personal style. Get inspired and start revamping your picture frames today.
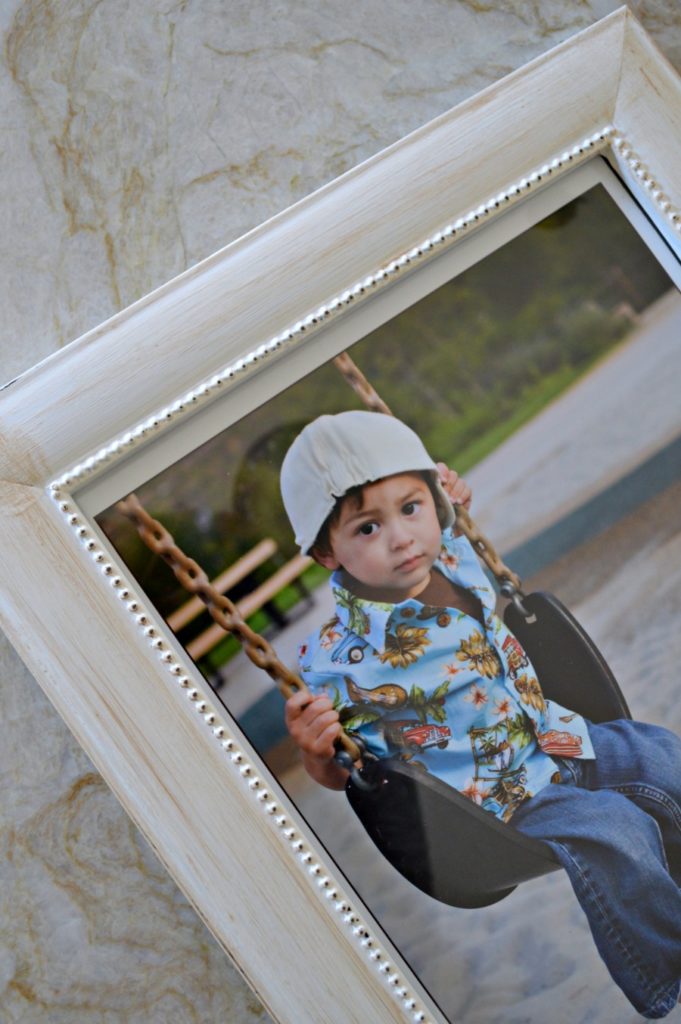
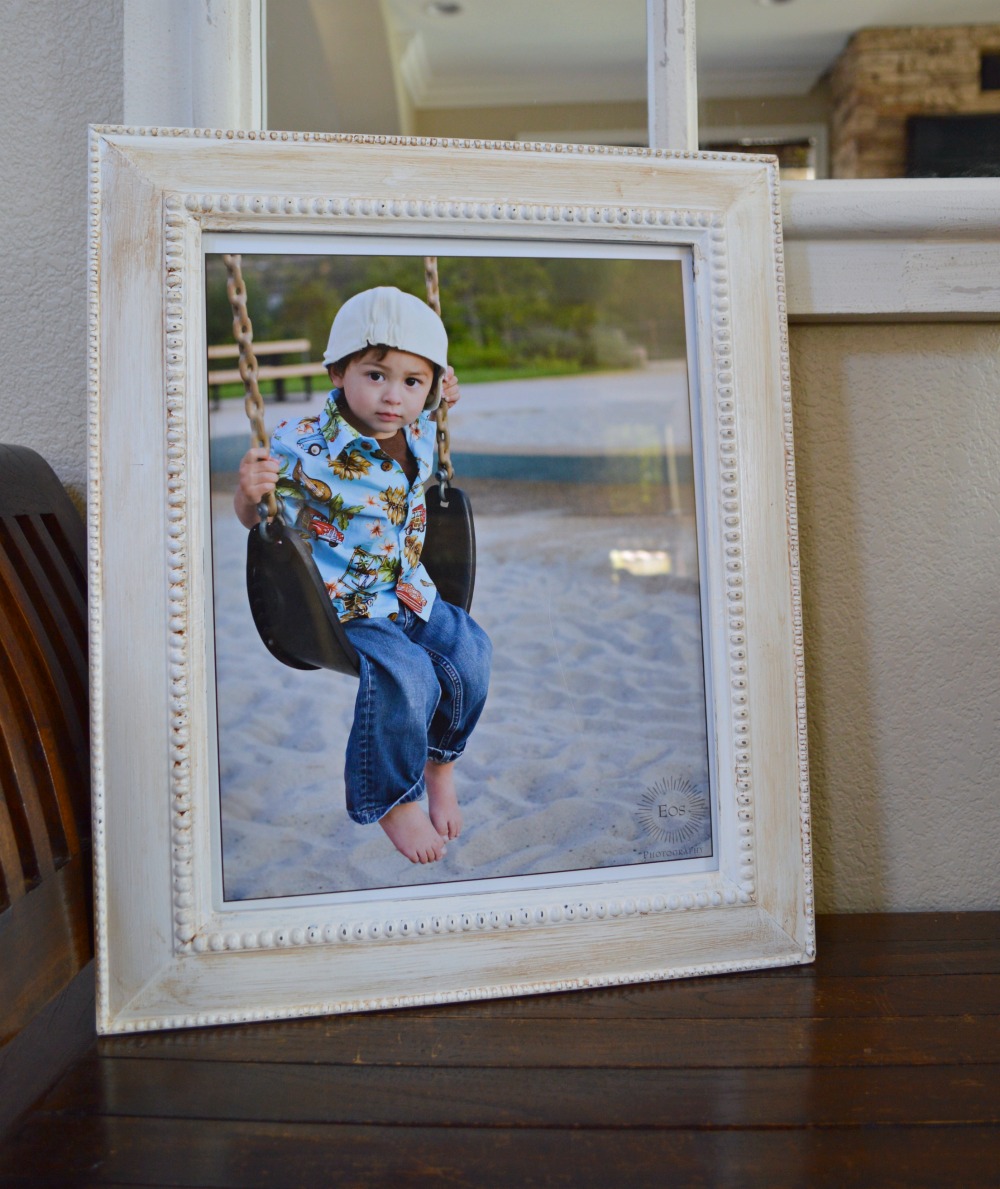
This DIY photo frame makeover with chalk paint is super easy and will update any old frame you might have lying around. Over the past year we have moved things around, changed out art work, updated paint colors but one thing that was missing was our family pictures. I still have lots of them upstairs but was missing my gallery wall downstairs so I got to work!
Let me tell you, this project was not easy on me emotionally, seeing all the pictures of them when they were so little, oh my gosh. I had to fight off some serious tears, especially since graduation for 2 of the 3 boys is next week. Let’s just say next week I will be an emotional mess.
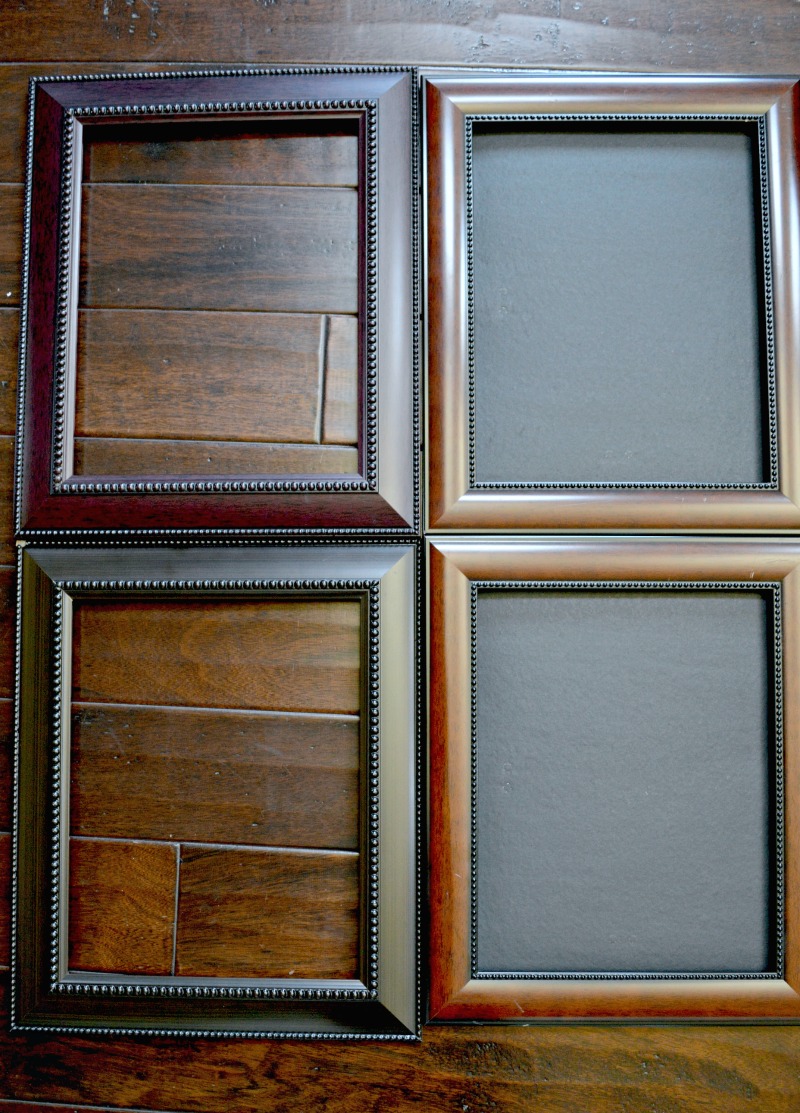
I already had the 2 frames on the right I needed 2 more but wasn’t about to go and buy new ones. It didn’t need to be a perfect match but I definitely wanted something with a beaded border and the same dimensions. I found the 2 frames on the left at a local thrift store for $2.00 each, not too shabby!
The first thing I did was take the glass and back out and got to work!
(affiliate links listed below)
Supplies
Deco Art Americana Chalky Finish Paint, Lace
Sanding block
Before painting, make sure to clean the frames really well using a damp cloth.
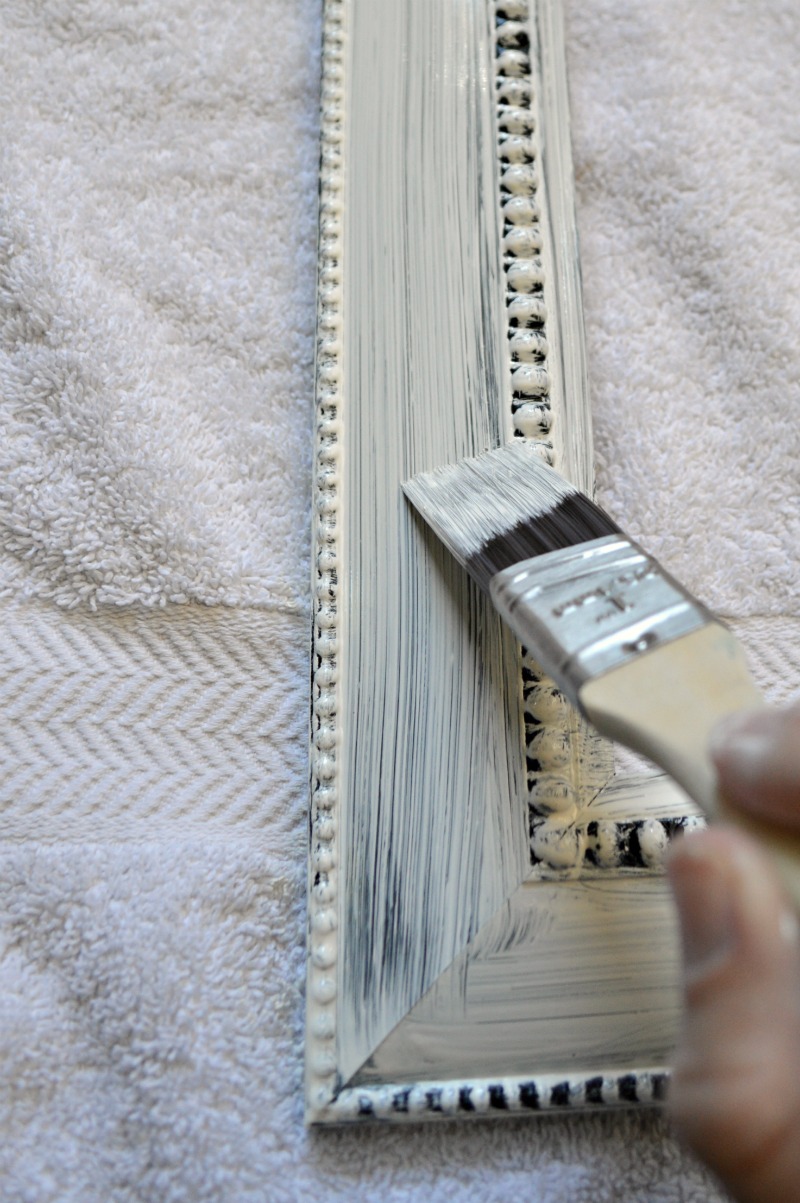
Apply the first coat using a 1″ brush, let dry and apply the second coat. If you still see areas where the black is still showing through, you can touch up with a third coat.
After everything was dry, I smoothed everything out using a sanding sponge.
Next, I distressed it using sandpaper in places it would naturally wear over time.
The last step was to protect the paint job, I applied the Americana Decor Creme Wax with a rag and then buffed it with a rag.
This is such an easy project and you can use this method on any frame you find and mix it up using different colors!
All the frames are finished but I’m still mapping out the gallery wall which takes a little time. (next project and I promise to share)
I’m back again this month with our thrift store challenge, stop by and see what all of the talented ladies came up with this month, I promise you won’t be disappointed.
Chalk paint Frame Makeover
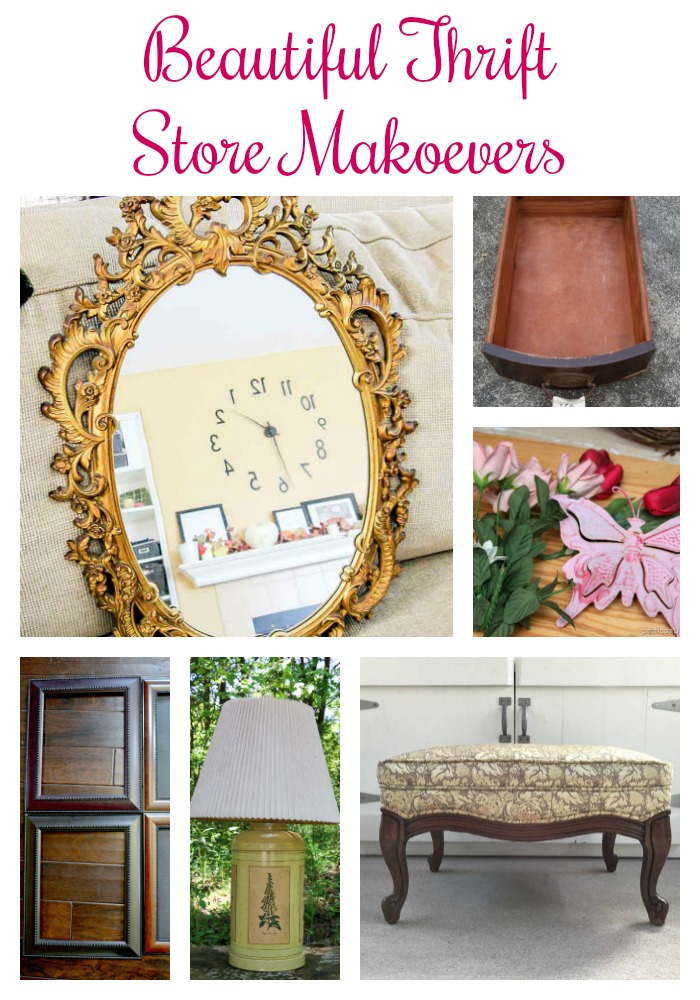
Below is a handful of other projects I have completed for our thrift store series.














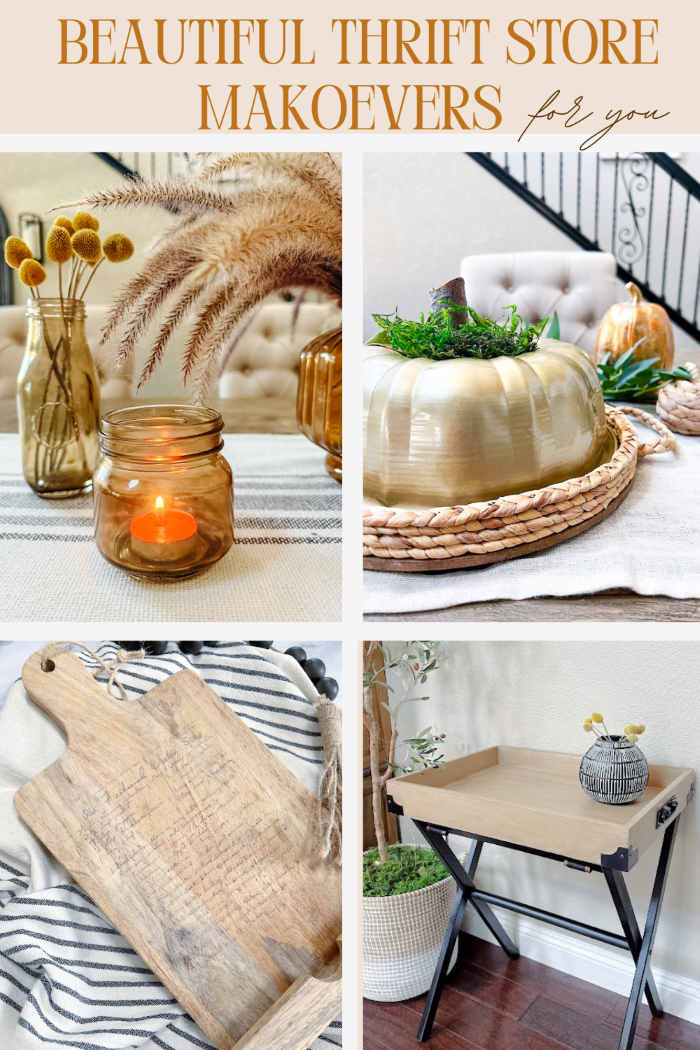
I can so relate to seeing pics of when they were so little. Our baby graduated from grad school last month. Sigh… I need to an updated gallery wall after we paint. I’d love to bring back special pics of when they were little.
Grad school wow! You must be so proud, everyone said it goes by fast and boy were they correct!
awww Kristin, how beautiful are your new (old) photos. 🙂 Paint is so amazing. It totally changes these frames and the photos look so good in them. They tug at my heart strings, knowing they’re all grown up now!
pinning!
gail
Thanks Gail 🙂
Our kids need to stop growing! Love the frames Kristin!
Especially yours 🙂
Those frames are beautiful now. I love the details. They look so pretty distressed.
Love family pictures. I noticed on your frame a little of brown in the paint how did you do that..
Love your work
Thank you so much Mary. If the brown does not show through after using a buffing sponge you can go over it with a glaze and then wipe off and you will get effect you are after. If you don’t have the glaze use a little bit of stain, wipe on and wipe off. Let me know if you need any further help 🙂 Happy New year!
Hello! Just wondering if these frames are plastic. I have plastic frames from the Dollar store that I would like to revamp and if your technique would work on plastic frames. Thanks!
They were wood but I think you should be fine as long as you are using chalk paint. I have used chalk paint over veneer with no problems. 🙂
I am so glad I found your site today. I am getting ready to update some picture frames so I can add more art to my decor. Your information is very helpful. Thank you so much. I am looking forward to more insprations from you.
Thank you so much Merry, Let me know how it works out or if you have any questions!