DIY Christmas Tree Ornament Display
Disclosure: This post is sponsored by Home Depot, all opinions are my own and always 100% honest. Thank you for supporting the brands that make this blog possible!
Happy Monday! I’m so excited to be partnering with Home Depot and their DIH ( Do it Herself) Workshop to bring you this DIY Christmas tree ornament display! Starting early on some Christmas projects has been fun and I’m especially looking forward to relaxing once Christmas is here!
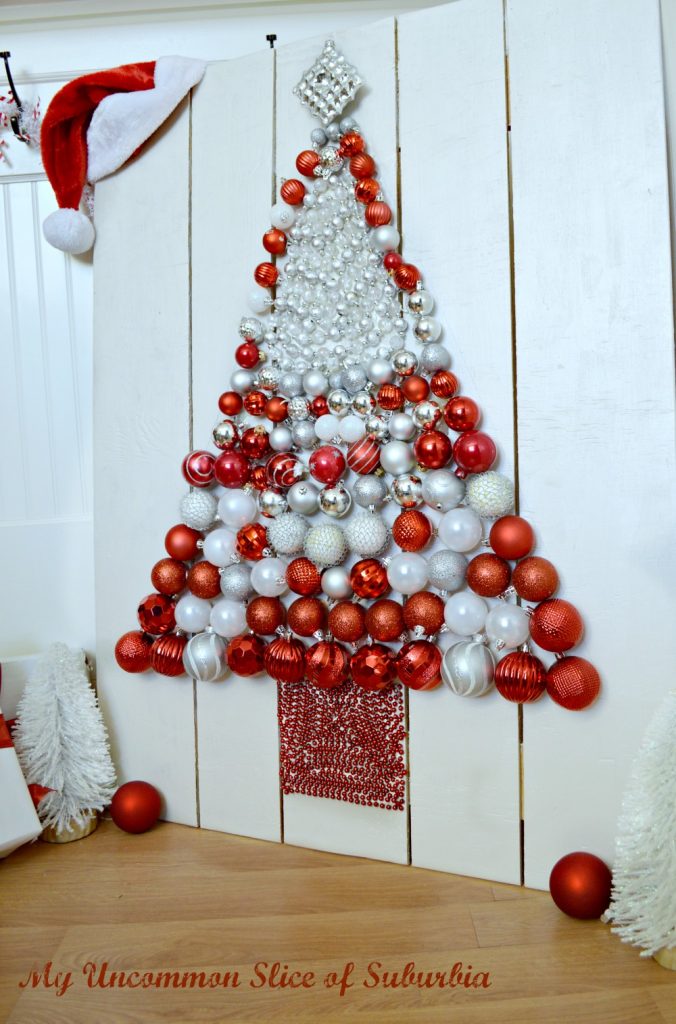
We had so much fun creating this over the weekend, this is a project you too can create, promise!
MATERIALS
• 1 – 1˝ x 8˝ x 12´ Common Board
• 1 – 1˝ x 6˝ x 8´ Common Board
• 1 – 1˝ x 4˝ x 6´ Common Board
• 1 – Box #8 x 11⁄4˝ Phillips Square Drive Flat-Head Full
Thread Zinc Coated Multi-Material Screw
• 1 – 27 Count Multi Pack Ornaments.
Strands of beads
OPTIONAL MATERIALS
• Two Paint Sticks or a yard stick
• Paint or Stain
HOLIDAY ORNAMENT DISPLAY TOOLS
• Circular Saw
• Drill
• Glue Gun with Glue Sticks
• Measuring Tape or Carpenters Square
• Pencil
• Safety Goggles
• Sanding Block
Instructions
1.MEASURE AND MARK
Measure and mark (3) 48˝ sections from the 1˝ x 8˝ x 12´ Common Board.
(2) 48˝ sections from the 1˝ x 6˝ x 8´ Common Board. (2) 30˝ sections from the
1˝x 4˝ x 6´ Common Board.
2 .CUT
Using a circular saw cut the three (3) 48˝ sections from the 1˝x 8˝ x 12´ Common
Board, the two (2) 48˝ sections from the 1˝ x 6˝ x 8´ Common Board and the two (2) 30˝ sections from the 1˝ x 4˝ x 6´ Common Board. TIP: Use a sanding block to smooth
any rough edges.

3. ASSEMBLE BOARDS
Lay all five of the 48˝ boards flat on a table interchanging between the 8˝ wide boards and
6˝ wide boards. Leave a 1⁄4˝ gap between all of the boards. TIP: To help keep spacing even between the five boards we used a yard stick. You could also use two paint sticks
side by side in between each board to give a uniform gap. (2 paint sticks = 1⁄4˝ gap
between boards).


4.ATTACH BRACING
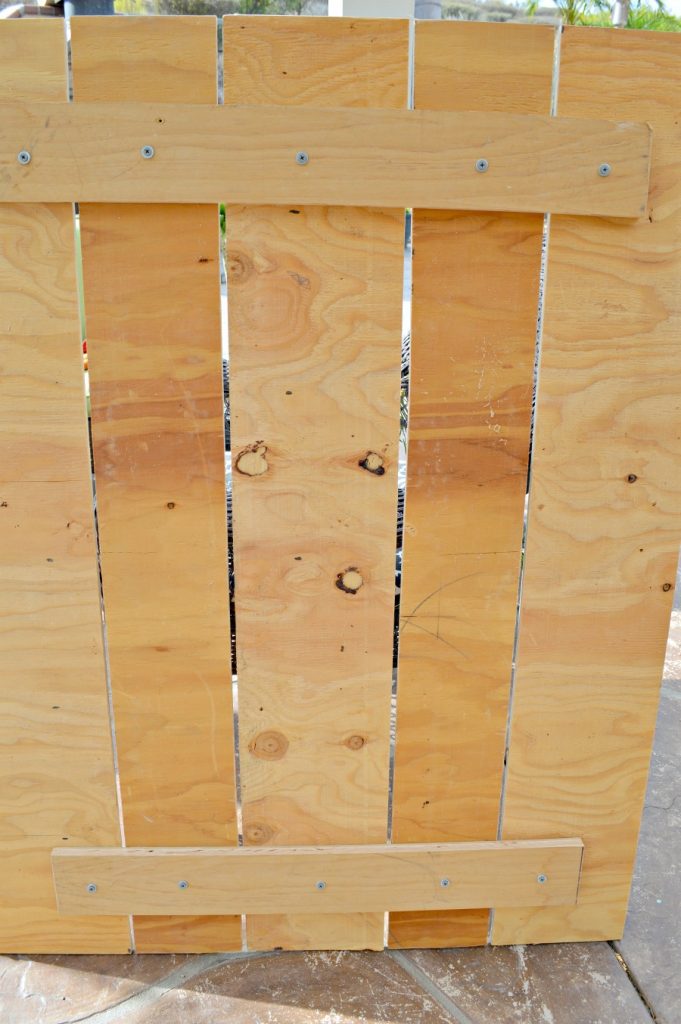
Center one 30˝ board horizontally across the five 48˝ boards about 31⁄ 2˝ down from
the top, and secure using two wood screws in each board. Repeat on the bottom with
the remaining 30˝ board.

5.PAINT OR STAIN AND FINISH
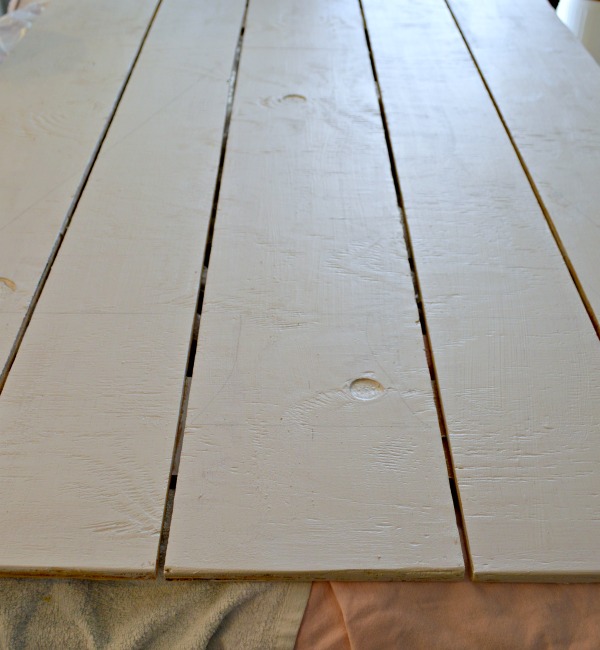
I used a white paint and added a little bit of metallic glaze to give it a shimmery look.
6.ATTACH ORNAMENTS
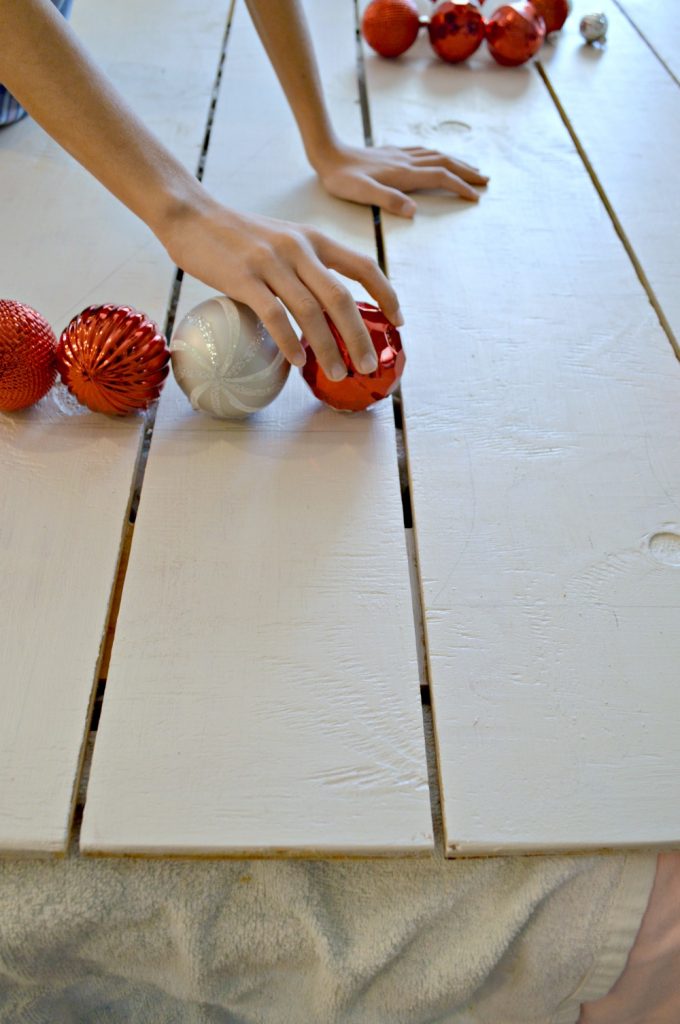
I used hot glue to attach the ornaments into the shape of a Christmas tree. My youngest helped me with this part.
Almost done!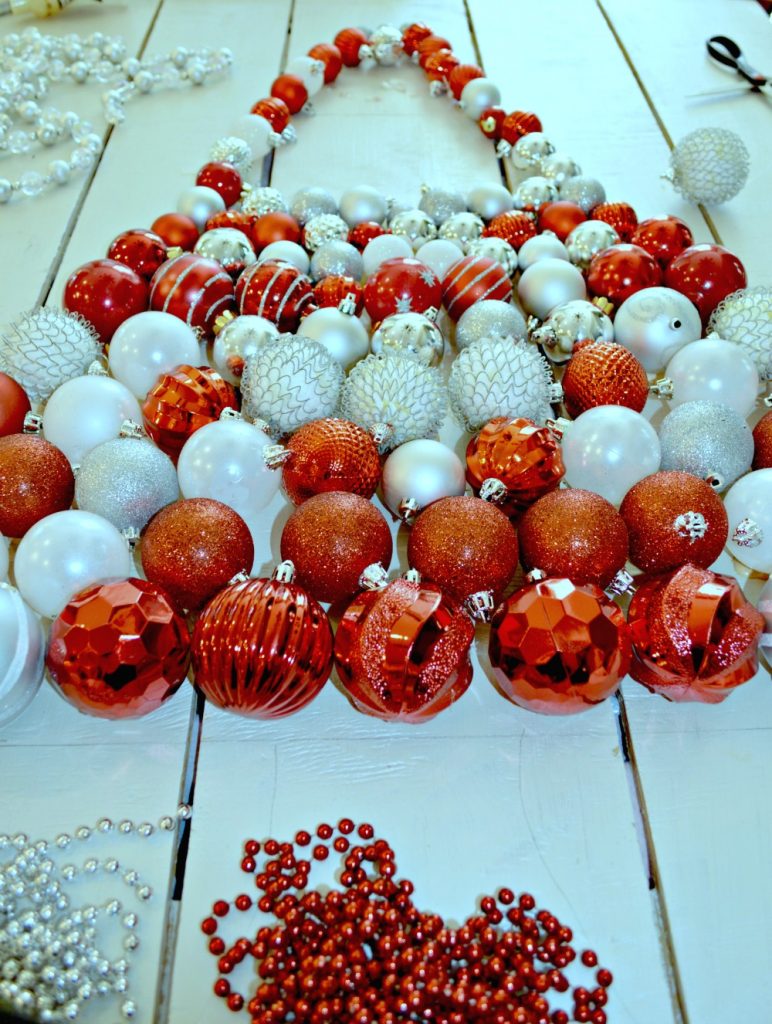
Here is the final project, I love how festive it is!
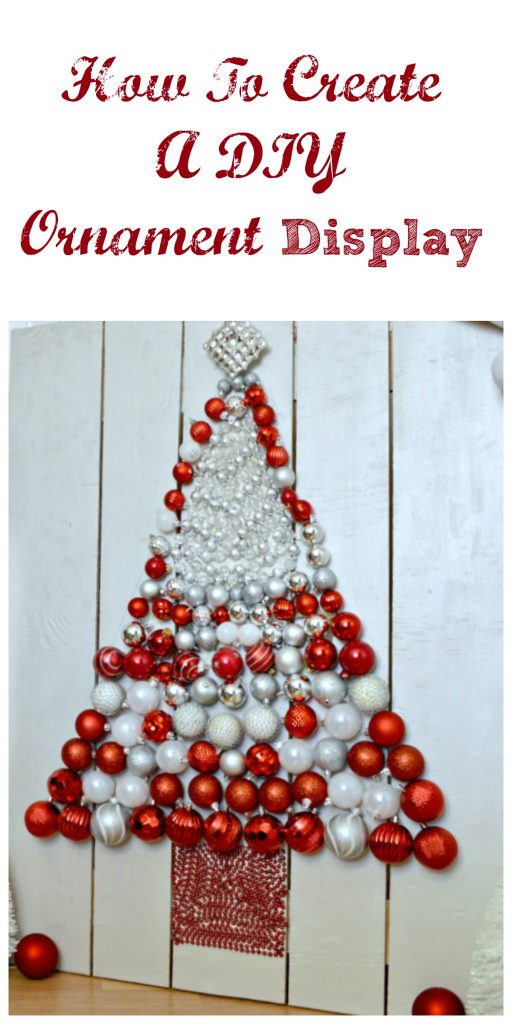
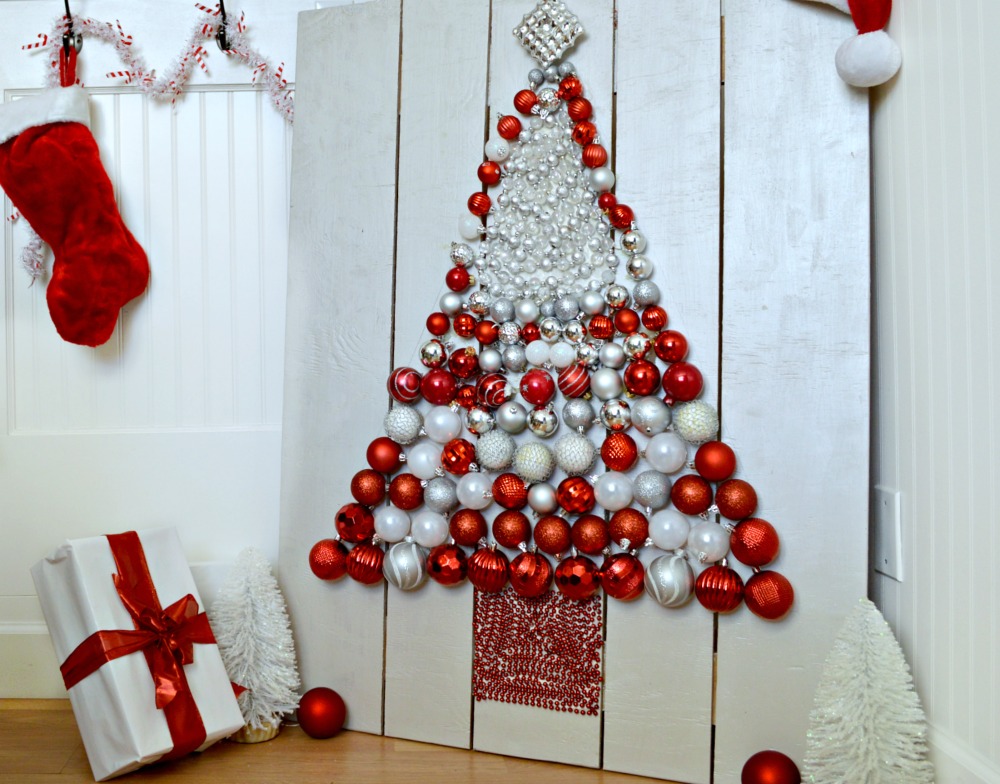
I love that you can completely customize this projects, get creative!
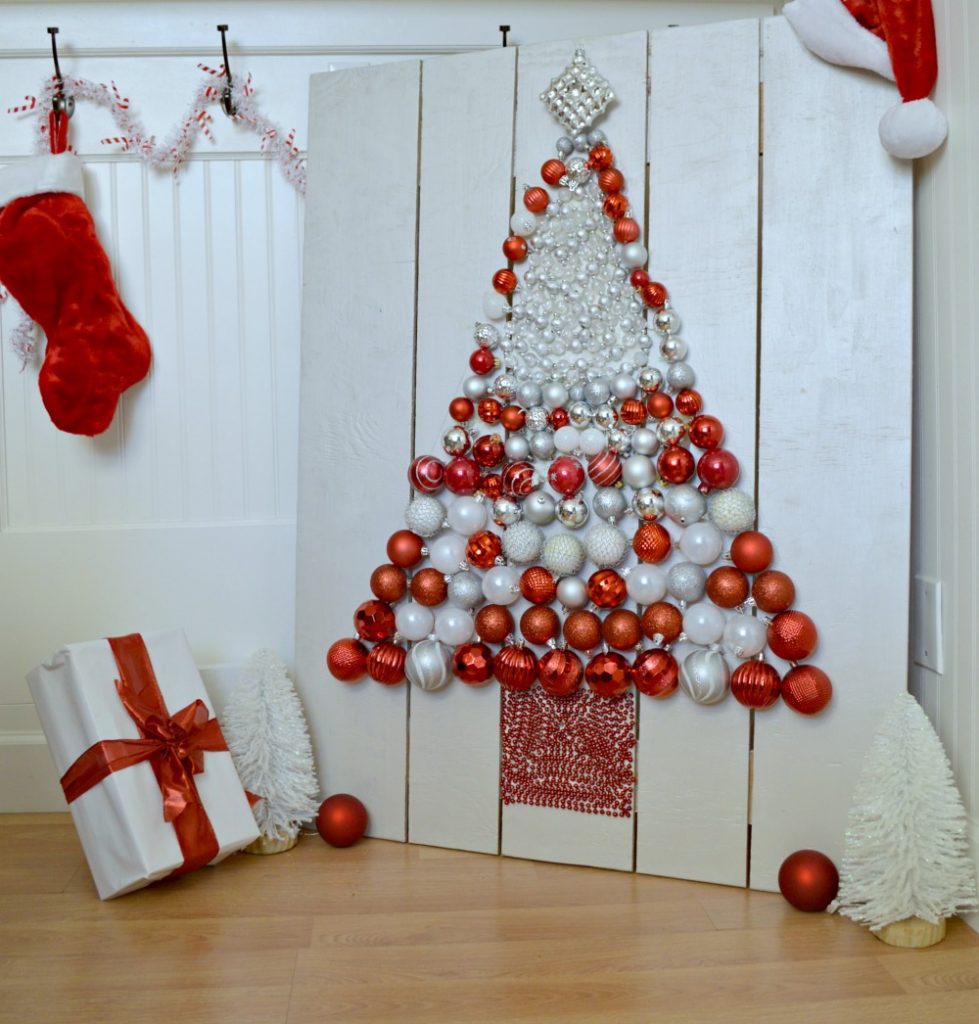
As Christmas gets a little closer I plan on putting this at our front door, It’s a beautiful way to welcome the holidays.


Here is Home Depot’s creation, love the colors!
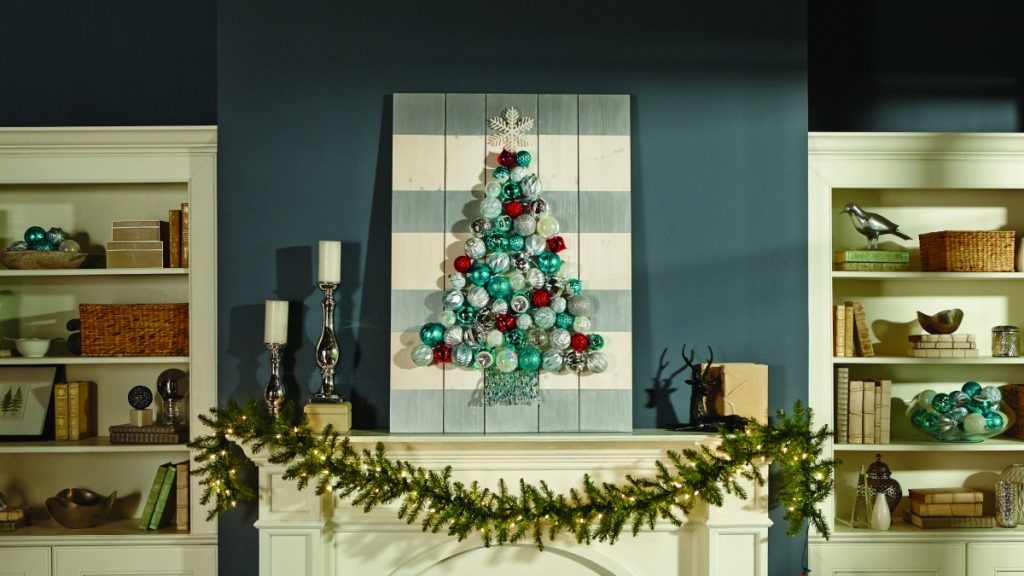
Stop by and see how each creative blogger put their own spin on this project.
Register right now for this fun Holiday DIY Workshop, you can sign up
RIGHT HERE to get started! 
Did you know the Home Depot offers three types of Workshops offered – Do-It-Yourself (DIY), Do-It-Herself (DIH) and Kids. You can learn how to build décor projects, how to make easy home repairs and how to operate tools through demonstrations and step-by-step instructions. You can visit the Home Depot workshops to learn more!
Make sure you sign up for their
weekly workshops so you can get started crafting and creating!z
Thank you so much for stopping in today, have a wonderful rest of the week!


I want to make this! Love it!
Thanks Amy 🙂
Kristin, I love the silver and red together. It looks great!
Thank you 🙂
Your version is so pretty! I love the colors that you used and the pattern that you created with the balls.
Thank you so much
Gorgeous, Kristin!! Pinned XO
Beautiful display board…perfect statement piece for Christmas! Looks fantastic in your home!