
Valentine’s Crafts at Inspire Me Monday
Hi friends and welcome to Inspire Me Monday, thank you so much for being here, I hope everyone had a wonderful weekend! I have lots of fun Valentine’s features for you today, I can’t believe it’s coming up so fast. I can’t wait to see what you have to link up today, you are all so very talented!
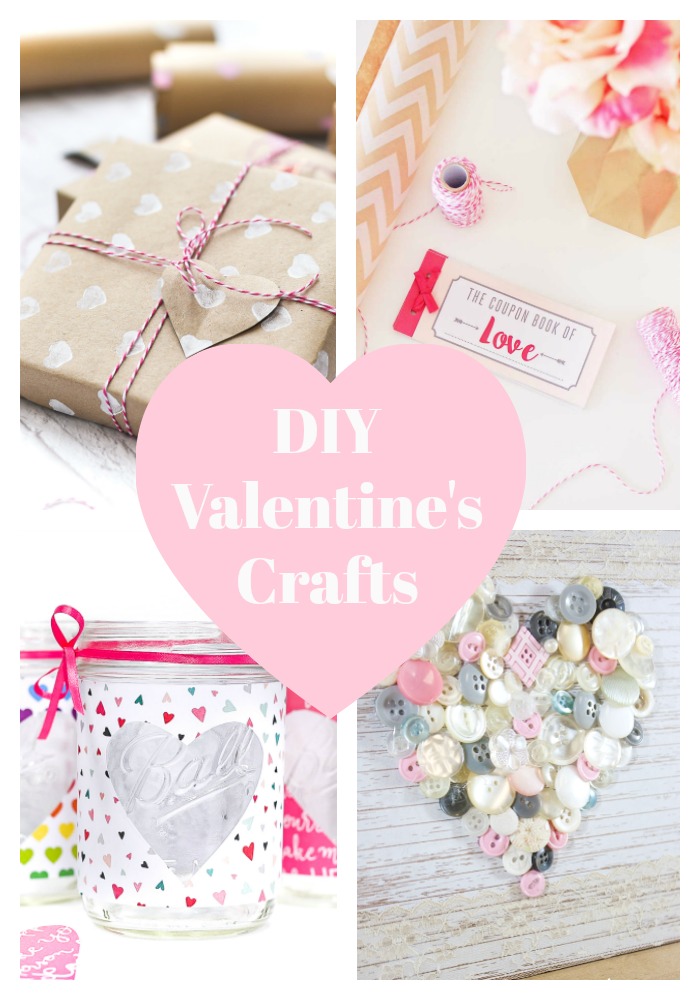
Valentine’s Coupon Printable
Valentine’s Mason Jar Votive
Valentine’s Wrapping Paper
Valentine’s Button Heart


chocolate ganache Valentine’s Cupcakes
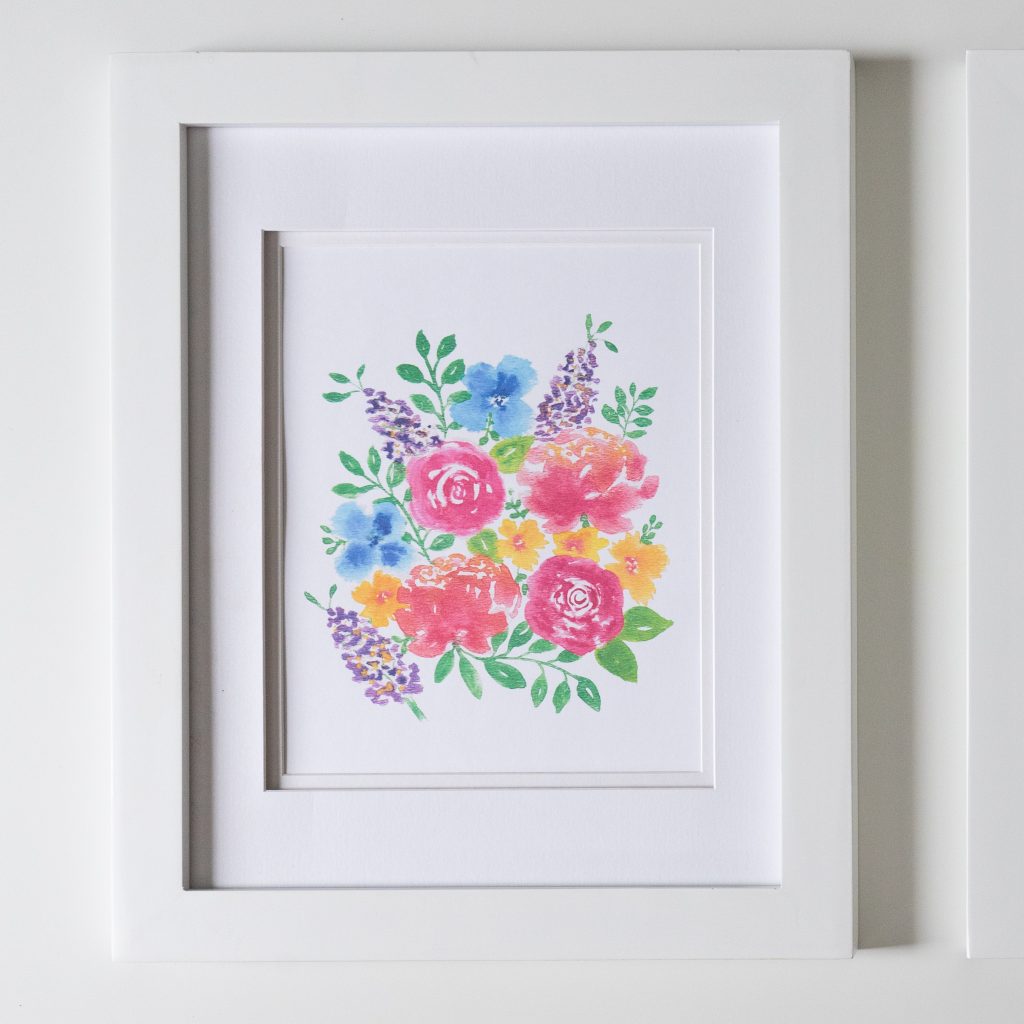
Set of Three Free Nursery Prints


Chocolate Peanut Butter Reese Cupcakes
Thanks for hosting and enjoy your week!
Shelley
Happy Valentine’s Day! Thanks for hosting!
Thanks for sharing my projects!!! 🙂
Great Valentine inspirations! Hope you have a fantastic Valentine’s Day, thanks for hosting1
Thanks for hosting and Happy Valentine’s Day!
Thanks for joining in this week Marie!
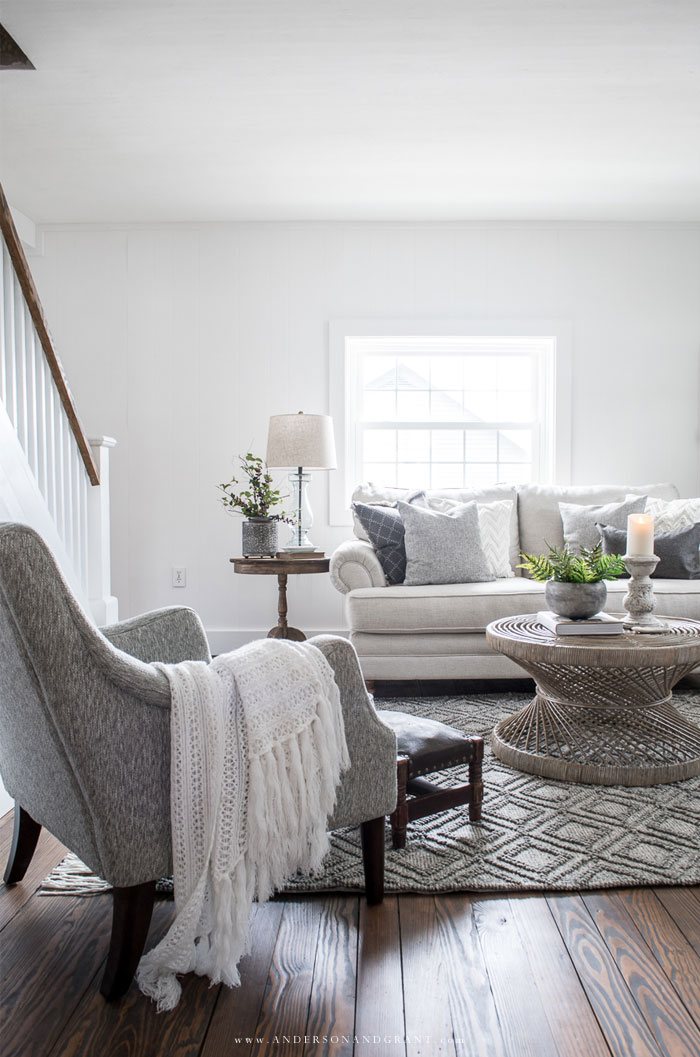
Thanks for the party, Kristin! Isn’t Jamie doing a LOVELY job on her fixer-upper?! (I added this week’s pop-up link party because it’s also a round-up of my Valentine’s projects, and the party is closed. If you feel it needs to be deleted, no problem!)
Such fun Valentines projcts! Thanks for hosting! I brought by some DIY Soy Milk. Hope you enjoy. 🙂
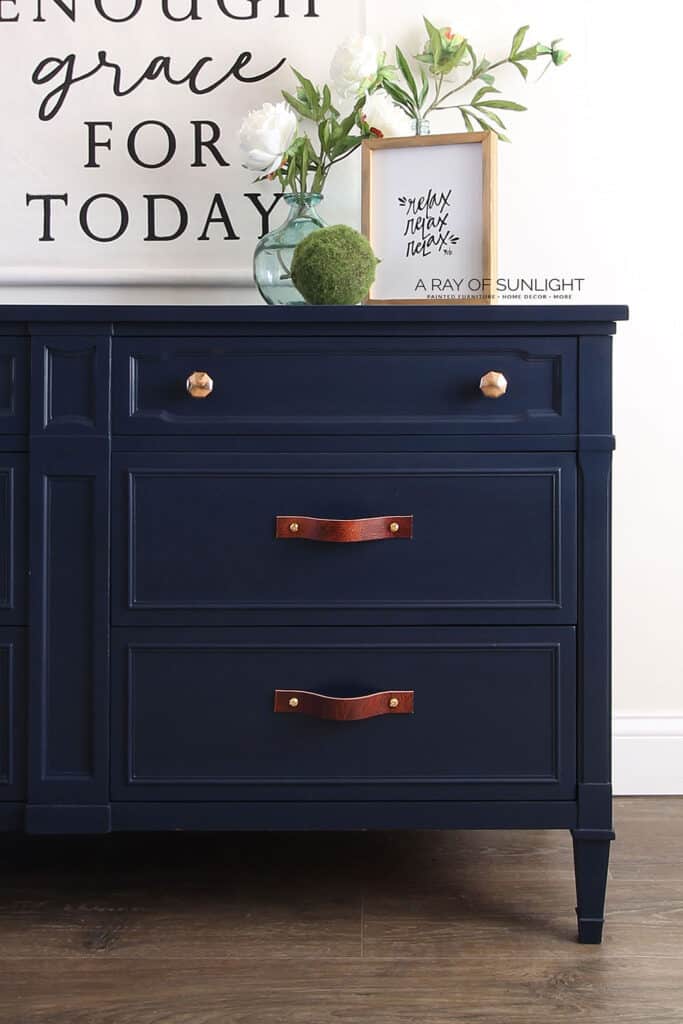
Thank you so much for featuring my living room update. It means a lot to me that you’re enjoying my projects! Have a great day.
Thank you for hosting!
Thank you Amber for joining in!