DIY Filled Glass Christmas Ornaments
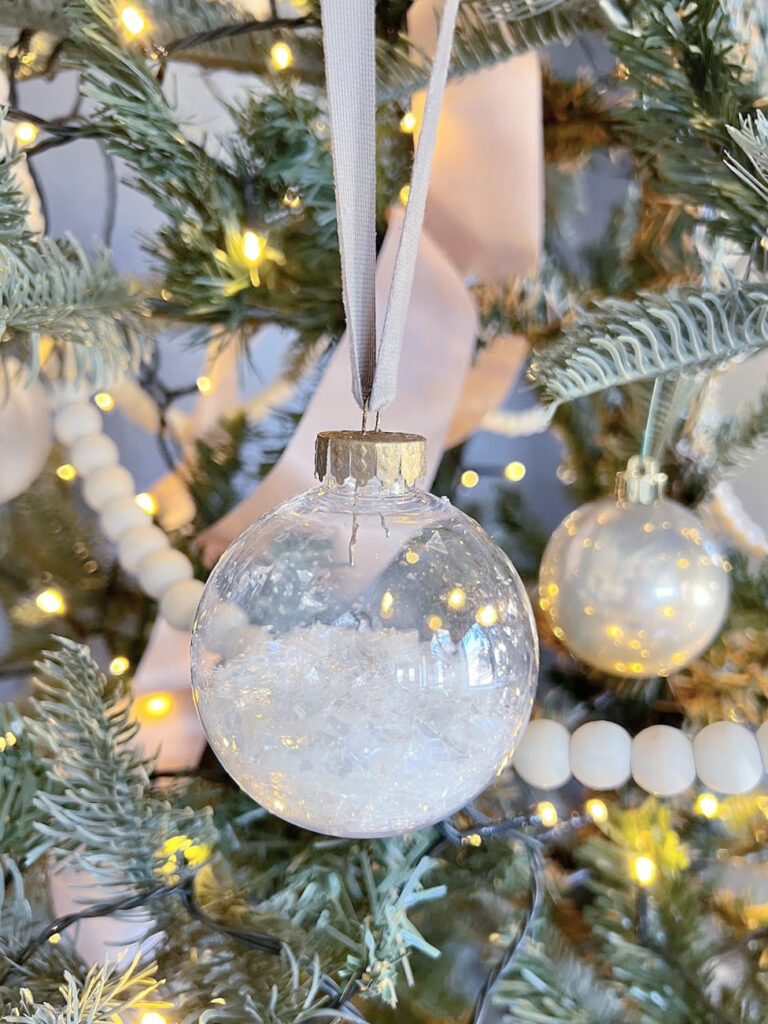
Affiliate links are listed below.
Materials:
Faux Snow
Fillable Glass or Plastic Ornament
Faux Pearls
Funnel Or Make your own
Miniature holiday figurines (optional)
Ribbon or twine for hanging
Instructions:
- Gather Your Materials: Collect clear plastic or glass ornaments, artificial snow or white glitter, a funnel, (I made my own with paper)miniature holiday figurines (if desired), and ribbon or twine for hanging.
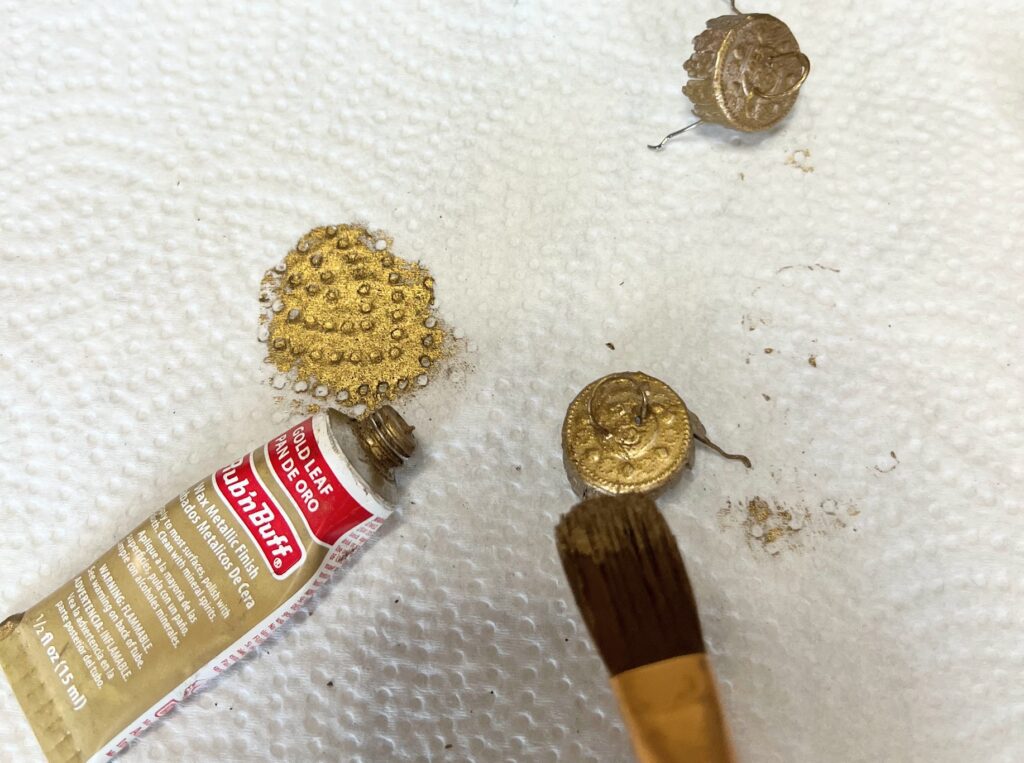
- Remove Ornament Caps: Carefully remove the caps from the clear ornaments. This will provide easy access for filling them. You can paint them if you would like, I added a little rub n buff in gold.
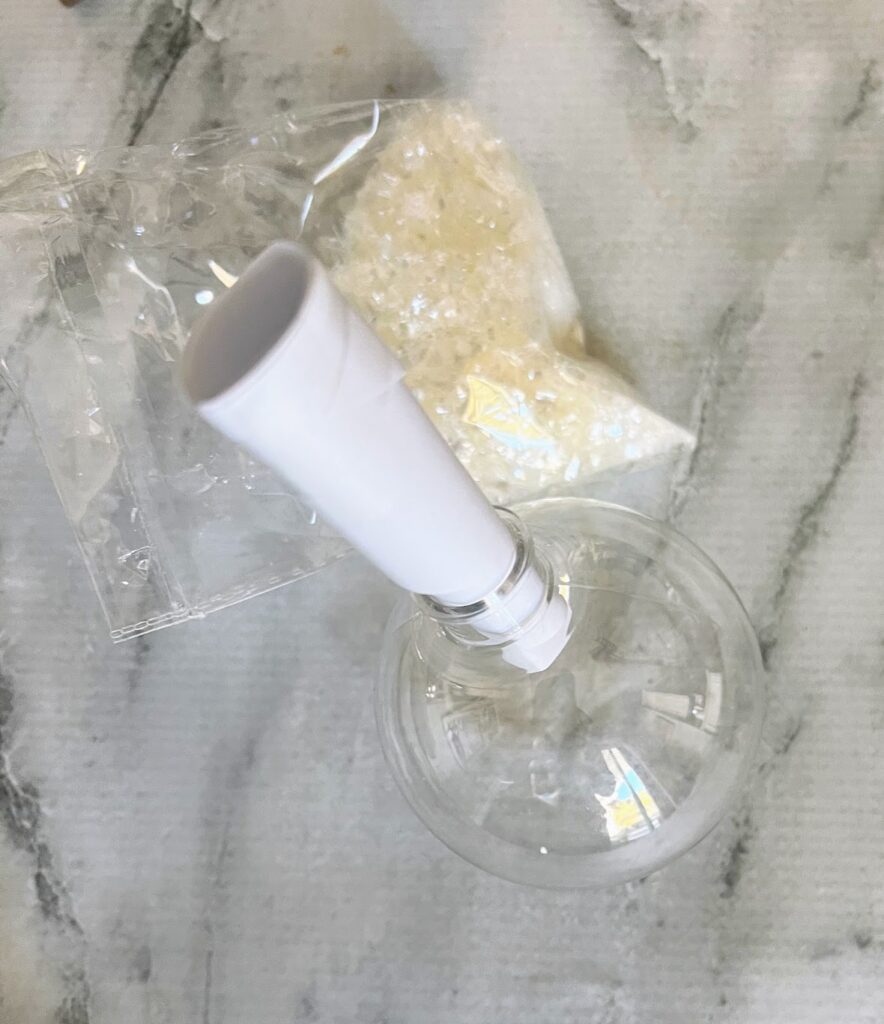
- Prepare the Funnel: Attach the funnel to the top of the ornament to make pouring the snow or glitter easier and more precise.
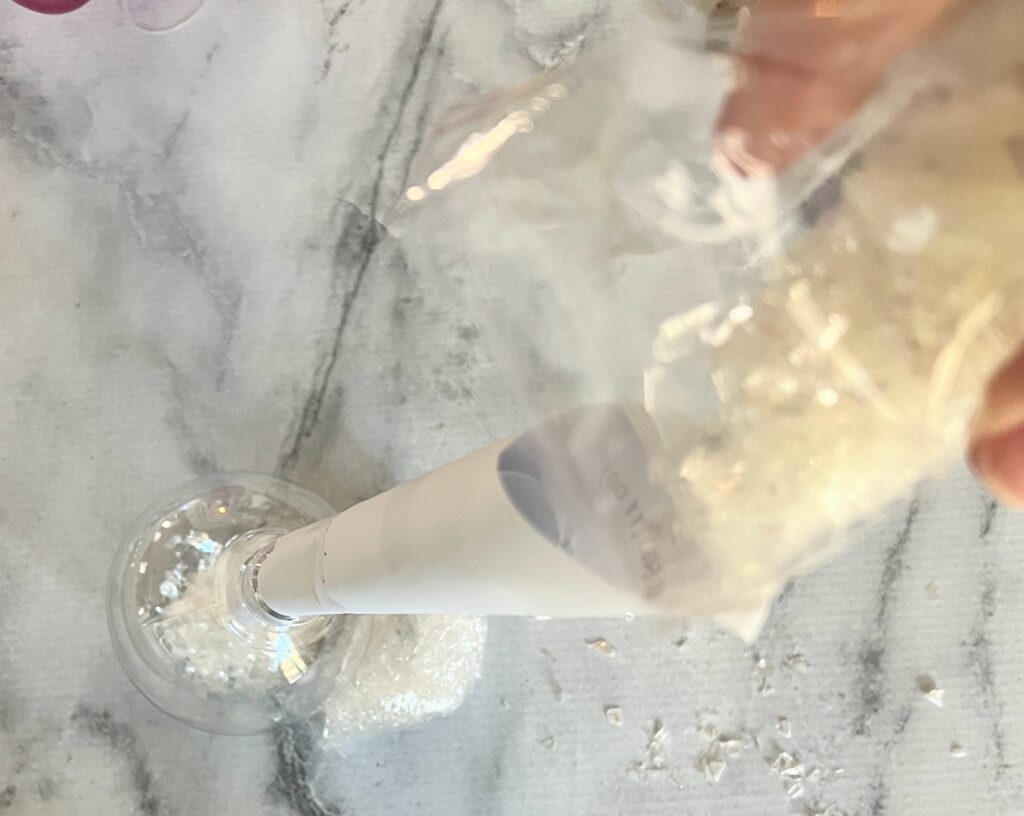
- Add Artificial Snow or Glitter: Pour the artificial snow or white glitter into the ornament through the funnel. Use the funnel to control the amount and distribute it evenly for a snowy effect.
- Optional: Add Miniature Figurines: For an extra festive touch, place miniature holiday figurines such as snowmen, Christmas trees, or reindeer inside the ornament. Arrange them as you like, ensuring they are visible through the clear surface.
- Secure the Caps: Once filled, carefully reattach the caps to the ornaments. Ensure they are sealed tightly to prevent any spills.
- Shake and Distribute: Gently shake the ornaments to evenly distribute the snow or glitter inside. This step helps achieve a more realistic and appealing look.
- Add Hanging Element: Attach a ribbon or twine to the ornament’s cap for easy hanging. Choose a color that complements your holiday decor.
- Hang and Enjoy: Find the perfect spots to showcase your handmade snow-filled ornaments. Hang them on your Christmas tree, in windows, or as part of a festive centerpiece.
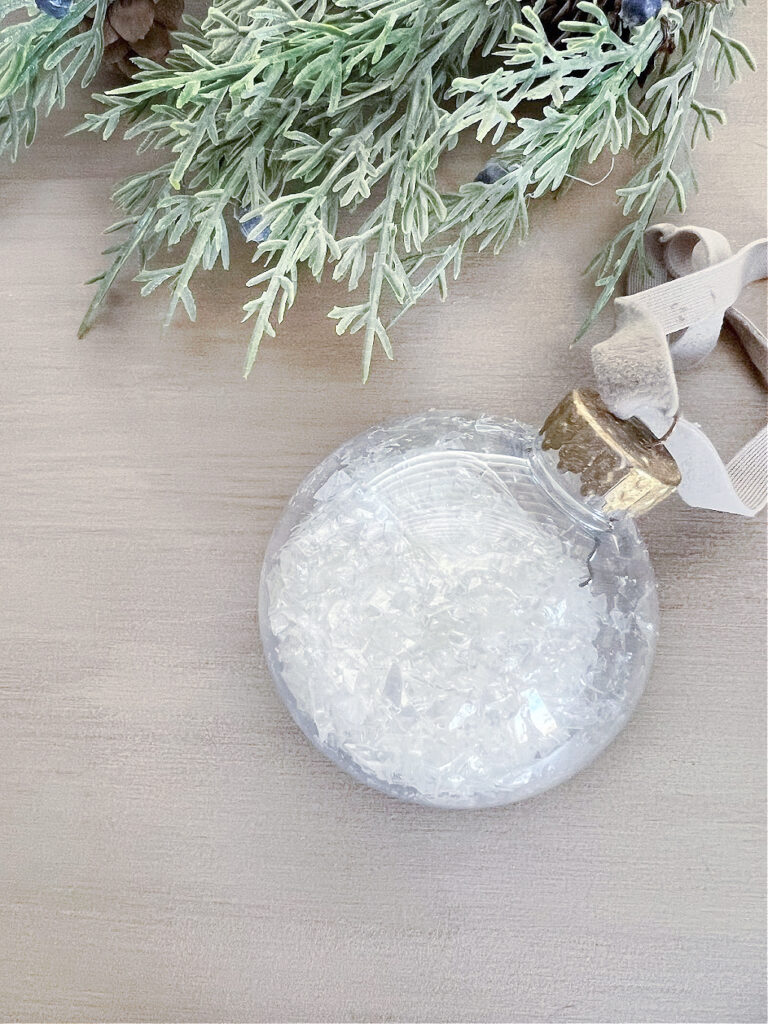
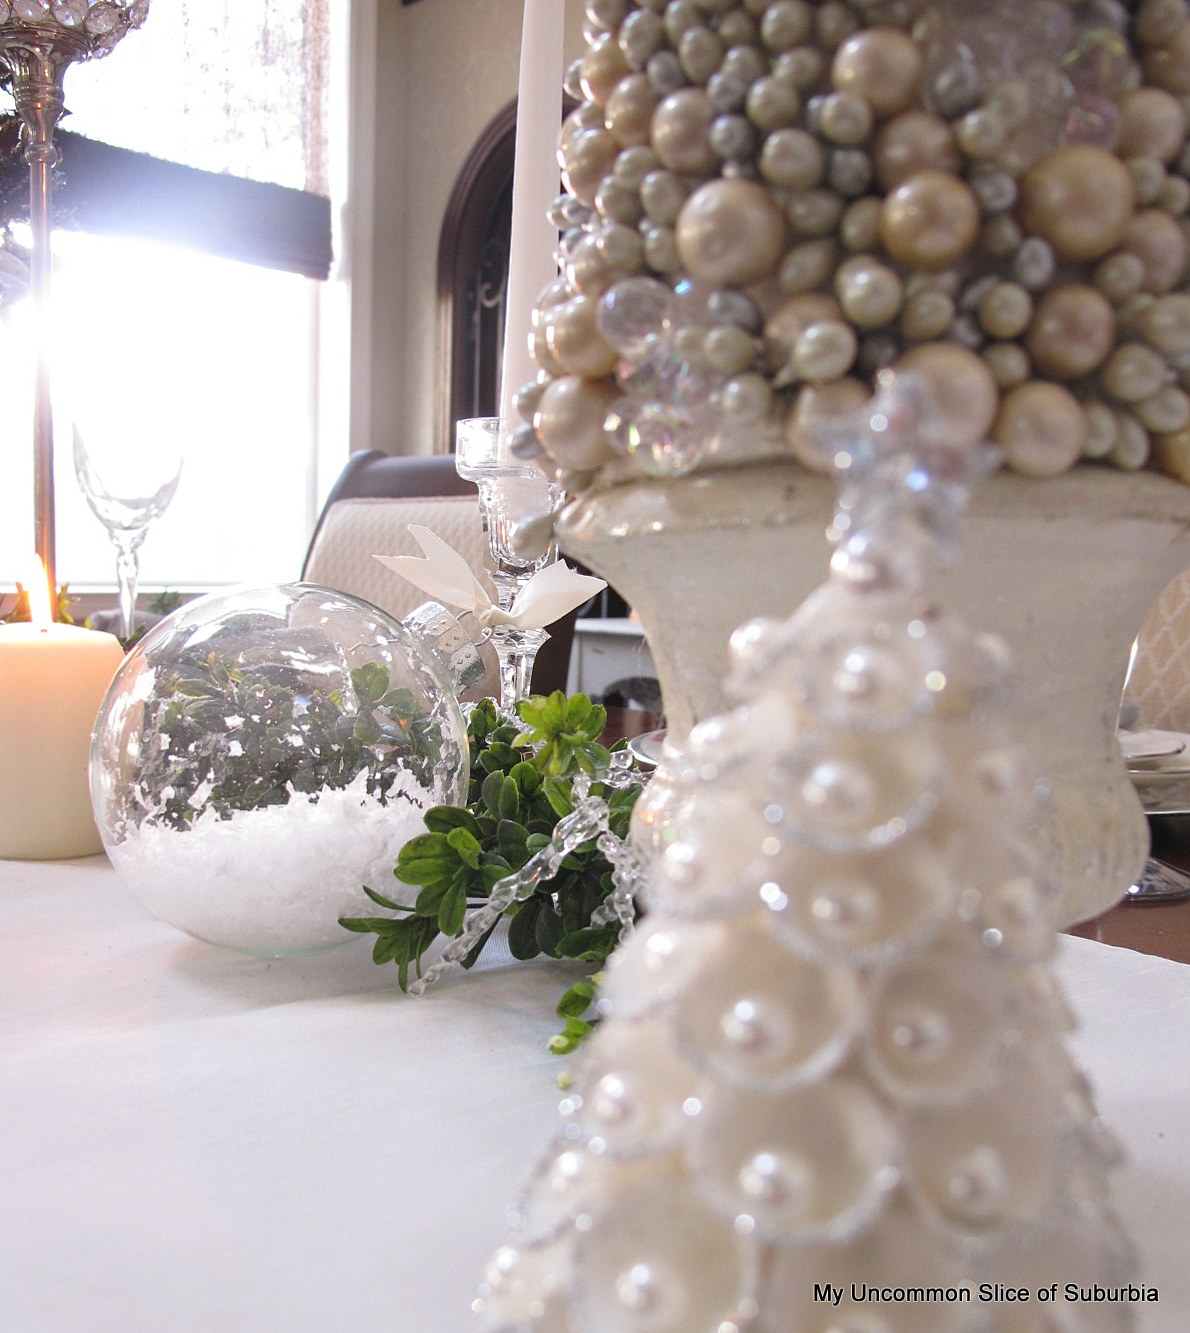
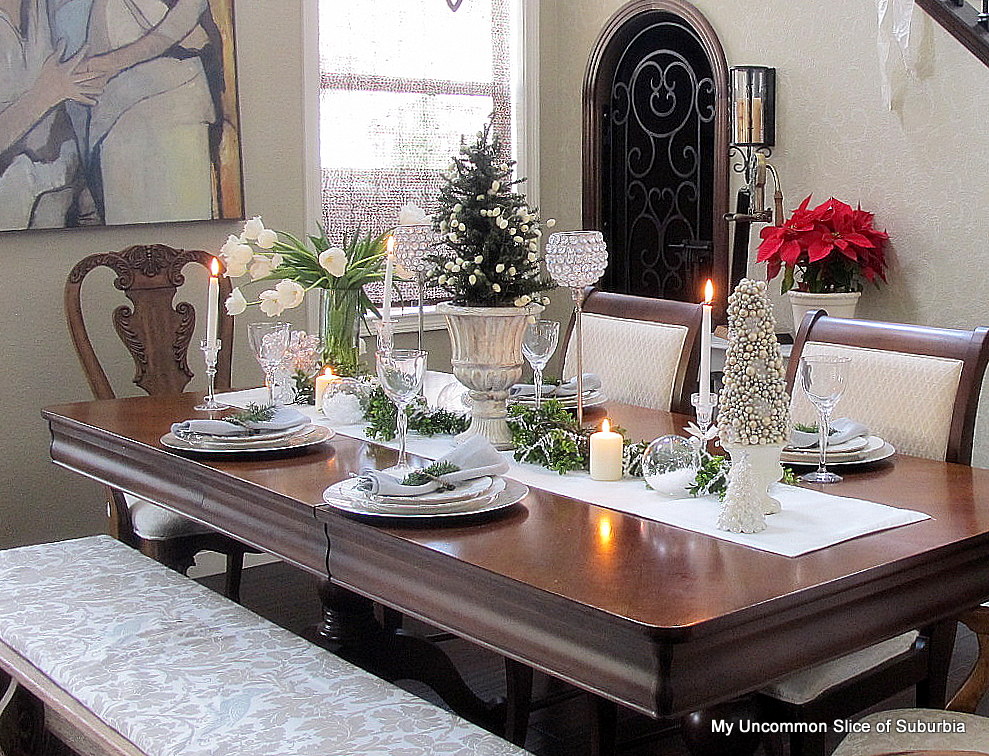
They also look beautiful on a Christmas tablescape
Get creative with these; you can fill them with anything that will fit in through the opening! 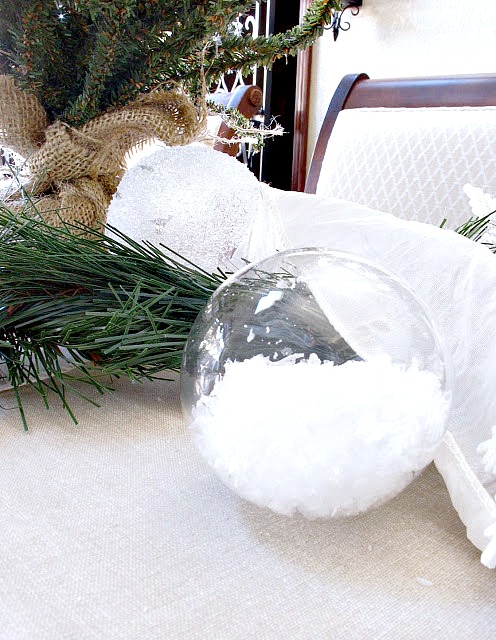
Scatter them throughout the house, so easy and pretty!
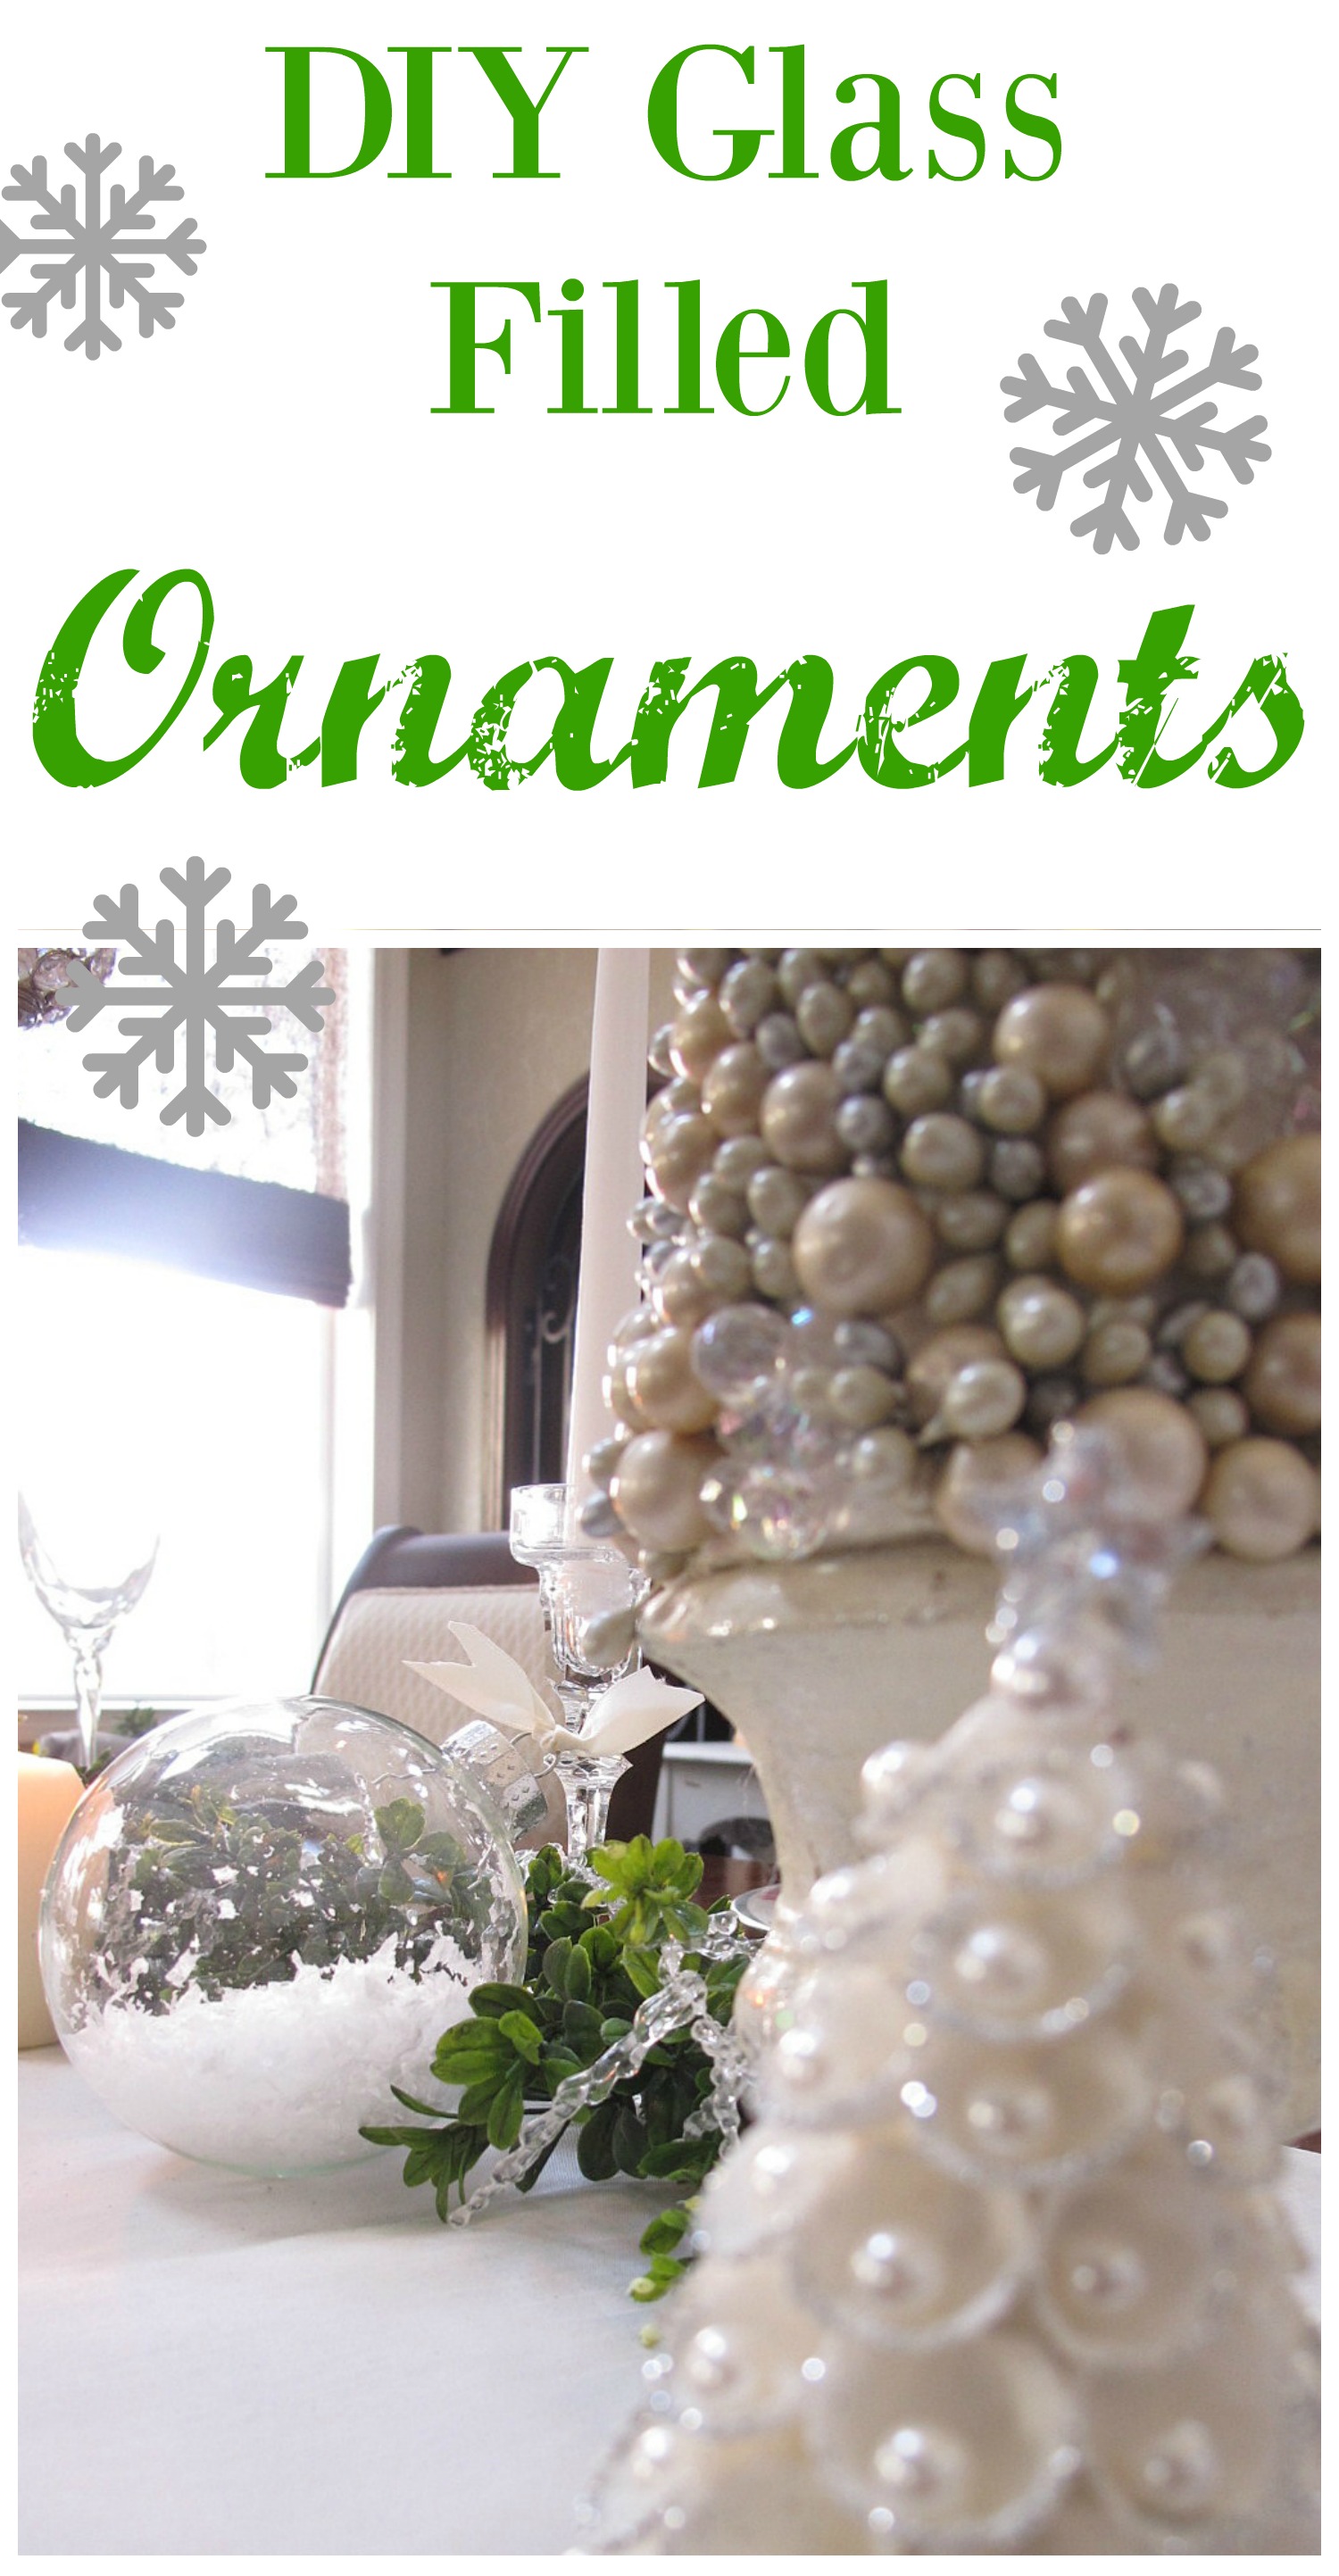
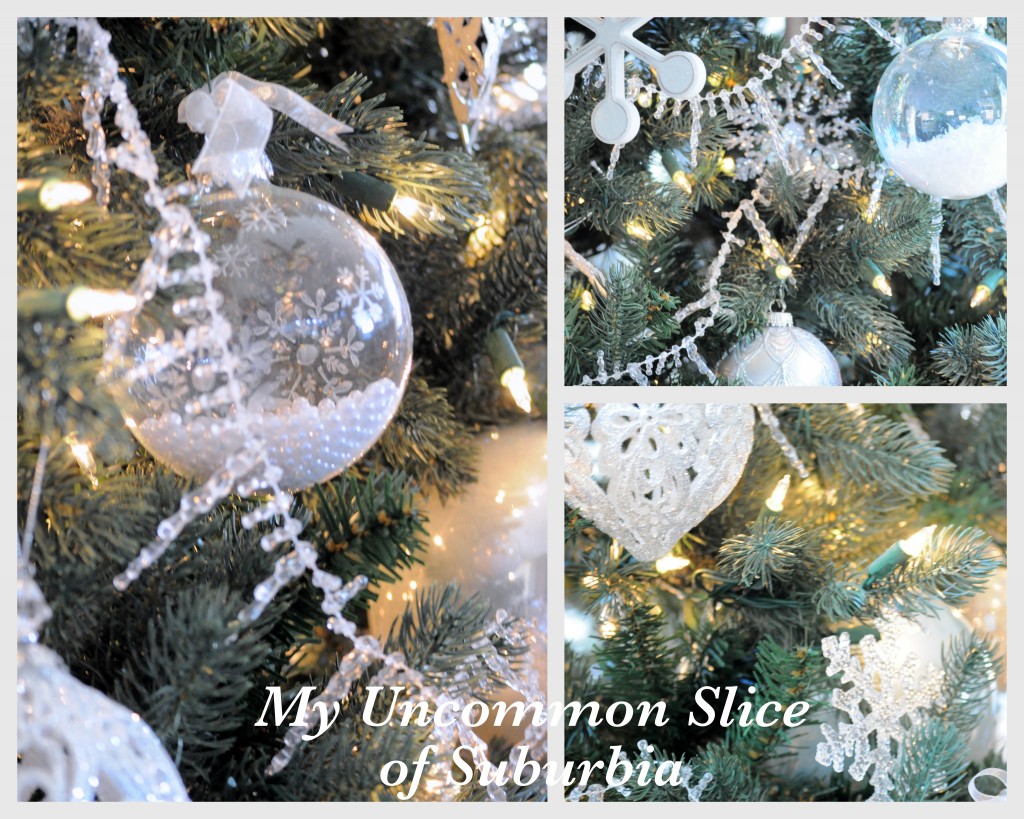
Thanks so much for stopping in today, have fun crafting!

I think they are beautiful just as they are! The pearls are a really nice touch.
They are so beautiful!! Love it and an easy project.
So beautiful, Kristin! I love that you added pearls in there, too! I need to get my Christmas craft on … thanks for the inspiration! Happy Thanksgiving!
Kristin- Those tuned out really cute- I like the white-it is really subtle and pretty- xo Diana
Love those!
Lovely! I’ve been wanting to paint some bulbs, so this is a perfect inspiration. I was thinking that Epsom Salts would also make a great and inexpensive filler too.
Blessings,
Susie
That is so pretty! I bet they’ll be gorgeous when the tree lights are twinkling!
Hope you have a great Thanksgiving my lovely friend! We have family coming to stay with us so I’ll be a maniac all week trying to make my house look presentable. Having guests is the best motivation! Hope you enjoy some time with your family!
So pretty!!! I love the added touch of the pearl beads inside. Beautiful!
I think your ornaments are beautiful Kristin! The pearls are so pretty…what a nice touch. They’d make a lovely hostess gift, too. I would like to make some of these. Hope you’ve had a good weekend. Did the rain pass by you? We’ve had quite a bit. It’s been nice to stay inside and cook and do projects.
What a cute project! other than the beautiful stencil, I love the pearls inside the most. 🙂
Those stencils are really the best! What a pretty ornament they make. Love the filler too. So delicate looking 🙂
Hope you’re feeling better ~ Shannon
Kristin they look so pretty!!
I love those Martha Stewart stick on stencils! Every tree needs her own set of pearls after all!
Kelly
OMG! They look lovely! So fairy-tale type! *-* <3
Kristin – what a simple, sweet way to make a simple decoration into something beautiful! I love the softness of the color. It makes it look like it’s been glass etched….something else that I would like to try in the future. 🙂
xoxo laurie
Thanks Laurie, I can’t wait to make more 🙂
These ornaments are so pretty! Pinning to save and try later.
You are so sweet, thank you Marie!