How to Make an Easy Ribbon Christmas Tree for Gift Wrapping
The holidays are all about giving, and one of the best ways to make your Christmas gifts stand out is by adding a creative, festive touch to the wrapping. Turning a simple ribbon into a beautiful Christmas tree is such a quick, and easy way to add a pop of holiday cheer to any present.
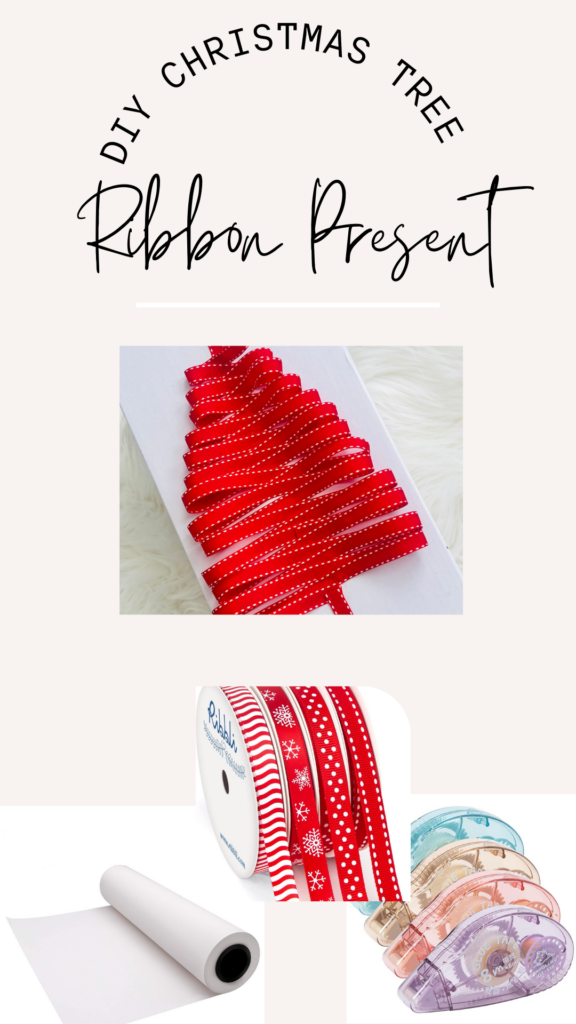
You’ll only need a few supplies!

![]()
affiliatte links are listed below
Materials You Will Need:
Double-sided tape roller
Ribbon Candy Cane Ribbon
White Paper or Gift wrap (solid paper works best for showcasing the tree)
Scissors
Mini ornaments or embellishments (Optional)
Gift tags (Optional)
Step-by-Step Guide to Creating the Ribbon Christmas Tree Design
Wrap the Gift
Before you begin, make sure your gift is neatly wrapped with your chosen wrapping paper. If you want the tree design to be a focal point, choose a simple, solid-colored wrap like red, green, or even white to make the ribbon stand out. You can skip wrapping and create the tree on top of a box as well.
Add Tape
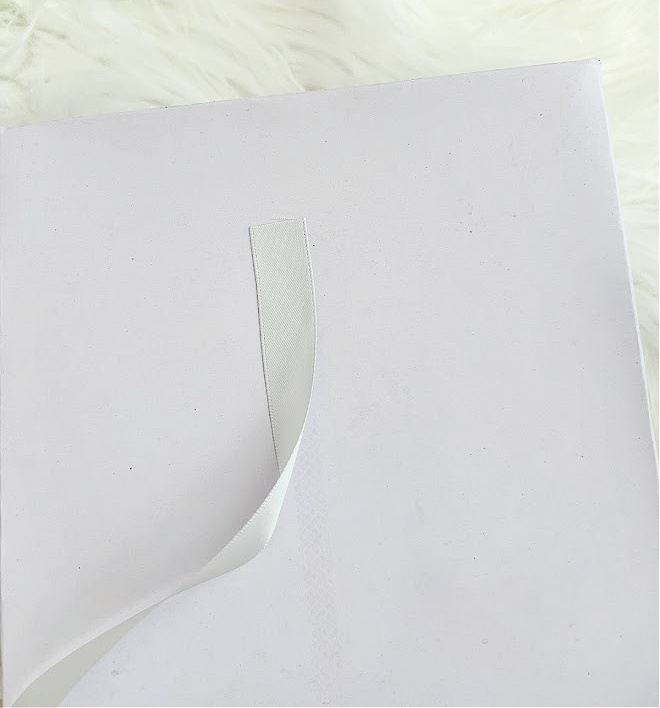
Next, place a long piece of double-sided tape in the center of the package. The double-sided tape roller works best for this. You will want 1 long strip of tape that extends from the top of the box to the bottom of the box. Leave a few inches from the ends of the box. (Regular tape will not work for this project)
Arrange the Ribbons
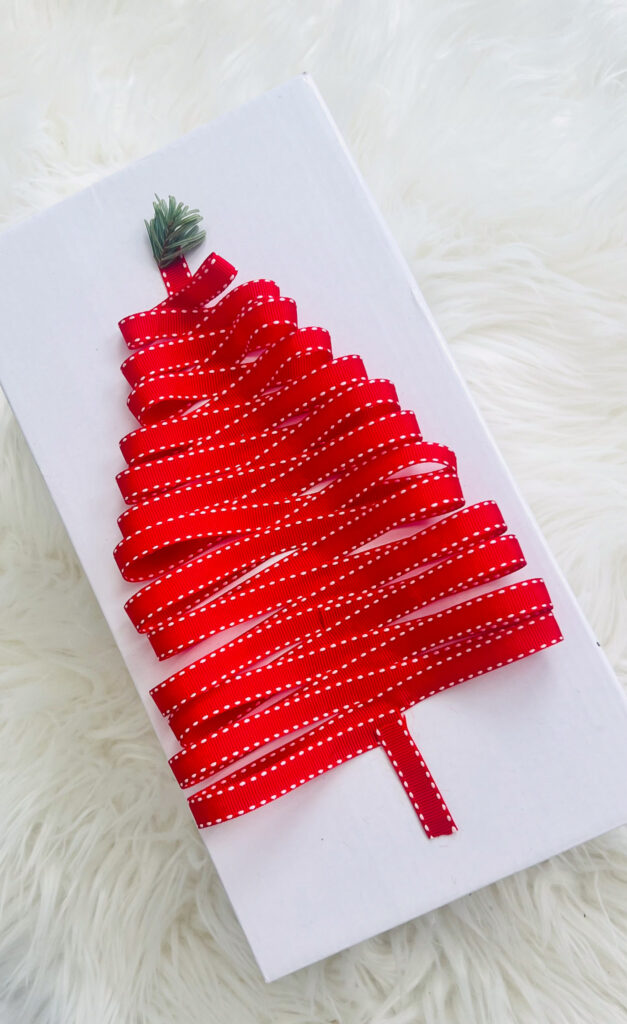
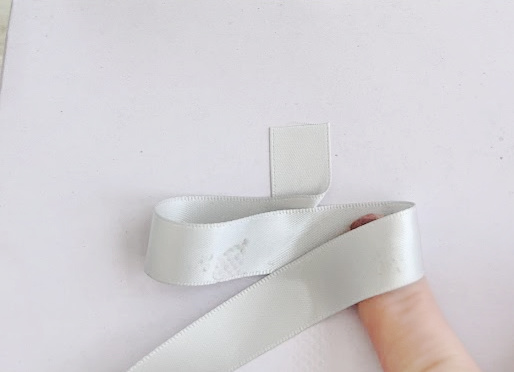
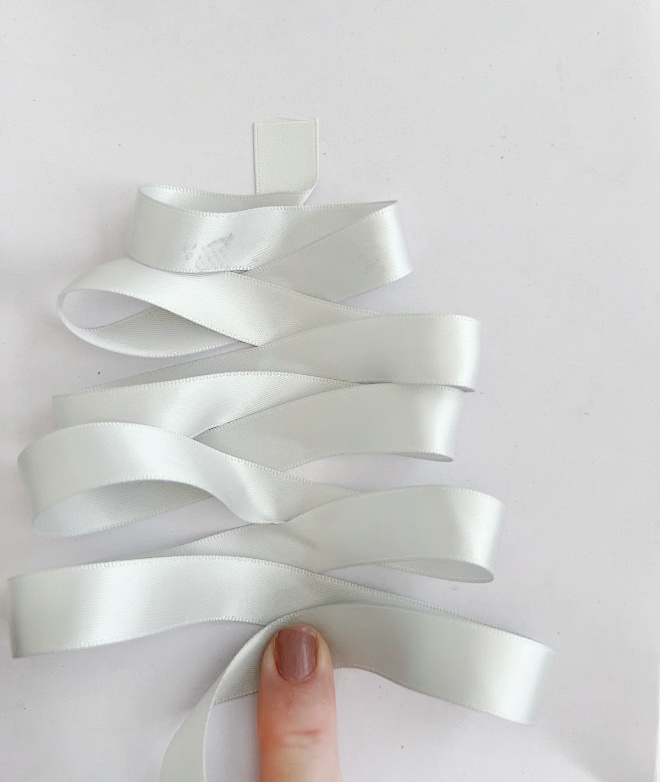
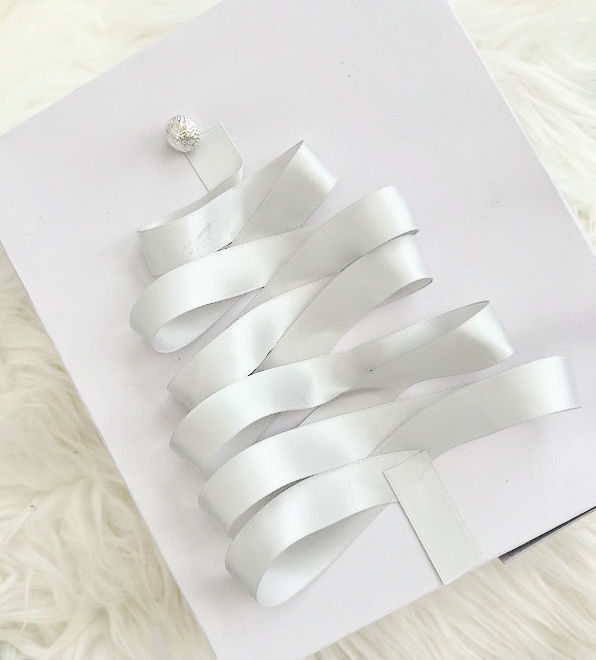
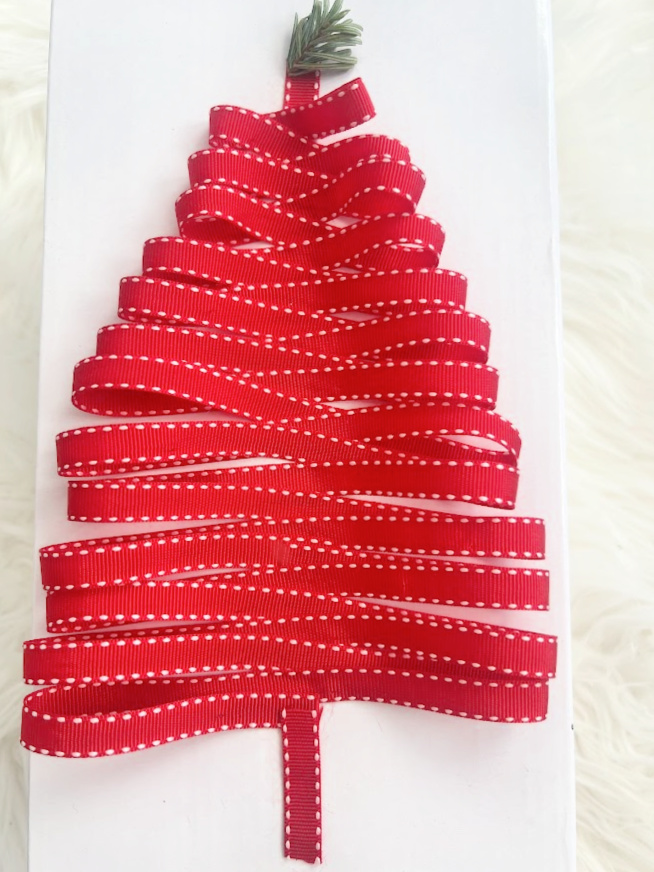
Take the ribbon and place the end near the top of your present. Begin zig-zagging the ribbon back and forth across the double-sided tape to create a tree. Think of building a tree shape, fanning out to create almost like a triangle. You will need to use your fingers for this, applying pressure where the tape is.
Add the Tree Trunk
When you reach the end, you can create the trunk by twisting the ribbon at a 45-degree angle. Or you can add the trunk with a smaller piece of ribbon, about 3 inches long.
Secure Each Ribbon Layer
Once all your ribbon pieces are in place, press down gently but firmly on the ribbon to make sure everything is secure!
Add Ornaments or Embellishments (optional)
Now for the fun part—decorating your Ribbon Christmas Tree! You can embellish the tree with tiny ornaments, beads, or even glitter. Here are a few ideas:
- Tiny Christmas ornaments (mini baubles or stars)
- Buttons or beads (red, gold, or green for a traditional look)
- Glitter or faux snow (for an added festive sparkle)
- Small bows or sequins (to act as “tree decorations”)
Place them sparingly on the ribbon tree, securing them with the double-sided tape. If they are on the heavier side you could use hot glue.
Add a Star or Tree Topper (optional)
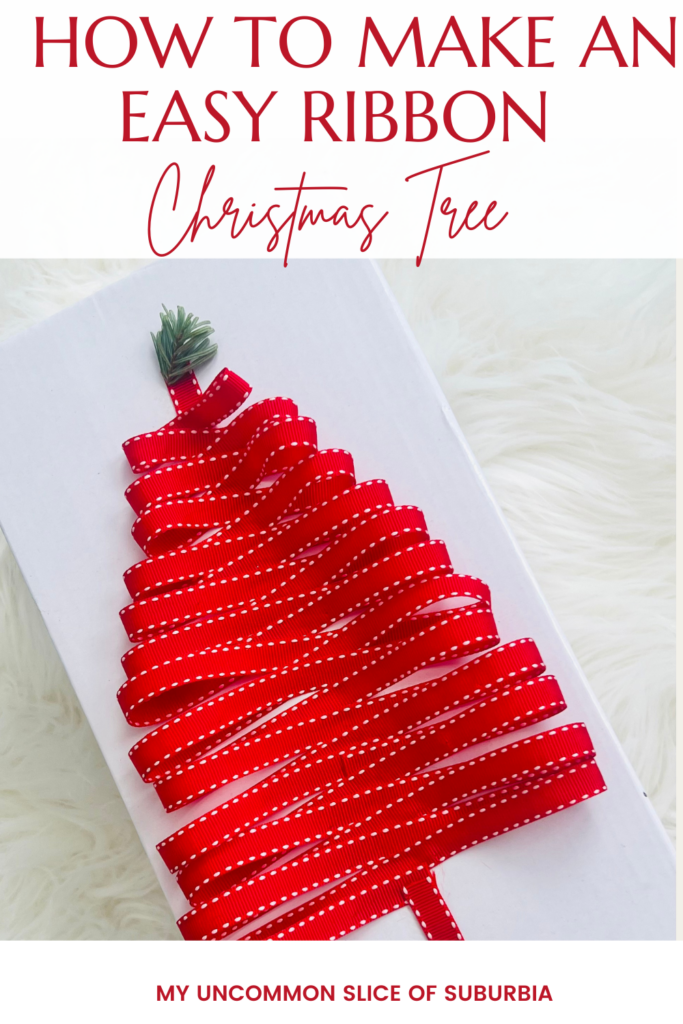
Finish your Ribbon Christmas Tree with a star or a small bow at the very top. You can make a simple star by cutting a piece of yellow or gold ribbon into a triangle or even use a small decorative star ornament to complete the look.
Attach the Gift Tag (optional)
To personalize the gift, don’t forget to add a gift tag. You can write a special message, name, or holiday greeting on the tag and attach it to the ribbon, either directly under the tree or to the side of it for a little extra flair.
Tips for Customizing Your Ribbon Christmas Tree
- Choose Different Ribbon Styles: Mix satin, velvet, and burlap ribbons for texture variation, which will make your tree stand out even more.
- Play with Layers: Use varying thicknesses of ribbon or even combine multiple ribbons into one layer for an interesting visual effect.
- Go Eco-Friendly: If you’re aiming for a more sustainable holiday, consider using recyclable or fabric ribbons that can be reused year after year.
With just a few simple materials, you can add a touch of elegance to your Christmas presents that everyone will love this holiday season.
Grab some ribbon and let your creativity flow when you wrap your holiday gift, wishing everyone a very merry Christmas!
More Gift Wrapping Ideas
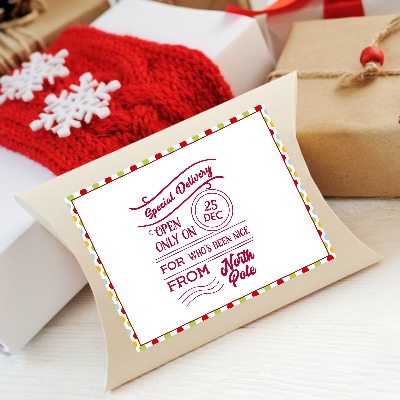
Free Special Delivery Gift Tag
