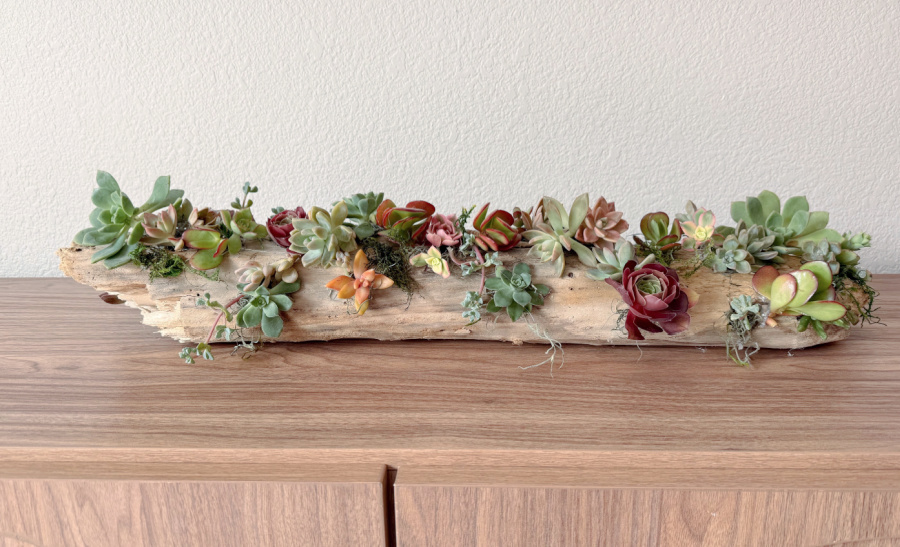
How to Create a Driftwood Succulent Arrangement
If you love easy diy projects that bring a little planty life into your home, a succulent driftwood planter is one of the most beautiful ways to decorate with nature. Driftwood pieces already have so much character, and when you add succulent plants, sphagnum moss, and a few creative touches, you end up with a unique succulent centerpiece that feels like it came straight from a boutique garden shop. This step-by-step tutorial walks you through turning a simple piece of driftwood into a driftwood planter or a succulent driftwood planter using real succulents.
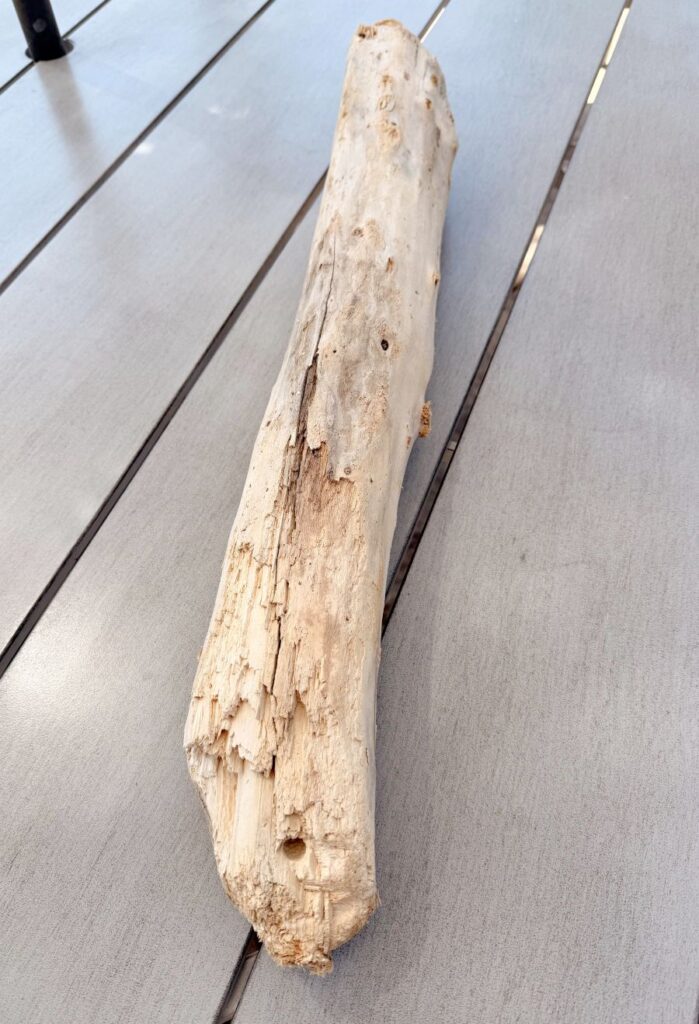
We were in Santa Barbara visiting Nate at college, it was the most gorgeous sunny day, so we met down at the beach for a walk before lunch. Beautiful driftwood was scattered all around, and I had been looking for some pieces, but without luck. Of course, I had to quickly check that it was legal, so a quick check, you can’t gather more than 50 pounds or one piece of driftwood each day! No breaking rules for me!

I have the craziest story about this wood, I’ll share at the end of the post! I’ll start this by saying—I love bees. Truly. I think they’re amazing, important, and honestly fascinating. So the last thing I ever want to do is hurt one. But this little driftwood project… turned into quite the unexpected story.

Here is what we brought home. You can see the hole where the bee was getting in.
affiliate links, and you can read my full disclosure policy here
Supplies
The picture of driftwood was taken after I drilled holes
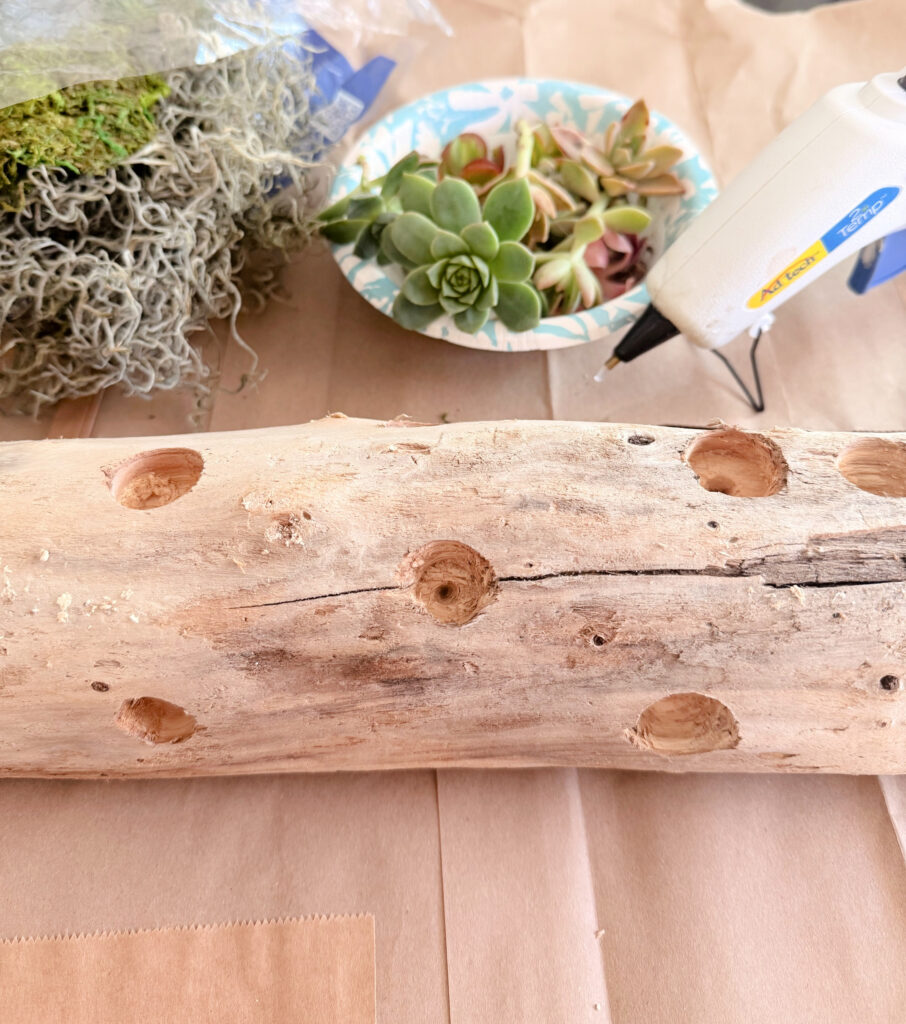
A beautiful piece of driftwood or any piece of wood with natural holes
succulent plants or succulent cuttings
Sphagun moss (best for growing succulents)
Hot glue or floral glue
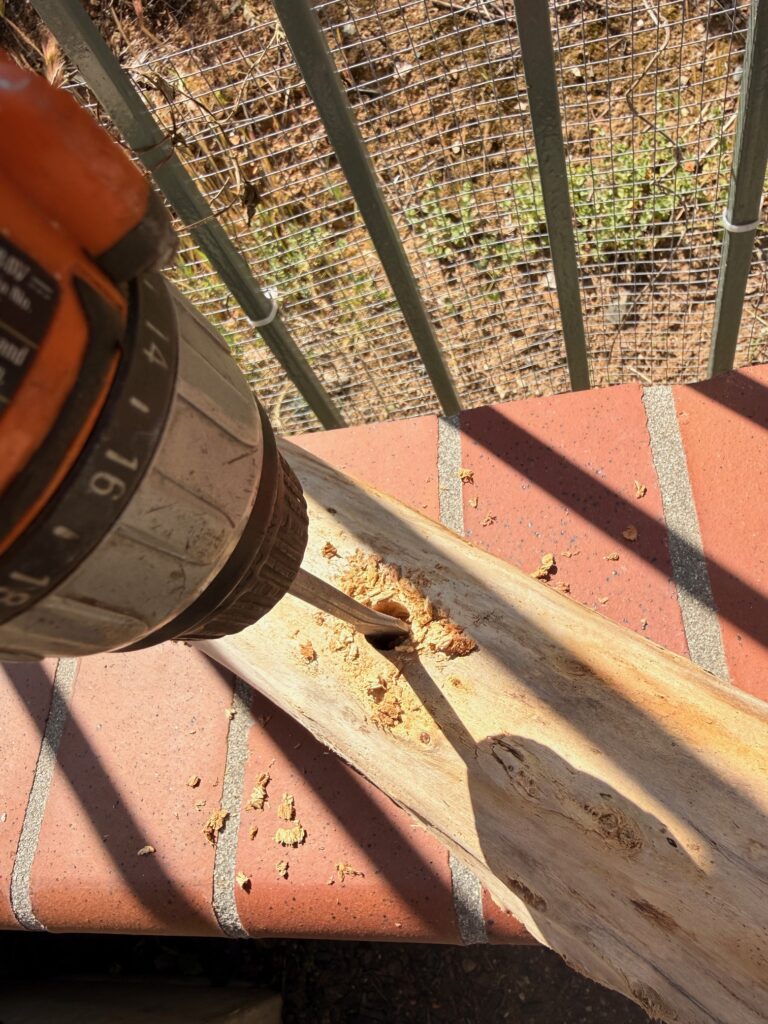
Drill and drill bit (only if your driftwood doesn’t have enough space). I used a Flat paddle-style bit
Scissors
Optional: faux succulents if you want a no‑maintenance version
Directions
Preparing Your Driftwood
Start by looking for driftwood pieces with natural holes or crevices. These little pockets are perfect for holding moss and succulents without extra cost or complicated tools. If your wood doesn’t have enough space, use a drill bit to create small openings. I used a drill bit. You only need shallow holes, just deep enough to tuck in moss and prevent excess water from pooling.
Give the driftwood a quick brush to remove loose debris. You don’t need to sand it unless there are sharp edges.
Adding the Moss
Sphagnum moss is the secret to keeping succulent cuttings happy. It holds just enough moisture without drowning the roots. Lightly dampen the moss and press it into the natural holes of the wood. If the moss doesn’t stay in place, use a small amount of hot glue or floral glue to secure it. This step is simple and sets the foundation for your succulent garden.
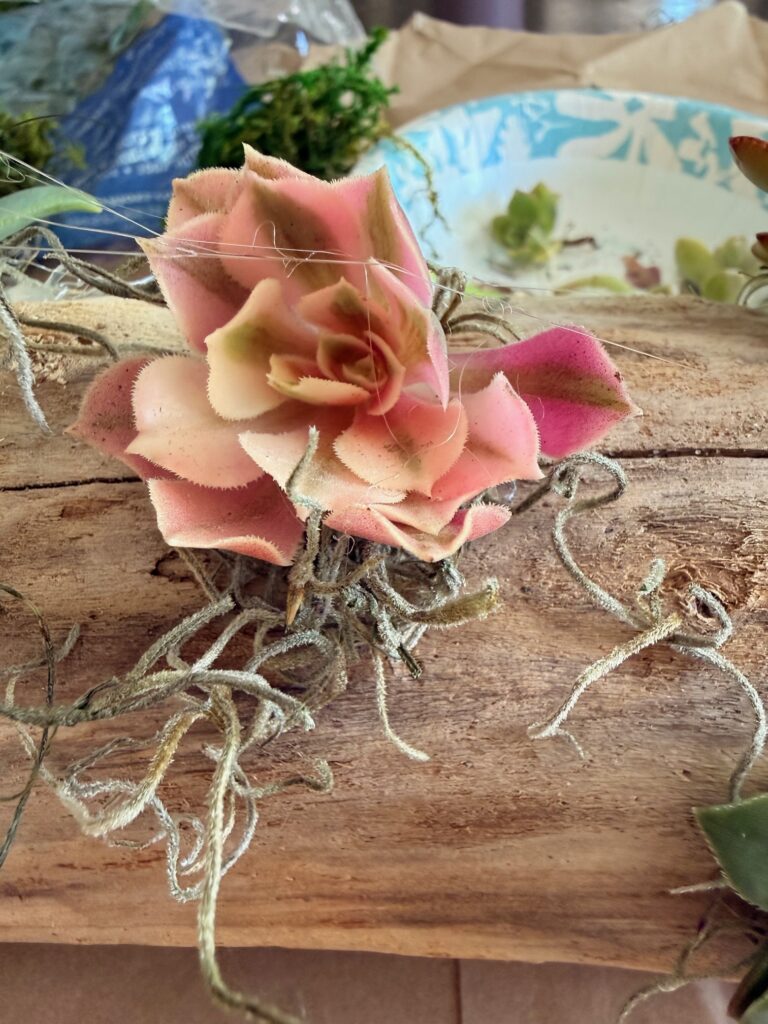
Placing the Succulents
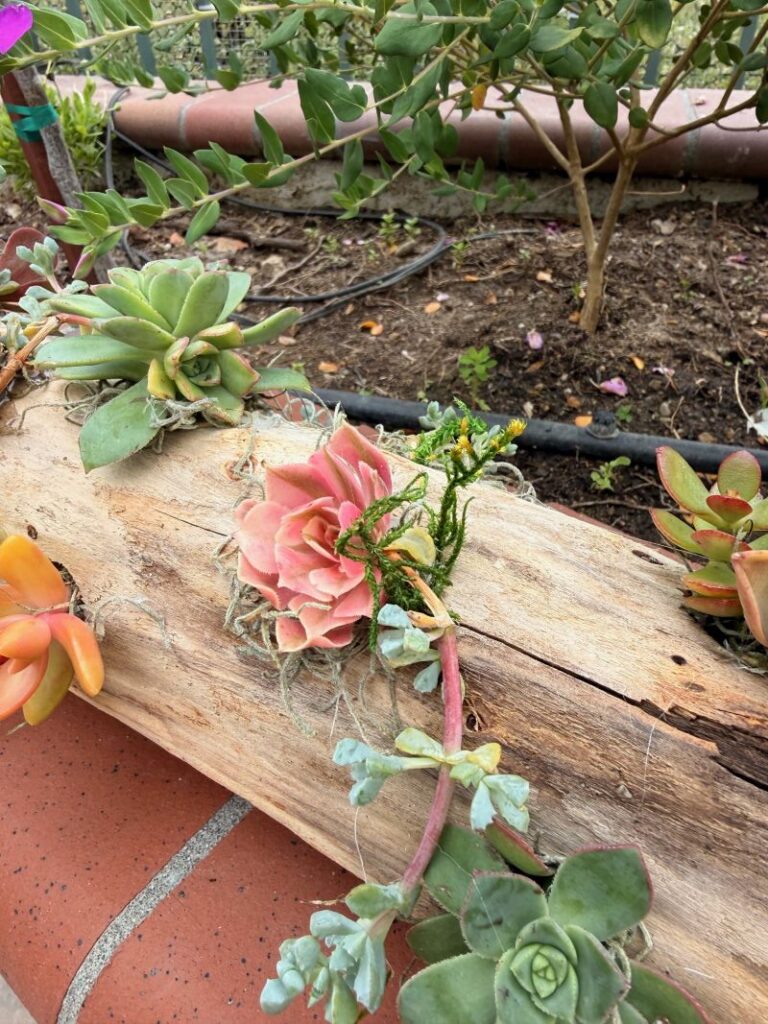
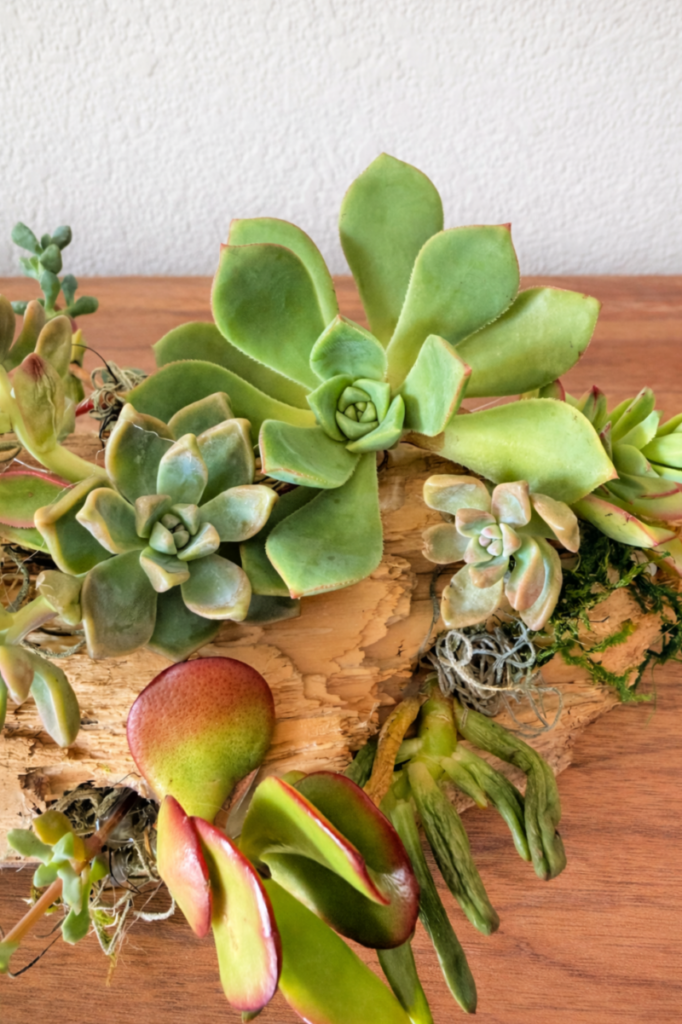
Now comes the fun part. Choose a mix of unique succulents, small succulents, or even faux succulents if you want a long‑lasting display. Types of succulents that work well include rosettes, trailing varieties, and hardy cuttings that root easily over a couple of weeks. I was able to cut all of the succulents from our backyard.

Gently press each succulent cutting into the moss. They don’t need much water, so avoid soaking the arrangement. I was about half way done here.
A light mist is enough to help them settle in. If you’re using faux succulents, simply glue them into place for a maintenance‑free look.
I completed about half of it here and left it outside. Here is what I came back to in the morning: that is one busy bee! 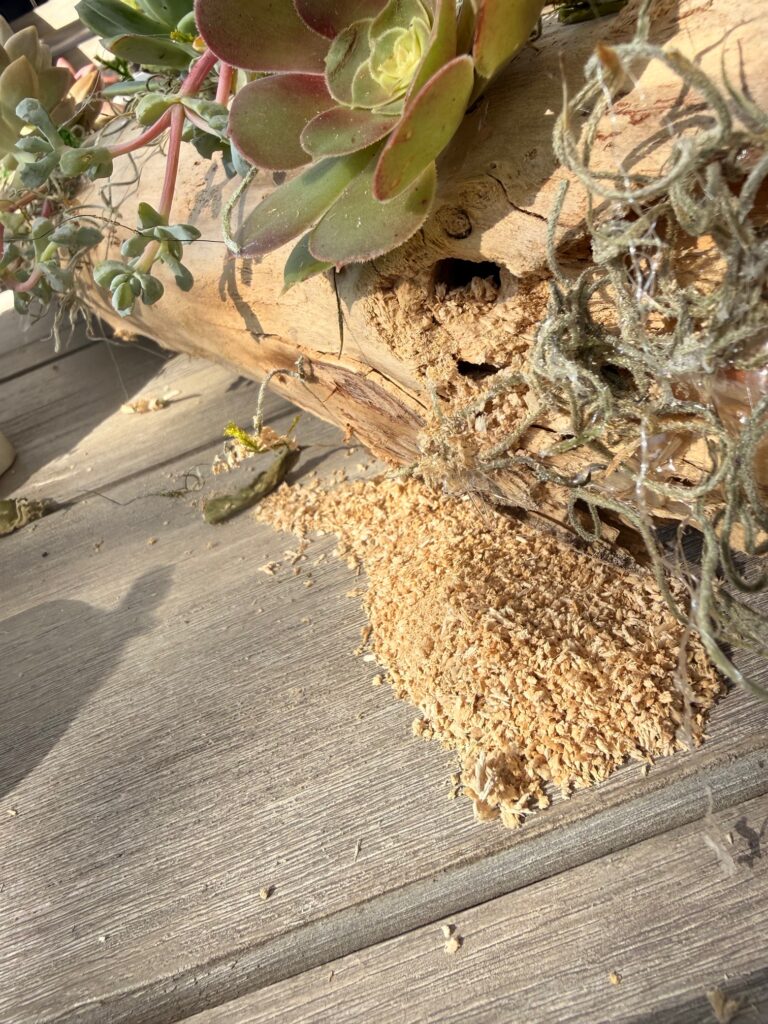
Finishing Touches
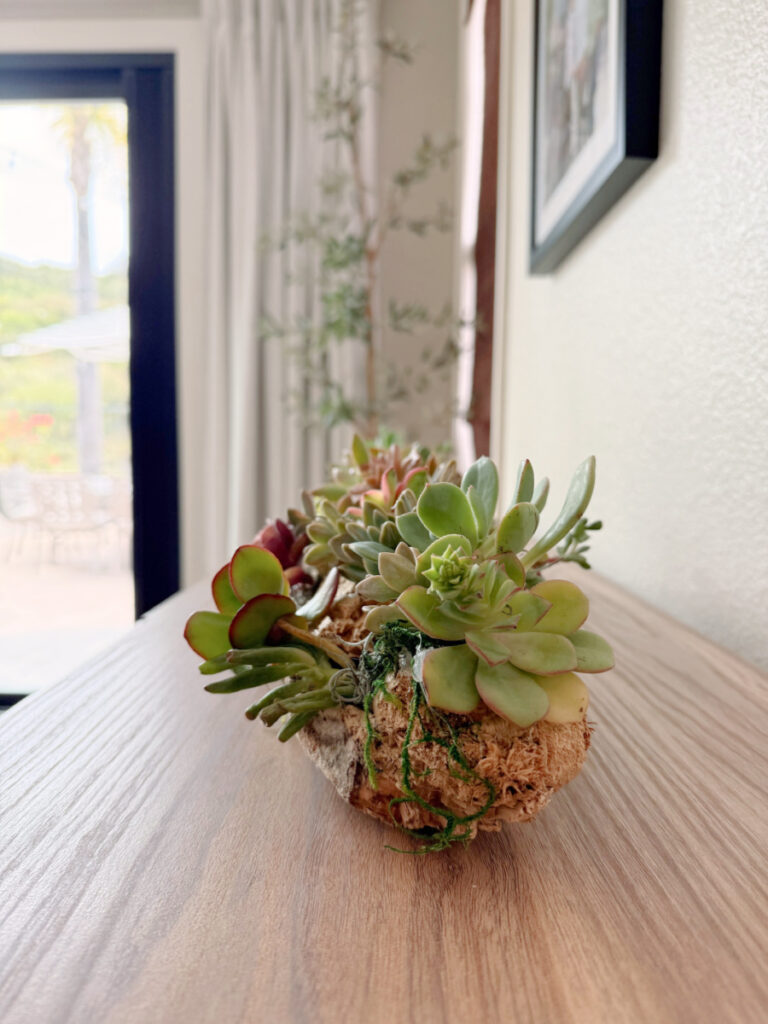
Once your succulents are arranged, step back and look at the overall shape. Driftwood has such organic movement, and placing plants along the curves creates a natural flow. This diy driftwood planter becomes a beautiful centerpiece for a table, shelf, or outdoor space.
Caring for Your Succulent Driftwood Planter
Succulents don’t need much water, especially when planted in wood. Mist lightly every week or two, depending on your climate. Make sure the moss dries between waterings to prevent rot. Over time, the succulents will root into the moss and become even more secure.
If you prefer zero maintenance, faux succulents look just as lovely and eliminate the worry of excess water or sunlight needs. This project is one of the most creative ways to bring nature indoors. Driftwood has a sculptural quality, and combining it with succulents creates a living art piece. Whether you’re decorating for spring or refreshing a new home, this is such a fun diy project, and you don’t need a green thumb.
OK, so back to the story
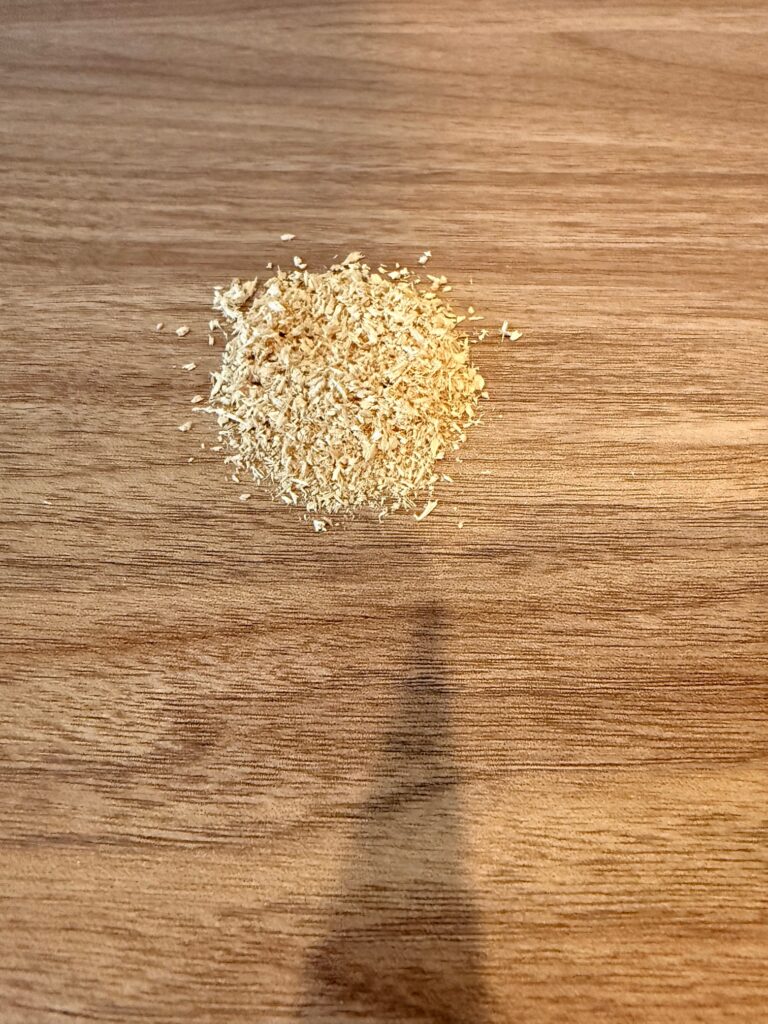
When we got home, I set the driftwood out in the backyard and didn’t think much of it—until the next morning. I walked outside to find a carpenter bee hovering nearby and a surprisingly large pile of sawdust beneath the wood. It felt odd, but I brushed it off and cleaned it up.
The following morning? Same thing. Another pile of sawdust—but this time, no bee in sight. At least, not until I picked up the wood. Out it came, buzzing wildly and scaring the life out of me. From that point on, it became a daily routine: sweep up the sawdust, keep an eye out for the bee, repeat.
Eventually, there was no sign of the bee and no fresh sawdust, so I figured the coast was clear and got started on my little project. Once I finished, I found the perfect spot for it inside, styled it, snapped a few photos… I left to run some errands, and when I came, I lifted it to take it back outside for a light mist, there it was again—a small, unmistakable pile of sawdust.
Let’s just say, this beautiful piece of driftwood will not be making itself at home indoors. And whether that bee hitched a ride back with us or discovered the wood after we got home… I think I’m okay not knowing.
Do you have any fun bee stories to share? Thank you so much for stopping in today!
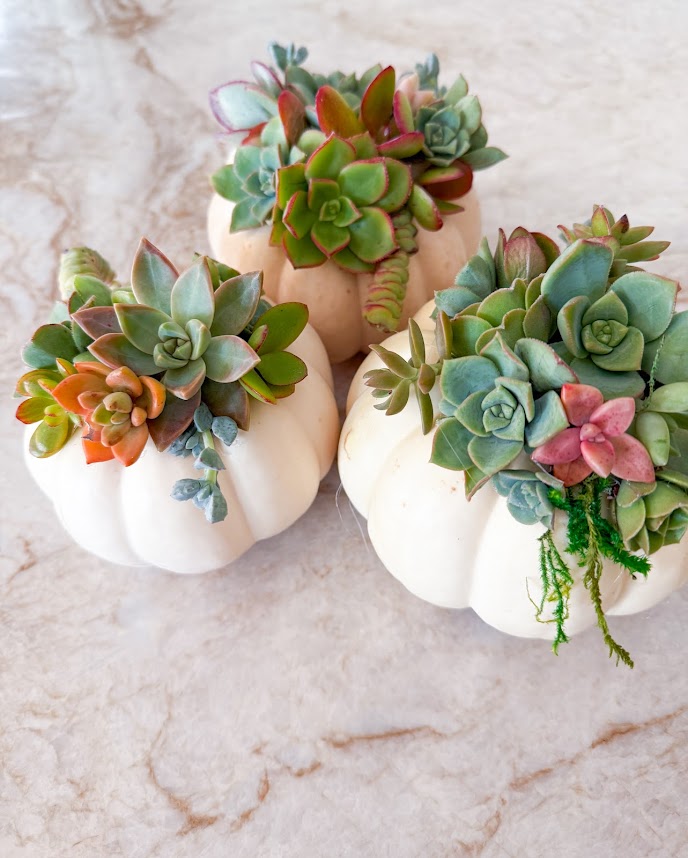
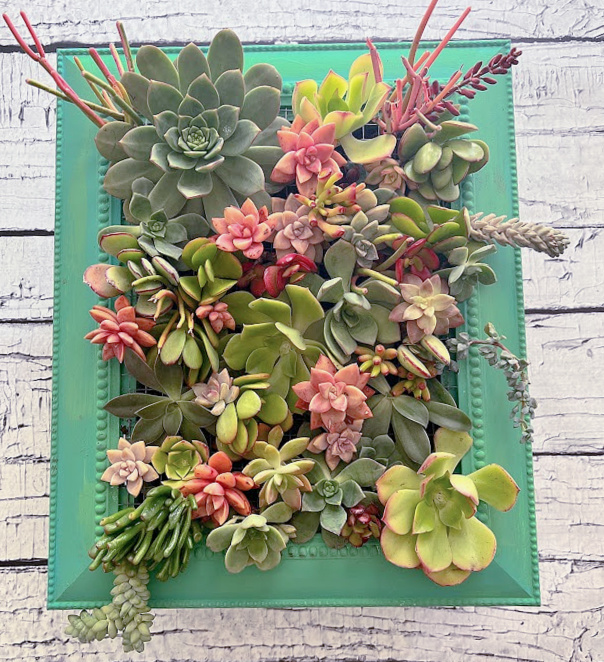
More Succulent planter ideas: