Easy DIY Fall Flannel Pumpkins
I’m so excited to show you how to make this easy DIY Fall Flannel Pumpkin! Transform your old flannel shirts into stylish and unique creations with these creative upcycle projects! From cozy throw pillows and fall wreaths to charming wall art discover fun ways to give new life to your flannel fabric. Perfect for crafters of all skill levels looking to make eco-friendly, handmade treasures.
It’s thrift store decor day but we are changing it up just a little bit this month to support Sarah from Sadie Seasongoods. She wrote the most amazing book, Crafting with Flannel.
She has been crafting with flannel for many years so it was a perfect time last year to write the book. Each of us decided to pick one project from her book and recreate it, with over 55 projects I wanted to try them all. Most of her projects are created with flannel shirts while others use store-bought fabric.
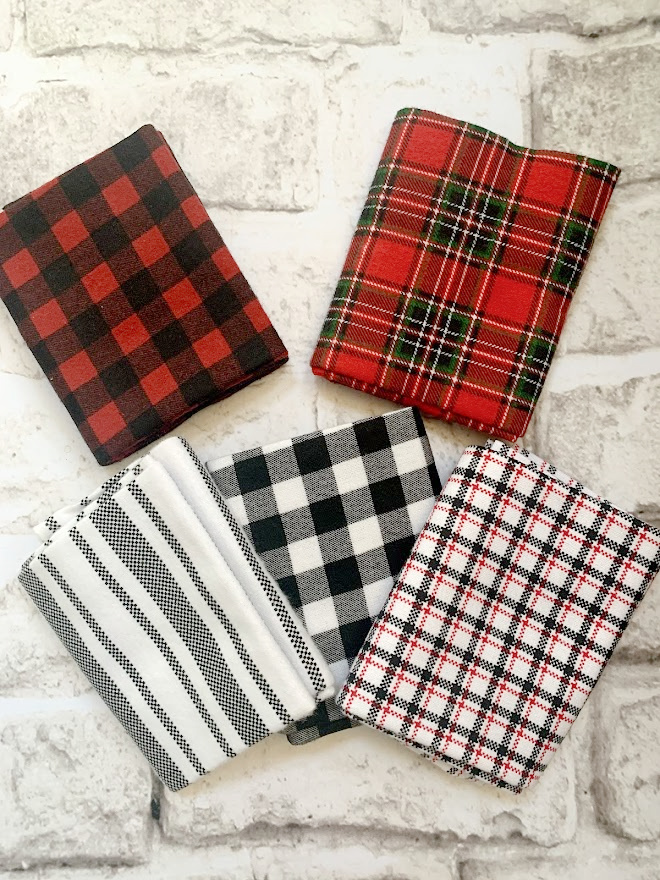
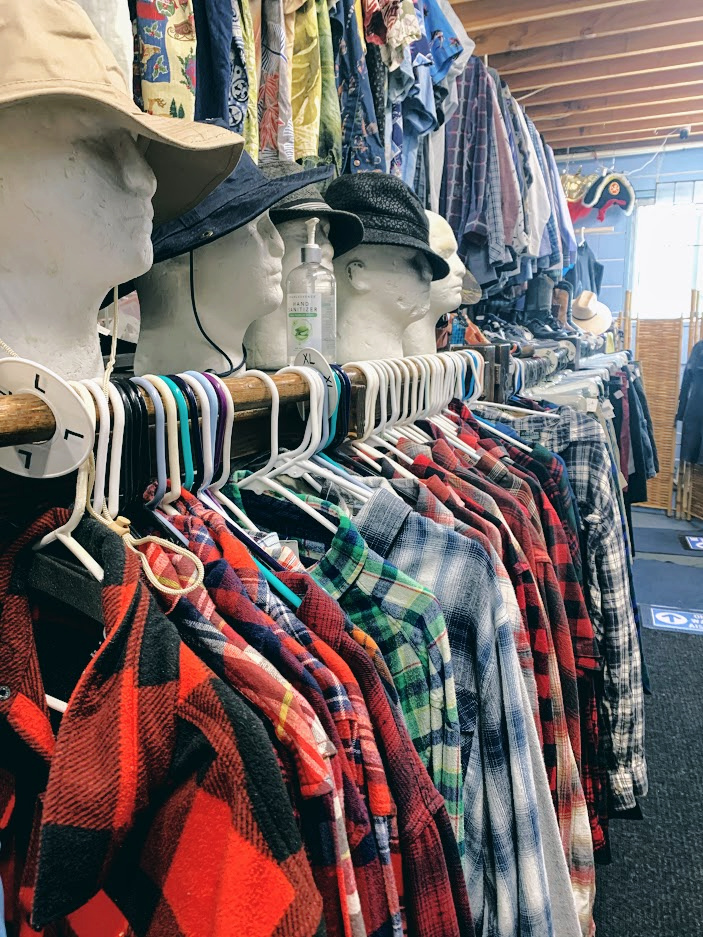
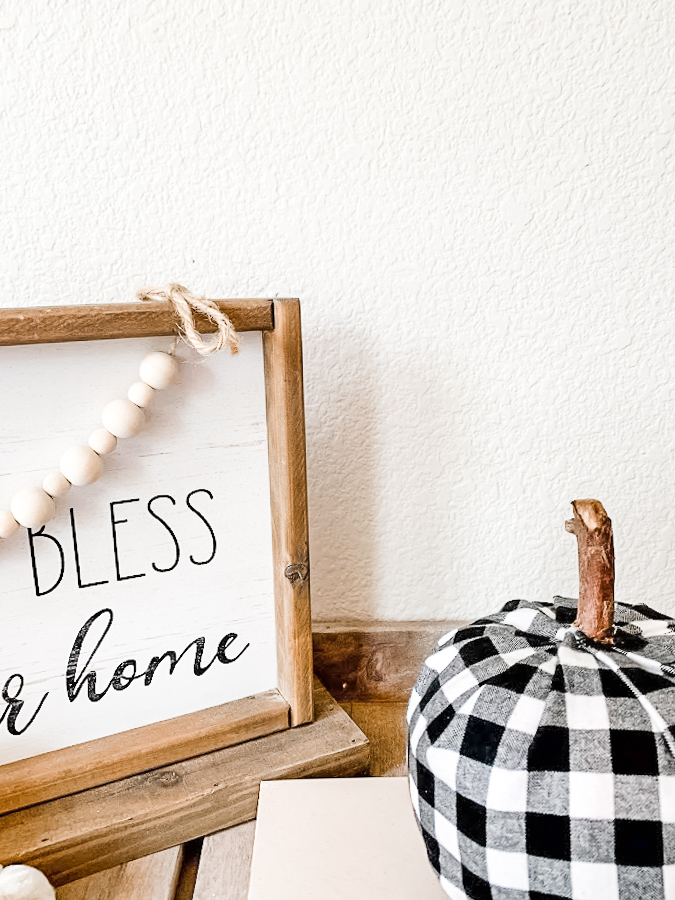
I decided on the flannel pumpkin. I used the fabric squares from Walmart. The kids and I went thrifting over the weekend so I could buy a flannel and we had a ton of choices to choose from BUT they were all over $15. They were super nice and one of my boys scored a billabong flannel but I didn’t want to cut into a $15 flannel. Had f I found a $5 flannel I totally would of, so off to Walmart we went.
Amazon affiliate listed below for your convenience
Here is the bundle I bought at walmart and the thrift store in downtown Encinitas that was just a little too overpriced for me.
Supplies:
Scissors
Stem (I used one that I cut from a tree but you could use a wine cork as well)
Flannel
Hot glue gun and glue
Thread and needle or sewing machine
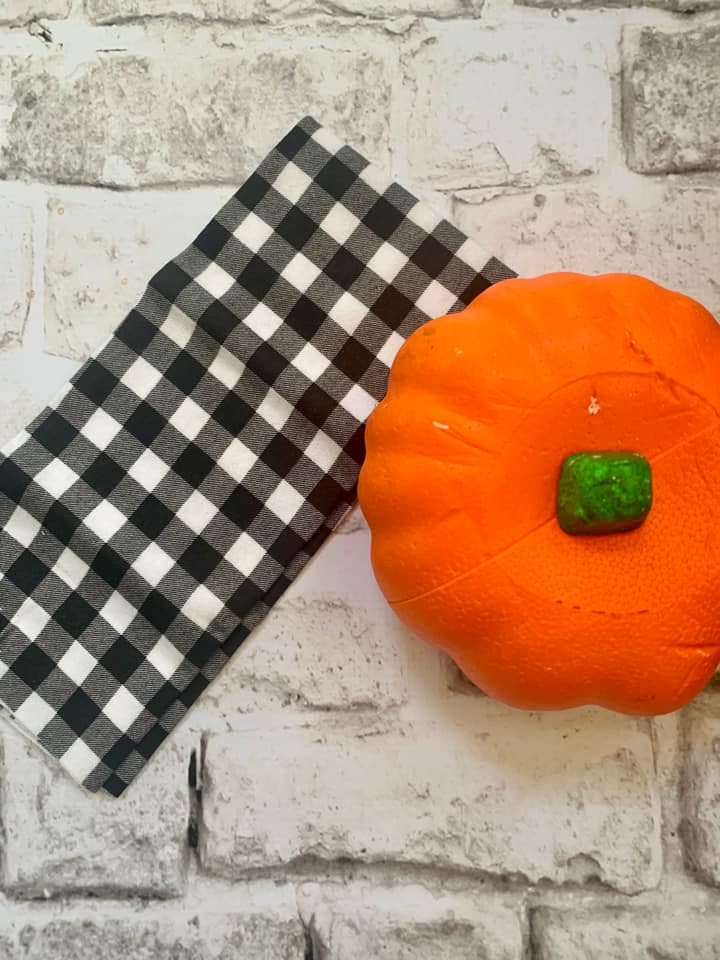
Pumpkin (I found mine at the dollar store)
Instructions
Mine is not an exact match as Sarah’s but it’s pretty close!
Step 1
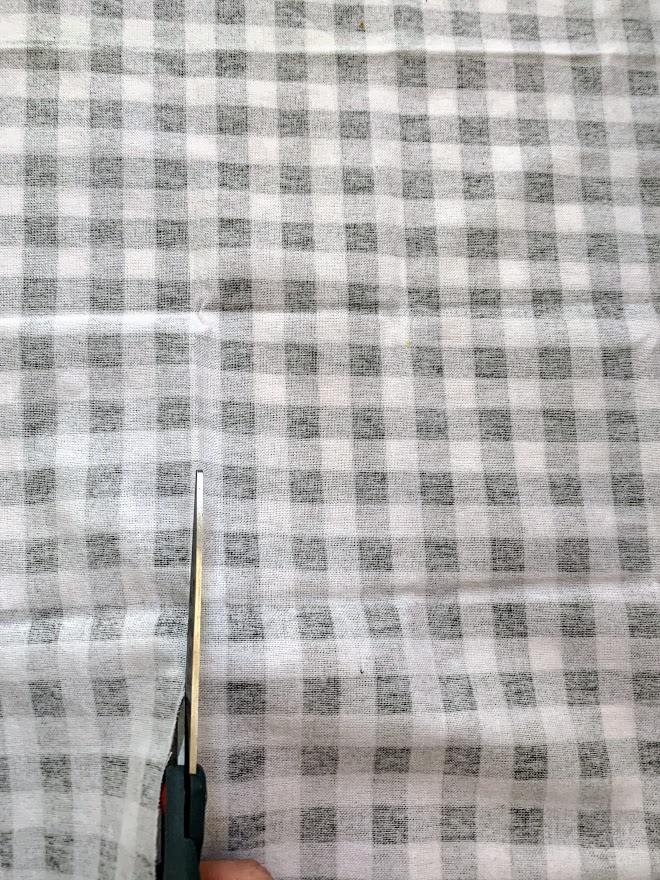
Your fabric will need to be twice as long as it is wide, after measuring my pumpkin I cut a rectangle that measured 14” x 7 .
Step 2
Fold the fabric together to create a rectangle with the right side in. Meaning the good side of the fabric is facing each other.
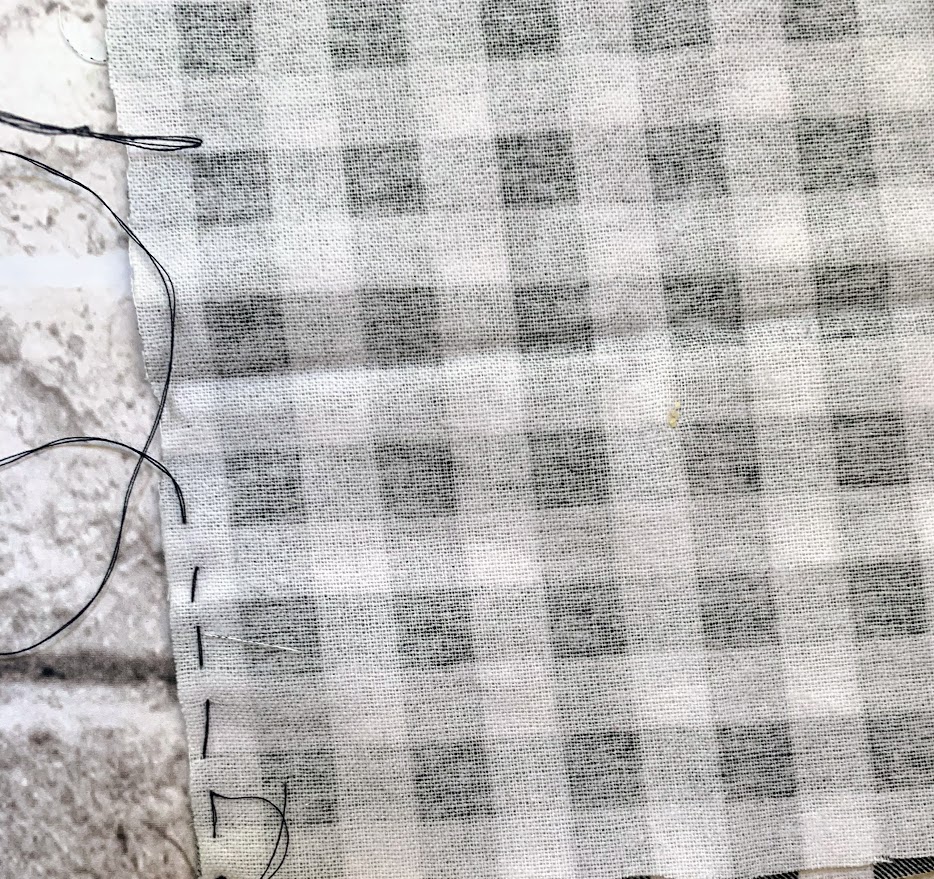
Hand stitch or use your sewing machine and stitch along those short edges of the fabric which will create a tube with both ends open. My sewing machine just broke, talk about bad timing.
Step 3
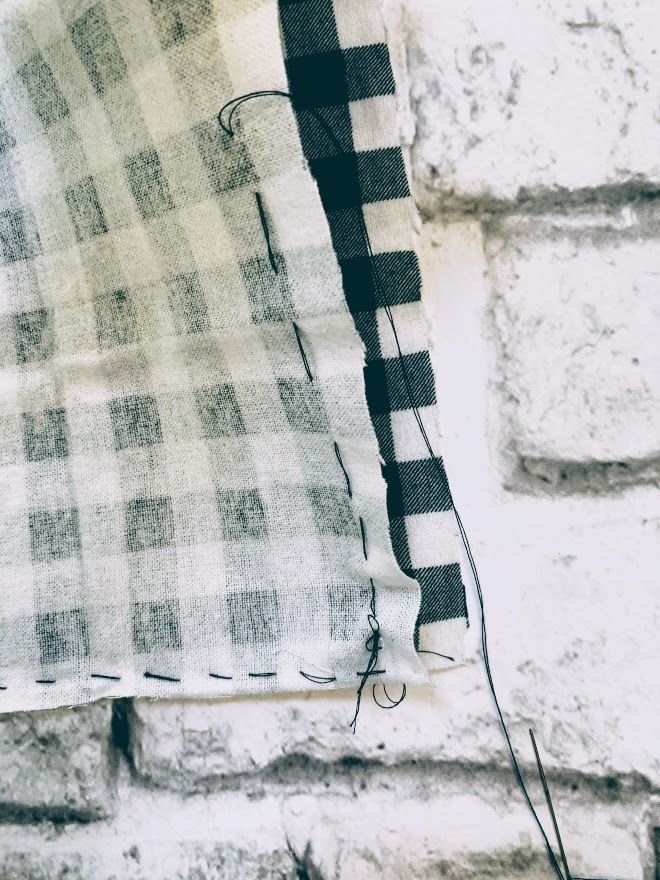
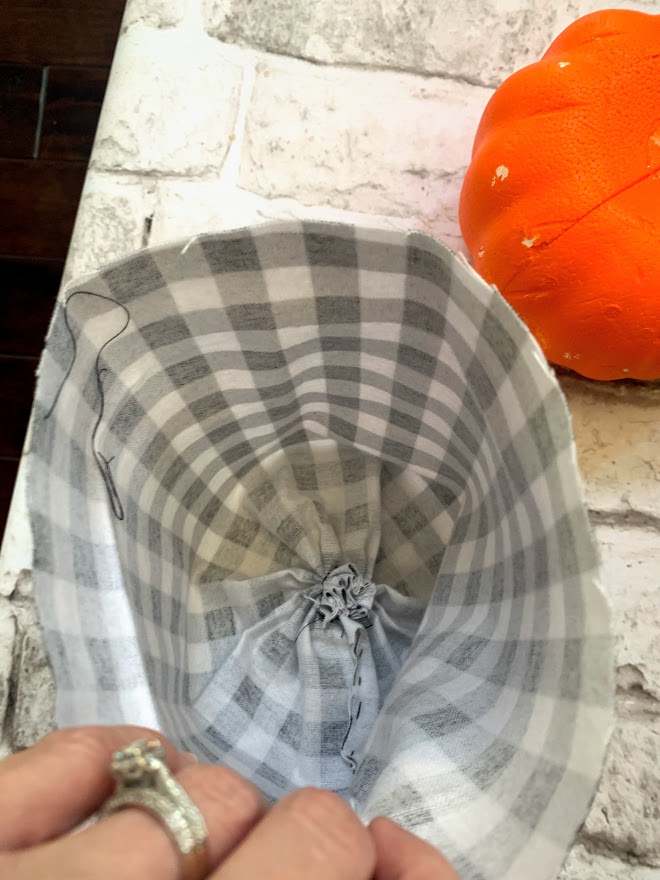
Next, sew a gathering stitch along one of the open edges all the way around. You are not stitching two pieces together. TIP: If you are using a heavy flannel I would use a stronger thread!
Step 4
Do not knot your thread when done. Pull the thread tightly and cinch. Then take your needle and run the needle through the cinched area and then knot off.
Step 5
Turn your fabric right-side out.
Step 6
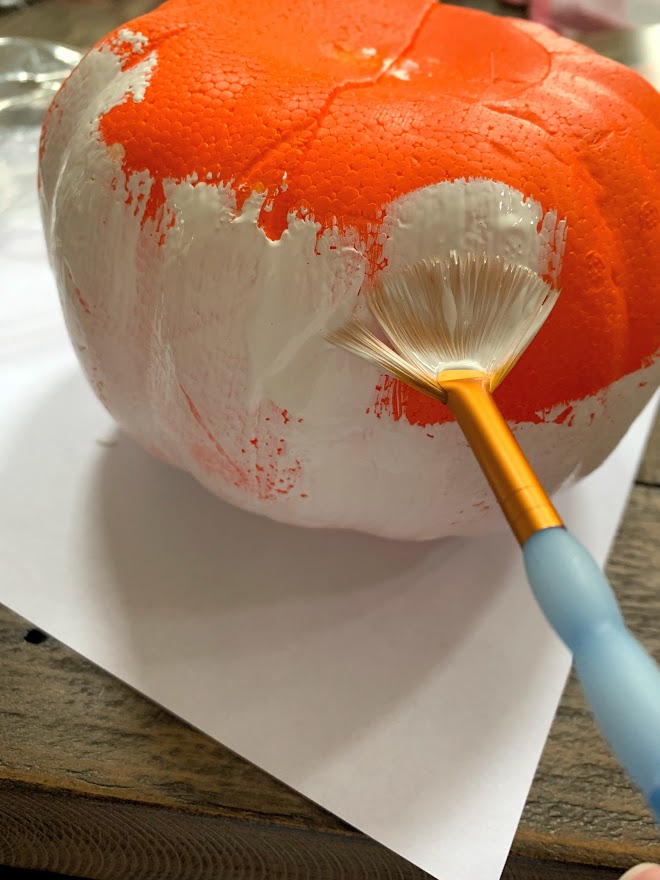
I added my pumpkin (it was a perfect fit) but the orange was showing through the rabric so I gave it a quick coat of white craft paint. This is optional.
Sarah did not use a pumpkin, she simply filled it with fiber fill.
This is how the bottom looks
Step 7
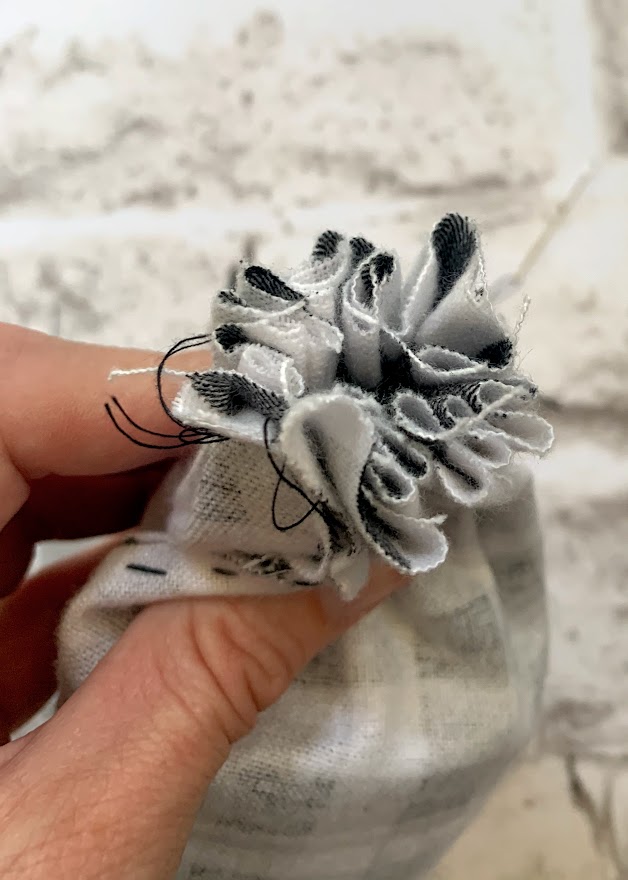
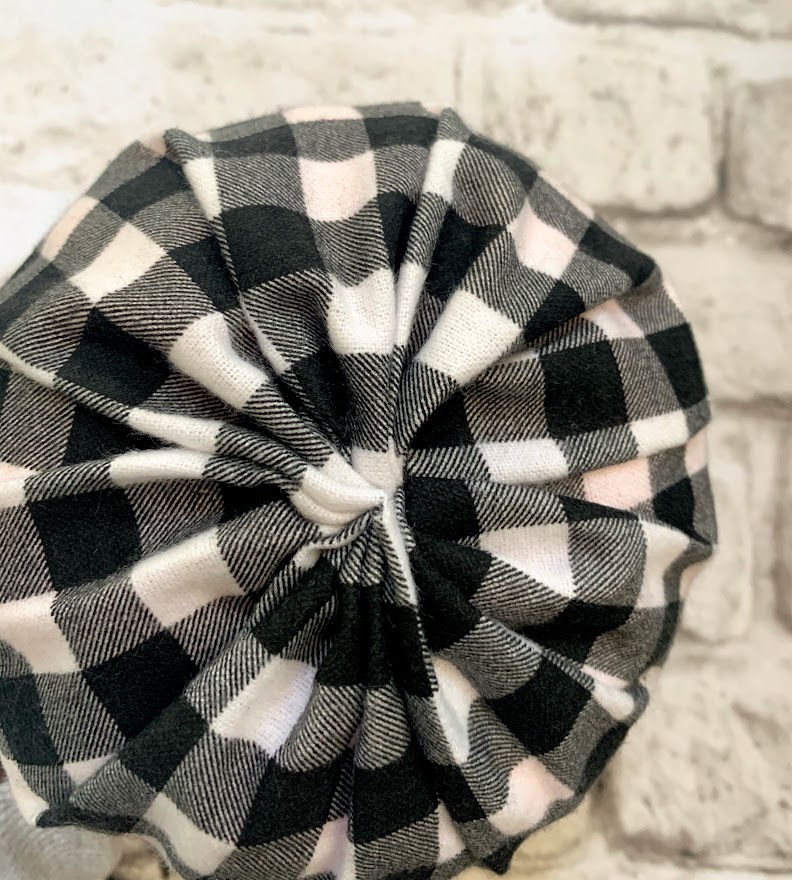
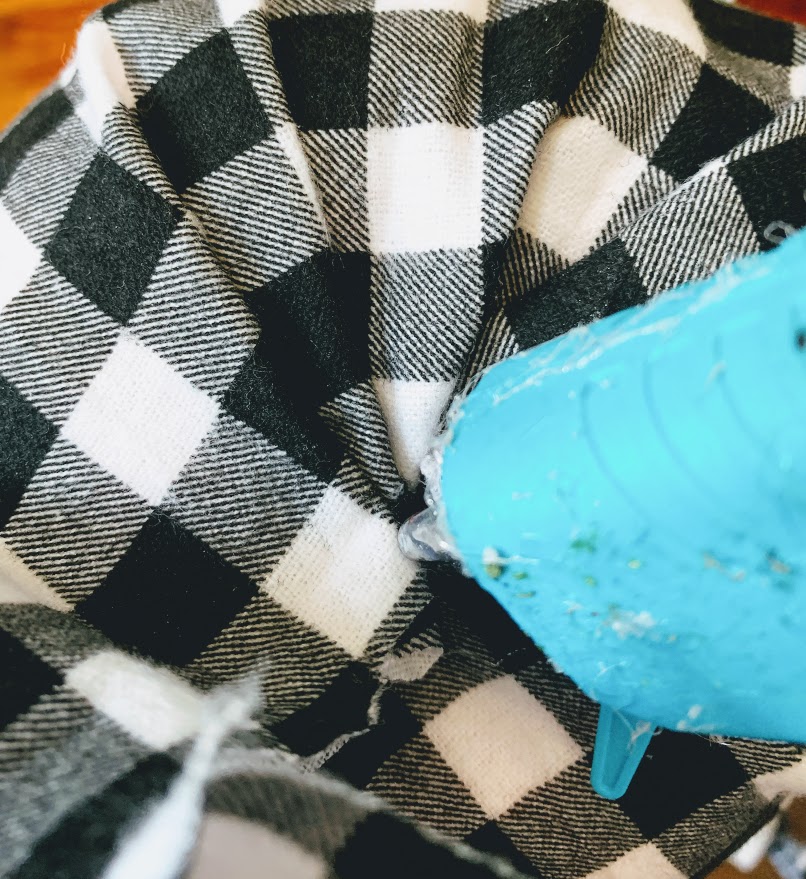
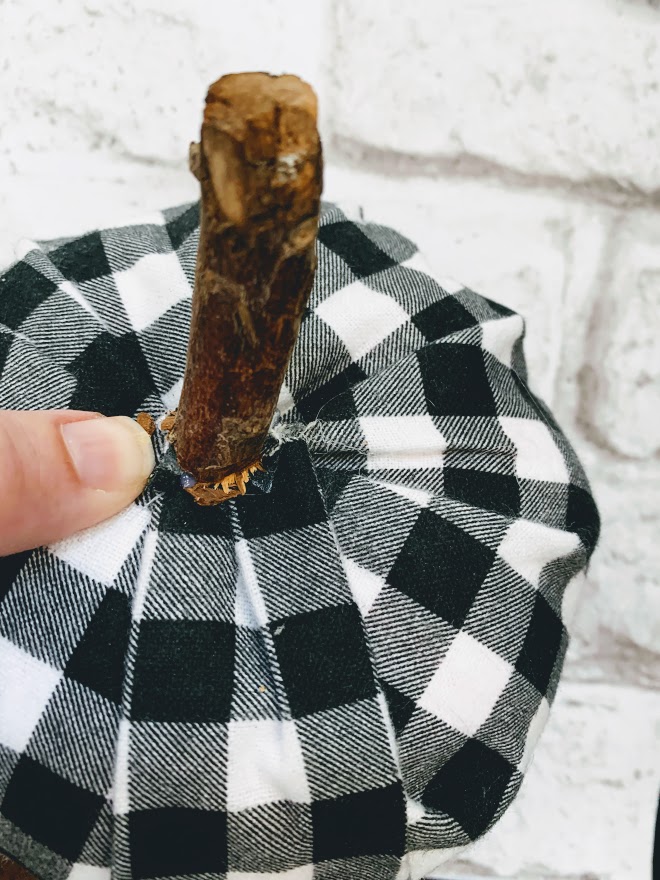
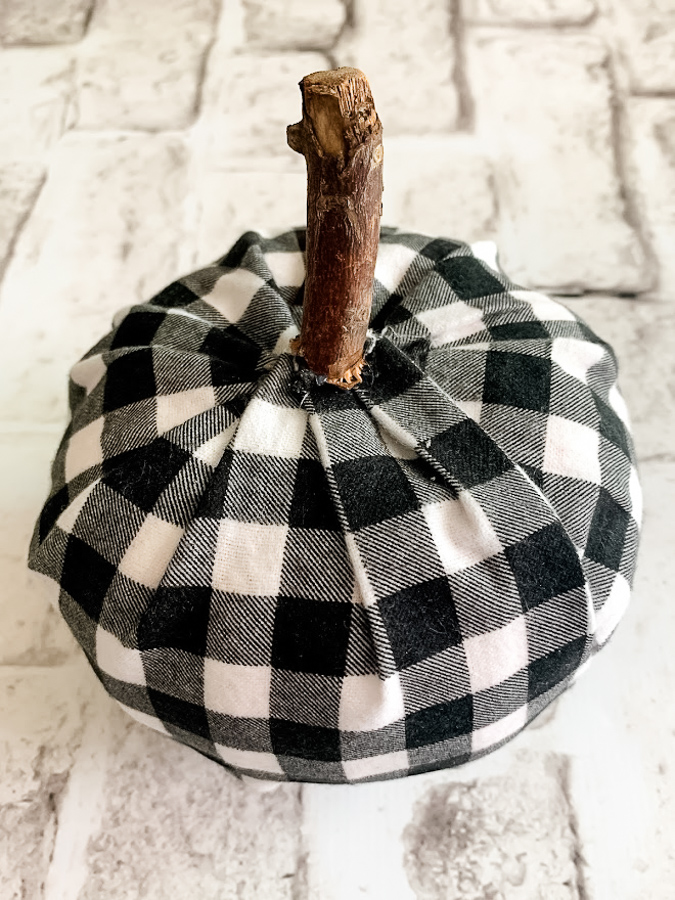
Next, I gathered the fabric at the top, giving the pumpkin pleats as I gathered and cut off the excess fabric. Here is where the tutorial changes just a little. Sarah stitched the opening shut but I was having some difficulties so I hot glued the fabric to the pumpkin, it worked like a charm.
I then hot glued part of a tree branch to the top of the pumpkin.
Sarah added ridges to her pumpkin using embroidery floss but since mine already had them I skipped this step.
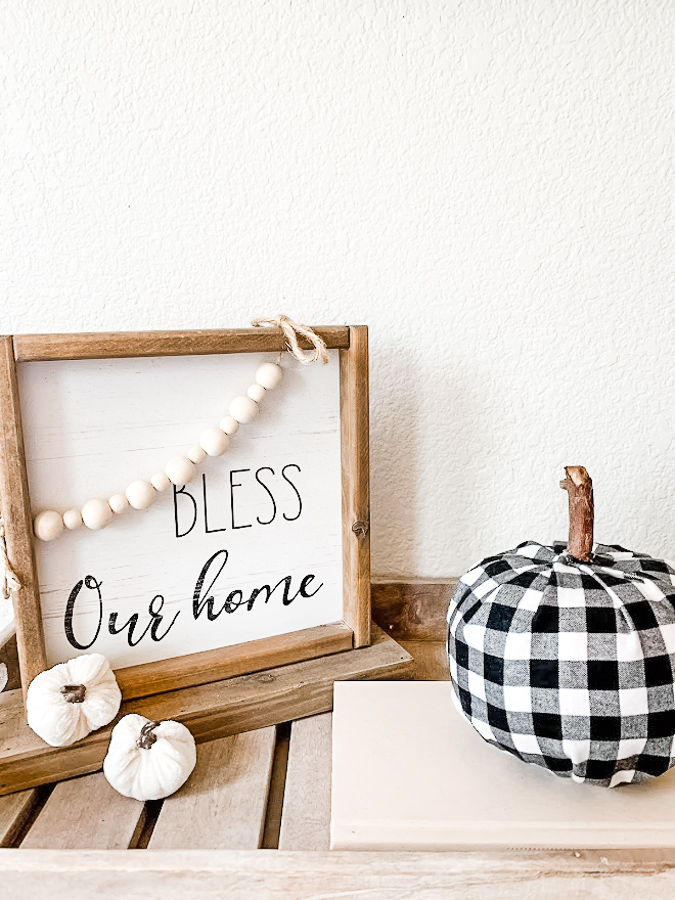
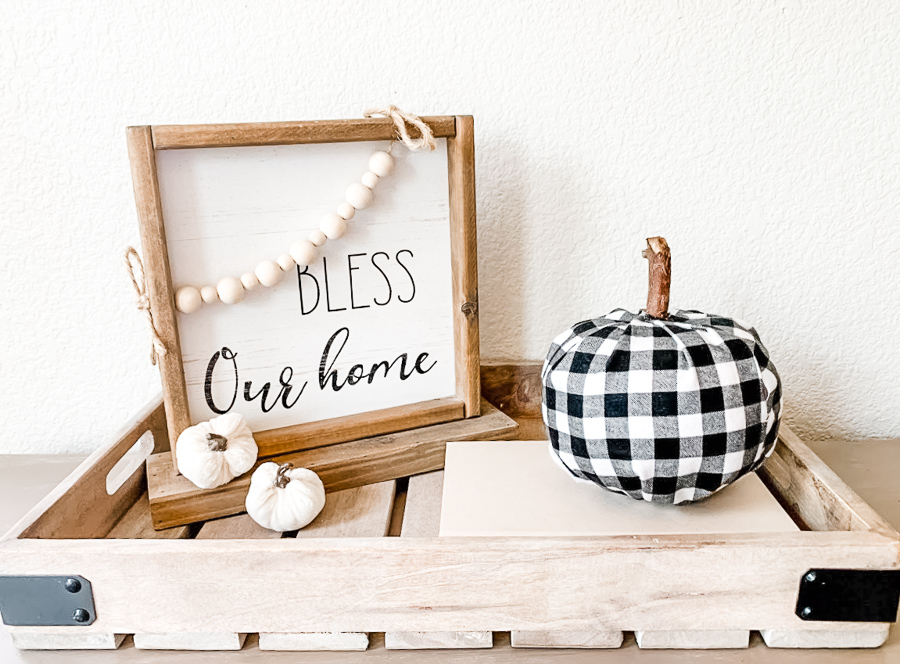
I’m thrilled with the way it turned out and am so grateful for her easy tutorial!
Come see what everyone else made from Sarah’s book using flannel!
My Uncommon Slice of Suburbia Easy DIY Fall Flannel Pumpkins
House of Hawthornes Rag Wreath DIY
Organized Clutter Flannel Covered Books
Reinvented Delaware Cheap Wreath for Fall
Our Southern Home No Sew Flannel Pumpkins
Domestically Speaking Plaid Pumpkin and Acorn
My Repurposed Life DIY Flannel Scraps | Easy Projects
Petticoat Junktion Flannel Wrapped Wreath
Sadie Seasongoods Blue Fall Decor With a Pumpkin Throw Pillow
Shop at Blue Flannel Embellished Hand Towels
You can purchase Crafting with Flannel at Target, Amazon. Barnes and Noble and Walmart
Thank you so much for stopping in today, I hope you will give one of her crafts a try!

Kristin, this pumpkin looks so easy and fun to make! That’s crazy about the cost of flannel shirts! Walmart to the rescue again! Pinning!
Thank you Cindy! I know, crazy how expensive the used shirts were, but they sure had an amazing selection.
Kristen! so stinkin genius to use a dollar store pumpkin! You can make several different fabrics and use it like a sleeve…switch them out according to decor! So Fun!
Thank you so much, I can’t wait to make more
Super cute checked pumpkin, Kristin! Love it!
Thank you so much Carlene!! xo
Using a tree branch is ingenious! I had the same problem with shirts, except someone around here must be buying them all up for some reason. I used to find them for a buck or two at the thrift store and now there’s none to be found!
I think I need to head to the goodwill inland versus a trendy thrift store along the coast. (thrifting has become really popular among the teens here so I think everyone is upping their prices) Boo for me.
So cute Kristin!!! I love the fabic you picked for your pumpkin!
Thank you Maryann!
Kristen,
I LOVE your flannel pumpkin! Great tips for sewing AND gluing. (My kinda project)
pinning!
gail
Thank you so much Gail, it was fun to make and yes, the glue made everything much easier lol
This is super cute! I can’t believe that organized selection of flannel shirts, but $15!!! That’s insane. Love the pattern you used. Happy fall!
Thanks Christy and when I took the picture, I didn’t realize behind me were rows and rows of more flannels, a dream but not for the price.
So, so cute, Kristin! But OMG I can’t even imagine seeing a $15 flannel shirt at a thrift store here. They’re like $4 in Charlotte- sometimes less if the tag color is on sale! But your pumpkin is just the CUTEST with those pleats around the top. Swoon!
Thank you Sarah and thank you for the amazing book. I know so ridiculous, I’m headed to goodwill next time lol