How to Rejuvenate an Old Raised Bed Garden
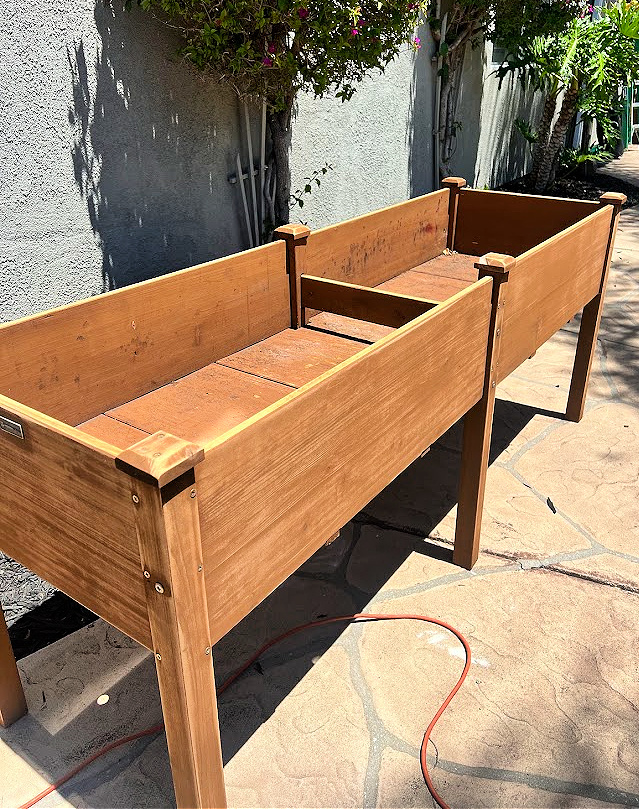
Over time, even the best raised bed gardens start to look a little tired. With a little effort, you can breathe new life into your garden beds and make them look brand new! I came across this oversized garden bed on Facebook Marketplace for $50, which is brand new and retails for $169.00 in big box stores.
We had 2 garden beds we made years ago, and it was time to throw them in the trash; they had completely rotted away. Here is the before and after we cleaned it out and gave it a light sand.
Affiliate links are listed below
Materials Needed
Sand Paper 120 grit and sander (optional)
Verathane Gel Stain Black, or Outdoor paint, or wood stain
Plastic liner or waterproof sealant
TSP
Bags of garden soil (organic matter is always the best)
Rust-Oleum Painter’s Touch Spray Paint, Satin Clear+
Plants or seeds
Gloves
Paintbrushes
Drill and screws
Scissors
Staples and a staple gun
Step-by-step guide
Clear Out the Bed
Since it was used, it was empty, but if not, remove any old plants, roots, and debris from the raised garden bed. If you had plants that suffered from disease, be sure to dispose of them (don’t compost!) to prevent future problems. Pull out weeds completely, getting the roots so they don’t regrow.
Inspect the Structure
Check the sides of your raised bed for any signs of rot, warping, or loosened fastenings. Wooden beds may need boards replaced or reinforced. If your bed is built with stone, brick, or metal, check for shifting or rust and make necessary repairs.
If you’re replacing wood, consider using cedar or another rot-resistant material for greater longevity.
Clean and Prep the Bin
First step: Start by cleaning the wood storage bin thoroughly to remove any dirt or debris. Because Gel Stain is an oil-based product, I recommend cleaning it with 50/50 denatured alcohol and water or TSP. I then wiped it all down with water and let it dry overnight.
Sand
Give the bin a light sand, you can do this by hand or you can use a sander, but don’t press too hard as you don’t want to scratch the finish. Use a tack cloth to get the dust off the bin.
Apply Gel Stain
Alternatively, you can use wood stain or paint. Pick out the stain of your choice, Home Depot, and most hardware stores will carry gel stain.

Give the gel stain a good stir. I used a plastic spoon for this. There are so many ways to apply gel stain. I used a rag and a small craft brush. A chip brush would also work well for this project.

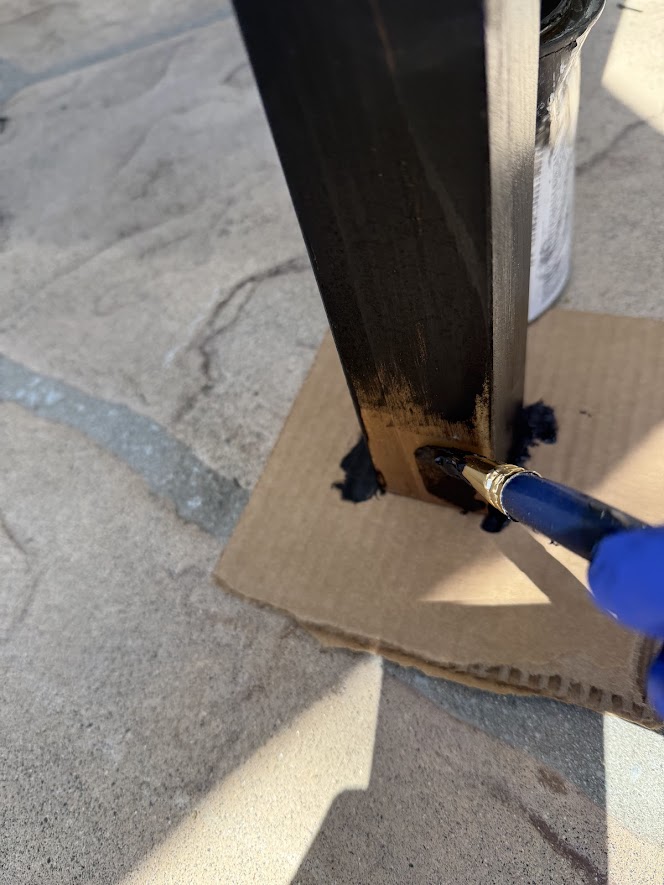
I dipped the sock into the container and applied the gel stain to the entire surface working in small sections and using thin, even coats. I used a small craft brush for the areas in between the wood planks.
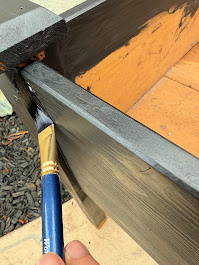
Use a clean rag to wipe off any excess. Do not wait too long, as it will become tacky and won’t dry properly. Make sure to read the directions on the gel stain can, as it will tell you how long to leave the gel stain on before wiping it off.
If the first coat is not dark enough, apply additional layers to darken the effect. Most suggest 6 to 8 hours of dry time in between coats; make sure to look at the directions to see what the brand suggests.
Protect The Outside Of The Entire Cabinet
It’s recommended to let the gel stain dry for 72 hours before adding your top coat to protect your piece. I know my dressers took about 1 week to completely dry; there are so many variables, including the weather and how many coats you added. It’s always a good idea to protect the outside. You can apply a water-based topcoat or an oil-based over this oil-based stain, but it MUST be 100% dry!
Line the Bin
For your next step, you need to protect the wood and prevent water damage, line the bottom of the planter and the sides of the planter with a black plastic liner or landscape fabric. I cut drainage holes in the plastic to prevent excess water from pooling at the bottom and for good drainage. We used a staple gun and staples to keep the liner in place.


Loosen and Refresh the Soil
If you kept the soil, use a garden fork to loosen the soil. This helps break up compaction and improves drainage and aeration. You don’t need to turn the soil over completely — just fluff it up.
Next, add a generous layer of compost (at least 2-3 inches) over the soil surface. If your soil level has dropped significantly, top it up with a mix of compost, aged manure, and high-quality garden soil. (Organic material is always the best.) Since mine was empty, I added my compost followed by my soil.
Optional Additions:
- Worm castings for a nutrient boost
- A balanced organic fertilizer
- Biochar for long-term soil improvement
Rebalance Nutrients
If you are keeping your old soil, certain nutrients in your soil may be depleted. You can do a simple soil test (available at garden centers or online) to find out what’s missing. Based on the results, amend your soil accordingly so you will have optimal plant growth and nutrient-rich soil.
Common amendments include:
- Bone meal for phosphorus
- Blood meal or feather meal for nitrogen
- Greensand for potassium and trace minerals
Optional- Add Mulch
Once your soil is refreshed and planted, apply a layer of mulch such as straw, shredded leaves, or wood chips. Mulch helps regulate soil temperature, suppress weeds, and retain moisture — all crucial for revitalized beds.
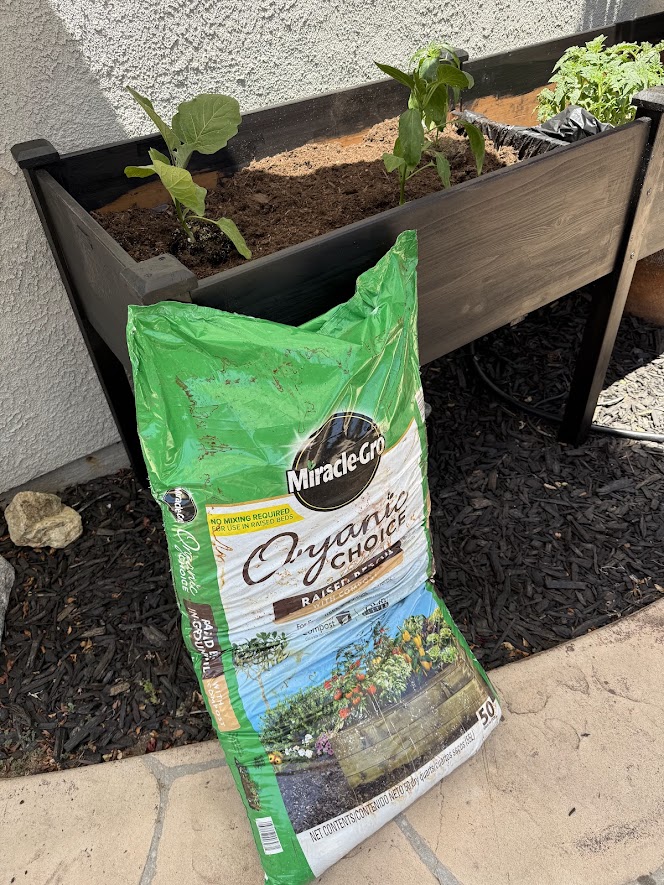
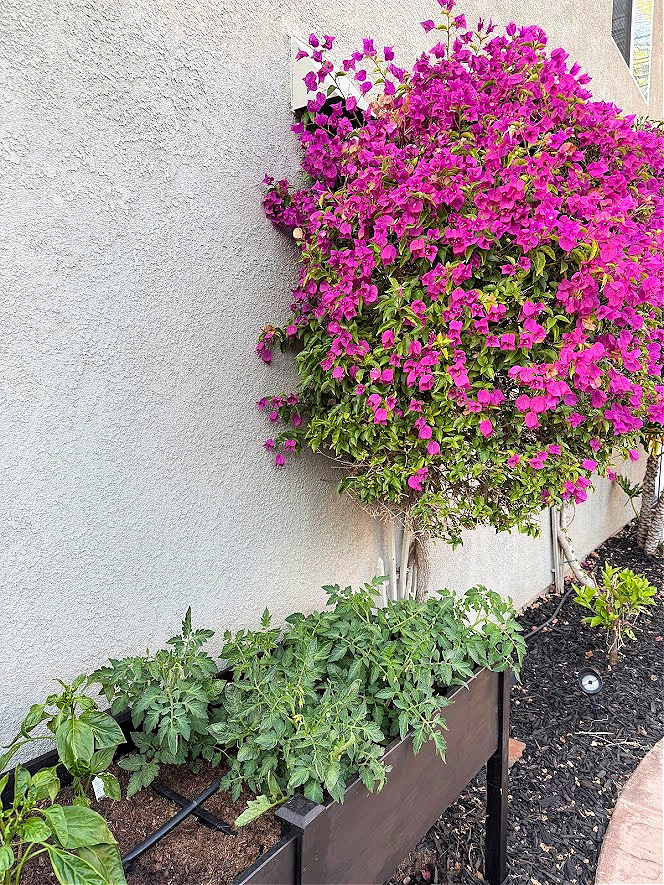
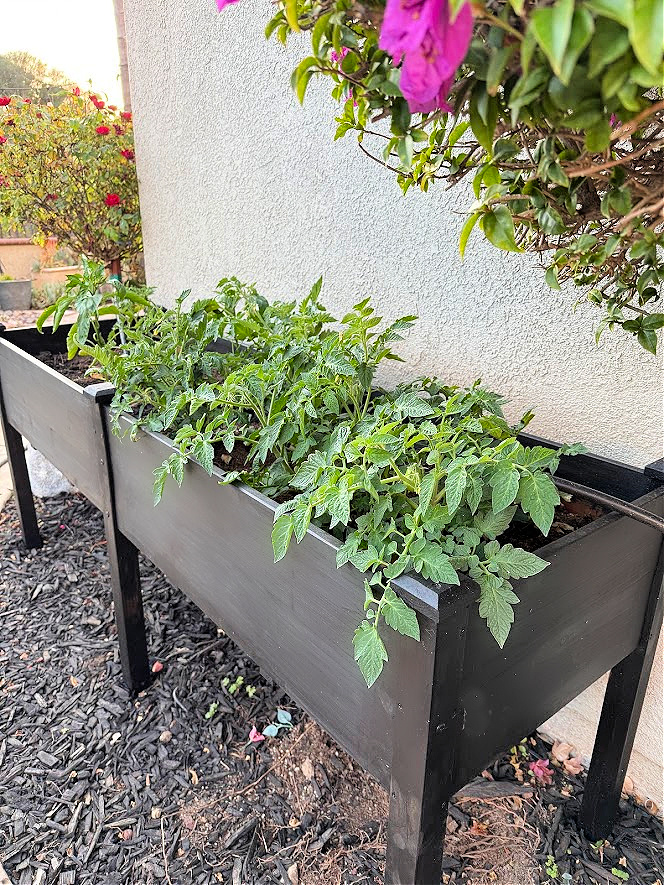
Plan Your Planting
Your final step and the fun part: add your new plants! For good results, make sure to do your research or speak to your local nursery about different plants to grow for each season. For this planter, I decided to plant vegetable plants. Living in San Diego, late to early spring is the best time to plant tomatoes, eggplant, and peppers in this planter. My other planter, I have a bunch of herbs growing.
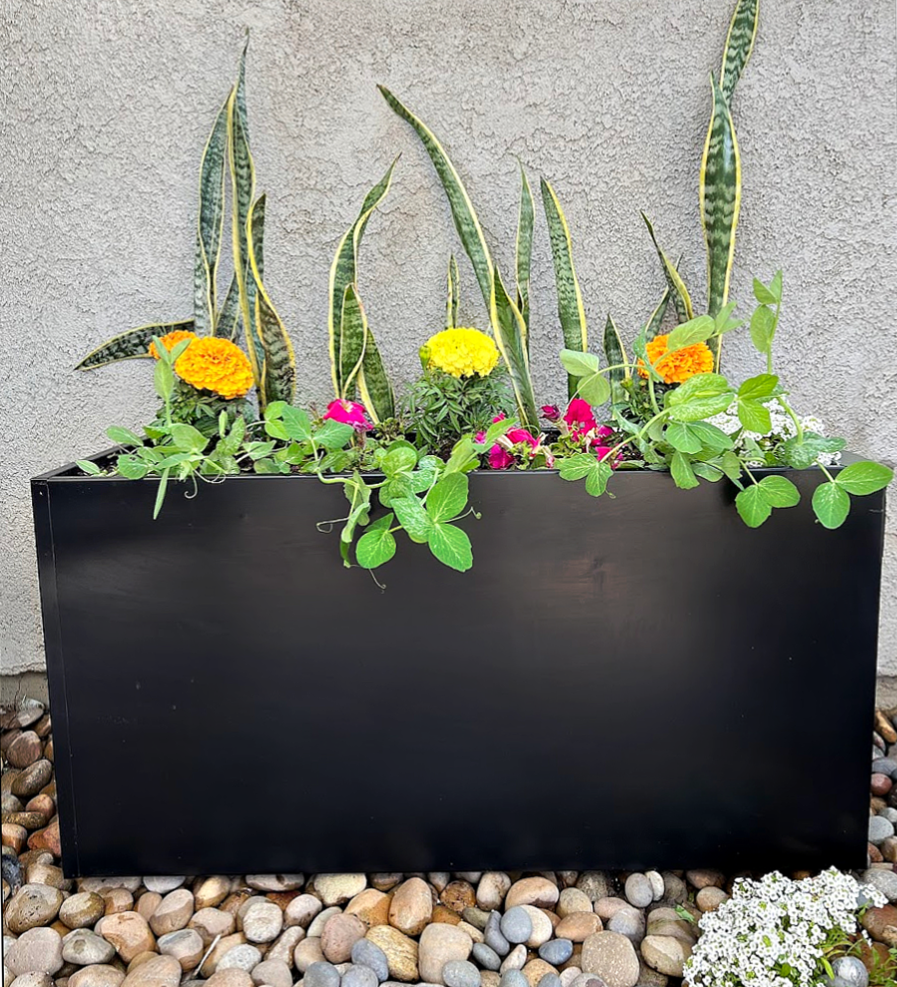
Bonus: Add Some Life!
Introduce beneficial insects like ladybugs or plant pollinator-friendly flowers nearby. Healthy ecosystems help keep your garden vibrant and resilient.

Final Thoughts
Rejuvenating an old raised bed and planting your own garden is such a rewarding project! The tomatoes are already starting to grow, and I can’t wait for the rest of the vegetables to take off! Once Summer is over, I will get it ready for the fall crop. If a garden isn’t your thing, you could also turn this into a beautiful flower bed! Either way, it is so fun to see all of your hard work pay off.

Happy Gardening!
You can find more gardening projects here!