DIY Painted Snowflake Plate
I am so excited to be part of the One Item Project Challenge this holiday season! Every week this month each blogger will be given a specific item to create with. This week our challenge was to come up with a project using glass paint so I made painted snowflake Christmas plates.
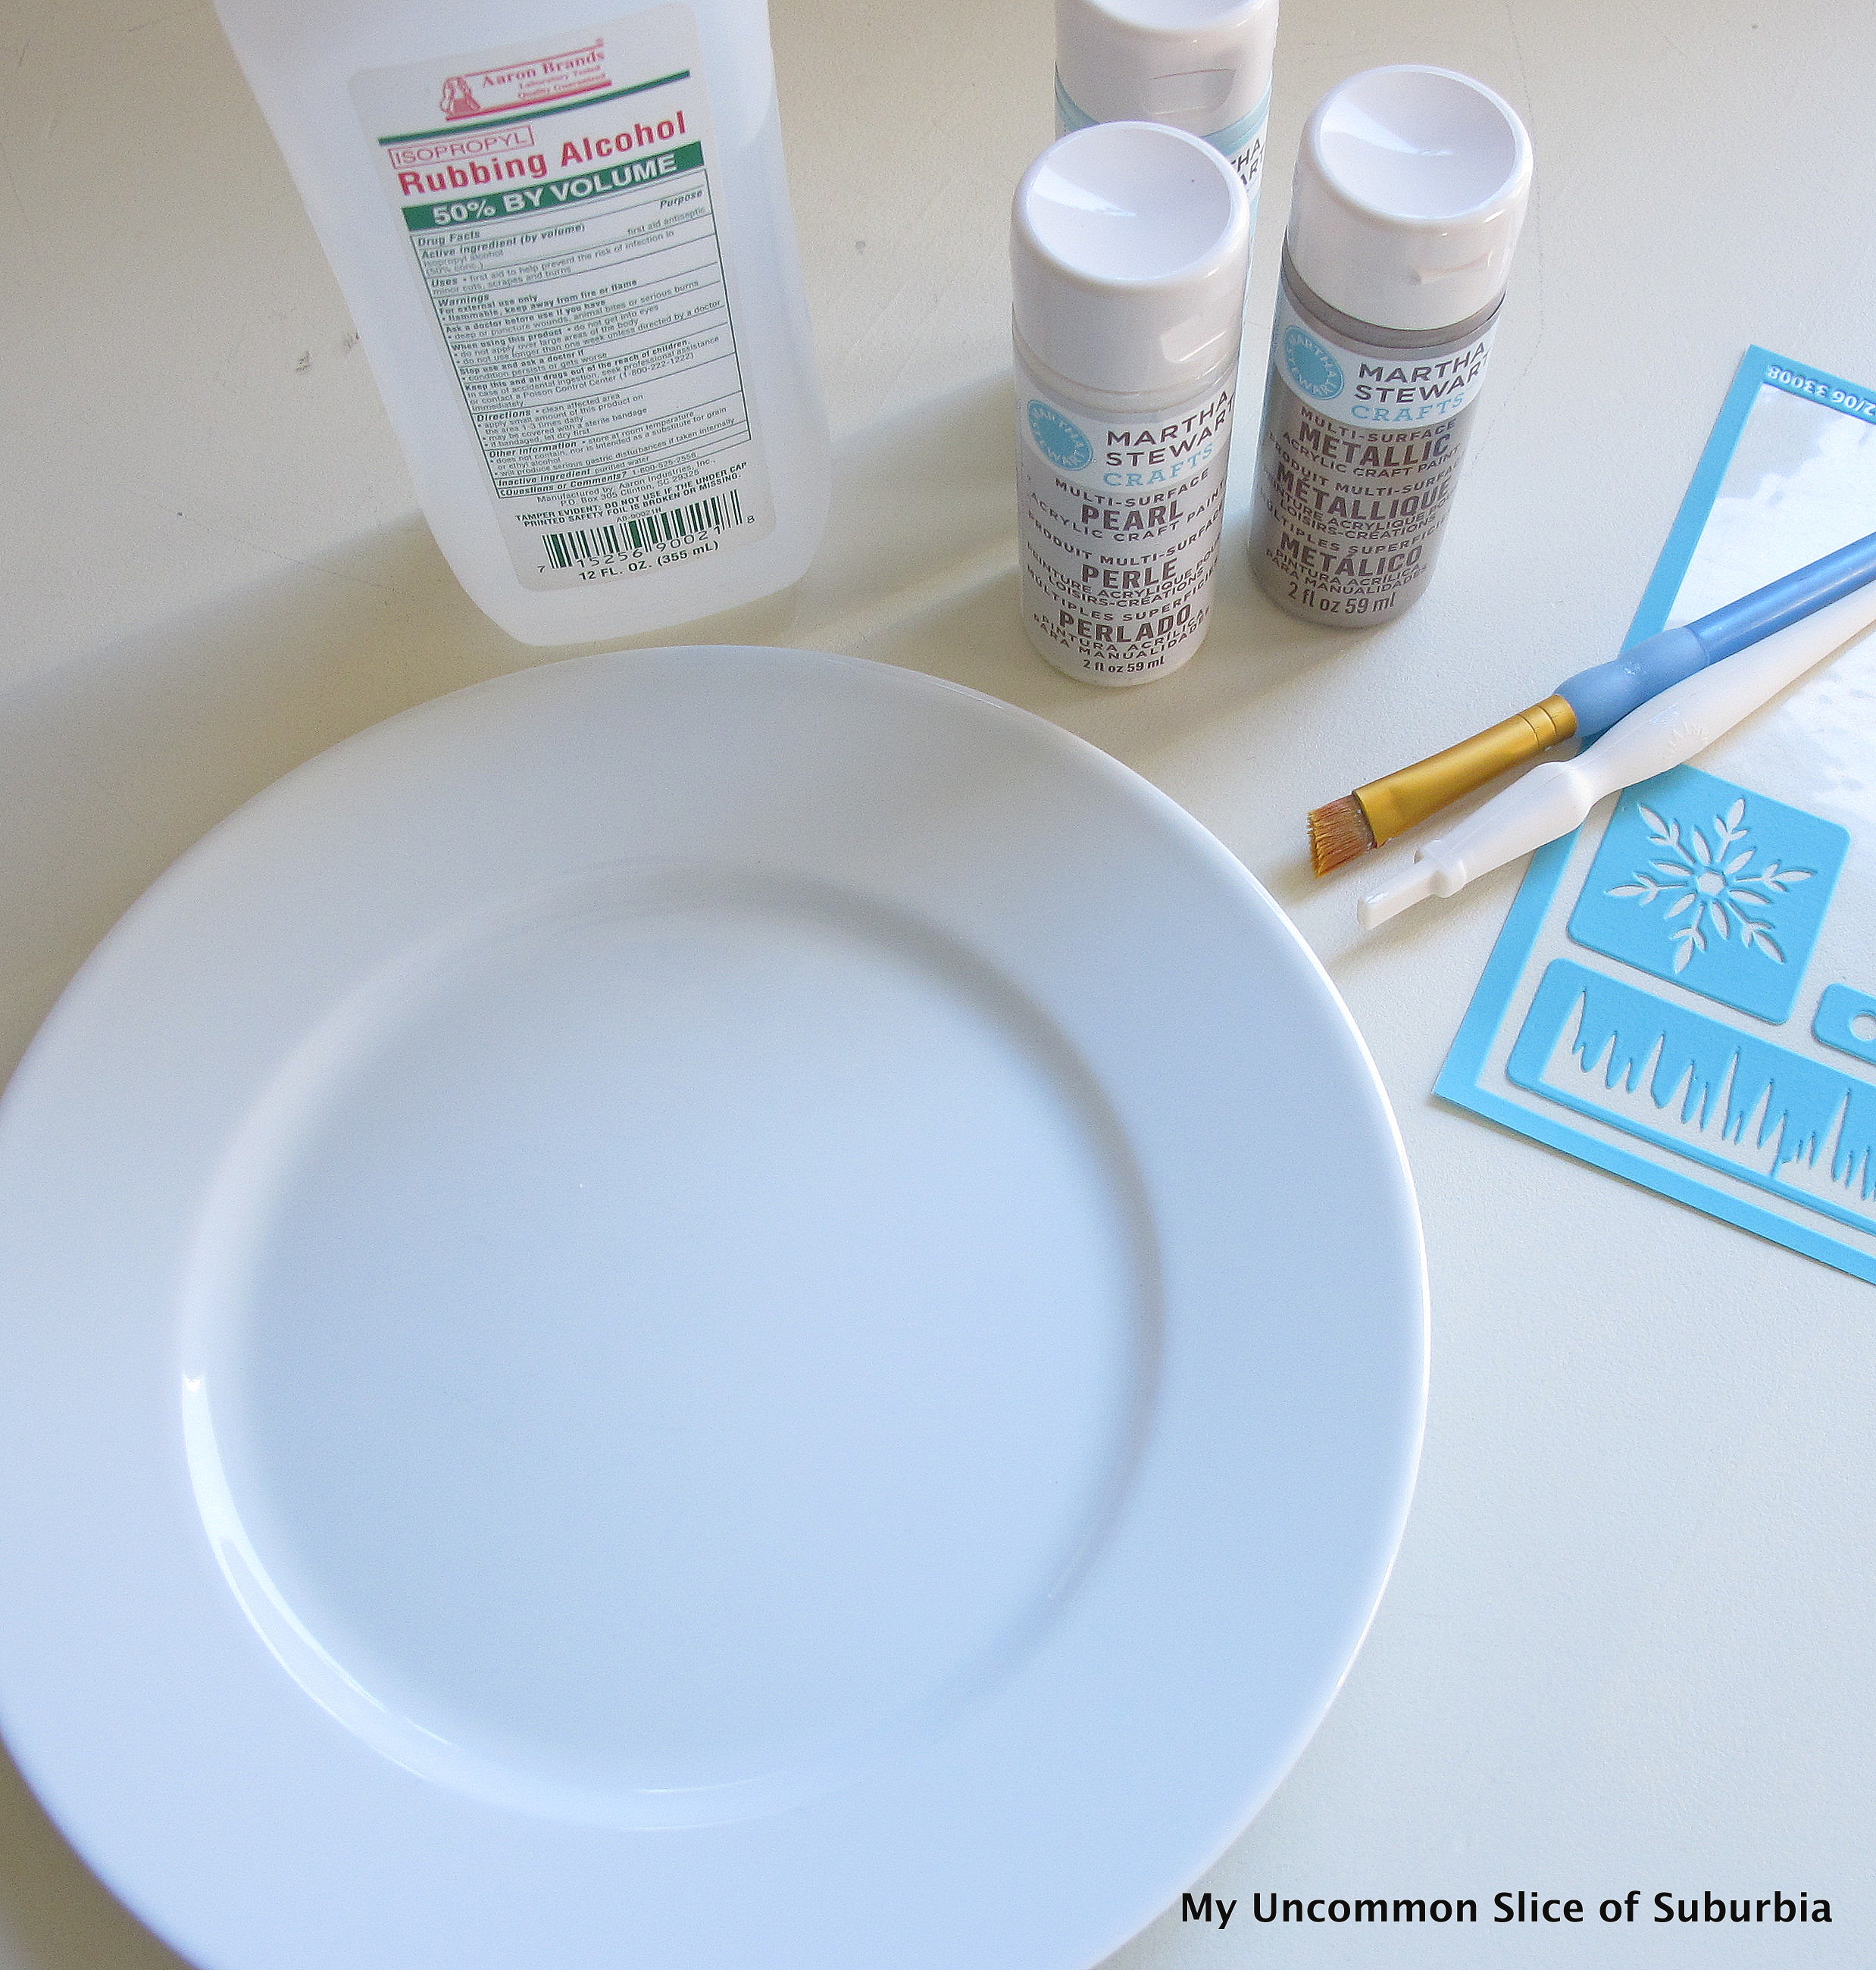
Here is what you will need:
Plate
Rubbing Alcohol
Stencil
Glass Paint
Craft brush
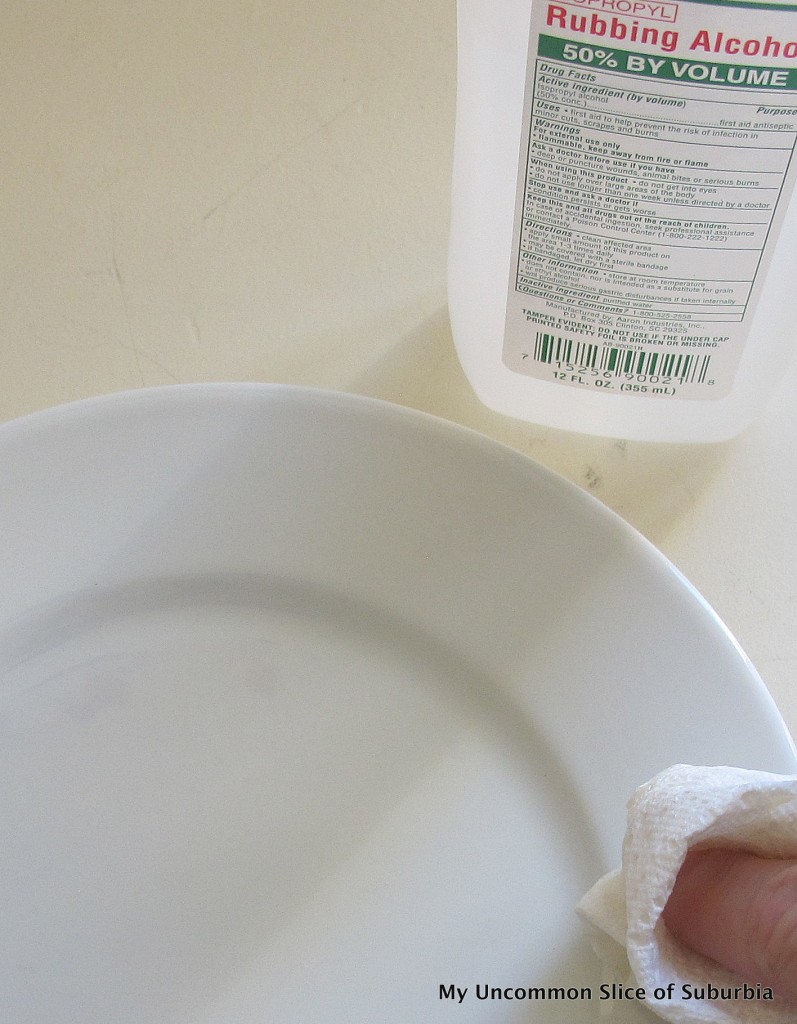
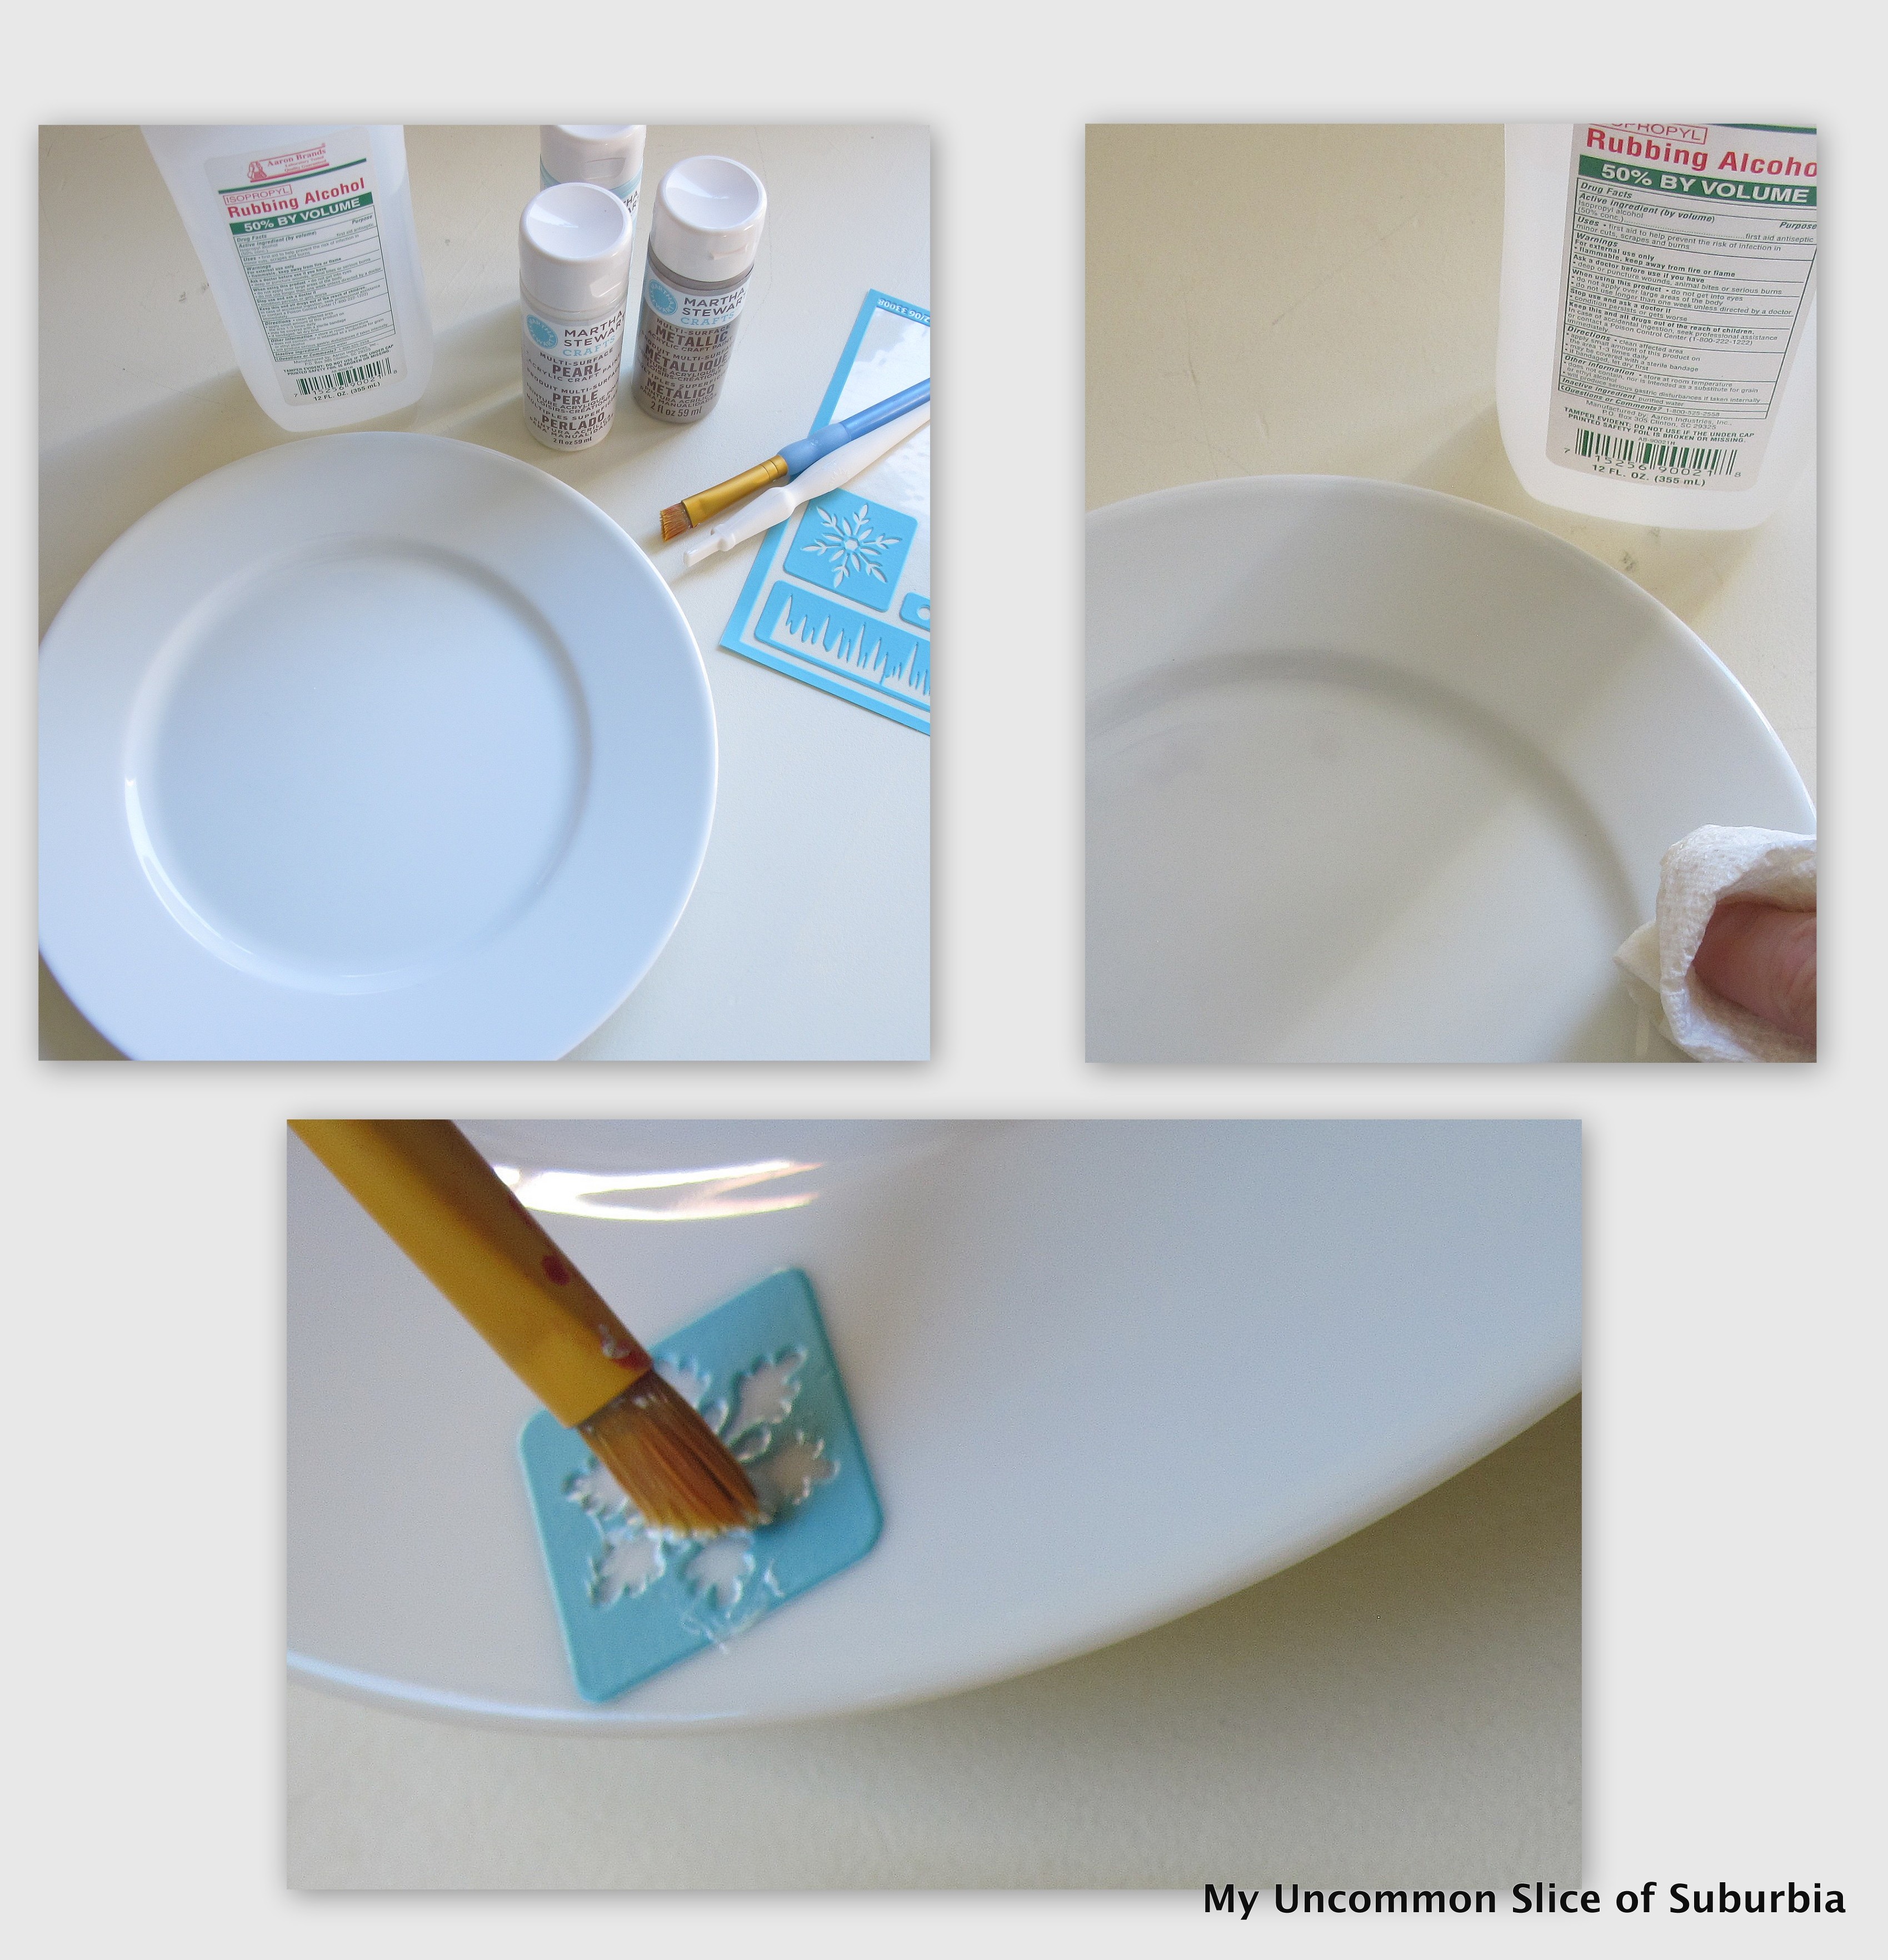
Prep your plate with rubbing alcohol and allow it to dry.
I just happen to have some of Martha Stewarts craft supplies on hand. I bought them way before she bashed us bloggers, not that it really bothered me all that much, so silly.
Anyway, the sticker stencils are perfect for glass projects because they stick perfectly and stay in place. I simply placed the stickers on the plate and used a small craft brush to apply the paint. You could also very easily create your own stencil and tape it onto the plate.
Keep going around the rim of the plate until you are happy with the results. I then added one snowflake in the middle.
I wiped the stencil off with a damp paper towel in between each application.
After my paint was dry, I baked the plates in the oven to heat set the paint as directed on the packaging. These were super easy to make fun and inexpensive. These would make a perfect hostess gift for the holidays!
 A great big thank you to Shauna from Satori Design for Living for inviting me to this fabulous party. Make sure you check out all the other projects.


Be sure to come back next Wednesday to find out what the second craft supply was on our One Item Project Challenge and check out all our creations!
If your looking for more Christmas decor and crafts you can check out my project gallery here.


Love how they turned out!
oh so pretty!!
They turned out really cute. This would be a great way to deliver my goody plates I do for our neighbors every year.
I love these! I agree they would be the perfect hostess gift! Super easy and very inexpensive! My kind of project!
Super cute! I love all things-snowflake and the colour that you chose is a perfect frosty blue! Love it!
Love these plates! This just gave me an idea for a holiday candy jar for my desk. Thanks!
Really pretty! A set of 4 would be a great hostess gift. Wonderful project!
The snowflakes look great and yes, they would make a wonderful gift!
Those turned out so cute Kristin! What a great gift idea. Pinned 🙂
Stunning!! I have those stencils too – now I’m inspired to make some of these pretty snowflake plates!