Skip to content
Home
About/Contact
Project Gallery
Privacy Policy
Kawasaki Disease
Facebook
Instagram
Pinterest
YouTube
Email
Garden
Expand
Spring Projects
Recipes
DIY
Free Printables
Shop My Favorites
Search
Facebook
X
Instagram
Search
Toggle Menu
Home
/
Craft
/
DIY wood
DIY wood
DIY wood
|
DIY Your Home
|
Garden
|
Uncategorized
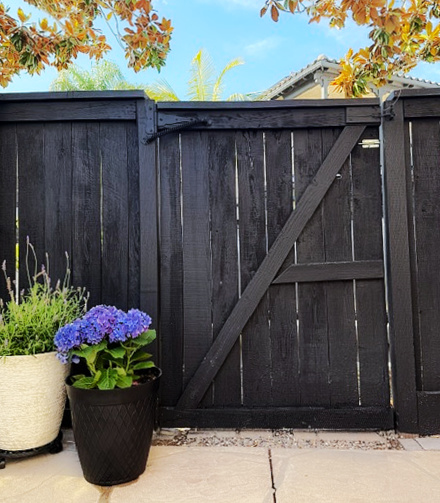
How to convert a fence into a gate
Craft
|
DIY wood
DIY Modern House Number Sign
Craft
|
DIY wood
|
Fall
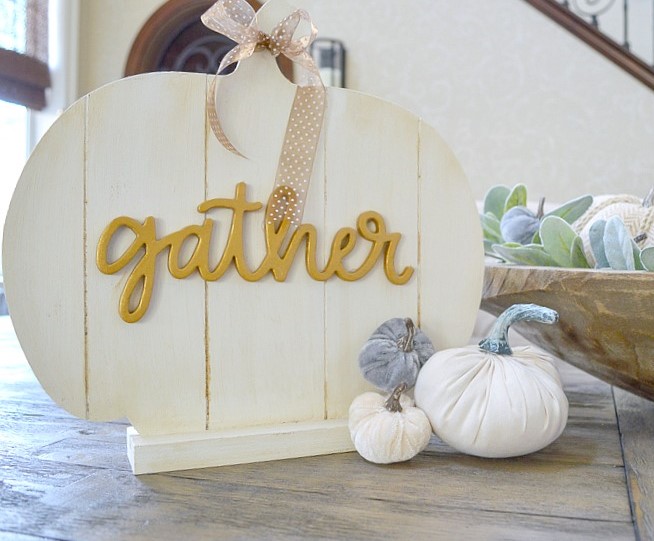
DIY Farmhouse Slat Pumpkin
DIY wood
|
DIY Your Home
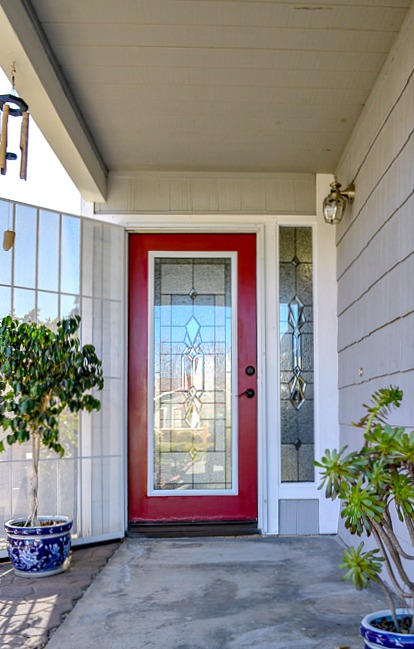
How To Add A Glass Door Insert Into A Exterior Door
DIY wood
|
Garden
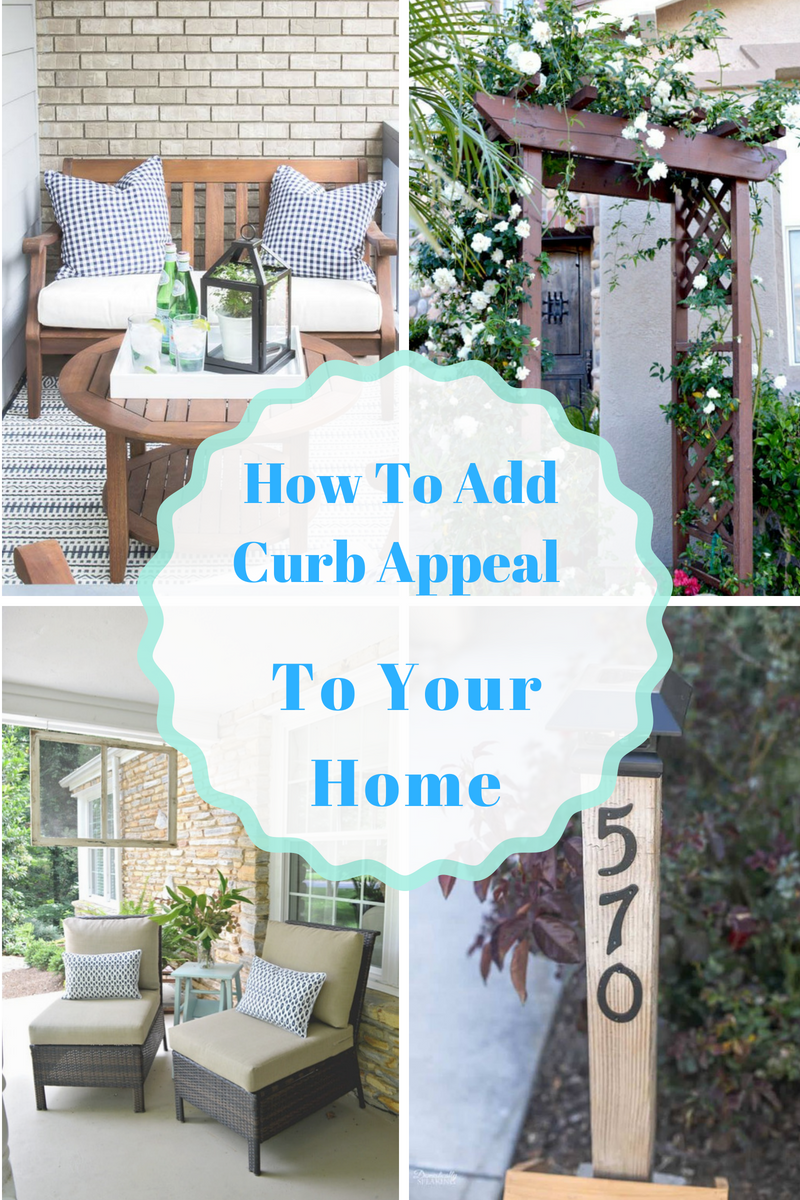
Simple Ways To Add Curb Appeal To Your Home
Craft
|
DIY wood
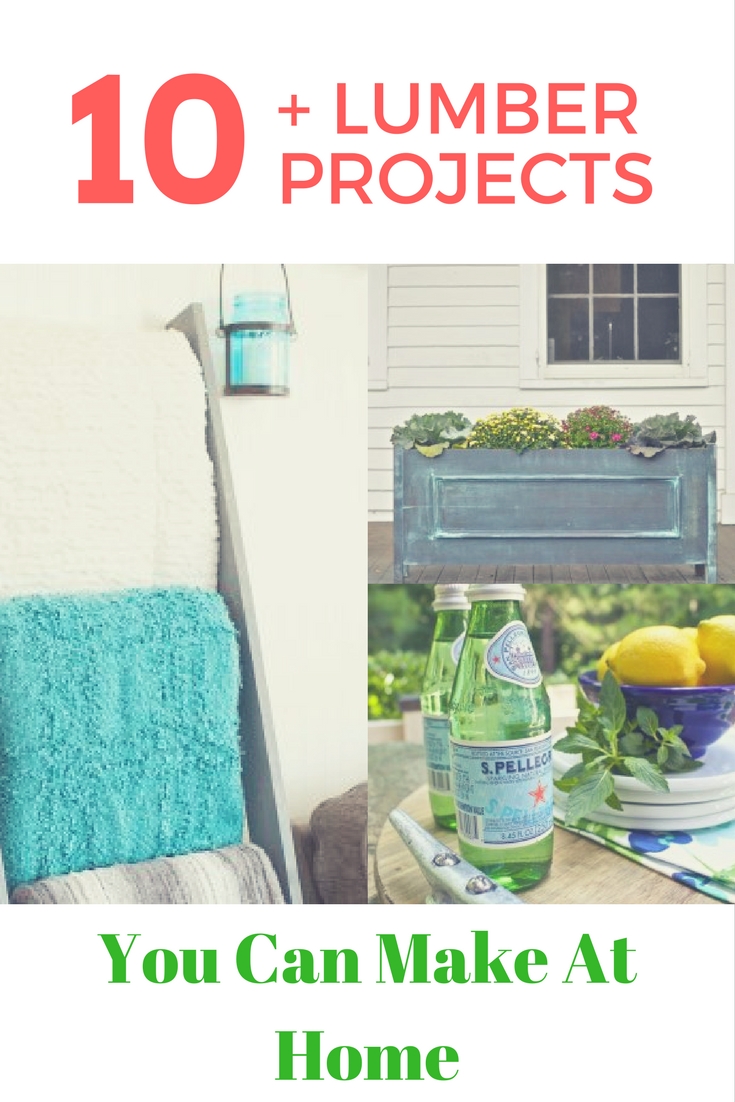
10+ Lumber Projects
Chalk paint
|
DIY wood
|
Paint
|
Paint Tutorials
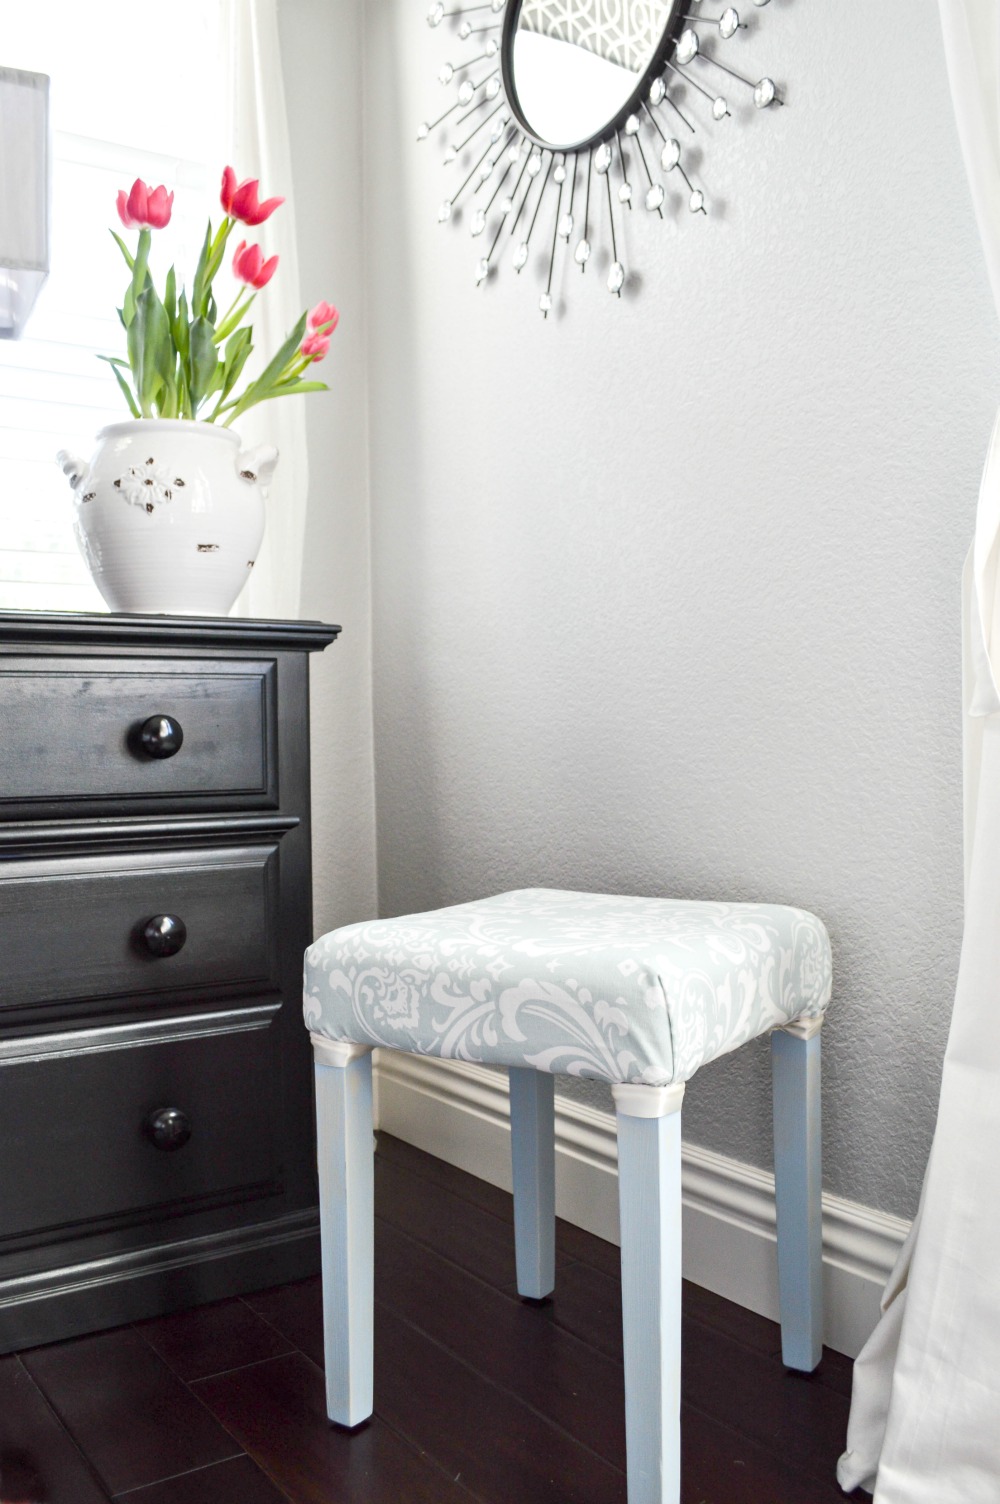
Painted And Upholstered Stool Makeover
Page navigation
1
2
3
…
5
Next Page
Next
Scroll to top
Scroll to top
Garden
Toggle child menu
Expand
Spring Projects
Recipes
DIY
Free Printables
Shop My Favorites
Toggle Menu Close
Search for:
Search