
How To Age Terracotta Pots with Paint and Wax
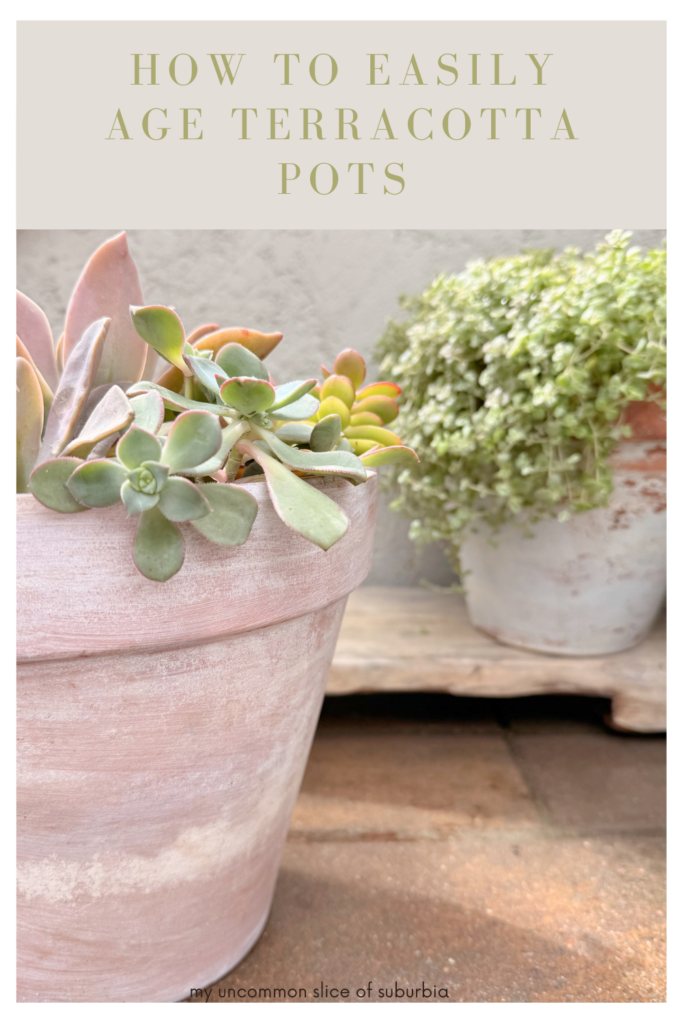
If you love the look of aged terra cotta pots, you are going to love this easy project. With a few supplies, you can turn basic clay pots into aged terracotta pots with beautiful character and charm. I’ve always been drawn to that old‑world charm—think European cobblestone streets and centuries‑old buildings. When Ray and I traveled through Europe before we had kids, I instantly fell in love with the architecture and design, especially in Italy and Spain. It just spoke to me in a way I’ve never forgotten, so why not bring some of that charm into our own home and yard!

It’s thrift store decor day, you know what that means! Be sure to check out all of the amazing makeovers at the end of this post!

Here is the before

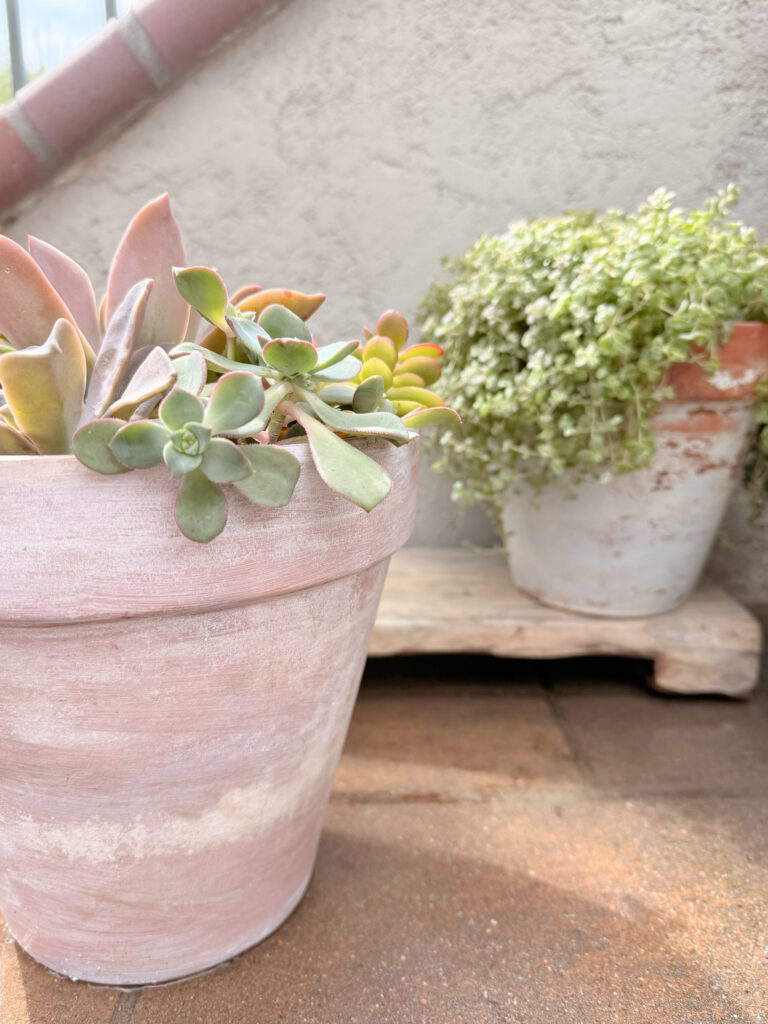
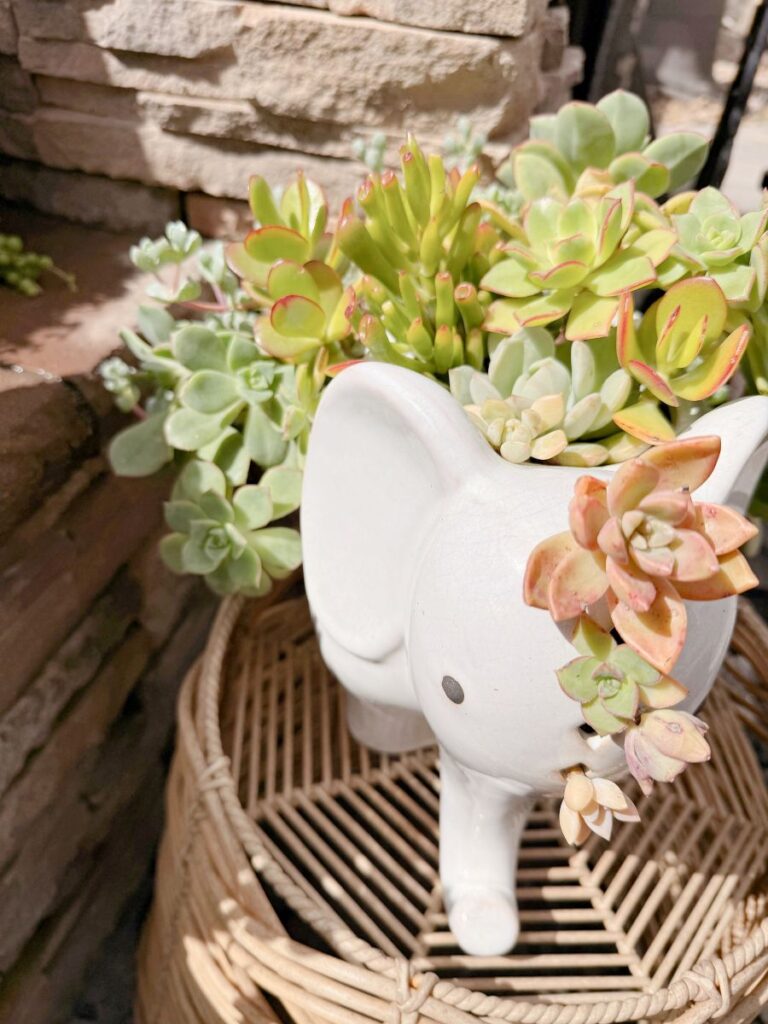
I love this diy project because it delivers instant gratification. In less than an hour on the back porch, you can transform clay terra cotta pots into aged pottery. I started aging clay pots many years ago,and thought it was about time to give you a proper tutorial on it! I have collected these pots over the years. These, particularly, I grabbed when a neighbor was giving away a few things for free, remember the high-end doupe planter, makoever, these are part of that haul. However, you can always find them at your local hardware store, thrift stores, craft stores or Amazon. Remember the elephant from my free haul, the succulents have filled in nice!
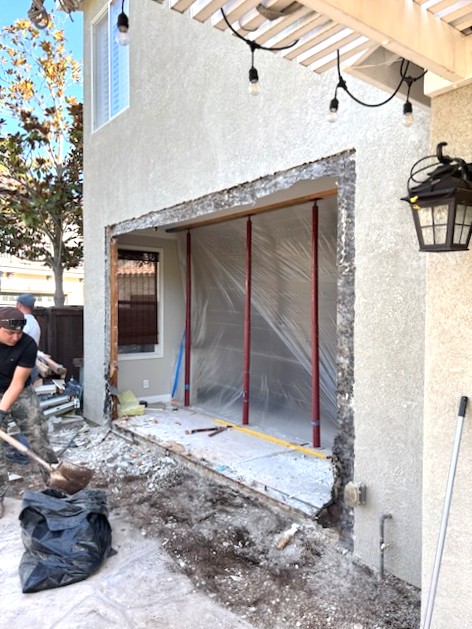
Many of you have also asked about our home project. We are on week 6 and almost done!!! I’ve shared the beautiful mess on Instagram stories with some progress videos. I feel like this part was the easy part, it’s everything that comes after that takes a longgggg time, expecially when we are doing a lot of it ourselves. But we are so excited!
You can usually find most of the supplies at Home Depot or your local craft store; however, I have listed Amazon affiliate links for your convenience. I may earn a small commission; you can read my full privacy and discolusre policy here.
Supplies you will need

Terracotta planters in different sizes (you can use clay pots as well)
White acrylic paints, white craft paint, household paint, or chalk paint (all personal preference or what you have on hand)
Foam Brush, Paint brush, or sponge brush
Dark Wax or black paint
Paper towel or rag
Small bowl
Water
Clear sealer or matte sealer
Drop cloth
Step-by-step instructions
Prepare your pots
Lay out a drop cloth or something else to protect your workspace. This makes for easy cleanup later.
The first step is to wipe down the entire pot, inside and out, with a damp paper towel or rag. Even new terra cotta pots can have dust that will affect your aged finish.
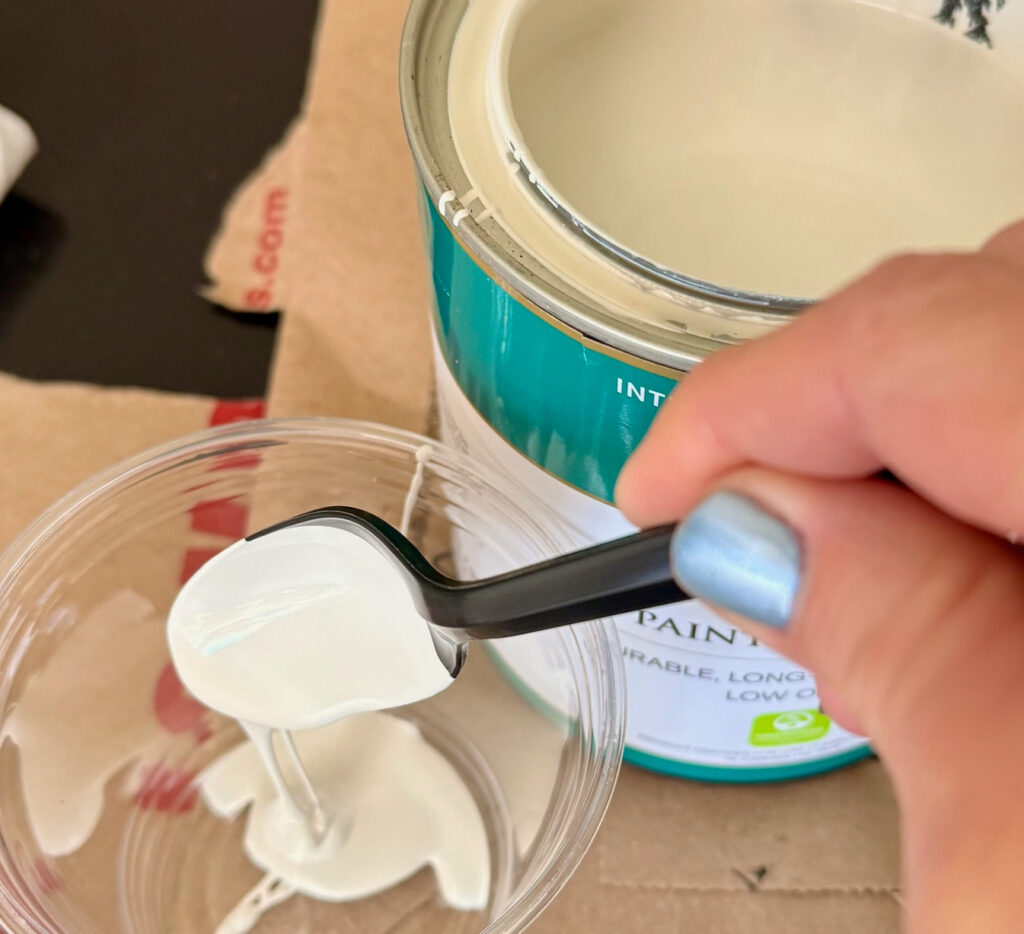
Create your base color
The easiest way is to mix your white paint with a little bit of water in a small bowl to create a thin wash. Using a paintbrush or foam brush, apply white paint over the whole pot. I covered the entire surface and worked the paint into different areas so it looks natural. Some areas I went a little heavier with the paint, and other areas were very light.
Let the base coat dry completely. High humidity can slow this down, so give it extra time if needed.
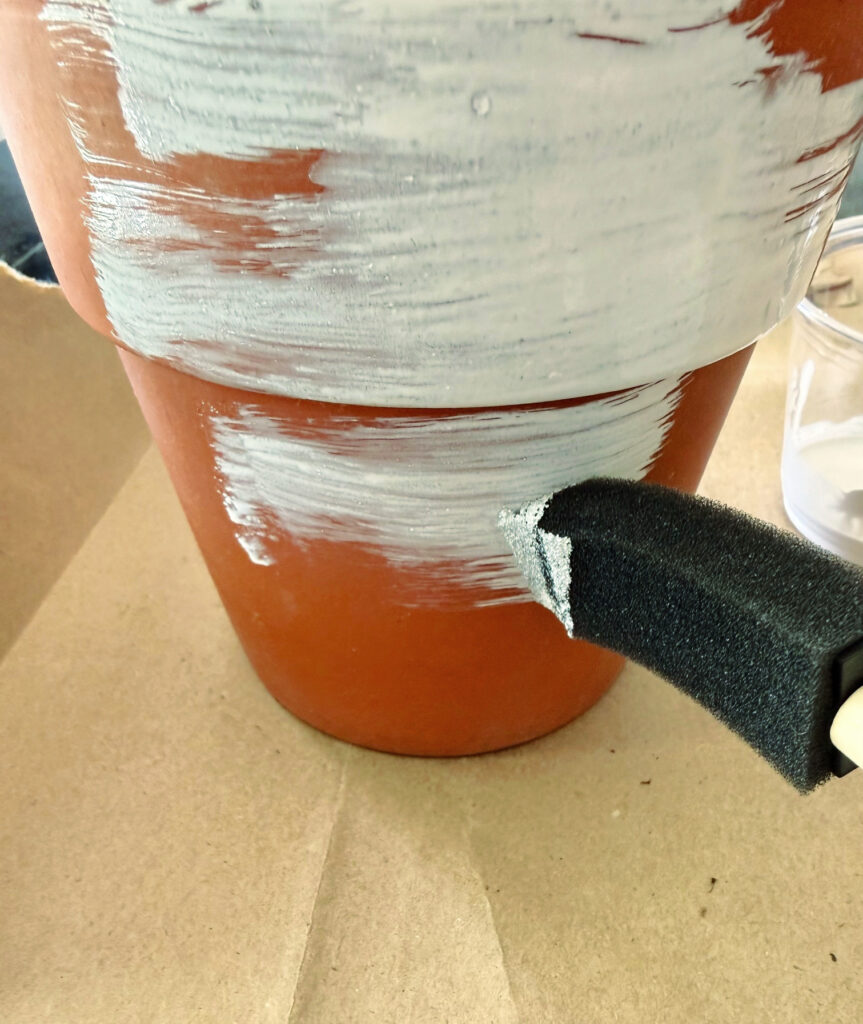
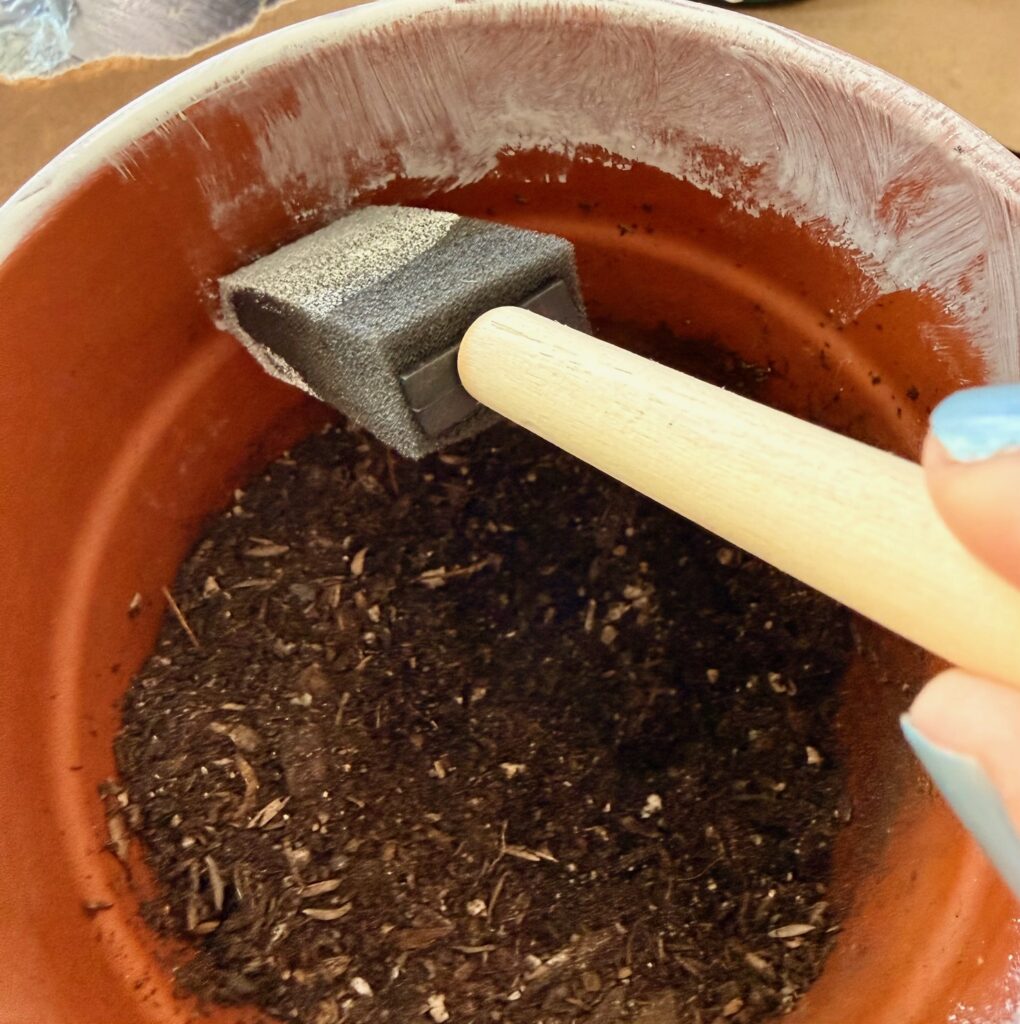
Even out any drip marks with your foam brush. (I didn’t worry about it on the inside) Speaking of, don’t forget about painting the inside of the pot, just a few inches.
Create an aged look
There are so many ways to add that aged, beautiful look. Dry brushing is a simple way to create a distressed look and different effects.

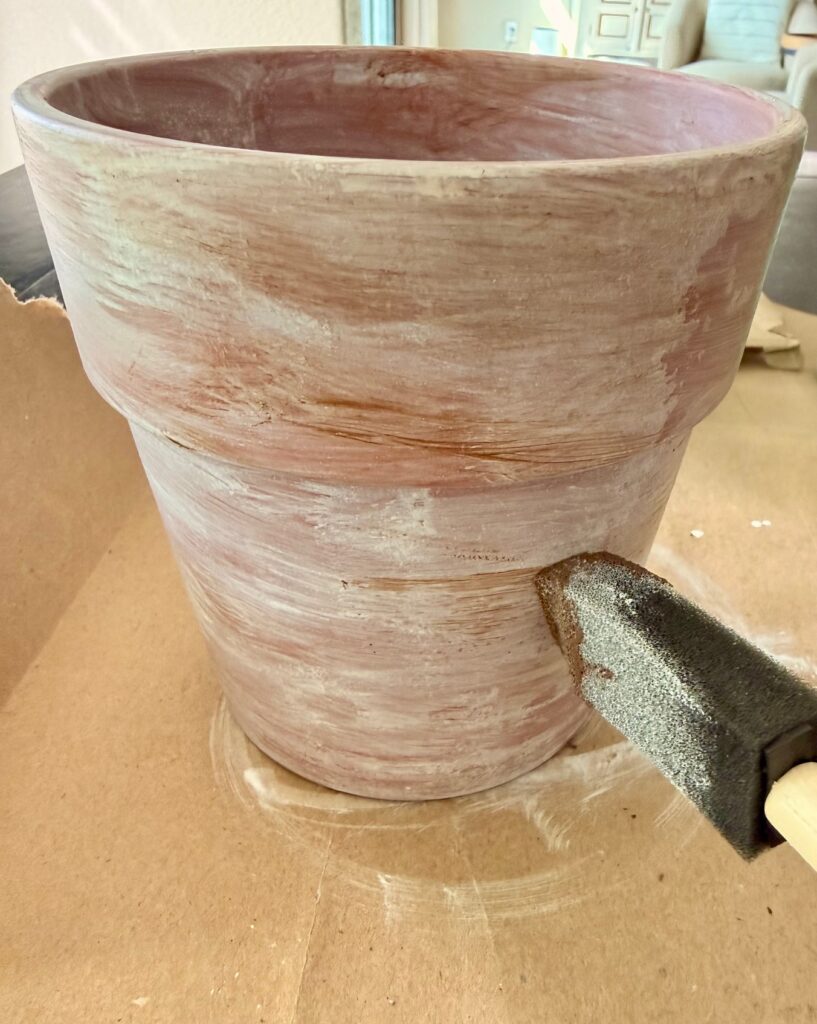
First thing, dip a sponge brush into the wax and lightly paint it onto the pot. Wipe back areas with a rag until you achieve your desired look. With very little wax on your brush, use light brush strokes across the pot. You could also complete this process using just a rag.
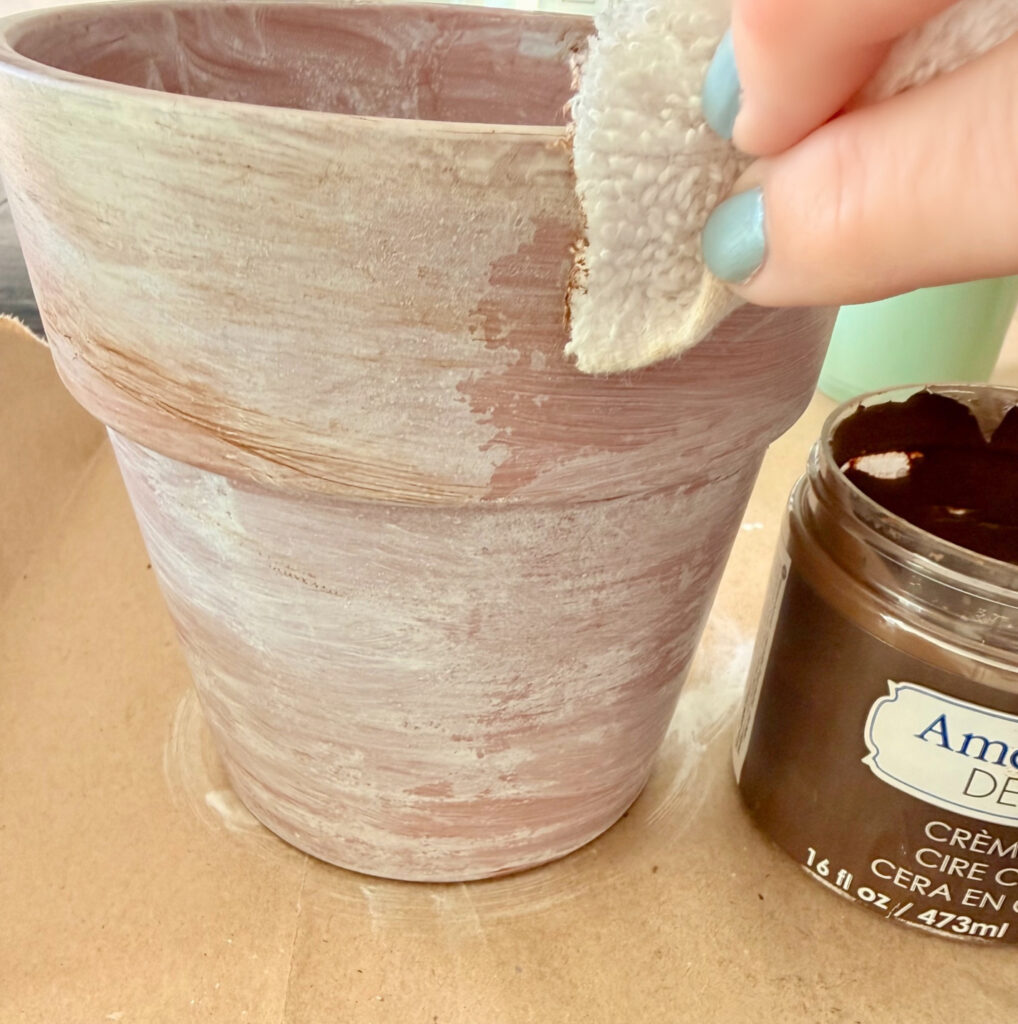
Try a horizontal stroke in some different areas and softer strokes in others. This layering creates a darker tone in spots and a softer, aged look overall.
If you don’t have the dark wax, you could achieve the look with a gray paint wash or a darker tone using black paint. There are so many different ways to achieve your desired look.
Seal the Pot
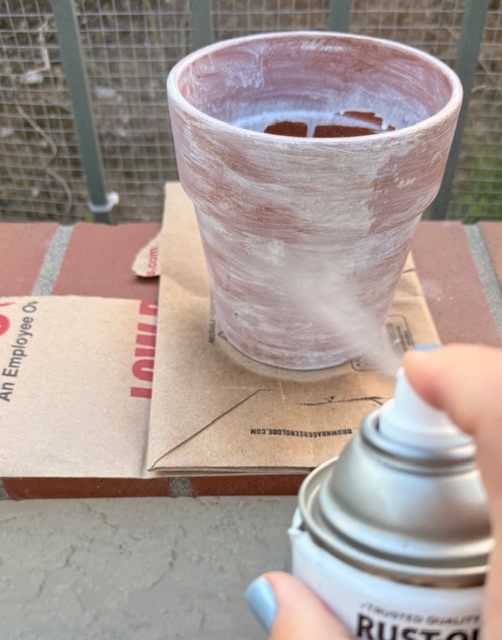
The next step is sealing the pot. I used a sealer spray, which will help preserve the paint’s look over time.
Apply the sealer and let it dry completely.
Using Lime (optional)
I have also seen people using a lime mixture for a little added texture, which I skipped but might want to try next time.
Simply mix a cup of garden lime with a little water in the bottom of your bowl to create a paste. This lime mixture can be brushed onto clay terra cotta pots to give a chalky aged finish.
Apply it randomly over the entire pot, focusing on the rim and bottom of your bowl for a natural weathered feel. Let it dry and lightly sand with coarse-grit sandpaper for a distressed look.
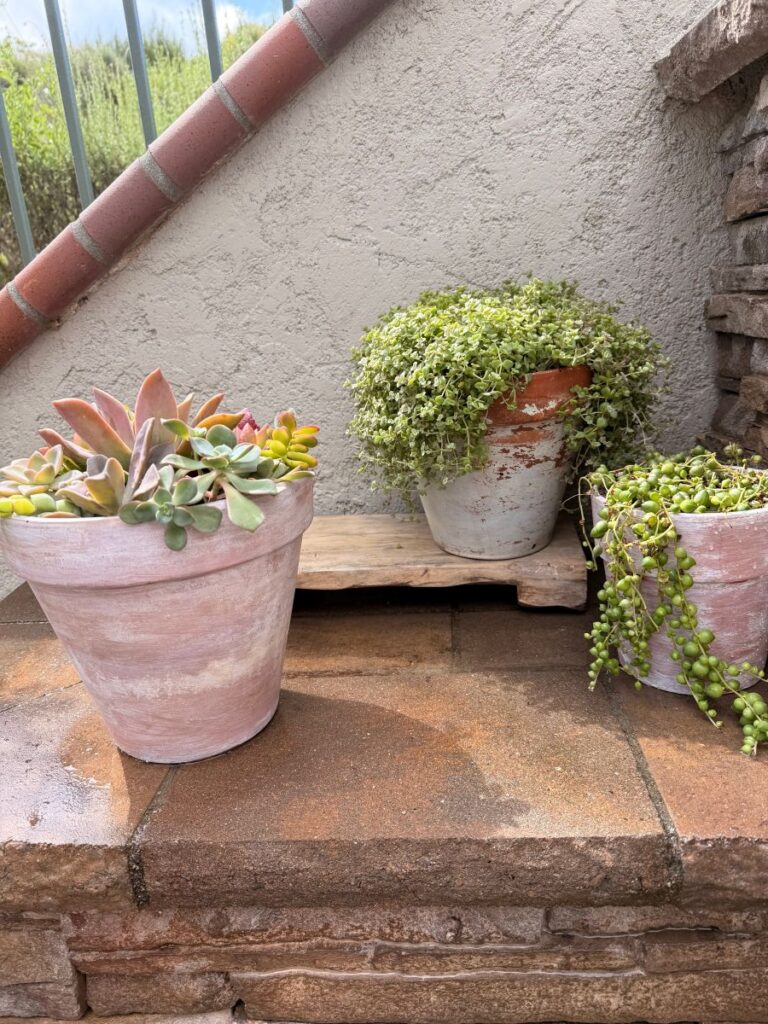
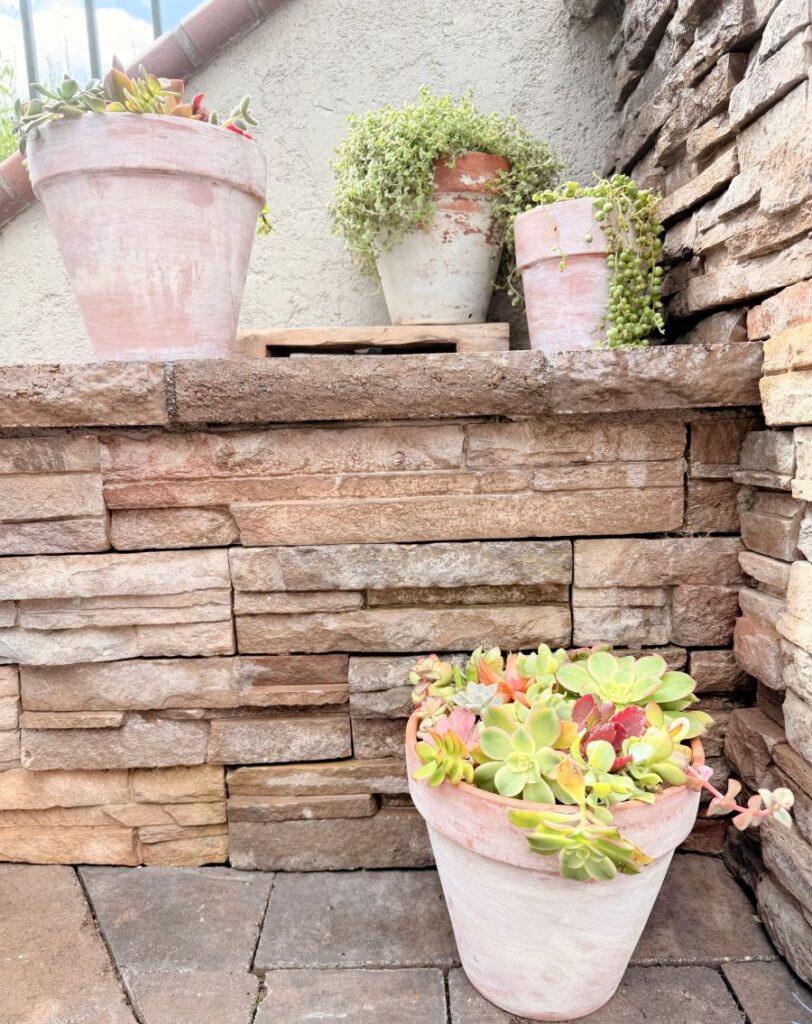
Style your aged pottery

Now for the last step. Style your bigger pot and smaller pots together for a beautiful layered display. Aged pots look beautiful, especially when grouped in different sizes. These pots will definitely be displayed proudly when the backyard is done. For now, I just have them displayed in the little 5 feet of our yard that isn’t a mess, on the fireplace we built many years ago.
Gardeners have used terracotta for generations because the clay breathes, helping plant roots stay healthy. The design is inspired not just by aesthetics but by function — a pot that works with the plant, not against it.
As terracotta absorbs moisture, minerals rise to the surface and create pale streaks, chalky textures, and soft white blooms, which is the natural aging process.

New terracotta pots are beautiful, but sometimes they look a little too new. If you are going for a vintage look or want the look of aged terra cotta pots, aging them is a great way to add depth and texture. Aged pots look especially pretty with real plants spilling over the edges or even styled with faux plants for easy cleanup.
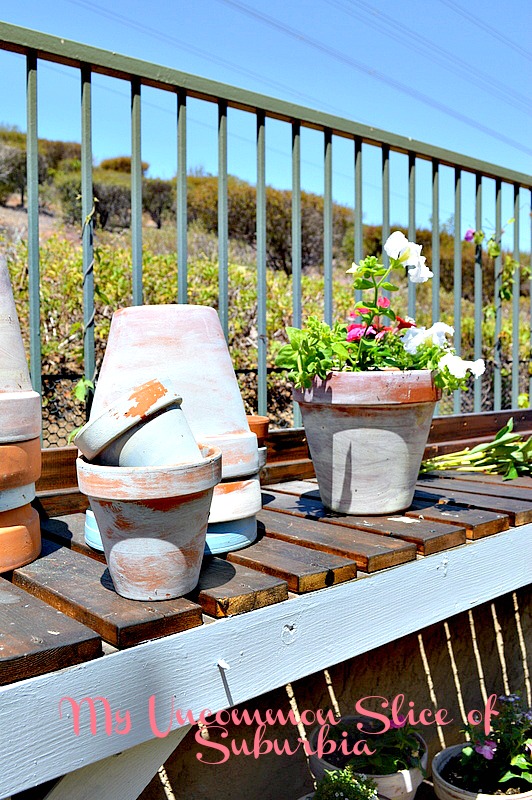
I found this picture from over ten years ago. I had aged a bunch of them back then, and I’m pretty sure I mixed blue into my white paint. You can really see how different color combinations create different variations. I miss that old potting bench!
Let’s see what the rest of the team worked on for February! Simply click on the picture, and it will bring you directly to their post.


Kristin, this has been on my list for so long. There are so many different variations. But I really like this one. I, too, love and crave the old world look. Thanks for the inspo! Pinned.
Thank you Sue, this one is definitely one of the easiest versions 🙂
Beautiful! I’ve aged pots with paint, but I’ve never used wax before. I’ve always wanted to try, but it scared me. Haha. Thanks for sharing, it looks easier than I thought it would be. Might have to grab some this weekend and try it out! Thanks!
Thank you so much Kim!!
I am so excited to see what you guys do for your back porch, Kristin! Your pots are beautiful!! Send some of the CA weather my way please!!
Ahhh thank you, hopefully you had some nice weather this past weekend!