
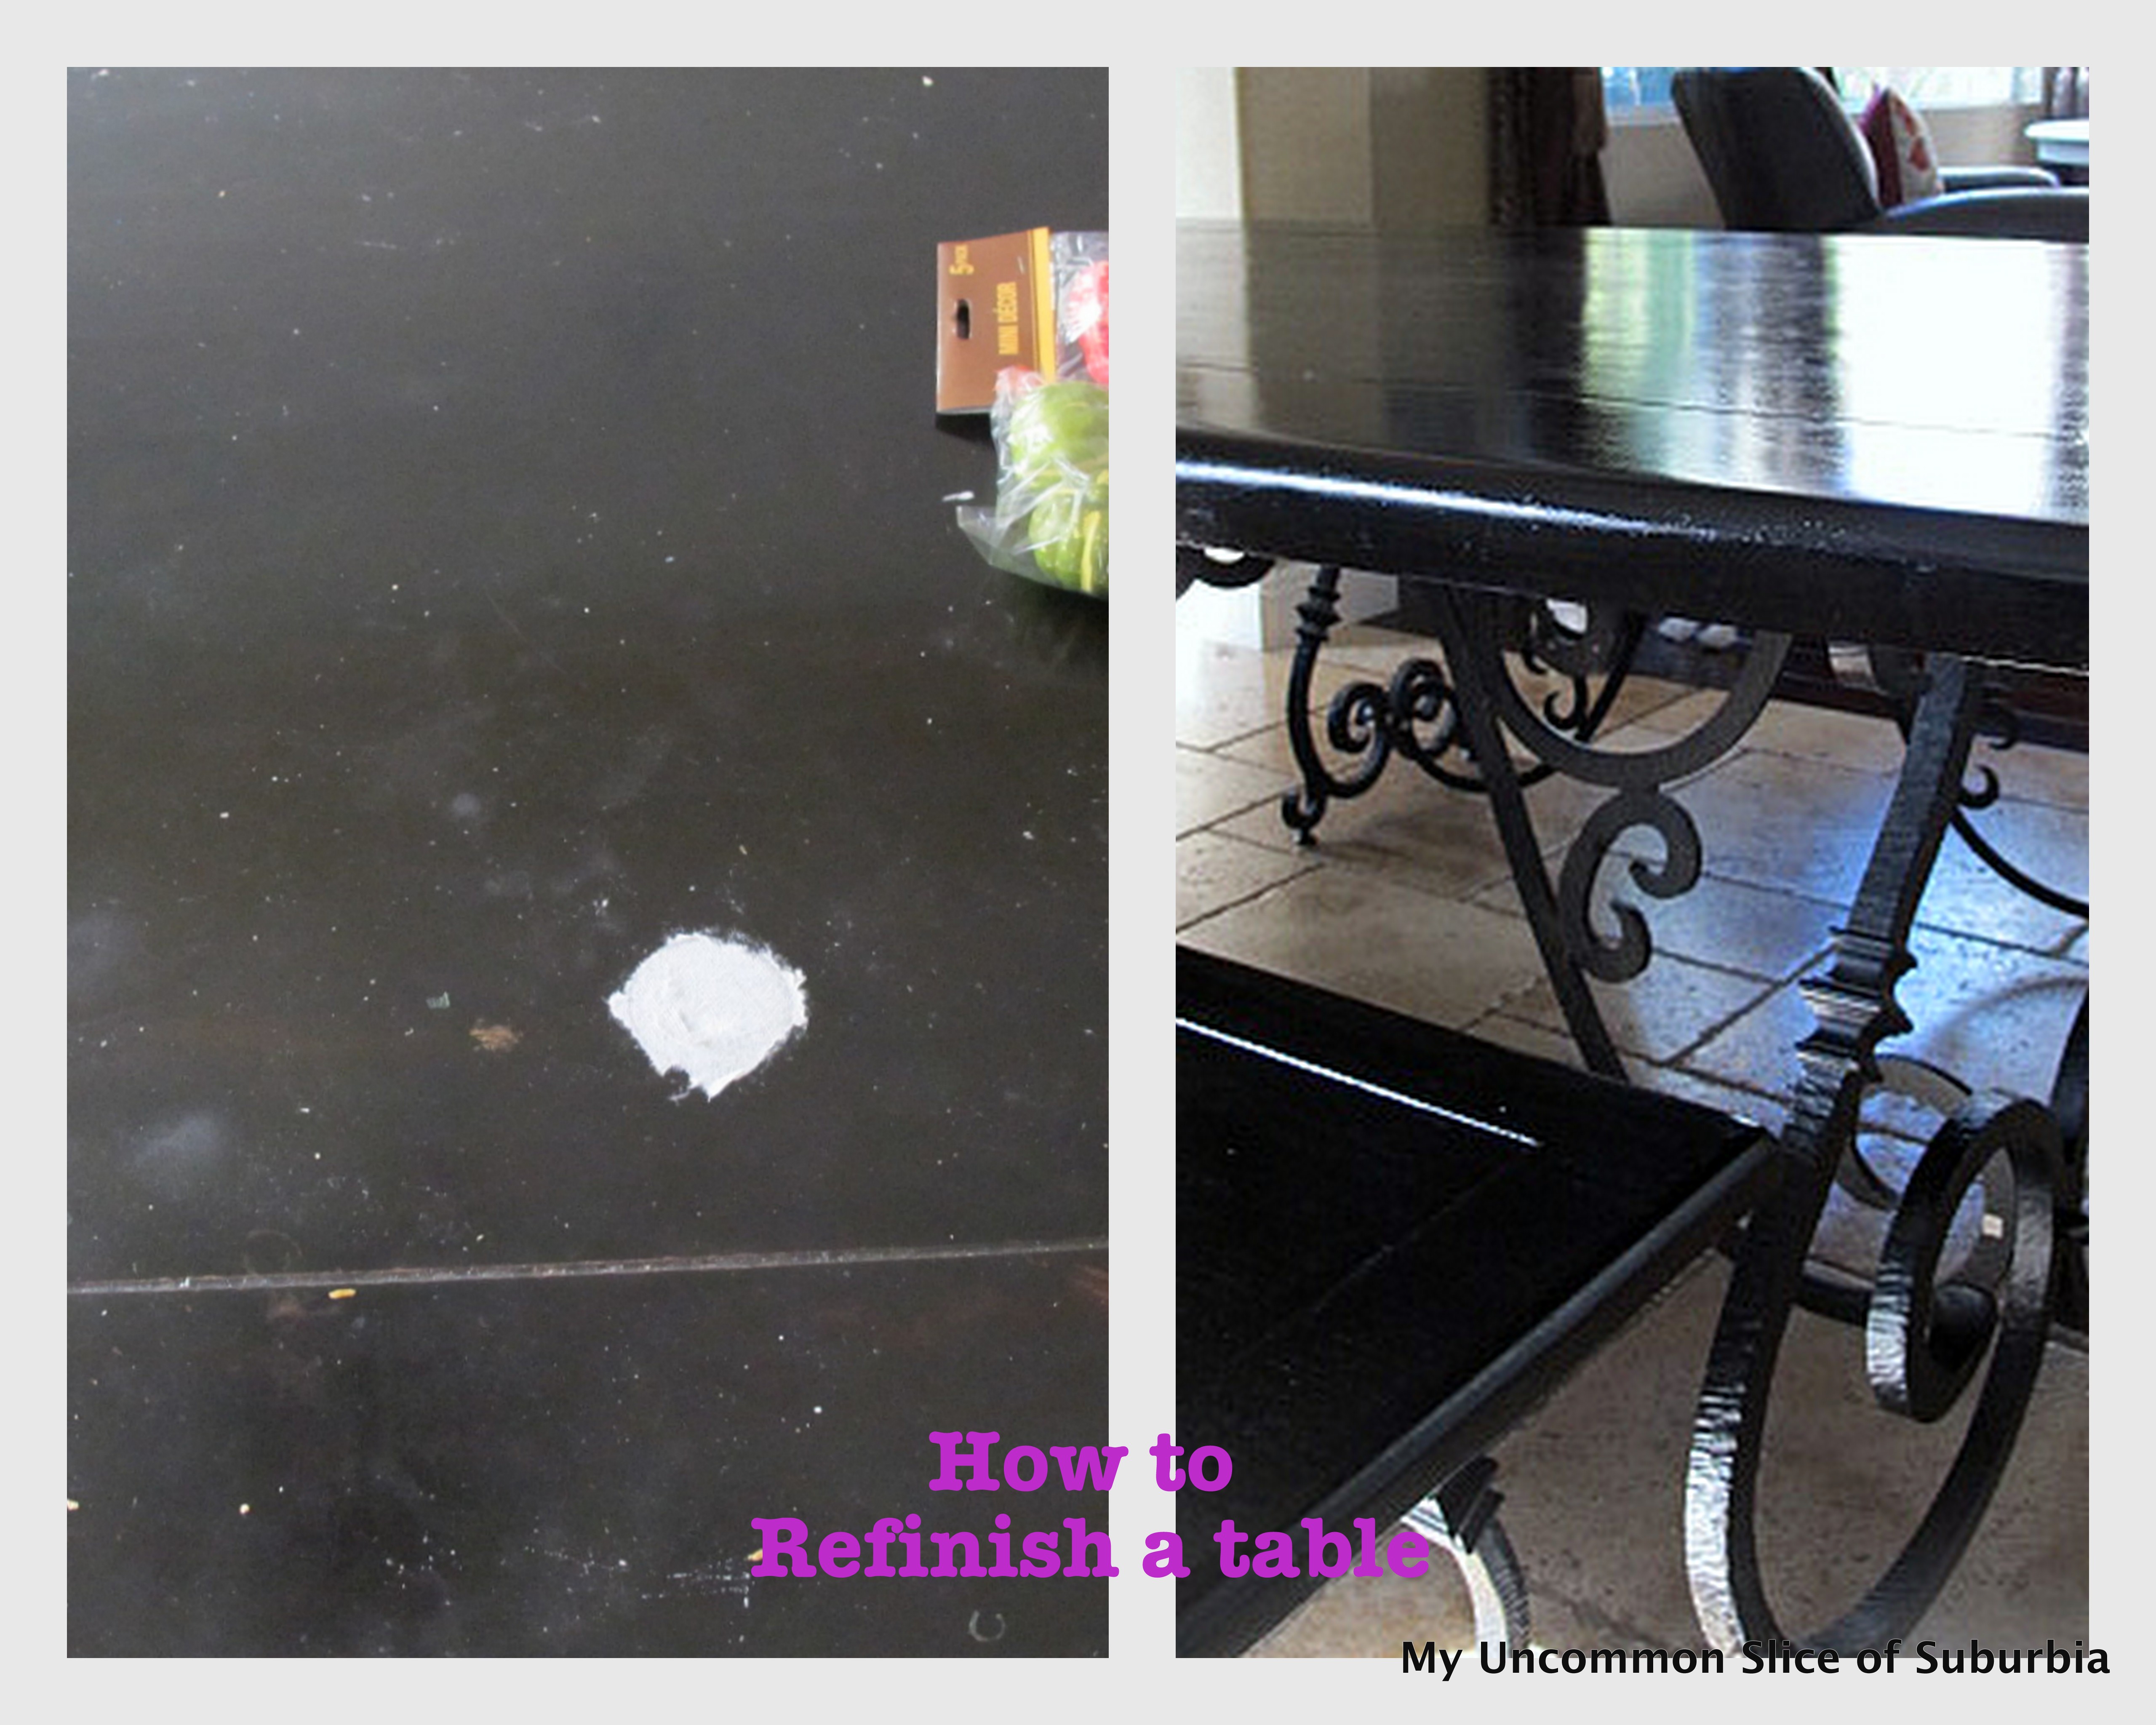
Refinishing a table
We have been putting off the inevitable of refinishing our kitchen table for quite some time, well I am happy to report it is DONE, no thanks to me.

My husband refinished it a few weeks ago, he had enough of the “grossness”, is that even a word? I have no idea how I completely ruined our table, I am thinking it had to be some sort of cleaning agent that made absolutely everything stick to the surface. The kids could no longer do homework at the table as half the paperwork would stick. Forget paper plates, the table seemed to eat those up too and don’t get me started on the syrup, it was just disgusting.
Here is what you will need to get started
TOOLS AND MATERIALS
Paint Stripper
Paint brushes and foam brushes
Putty knife
Steel Wool
Mineral Spirits
Sandpaper
Stain
Cheese Cloth
Drop Cloth
Rubber Gloves and mask
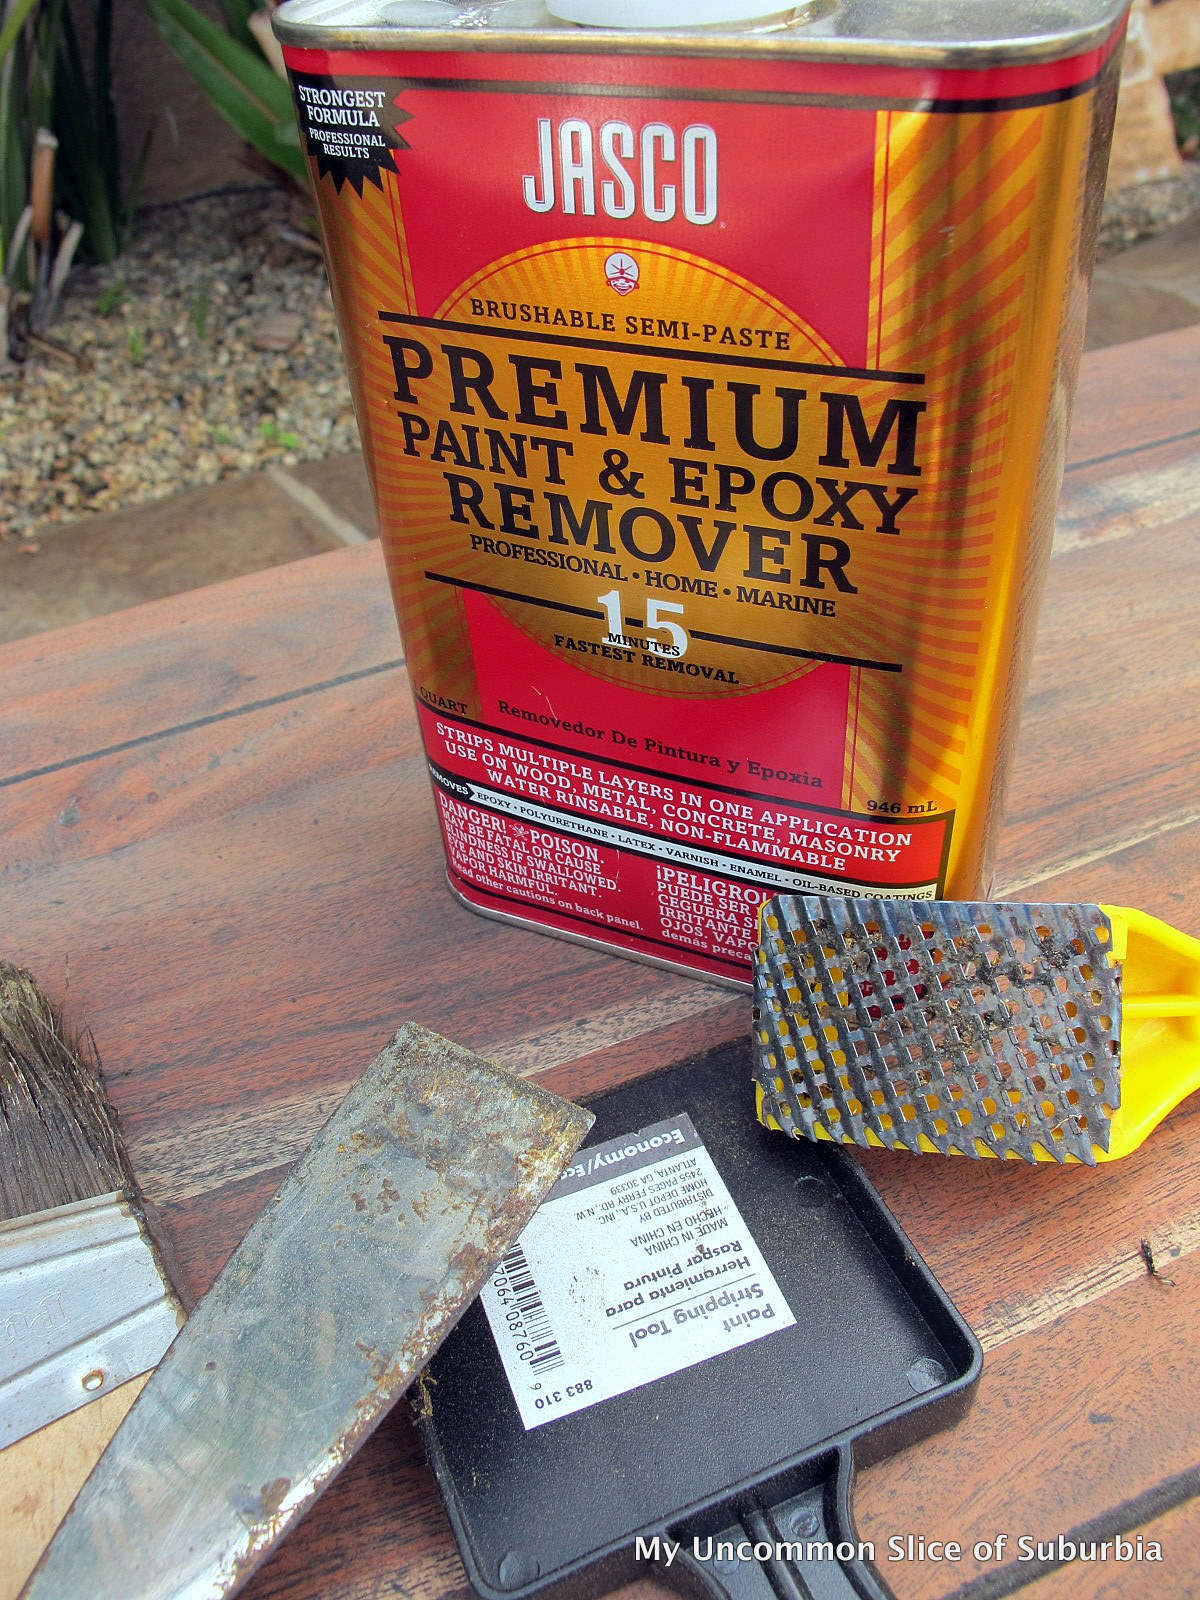
The most important part of this job was to remove the stain, every bit of it and yes it is annoying and messy.
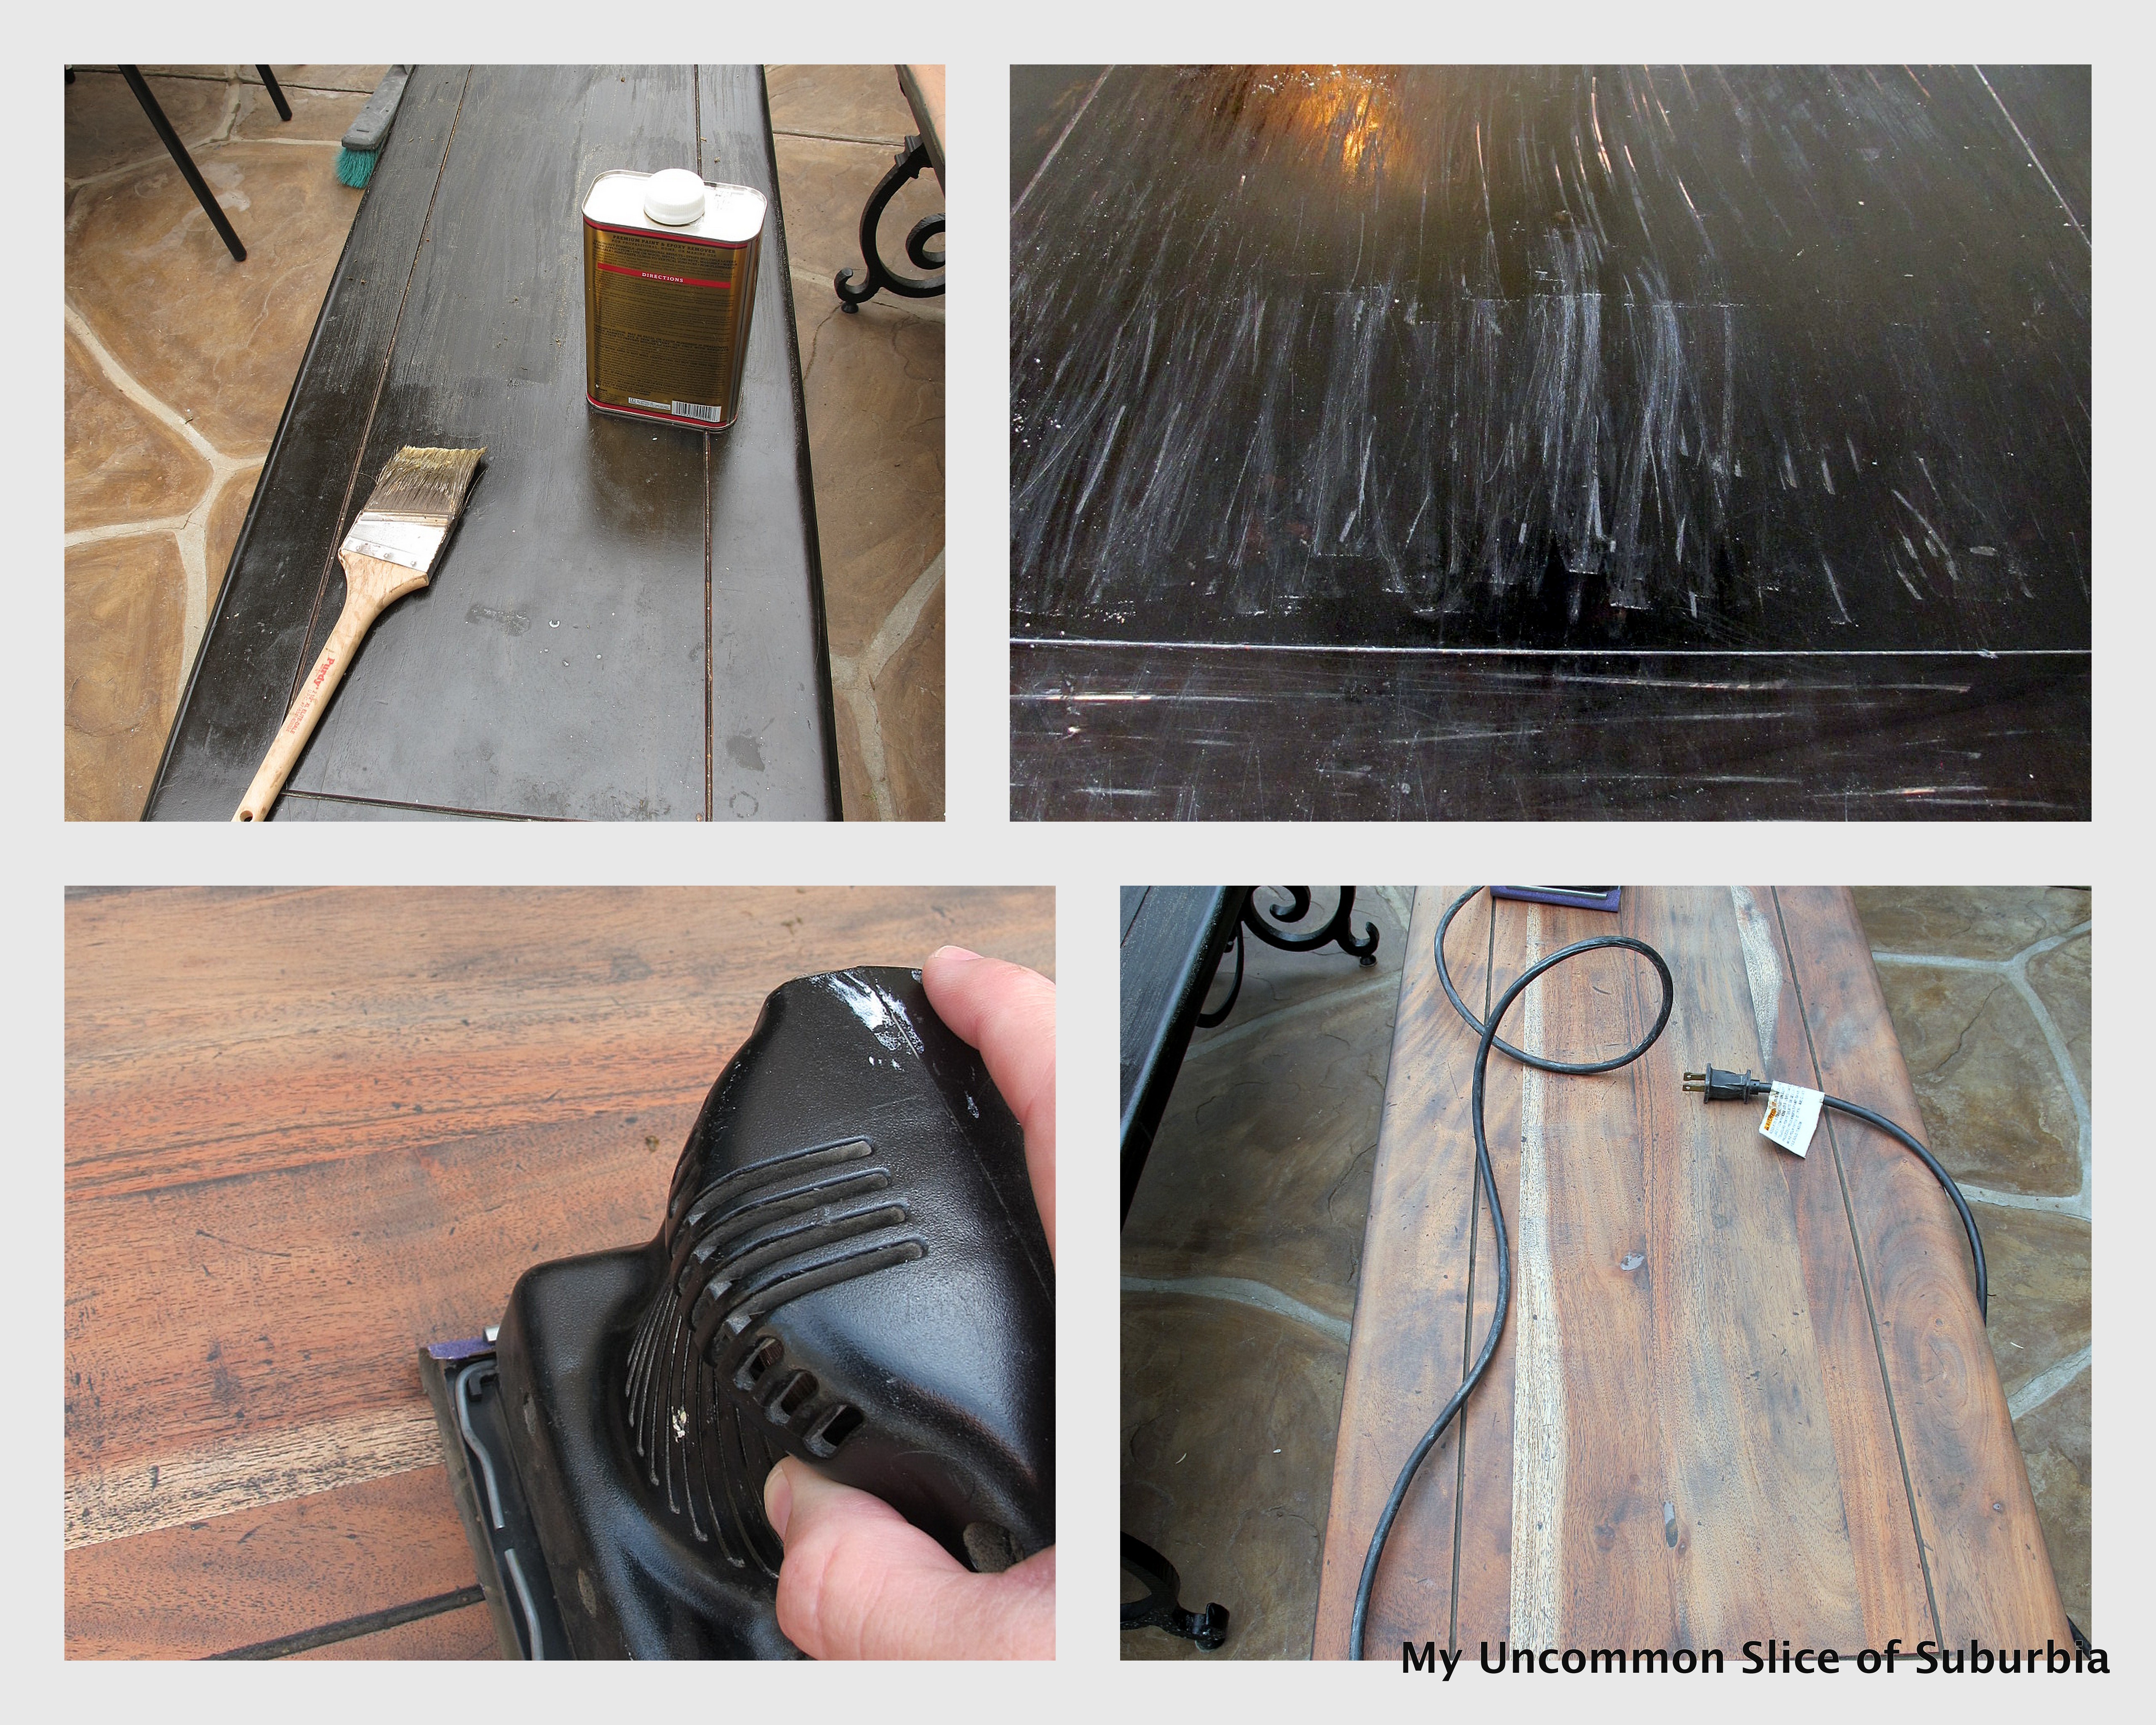
Follow the instructions that come with the remover but some basic rules of thumb; apply a thick coat and let the stripper do what it needs to do which means being patient. Take your putty knife and remove as much of the varnish as possible. For tougher spots use steel wool or a tool like in the picture above. If you are removing multiple coats of paint or varnish, simply repeat the process until the entire finish is removed. (I had to do this with the antique desk) Most importantly use great care when using chemicals by having adequate ventilation, rubber gloves, and eye protection.
Allow your furniture to dry thoroughly before continuing on to the next step.
Start the sanding process using 80 grit paper to clean off any remaining finish and smooth out any rough places in the wood. Finally, sand down the whole piece with 220 grit paper.
Wipe the sawdust off with a tack cloth.
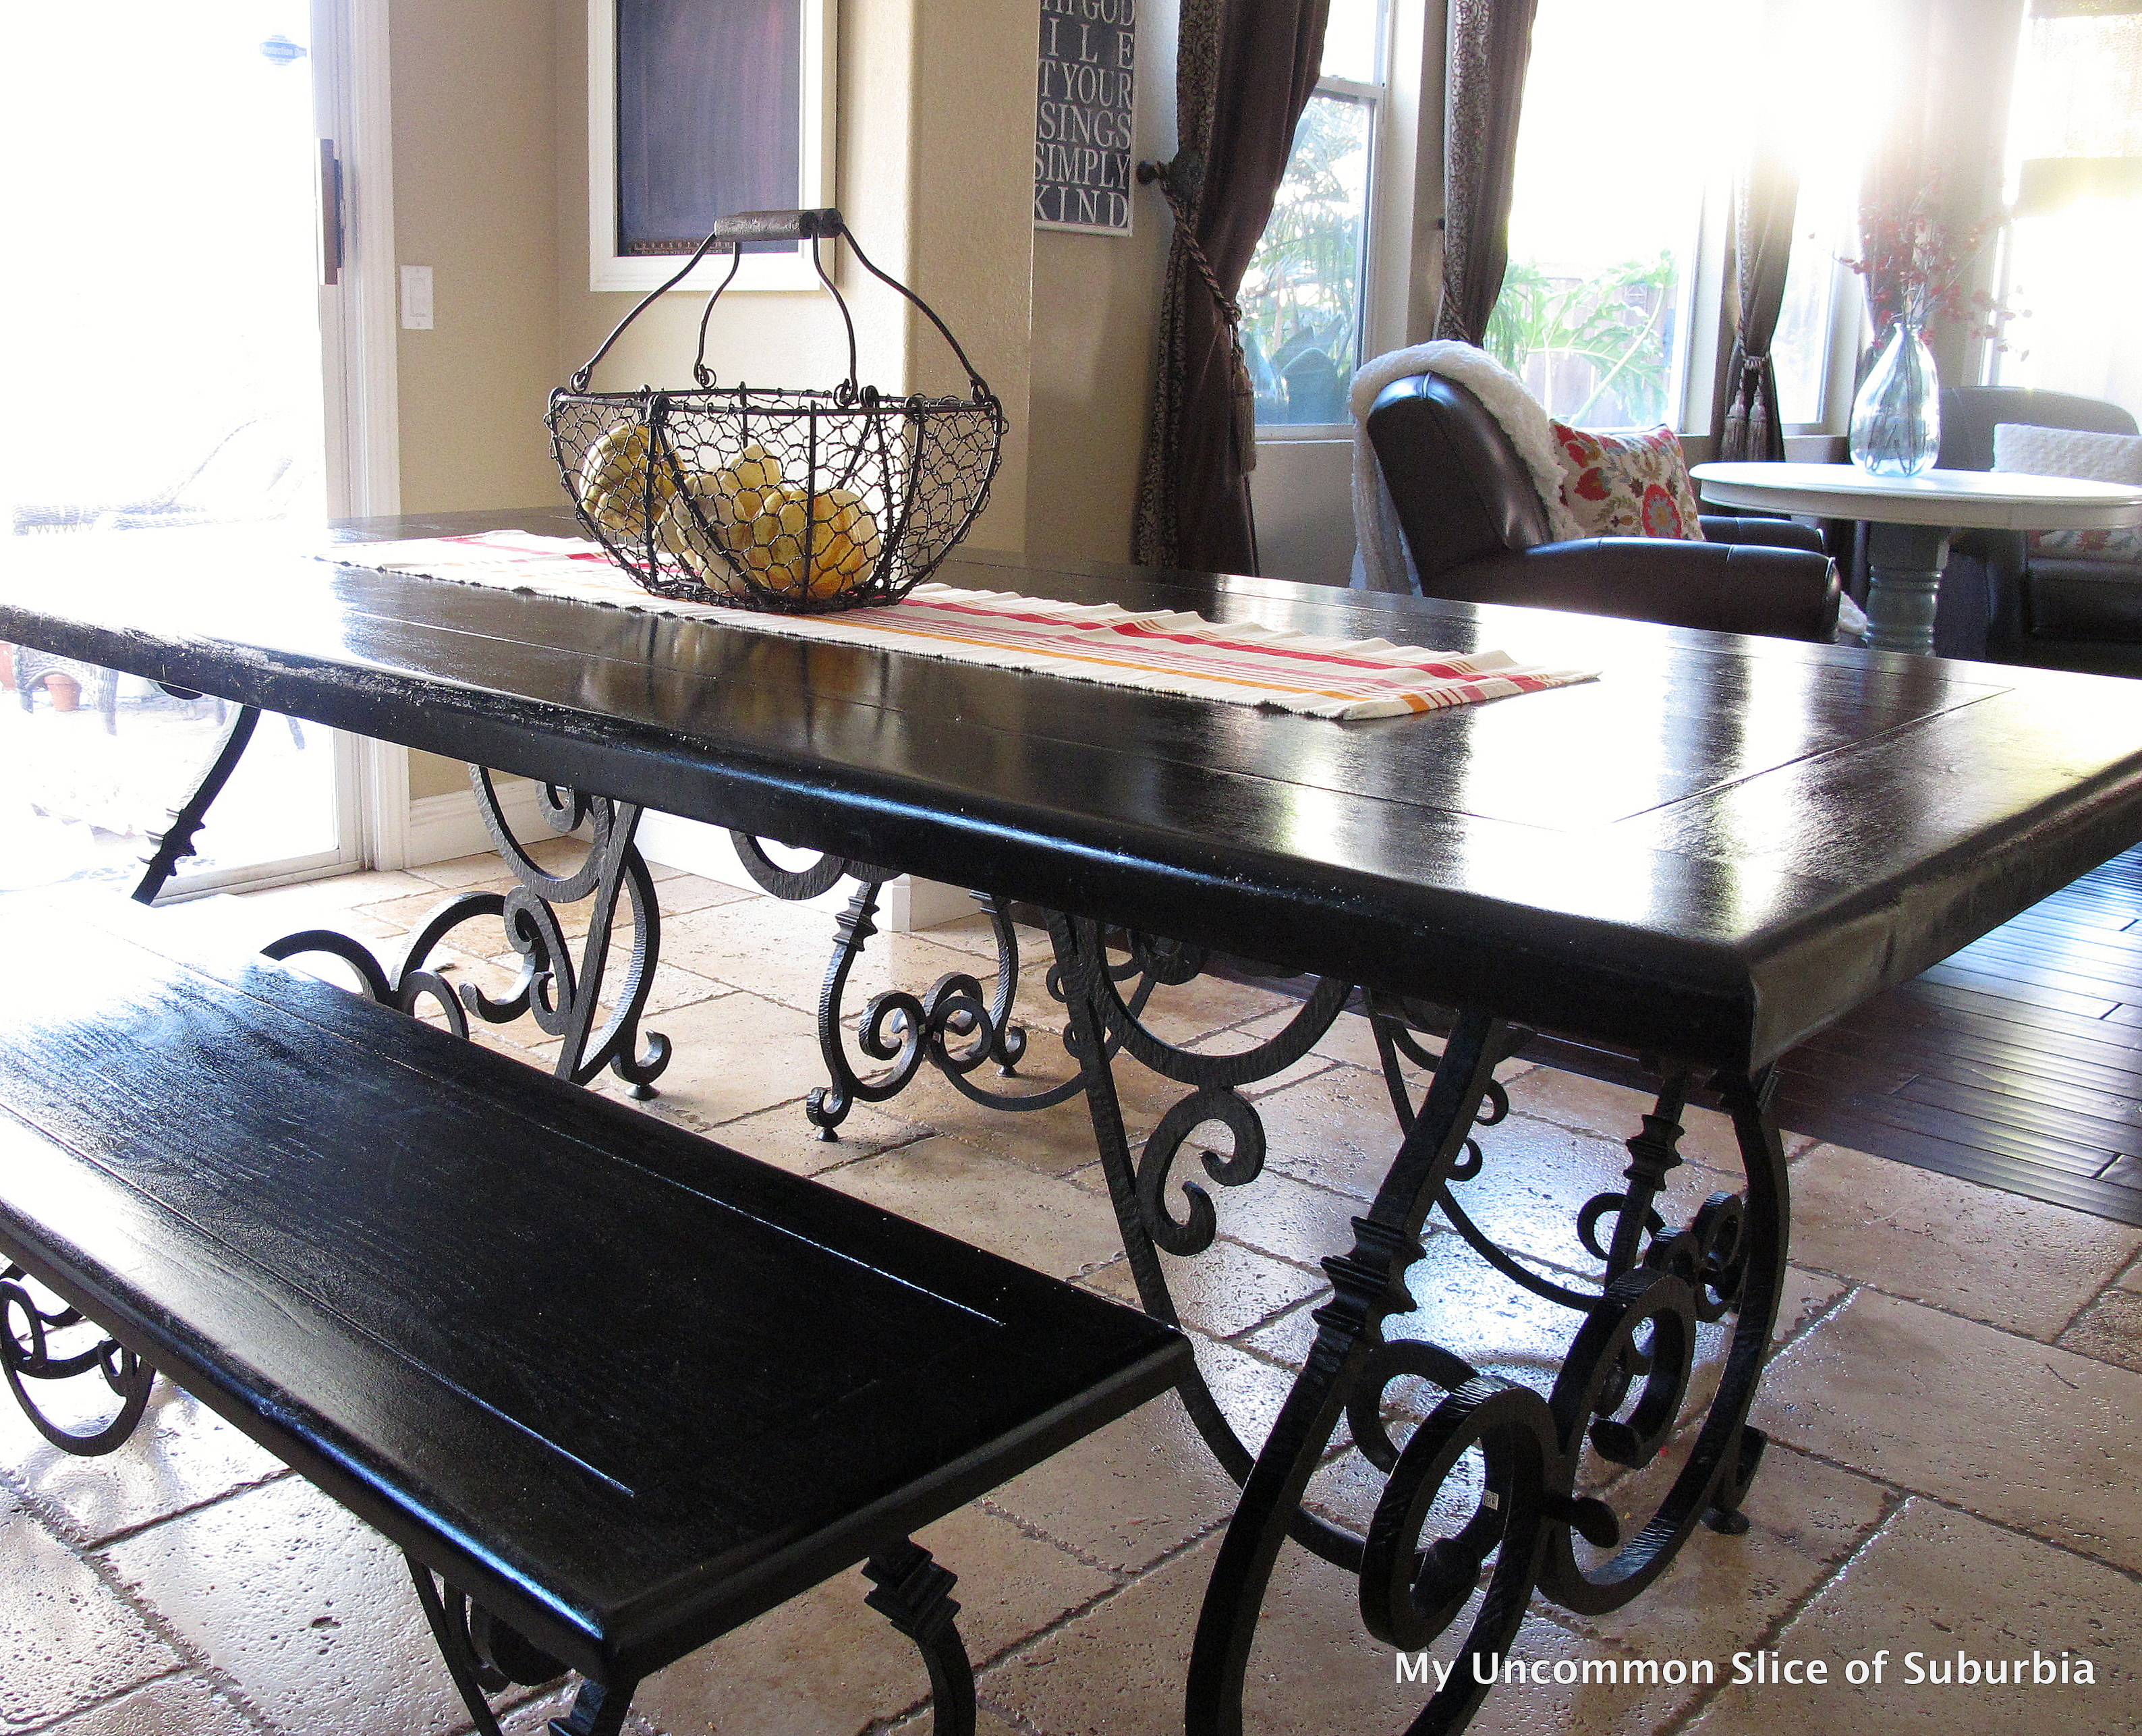
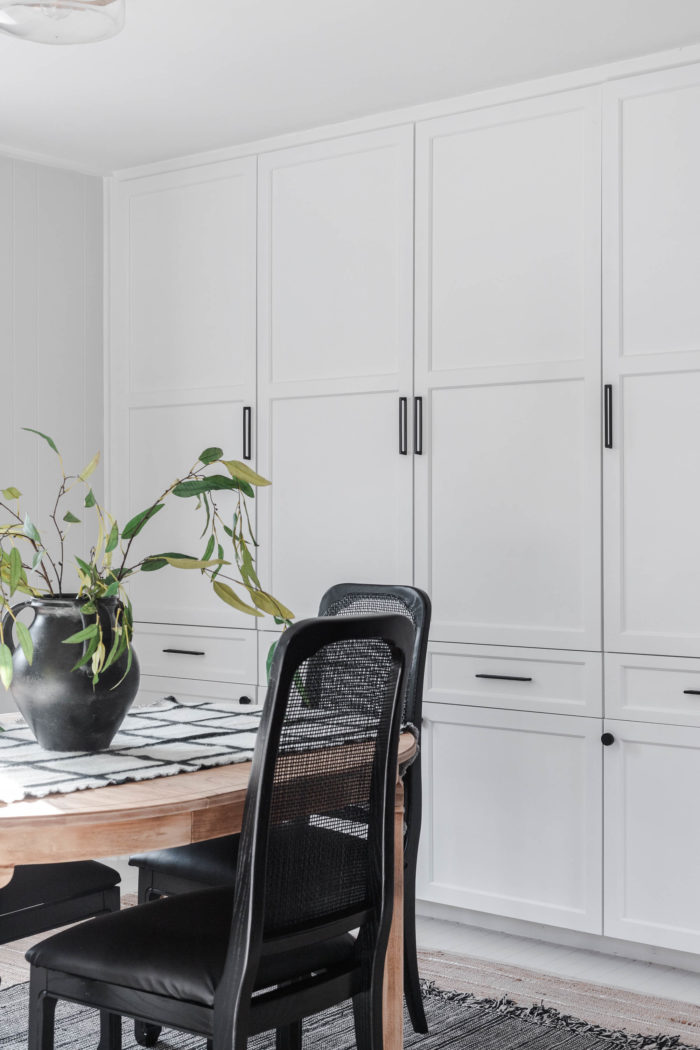
We decided on the Minwax PolyShade in black. It progressively gets darker with each coat and you don’t have to add a polyurethane coat on afterwards. It seems to give the piece a smooth like factory finish which is a bonus!

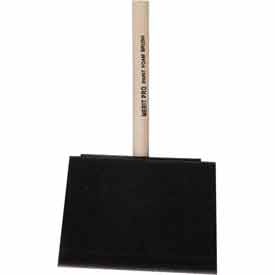
Using a foam brush he applied the stain, use a piece of cheese cloth to remove the excess. The following day he added one more coat. Let it cure for about a week before using it. It looks like a brand new table!
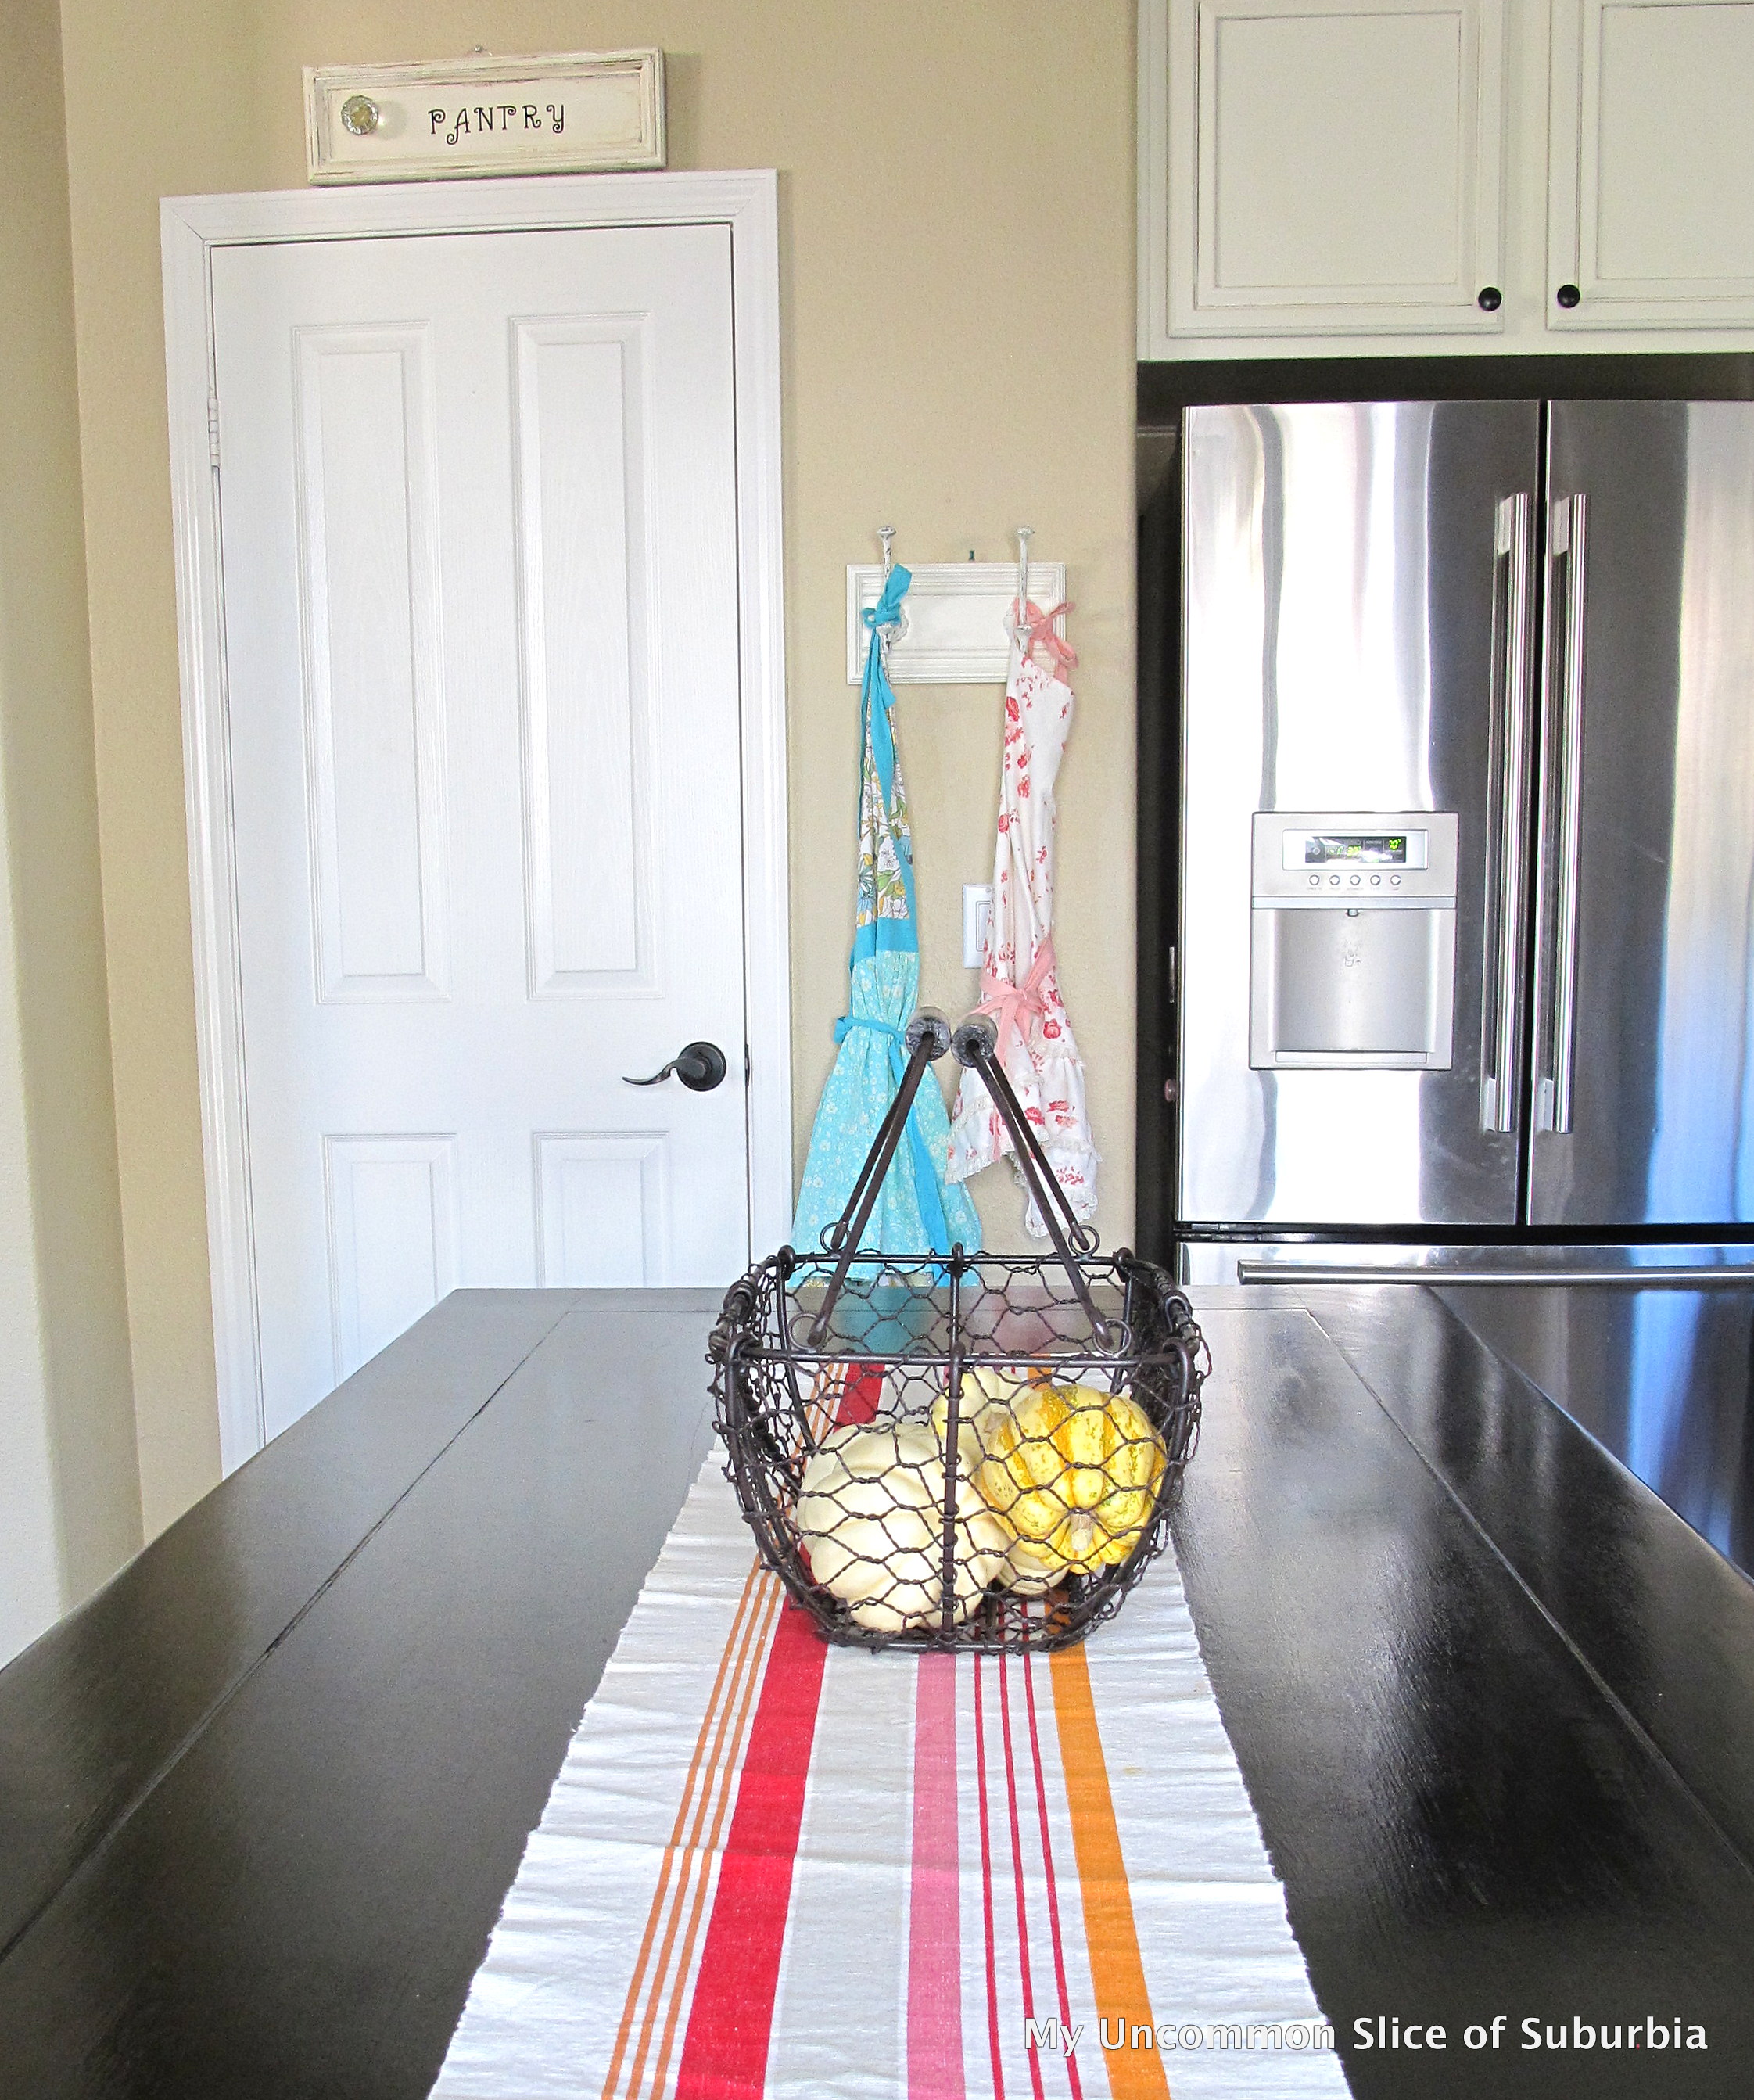
And yes, I have put a 99 cent plastic table cloth over the table, can you blame me? See that grey painted cabinet by the oven, it is not working for me so we are going with a creamy white cabinet and we should have a mold free brand new kitchen by Christmas. ~Feeling excited sad and anxious~
Thanks for stopping in today!
Wonderful Job!!!! Looks professionally done!
It looks amazing. And no, I too would put a tablecloth on it!! LOL I know you will be thrilled to put all of this behind you just in time for the holidays.
Looks great!!
Your table turned out beautiful. I love the shiny finish. Great job!! ~Linda
Your table looks beautiful! Your husband did a fantastic job on it and I would also do the same as you and use a tablecloth to protect it. I look forward to seeing your kitchen!
Nice job!
This turned out great – looks brand new! And I love the contrast to your white cabinets. Well done!
Kristin,
All of your hard work paid off (and hubby’s, too!). The table looks brand new, I love it in black!
XO,
Jane
It turned out amazing! Our coffee table is in DIRE need of a new finish and I’ve been trying to decide what to use. I think I’m gonna check out the product you used. It looks so good.
I’ve been wondering how it’s going with your mold issue. Will you have to do an entire gut?
Suzanne of Simply Suzannes at Home
Great job, Kristin!
Your table is beautiful!
Have a beautiful weekend,
Suzanne
Kristin, the table looks amazing!! Your husband did such a fabulous job!
your table is beautiful Kristin! I’m not sure if I’ve ever fully seen it, but love the base!! 🙂 Excited for you to be able to have a fresh kitchen- I know it has been super stressful for you.
So gorgeous Kristin! Love the shade you picked too. Pinned!
Great tips Kristin! I have to do something with our kitchen table and chairs too – I’m thinking of refinishing the top of the table and painting the pedestle base with chalk paint! Thanks for sharing all the steps!