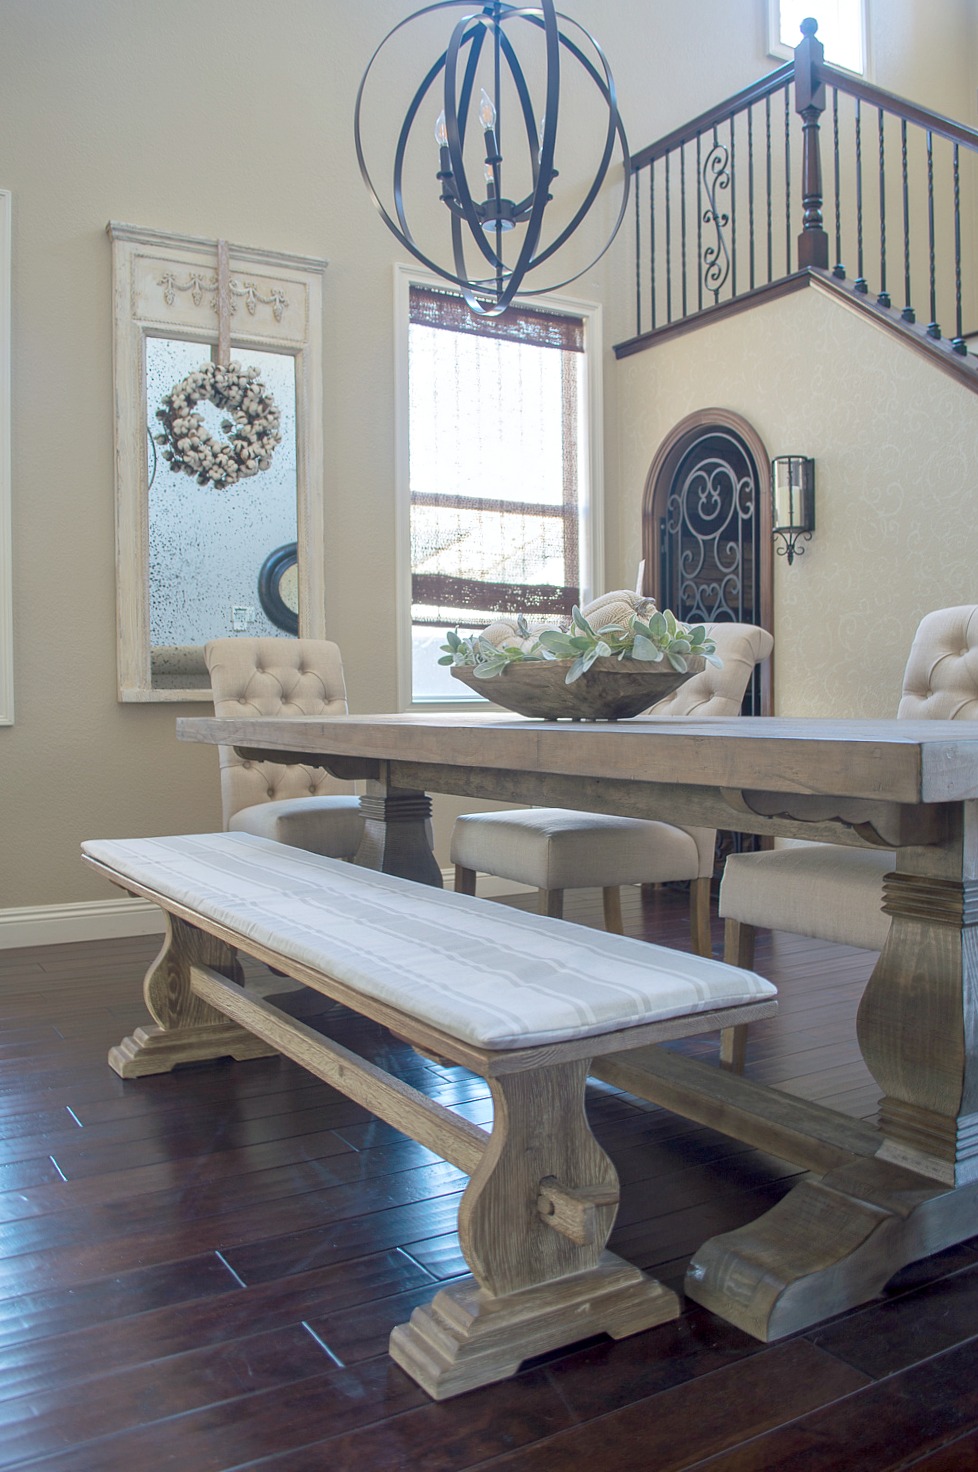
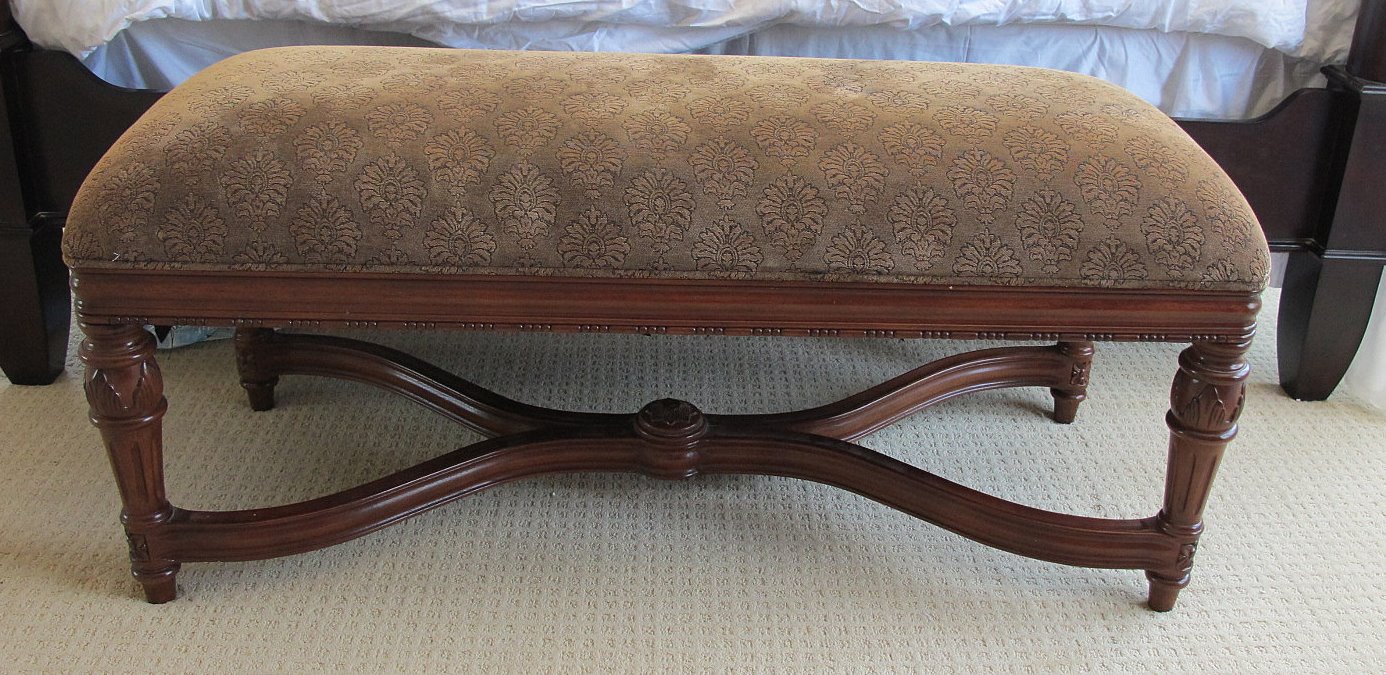
Reupholstering the Bench
Thanks for all your kind words on the bench! You sure know how to put a big smile on my face! As promised, here is the tutorial on how I recovered the bench. Because I couldn’t take the seat off it makes the process a little more difficult but I’m glad I tackled it! If you missed the post on how I painted the bench you can read all about it here.

I did not need to remove the previous fabric and cushion since they were in good shape.
Cut the fabric to fit your bench cushion and iron.
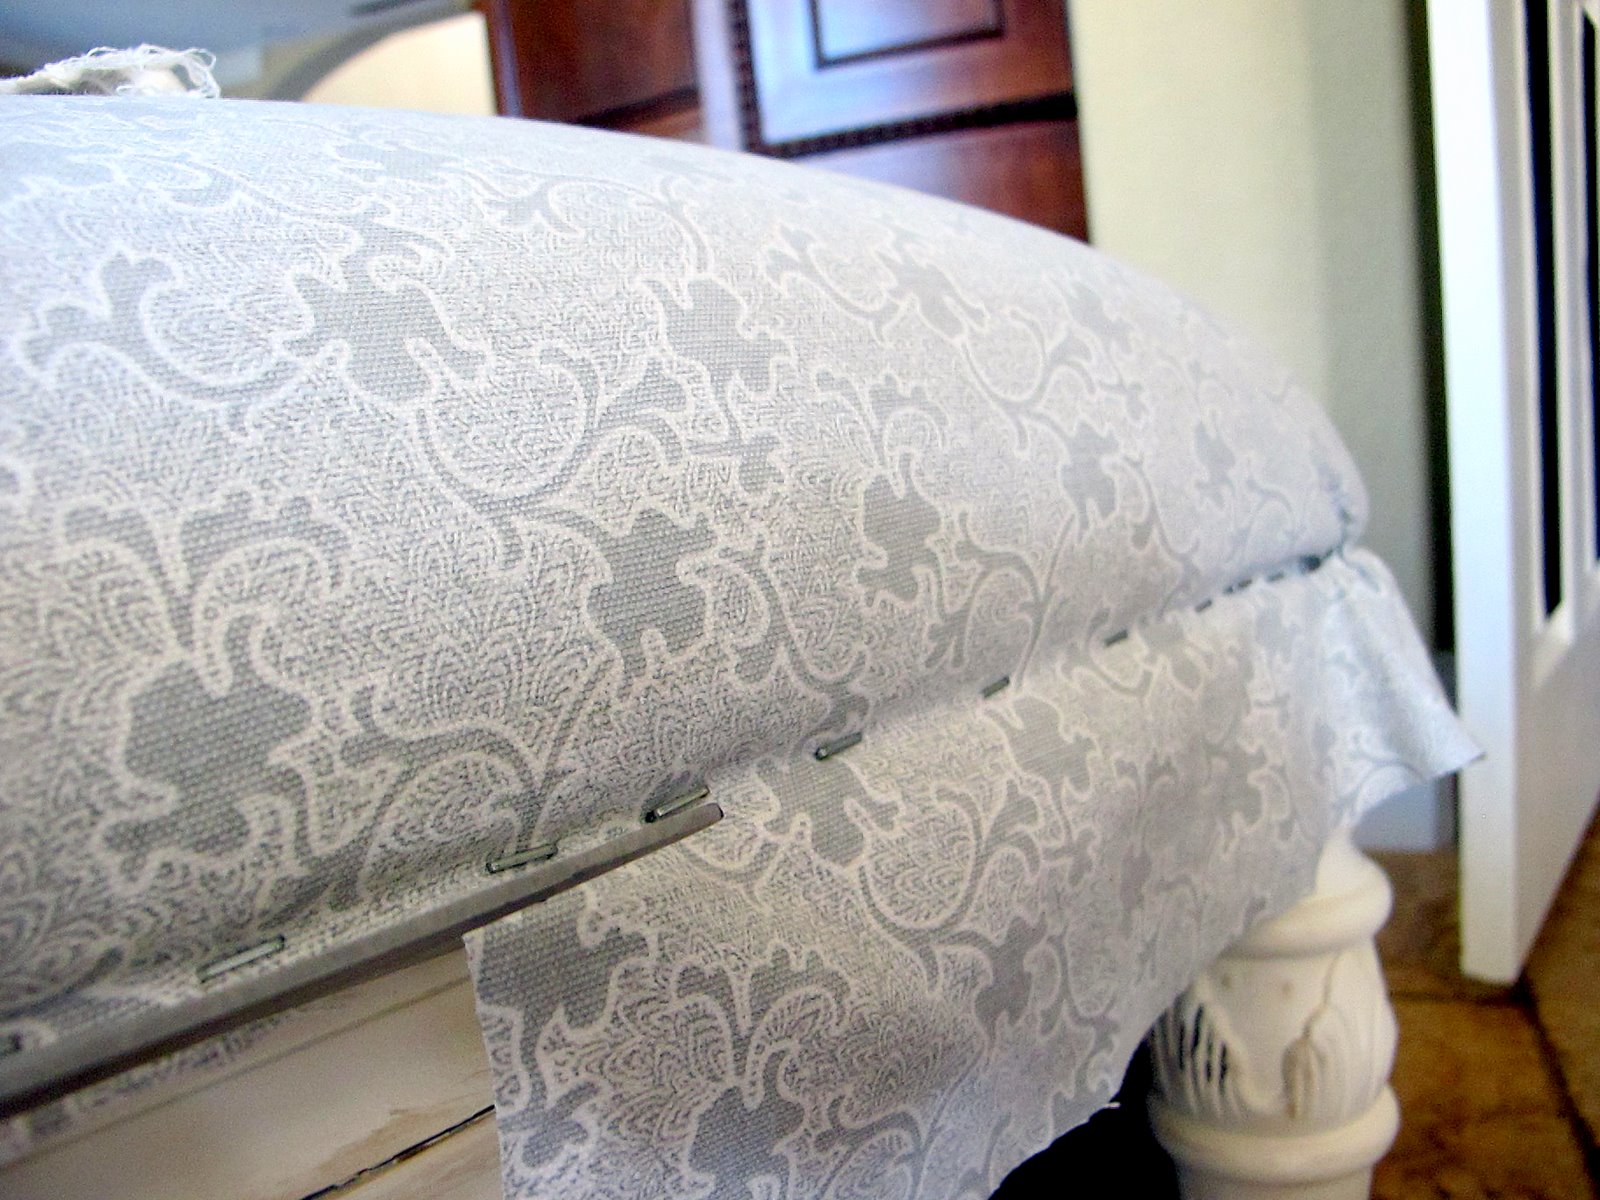
Begin stapling your fabric starting in the center of the bench. Smooth the fabric and pull the fabric taught as you go. Do the same for the other side and each end leaving the corners for last. I stapled about every 6 inches then went back and stapled in between when done.


Oh the corners, yes they gave me a headache. I looked at every tutorial to try and make it perfect, it just wasn’t happening for me. I decided a little pleat in each corner would add some charm to my bench. So I folded the point in each corner and stapled it down.

Trim away the excess fabric.
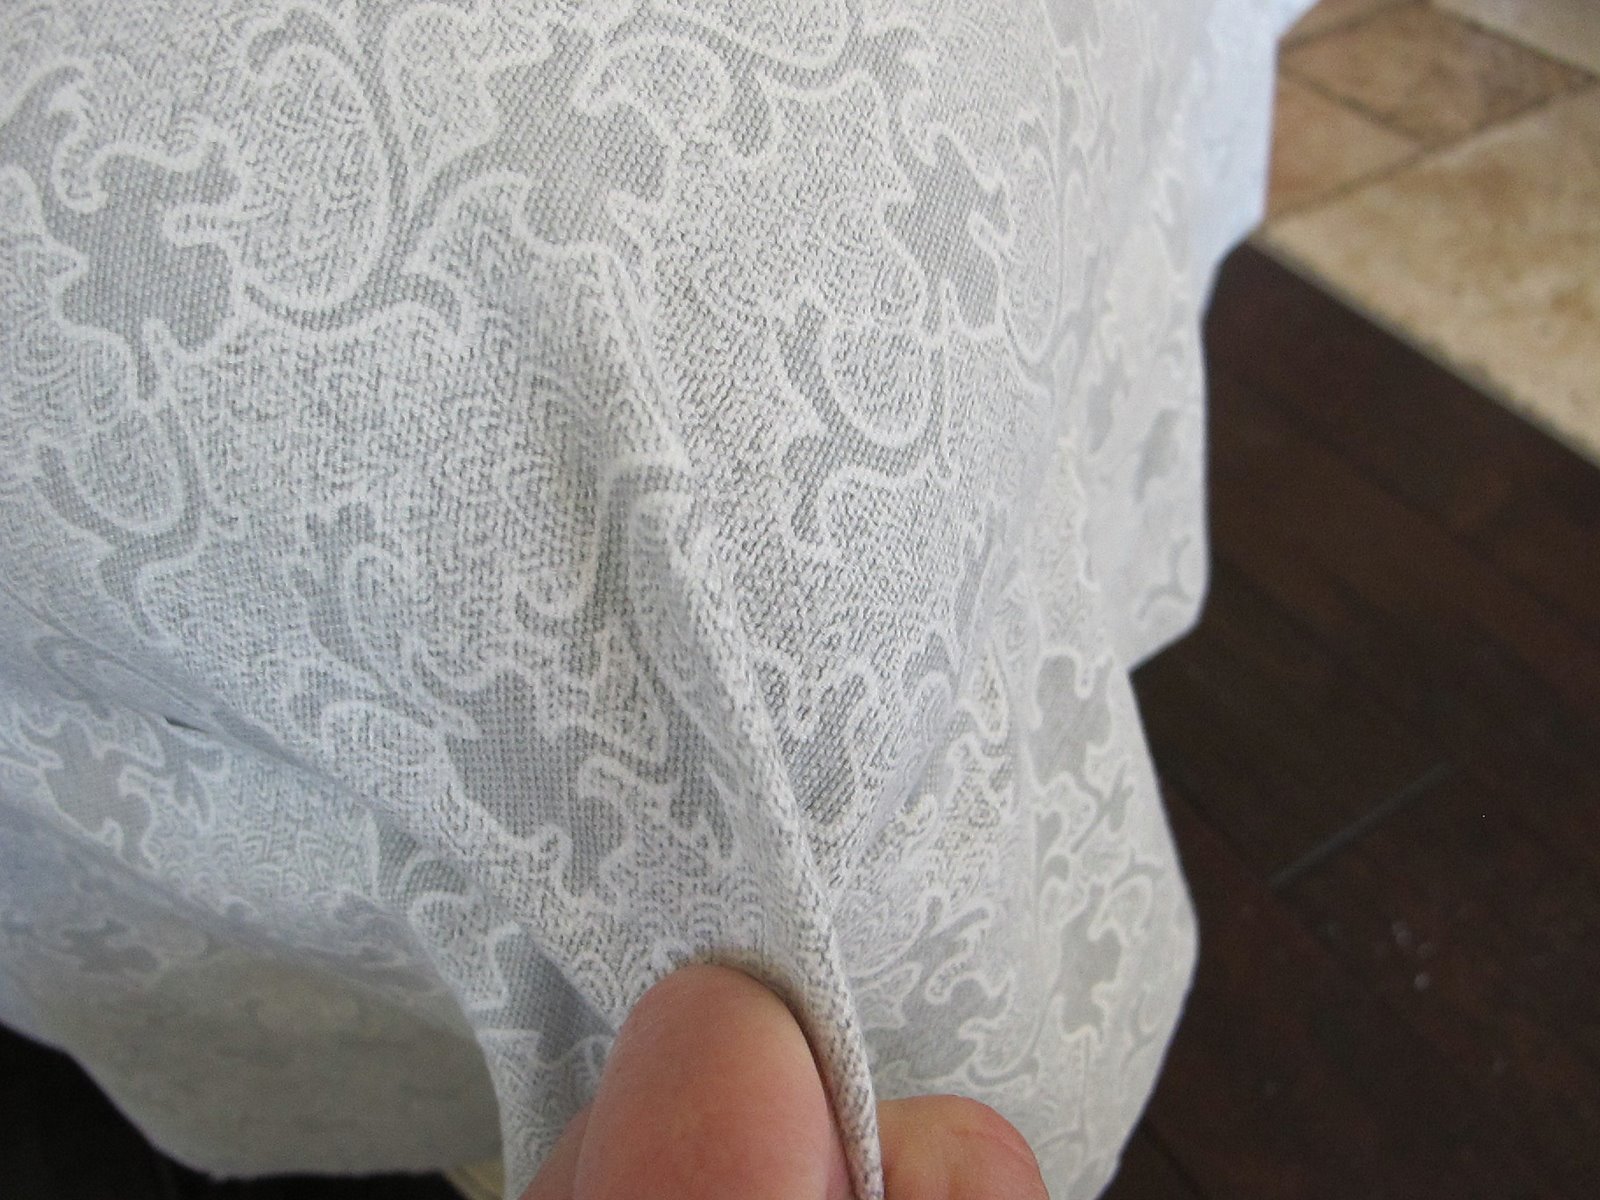
Sew your fabric onto your cording. Because I wasn’t happy with the way mine turned out I won’t be giving a tutorial on this but there are lots of great tutorials out there, I just need a little more practice.

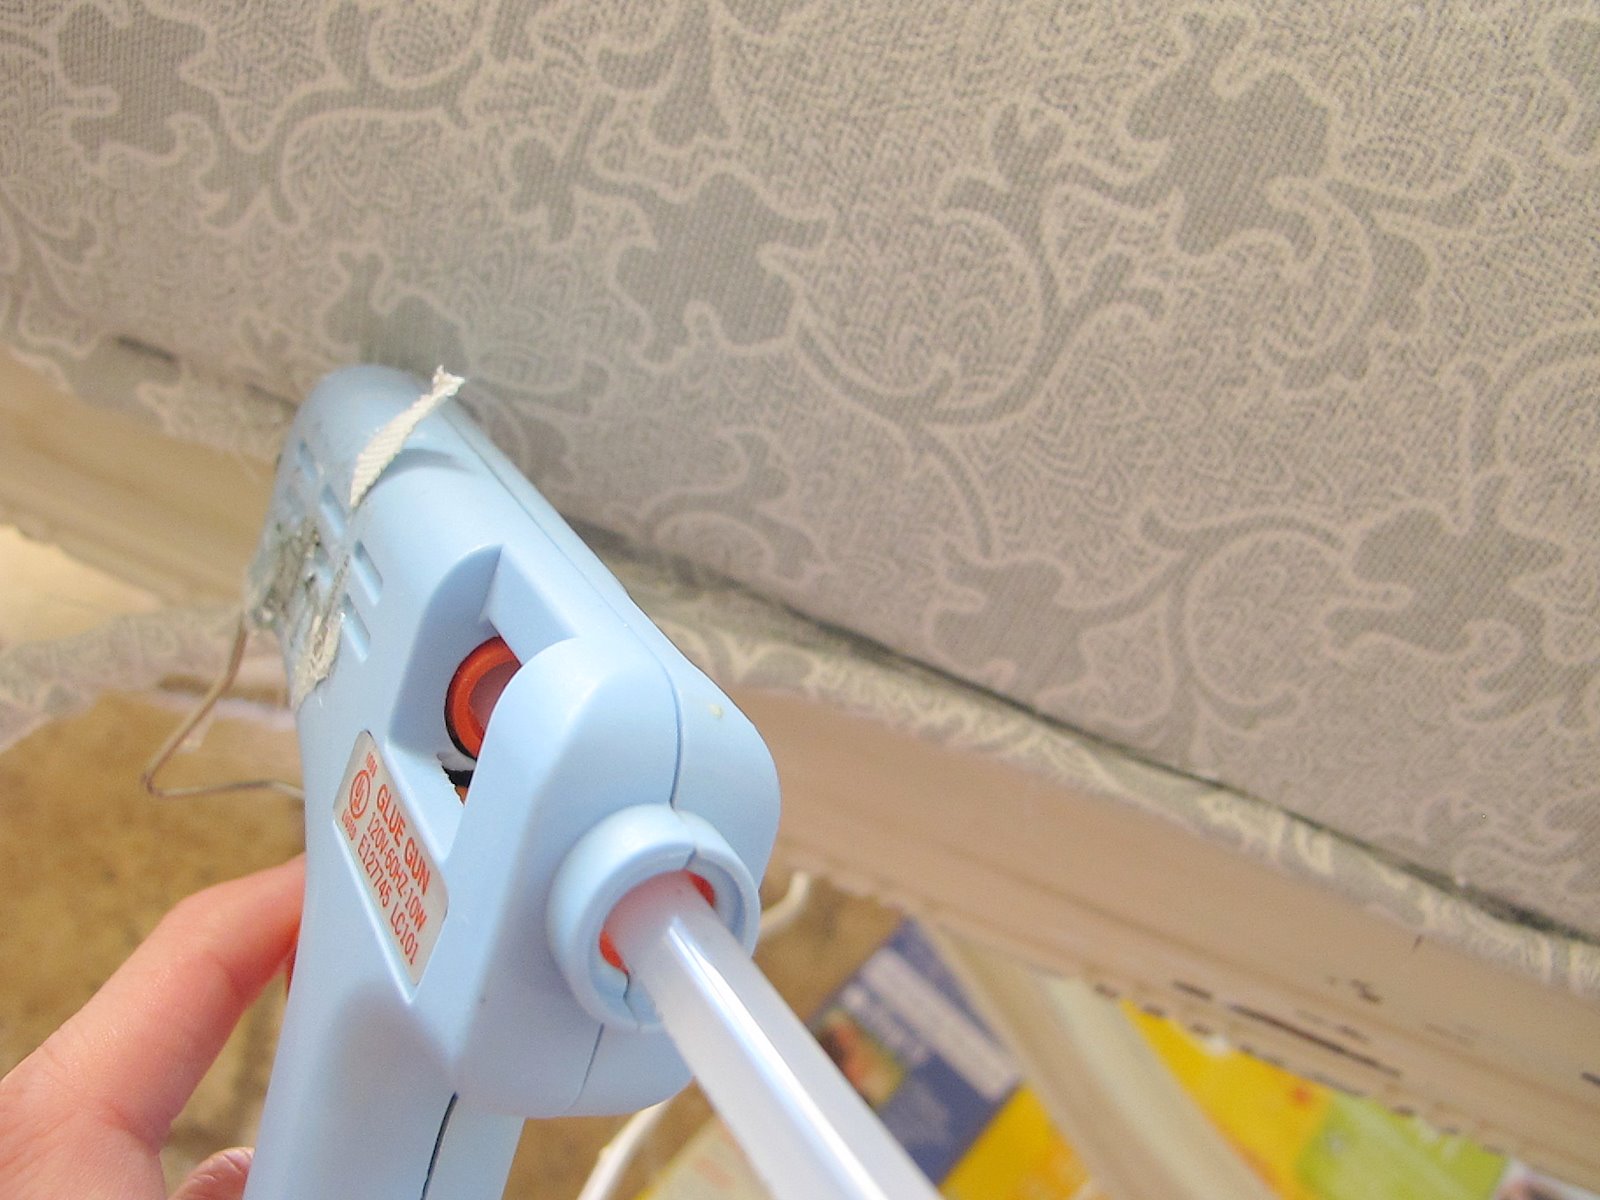
Choose a starting point where if you see a seam it won’t bother you. Put some hot glue on your piece of cording and place the cording along the edge, covering up your staples.
The cost of my bench makeover:
$10 fabric
$7 paint (already had the primer)
$0 cording (had it from a pillow project years ago)
$0 Sandpaper and stain can be found in my garage in every color and every grade 🙂
Total cost $17
The feeling of accomplishing my first reupholster job….priceless!
Thanks for stopping in!!