
New fabric for the valance
~Hi Friends~
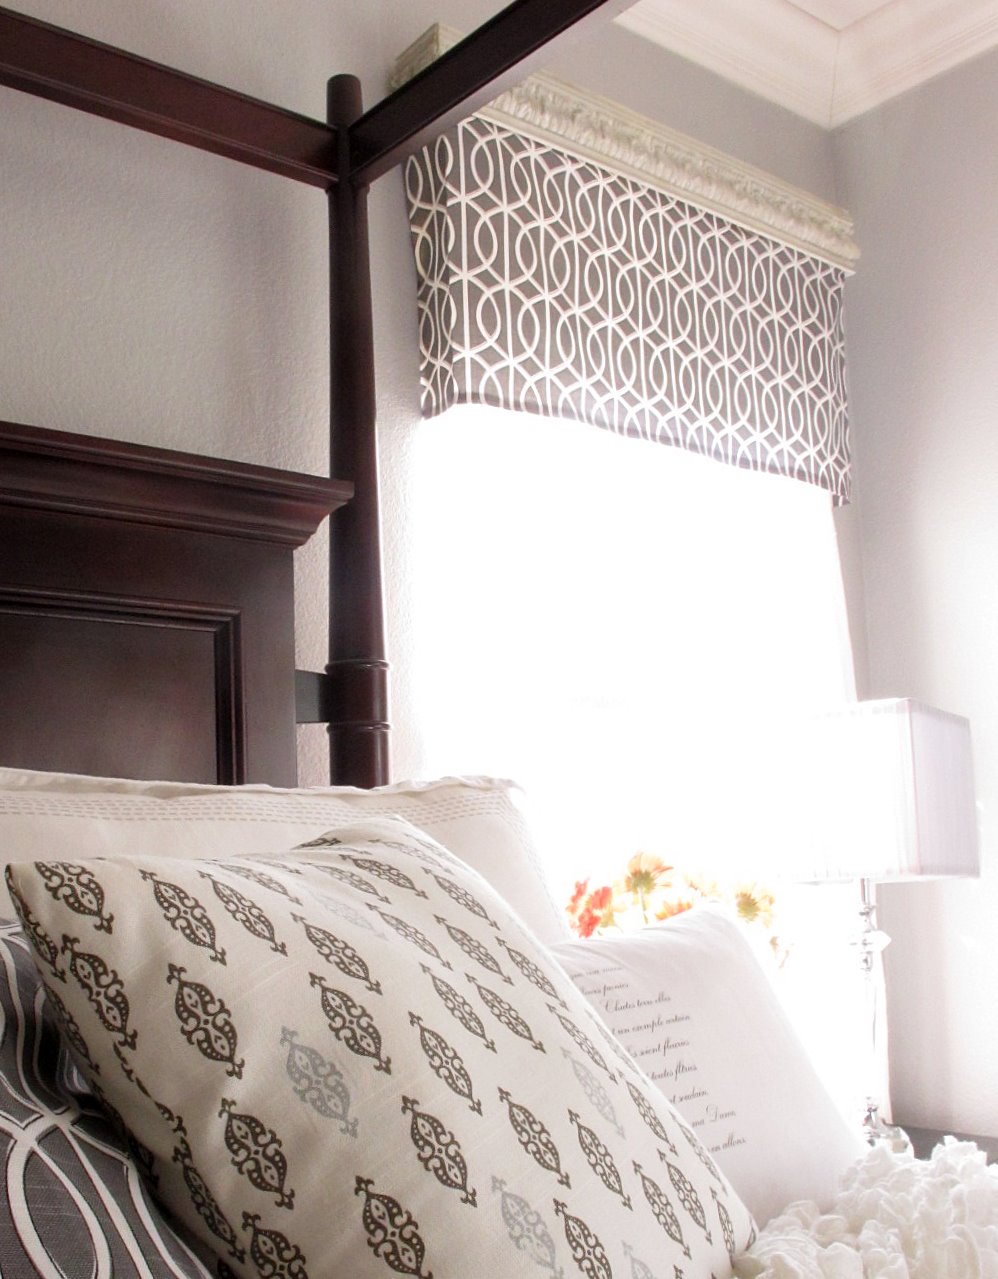
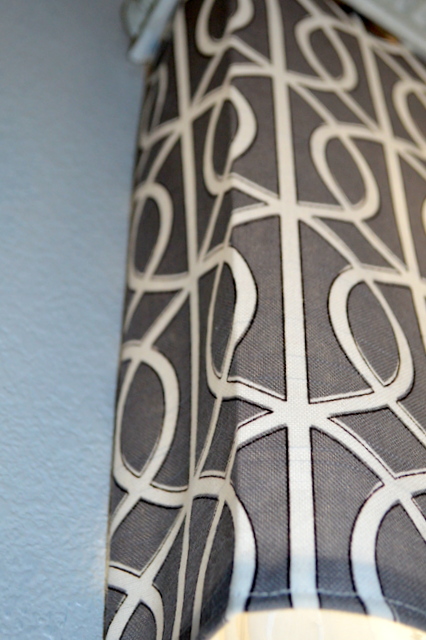
I wanted a little modern twist to the bedroom this time around and fell in love with this fabric by Dwell Studio so I decided to make some new window valences.

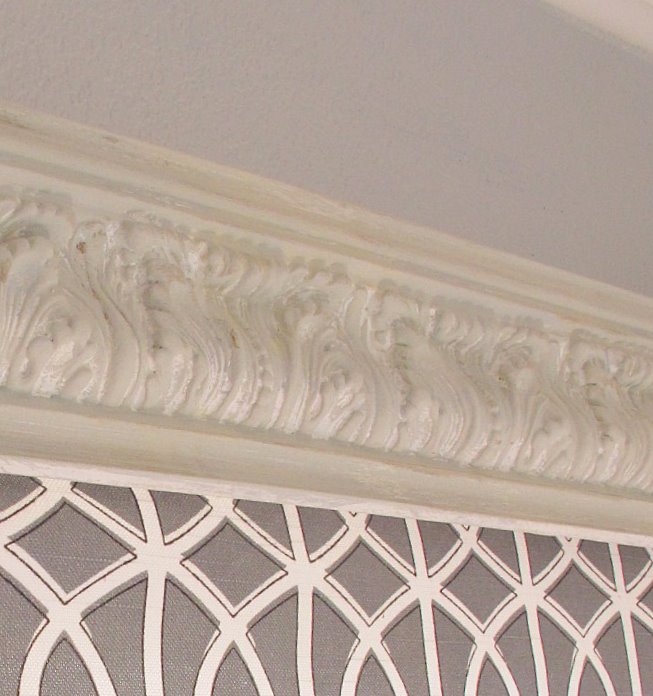
I also switched up the color of the white cornice boxes. I added ASCP Paris Grey by dabbing the paint on.

Then a coat of cream, again, just dabbed it on.

I then finished it with a coat of dark wax. If installing a cornice, I recommend mounting it a few inches above your window to make the window appear taller.
For the Valance, this was one of the easiest window coverings I have ever made.
Measure and cut your pieces of fabric according to the width of your window and your desired valance length. Add an extra inch or so on all four sides for seam allowance. Now this is going on a cornice, this could also be used on a rod, if so add another 4 inches or so on top for the pocket rod.
(different fabric from when I made the first valance)

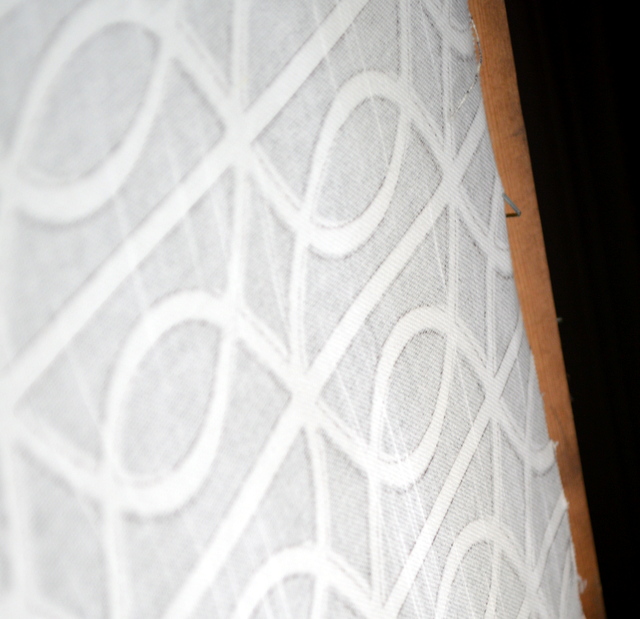
Give all four sides of your fabric a finished edge by pressing with a iron then sewing. (this is where your extra inch comes in)

Next I simply used my hot iron and Ironed the pleat locations (the sides)

I secured the valance to inside of my cornice boxes using a staple gun. If you don’t have cornice boxes you can just slide it through your rod and hang.

So simple, those are the projects I love the most! Thanks for stopping in today!
Love that fabric! It looks so elegant.
nice update!..I really like the fabric you chose…so glad things worked out for you with your blog…I finally have a new post up…check it out…think you'll like it..have a great weekend!!..xo, Mariaelena
ok, have no idea why I'm us there twice and it won't let me delete!!…ugh…Mariaelena
Love it! A fun little change for your bedroom. Hope your pup is feeling better!
Love it! I've been loving that fabric too for our master bath but we have oodles of tan and dark cabients so I don't think it will work for us!
Looks gorgeous in your room!
I love it, your room is beautiful!
Debbie
Love that fabric! It looks great!
Love the graphic fabric – do we get a tutorial on this sewing awesomeness? ;-). How did you attach it to the cornice? Velcro?
I love today's the best! I'm thinking about using chalk paint for my hutch…any tips?
Looks great–it is fun how you can easily change it
Dwell fabric is so fun and modern. I love how you show it with a cozy cottage like twist too.
Love the Dwell fabric. I have tried to find a way to incorporate it into my home but nothings jiving yet. Also love the updated paint job. As always, beautiful!
ok … that photo with Bailey is the BEST EVER! Hope you and Bailey have a marvelous weekend! – Jalon
The fabric looks great with your wall and trim colors. I also really like ornate wood and the modern graphic fabric together.
Beautiful! Your bedding looks so cozy! I want to snuggle right in with your pup!
So pretty. Is the blankets your doggies are laying on from Ikea??? Because if it is…I'm heading there tomorrow and getting it!
Skip the fabric, I love the cornice box all on it's own, lol! But, hey, the fabric is nice as well. And did I mention that cornice box is gorgeous?!
I really like it, Kistin-It is very classy looking..a bit dressier than before. Nice job. I am sewing tomorrow- God willing and the creek don't rise. xoDiana
Perfect!
Very pretty! Of course I love the one from 2 years ago, too! 🙂
Hope your doggie feels better soon!
Your newest follower!!! Very inspiring and your up date is very beautiful & feminine…I invite you to visit my blog as well…Blessings to you & your love ones this day…Lori
i luv all of them! where did you get your cornice board?
I've been on sewing strike all my life, much to my mothers dismay. I was also chastised by my own two daughters yesterday for never learning how to sew so I could teach them. Just proves kids should listen to their mothers.
~Bliss~
Beautiful, Kristin! Love the fabric and also your new pillows on your bed. I'm sending good thoughts and prayers for Bailey. Hope he is felling better soon. Enjoy your weekend.
Looks amazing.I am your newest follower.Also following on facebook.
Beautiful – love it! Hope Bailey is feeling better soon.
Very nice! It looks perfect with your bedding, and I love what you did with the cornice finish.
xo-Lisa
Me gustaba antes y ahora , buen trabajo !!
Un saludo !!
Looks great Kristin! I love how you showed the progression through the years…so fun to see, and each one looks beautiful!
Your window looks really nice! Your sweet pup – I hope Bailey is feeling better. Just an adorable photo of that sweetness!
Love this cornice…and it must be easy to change the fabric! This one looks lovely!
Love the valance and cornice! Dwell Studio fabric is so beautiful! I am your newest follower. Please stop by my blog and say hello! I love to make new bloggy friends, comments and followers 🙂
Heather @ settingforfour.blogspot.com
Love!
Very nice! I made valances very similar to yours! Previously, we had professionally made valances that were stapled to a board (that’s hidden behind the valance) above the window. I hung my DIY valances by using Velcro to attach them to the boards. This way I can take the valances down to wash them.
I love the idea of velcro, going to check out your project now 🙂