
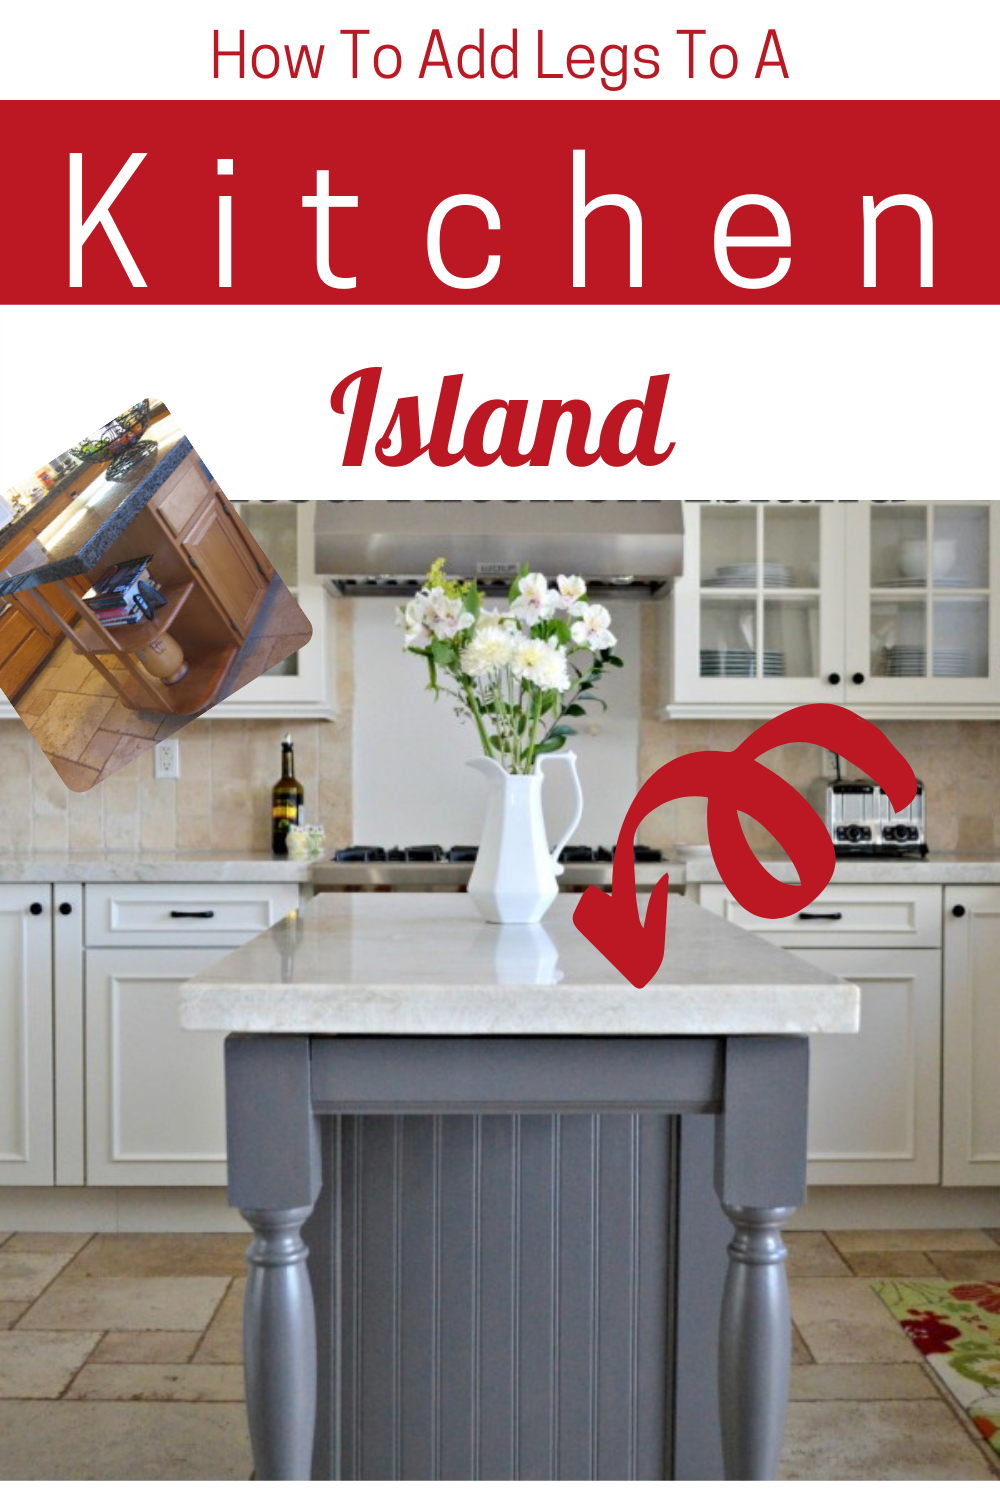
How to add legs to a kitchen island
Adding legs to a kitchen island can be a great way to enhance its aesthetic appeal and functionality. I have put together a step-by-step tutorial to guide you through the process! When we were in the process of our kitchen renovation I always knew I wanted the island to have legs, so the hubs made it happen! (he is the best)
You can find the legs online or a woodshop that sells, trims, crown, moldings, etc. Remember that Proportions are important to consider, the size of the leg should complement the size of the island.
Affiliate links listed below

Before
Materials Needed:

Wooden legs (pre-made or custom) You can find some on Amazon
Mounting plates or brackets
Screws
Power drill
Screwdriver
Measuring tape
Pencil
Level
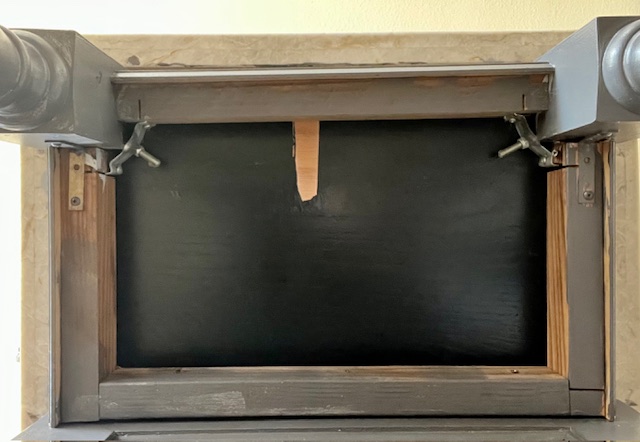
Step 1: Remove the bookshelves
We used a saw to take out the bookshelves and added temporary support using wood throughout the whole process.
Step 2: Measure and Plan
Start by measuring the height of your kitchen island from the floor to the bottom of the countertop. This will help you determine the appropriate height for your legs.
Step 3: Choose and Prepare the Legs
Select the wooden legs that match the style and dimensions you want for your kitchen island. You can find pre-made legs at hardware stores or online, or you can have custom legs made to your specifications.
If the legs come unfinished, you may choose to paint or stain them to match the existing color scheme of your kitchen. You will most likely need to cut the legs to the appropriate height.
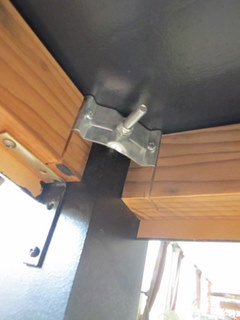
Step 4: Attach Mounting Plates or Brackets
Determine the placement of the legs on the underside of the kitchen island.
Use mounting plates or brackets to attach the legs securely to the island. Place the mounting plates or brackets against the underside of the island and mark the screw hole locations with a pencil.
Use a power drill to pre-drill holes for the screws, then attach the mounting plates or brackets to the island using screws.

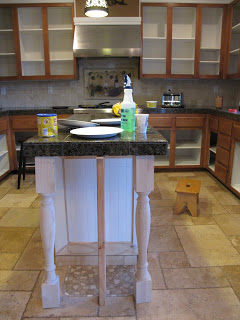
Step 4: Attach the Legs
Once the mounting plates or brackets are securely attached to the underside of the island, it’s time to attach the legs.
Position the legs over the mounting plates or brackets and align them with the pre-drilled holes.
Use screws to fasten the legs to the mounting plates or brackets. Make sure the legs are straight and level before tightening the screws completely.
Step 5: Check for Stability
After attaching all the legs, check the stability of the kitchen island. Gently rock the island back and forth and side to side to ensure that the legs are securely attached and the island is level.
If necessary, adjust the screws to ensure that the legs are properly aligned and the island is stable.
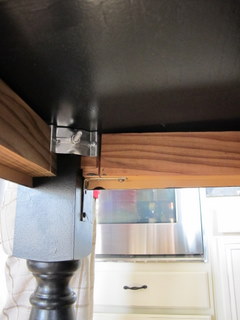
For extra added support we added an L bracket.
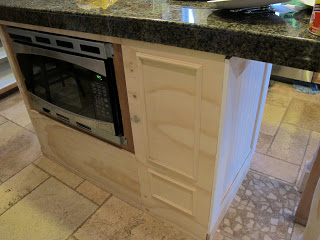
Add a trim of your choice to cover up the frame on all three sides.
Now the fun part, paint!

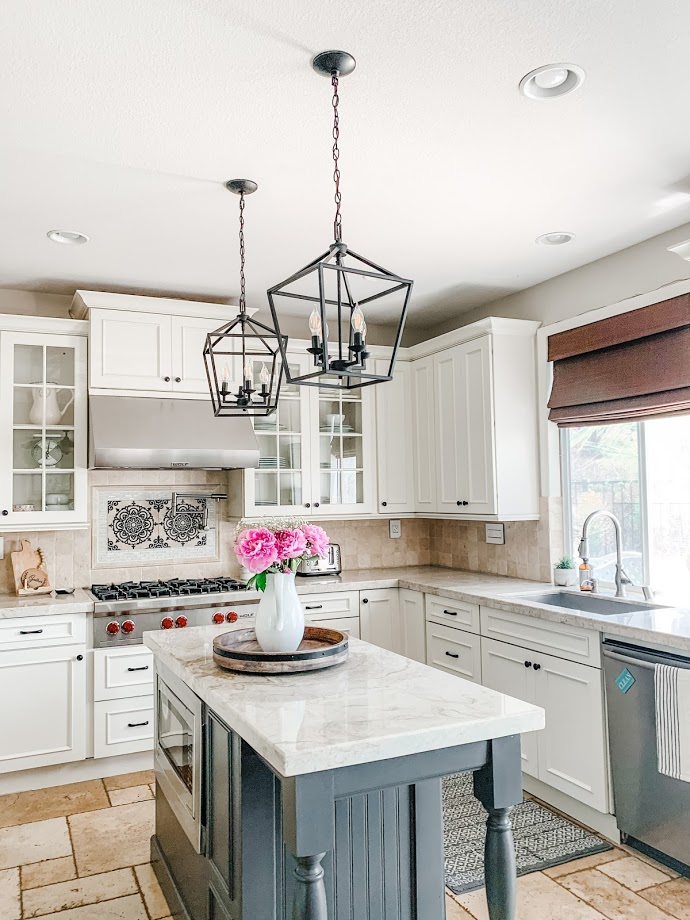
Since our DIY renovation, we had a slow leak that caused mold throughout. We have since replaced the whole kitchen but was able to keep the island. I simply gave it a fresh coat of paint and new countertops. You can read all about it here

And since then we have also updated our light fixtures, you can read that post here.

Faucet: Hanover from Pfister read more about it here.
Countertop: Quartzite in Taj Mahal
For more details on how we transformed our island click here.
Adding legs to a kitchen island is a relatively simple DIY project that can be completed in just a few hours, depending on your skill level and the complexity of your island design. With the right tools and materials, you can transform your kitchen island into a stylish and functional centerpiece of your kitchen.

Looks fabulous!!!! Great job! love the contrast of the black island with your white cabinets! 🙂
Love that you posted this tutorial! Thank you again! Since moving to a much smaller home, I knew I needed to extend my current island and this is exactly what I will do (with the help of a handy man). I need a doggie station which I’m planning to put at the new extended part of the island.
Thanks again for sharing such valuable information with us! You kitchen is so beautiful . Always an inspiration …
I can’t believe how different your kitchen looks, Kristin! It’s gorgeous and the changes you made are inspirational. Just the legs on the island alone make such a difference to the look of the kitchen. How do you like having your mike below the countertop? We are thinking of doing that too.
Hi Kristin, I just wanted to let you know I nominated you and your amazing blog for this award http://gwenmossblog.blogspot.com/2012/07/little-blogger-love.html
I’ll never forget how nice you were when I first started blogging. (aka Gwen Moss blog)
Love your legs! Really changed the look of the island 🙂
I like everything about your kitchen..The counters look nice without the granite backsplash. It gives it the look of more depth. High ceilings with recessed lighting also add to the wide open kitchen.
I have been a regular reader of your blog for some time now, and I just wanted to let you know how much I appreciate the effort you put into creating such valuable content. Thank you!